Close Menu
Homemade Skincare Recipes and Beauty Tips
    Pinterest
    Trending
    • DIY Rosemary Water Hair Rinse
    • Brown Sugar & Coconut Oil Scrub
    • Oatmeal & Yogurt Soothing Scrub
    • Turmeric & Rice Flour Scrub for Dark Spots
    • Coffee & Sugar Scrub Recipe at Home
    • DIY Lemon & Honey Body Scrub for Bright Skin
    • How to Do a Skincare Patch Test
    • How to Make Rice Water Rinse for Hair Growth
    • About Us
    • Contact Us
    • Disclaimer
    • Privacy Policy
    • Terms
    Homemade Skincare Recipes and Beauty Tips
    • Home
    • DIY Body Scrub Recipes
    • DIY Face Mask Recipes
    • DIY Body Butter Recipes
    • DIY Hair Growth Recipes
    • DIY Lip Balm Recipes
    Homemade Skincare Recipes and Beauty Tips
    Home»DIY Homemade Body Butter Recipes»Homemade Whipped Vanilla Body Butter With Shea Butter
    DIY Homemade Body Butter Recipes

    Homemade Whipped Vanilla Body Butter With Shea Butter

    HersheyBy HersheyApril 12, 2022No Comments5 Mins Read
    Facebook Twitter Pinterest LinkedIn Tumblr Email
    Share
    Facebook Twitter LinkedIn Pinterest Email
    DIY HOMEMADE Classic Vanilla Whipped Body Butter With Shea Butter

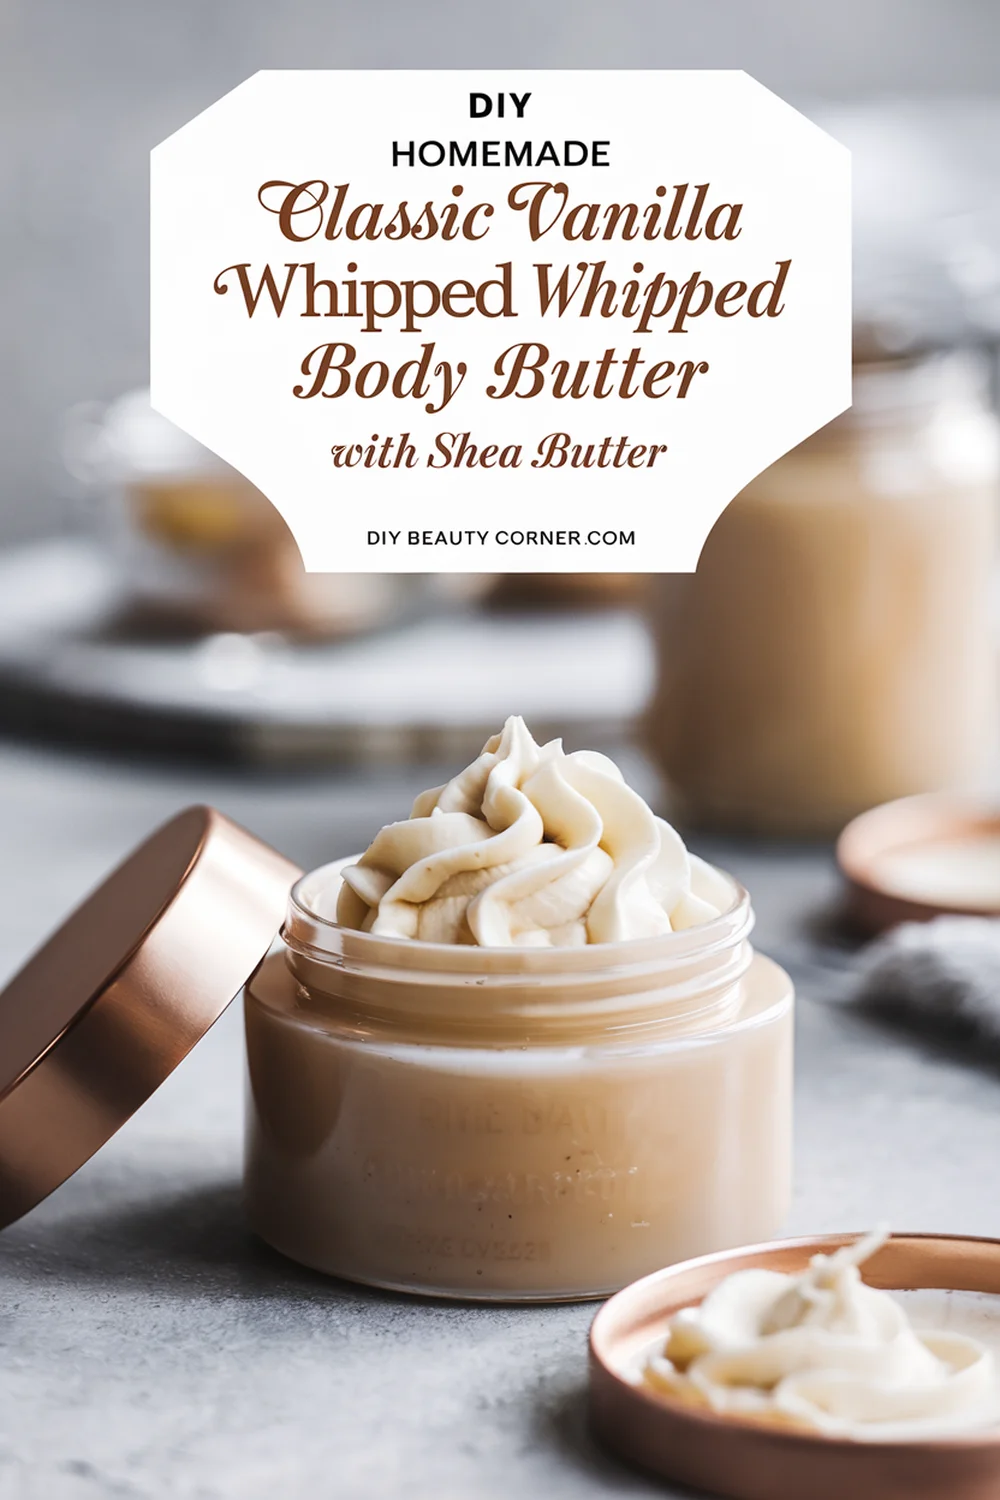
    There’s something incredibly satisfying about creating your own skincare products, and one of my favorites is homemade whipped vanilla body butter with shea butter. This luxurious body butter not only moisturizes and nourishes the skin but also leaves a delightful vanilla scent that lasts throughout the day.

    Using natural ingredients like shea butter and cocoa butter, I can ensure that the final product is free from synthetic additives and chemicals. The process is straightforward, making it accessible even for those new to DIY skincare. I find that knowing exactly what goes into my products gives me peace of mind and enhances my daily self-care routine.

    In this post, I will share my go-to recipe for whipped vanilla body butter, packed with essential oils and beneficial fats that will keep your skin feeling soft and hydrated. Let’s embark on this DIY journey together!

    Ingredients

    To create my homemade whipped vanilla body butter, I use a blend of natural ingredients that nourish and moisturize the skin. Here’s what you’ll need:

    • ½ cup shea butter
    • ¼ cup cocoa butter
    • ¼ cup coconut oil
    • 2 tablespoons sweet almond oil
    • 15-20 drops vanilla essential oil or fragrance

    Ingredient Details

    • Shea Butter: Deeply hydrates and helps improve skin elasticity.
    • Cocoa Butter: Rich in antioxidants and promotes skin healing.
    • Coconut Oil: Provides moisture and has antibacterial properties.
    • Sweet Almond Oil: Softens skin and is easily absorbed.
    • Vanilla Essential Oil: Adds a pleasant scent and can be calming.

    These ingredients work together to create a creamy, non-greasy body butter that feels luxurious on the skin. The combination of butters and oils ensures it is both moisturizing and soothing.

    Recipe

    Creating homemade whipped vanilla body butter with shea butter is an enriching experience. It combines nourishing ingredients to hydrate and soften the skin. Below, I’ll explain the steps involved in making this luscious body butter.

    Melt The Butters

    To begin, I gather the key ingredients: ½ cup shea butter and ¼ cup cocoa butter. Using a double boiler method is ideal for melting, as it allows gentle heat to prevent scalding.

    I fill the bottom pot with water, bringing it to a simmer. In the upper pot, I add the shea and cocoa butter, stirring occasionally until they are completely melted. This process takes about 10 minutes, ensuring a smooth blend free from lumps.

    It’s important to monitor the heat carefully, keeping it low to preserve the beneficial properties of the butters. Once melted, I remove the pot from the heat and allow it to cool for a moment.

    Add Oils

    Next, I focus on adding oils for extra nourishment. I incorporate ¼ cup coconut oil and 2 tablespoons sweet almond oil. These oils further enhance the buttery texture while providing exceptional moisturizing qualities.

    After the butters have cooled slightly, I stir in the oils until I achieve a uniform mixture. For an aromatic touch, I add 15-20 drops of vanilla essential oil. This not only infuses the body butter with a pleasant scent but also contributes to its moisturizing benefits.

    Incorporating the oils at the right temperature is critical; they should mix smoothly without compromising their properties. I ensure everything is well combined before moving to the next step.

    Cool Down

    Once the mixtures of butters and oils are combined, I allow it to cool down to room temperature. It’s essential to let this mixture solidify slightly, as it will make whipping much easier.

    I sometimes place the bowl in the refrigerator for about 20 minutes, which quickens the cooling process. The goal is to achieve a consistency where it starts to thicken but is not completely solid.

    Monitoring the mixture during this phase is key. I want to ensure it’s whipped to perfection, so I avoid letting it cool too much or become too hard.

    Whip It Up

    With the mixture cooled, I’m ready to whip it into airy perfection. Using a hand mixer, I begin whipping the body butter on medium speed. This process aerates the mixture, creating a light and fluffy texture.

    I typically whip for about 5-10 minutes, until it reaches a consistency similar to whipped cream. The transformation is quite satisfying, and I enjoy watching it become lighter and fluffier.

    If needed, I can add a few drops more of vanilla essential oil during this stage for a stronger aroma. Whipping thoroughly is crucial, as this step is what gives the body butter its dreamy, whipped texture.

    Store Your Butter

    After achieving the desired consistency, I focus on storage. I transfer the whipped body butter into clean, airtight containers. Glass jars work wonderfully for this purpose, as they preserve freshness and prevent contamination.

    It’s wise to store the body butter in a cool, dry place away from direct sunlight. This helps maintain its texture and prevent melting. The butter can last for up to six months, allowing me to enjoy its moisturizing benefits over time.

    Proper storage helps in retaining the integrity of the ingredients and ensures it remains effective. Each time I open the jar, I enjoy the rich, creamy texture and delightful scent.

    21 DIY Homemade Vanilla Whipped Body Butter Recipes

    We are on YouTube
    How to Make Your Skin GLOW with 3 Ingredients

✨ DIY Carrot Glow Cream Recipe
This recipe is designed to infuse your skin with the antioxidant power of carrots (beta-carotene) using just three core ingredients, as seen in your video.

🥕 Ingredients
Fresh Carrots (Grated)
Coconut Oil (For the oil infusion)
Aloe Vera Gel (For the cream base)

👩‍🍳 Step-by-Step Instructions
Roast the Carrots (Maximize Potency): Gently roast or dry the grated fresh carrots. This step helps to intensify and make the beta-carotene more accessible for extraction.

Infuse the Oil (Extract the Goodness): Place the roasted/dried carrots into a clean jar and cover them completely with coconut oil. Seal the jar and allow it to infuse, ideally overnight or longer, to extract the powerful antioxidants into the oil.

Strain the Oil (The Foundation): Carefully strain the oil mixture into a clean jar, separating the liquid (carrot oil) from the solids. This golden liquid is the foundation of your cream.

Create the Cream Base (Mix the Magic): Start with a dollop of pure aloe vera gel in a bowl.

Whisk and Transform: Slowly add the precise amount of your homemade carrot-infused oil to the aloe vera gel. Whisk the two ingredients together until they instantly transform into a smooth, vibrant orange cream.

🌟 Benefits
Vitamin A/Beta-Carotene: Carrots are rich in beta-carotene, a precursor to Vitamin A, which is known for promoting skin renewal and a healthy glow.

Moisture Lock: The combination of coconut oil and aloe vera helps to deeply hydrate and lock in moisture.

*Disclaimer: Always do a patch test before applying new products, especially DIY recipes, to your skin.*


Watch as we make a luxurious DIY carrot cream for a healthy, radiant complexion! This skincare diy uses natural ingredients to create a homemade skincare solution that's perfect for face care. We'll show you how to get glowing skin with this simple homemade recipes for a carrot body butter.
    I Made a Carrot Cream and My Skin Glows Now #skincare #natural #diy
    Watch how she transforms an empty Tree Hut Sugar Scrub jar into a viral DIY! 🤯 She didn't throw out her old jar—she refilled it from scratch with a homemade body scrub that looks even better than the original.

This DIY Tree Hut Scrub dupe is perfect for anyone looking for a skincare hack to save money and customize their exfoliation.

Ingredients used in the video:

Sugar
Ground Coffee
Body Wash (for a creamy base!)
Honey
Coconut Oil

Have you ever tried making your own body scrub? Let us know your favorite DIY skincare recipes in the comments!

#TreeHut #BodyScrub #DIYSkincare #SkincareHacks #TreeHutDupe #HomemadeScrub #BeautyHacks #Exfoliation #SelfCare #SugarScrub #YouTubeShorts #DIYBeauty

Watch as she creates a luxurious "homemade sugar scrub" right from her kitchen, reusing an old container. This "diy body scrub" combines simple ingredients for a fraction of the cost of store-bought versions, making it an ideal "body scrub at home". With this easy "sugar scrub for body", you can achieve incredibly smooth skin. It's a fantastic "diy projects" that shows you "how to make your skin smooth" naturally.
    Homemade Body Scrub That Looks Even Better Than Tree Hut #skincare
    DIY Moong Dal & Aloe Vera Face Mask for INSTANT GLOW! ✨

You won't believe the secret ingredient for **glowing skin**—it's **LENTILS** (specifically moong dal)! 🤯 Watch this quick DIY to see how she transformed simple kitchen ingredients into a powerful **natural face mask** for instant brightness.

In this short, she blended fine moong dal (split yellow lentils) into a powder, mixed it with soothing aloe vera gel, and a splash of water to create a creamy, natural beauty paste. This is your new go-to homemade glow mask!

**How to Use for Best Results:**
* Apply the mask evenly to your face.
* Leave it on for just **20 minutes**.
* Rinse thoroughly with **cold water** to close pores and lock in the brightness.

This quick DIY skincare hack uses traditional Indian beauty secrets (Ayurveda-inspired) to give you soft, bright, and glowing skin without harsh chemicals. Perfect for those looking for natural skincare routines and affordable beauty tips.

What do you think of this amazing hack? Let me know in the comments if you’ve tried a lentil mask before! 👇
👉 Like this video if you love natural beauty tips!
🔔 Subscribe for more easy DIYs and skincare hacks!

#diybeauty #skincarehacks #naturalbeauty #glowingskin #indianbeauty #moongdal #facepack #homemadefacemask #skincaretips #selfcare
    I Tried a DIY Lentil Face Mask and WOW! #skincare
    The #1 Natural Face Mask For Glowing Skin! ❤️ DIY Anti-Aging Recipe

Want brighter, younger-looking skin without expensive serums? This viral DIY face mask uses a surprisingly powerful ingredient: banana peels!

Watch the full short to learn how to make this simple, all-natural anti-aging remedy that also brightens and adds a gorgeous glow to your skin.

The 7-Day Challenge: Apply this mask every day for one week to see amazing results. It's packed with vitamins and antioxidants to help reduce the appearance of fine lines, wrinkles, and dark spots.

DIY Banana Peel Face Mask Recipe
What You'll Need:

1 Banana peel
2 tablespoons rice
200 ml of water
1 tablespoon milk powder
1 tablespoon cornstarch
1 tablespoon lemon juice

Instructions & Storage:

Boil the banana peel and rice in water until soft.

Blend the mixture until smooth.

Stir in the milk powder, cornstarch, and lemon juice.

Store in an airtight container in the refrigerator for up to 7 days.

👍 If you loved this natural skincare hack, hit the LIKE button and SUBSCRIBE for more easy DIY beauty recipes!

#DIYfaceMask #BananaPeelMask #AntiAgingMask #GlowingSkinHack #NaturalSkincare #RiceMask #DIYBeauty #YouTubeShorts #SkincareRoutine #WrinkleTreatment
    The #1 Natural Face Mask for Glowing Skin! ❤️ DIY Anti-Aging Recipe #skincare
    How to Make DIY Korean Flaxseed Mask for Skin Whitening (Natural Botox Effect!) 

Get the viral **"Natural Botox"** effect at home with this simple **DIY Korean flaxseed mask** recipe! This homemade treatment is famous for making skin look tighter, brighter, and deeply hydrated.

This short video shows you exactly how to make the best flaxseed gel mask using a simple addition—rice flour—for a powerful skin whitening and glass skin effect.

### ✨ Why this Mask Works:
* **Flaxseed Gel:** Rich in Omega-3s and antioxidants, it provides incredible hydration and creates a visible, temporary lift/tightening effect as it dries.
* **Rice Flour:** A key ingredient in Korean and Japanese skincare, known for its gentle brightening and skin-softening properties.

### 📋 Full Recipe Ingredients:
* 1 Cup Water
* 3 Tablespoons Whole Flaxseeds (Linseeds)
* 1 Tablespoon Rice Flour (or Cornstarch)

### 🌿 Quick Instructions:
1.  Boil water, flaxseeds, and rice flour.
2.  Stir continuously until it forms a thick, gelatinous paste (consistency shown in video).
3.  Cool completely. Apply thickly to face.
4.  Rinse off after 20-30 minutes for glowing, firm skin!

**➡️ Did you try this DIY face mask? Drop a comment below!**
👍 **Like and Subscribe for more easy natural skincare recipes and beauty hacks!**

#skincare #DIYMask #FlaxseedMask #NaturalBotox #KoreanSkincare #KBeauty #SkinWhitening #SkinFirming #AntiAgingTips #HomemadeSkincare #GlassSkin #RiceMask
    How to Make DIY Korean Flaxseed Mask for Skin Whitening (Natural Botox Effect!) #skincare
    Ultimate Blackhead Removal Hack! DIY Gelatin & Coffee Peel-Off Mask ☕️

Watch this satisfying mask detox your skin and remove blackheads, dead skin, and dirt! Get super smooth and fresh skin with this simple home remedy.

**✨ How to Make It:**
1. Scoop 1 part Gelatin, 1 part Coffee grounds, and a splash of Hot Water into a bowl.
2. Mix well until the gelatin dissolves and you have a thick, smooth paste.
3. Apply to your nose/t-zone and let it completely dry (about 15-20 minutes).
4. Slowly peel off the mask and see the results!

**⚠️ Note:** Always do a small patch test first. Do not use if you have sensitive or broken skin.

#shorts #blackheads #blackheadremoval #skincare #diyskincare #peeloffmask #satisfying #coffeemask #homeremedy #beautyhacks #skinroutine
    Ultimate Blackhead Removal Hack! DIY Gelatin & Coffee Peel Off Mask #skincare
    Load More... Subscribe
    Share. Facebook Twitter Pinterest LinkedIn Tumblr Email
    Hershey

    Hi, I’m Hershey — a lifelong natural skincare enthusiast with a love for creating simple, homemade beauty solutions that actually work. Inspired by my grandmother’s herbal remedies and my own sensitive skin journey, I started DIY Beauty Corner to share effective, affordable skincare recipes made from ingredients you already have at home.

    Related Posts

    How to Make a Simple Vanilla & Mango Butter Body Butter at Home: A Step-by-Step Guide

    January 12, 2025

    How to Make a Lavender & Mango Butter Soothing Body Butter: A Step-by-Step Guide

    May 11, 2023

    DIY Homemade Vanilla & Cocoa Butter Hydrating Body Butter Recipe for Soft, Glowing Skin

    May 6, 2023

    Hi, I'm Hershey. I'm a skin care and beauty blogger who's NOT a morning person. (Seriously, who is?) I love making DIY skin care remedies from natural ingredients, and sharing my recipes and tips that can be used at home. Whether you're looking for ways to save money on your beauty routine, or just want to know how to take better care of your skin, you'll find something useful on my blog. So why not stick around for a while?

    Grandmas Homemade Face Mask Recipe

    Continue Reading
    DIY Beauty Corner

    Popular This Month

    • Sugar & Honey Body Scrub
    • Organic Body Butter
    • Korean Glass Skin Rice Mask
    • Turmeric Glow Body Scrub
    • Rosemary Hair Growth Oil
    • Quick Coffee Sugar Scrub
    • Vanilla & Brown Sugar Scrub
    • Pink Whipped Sugar Scrub
    • Non-Greasy Body Butter
    • Lemon Sugar Scrub

    Browse by DIY Recipe Type

    Body Scrub Recipes
    Face Mask Recipes
    Body Butter Recipes
    Hair Growth Recipes
    Lip Balm Recipes
    Perfume Recipes
    ⚠️ Please note: I’m not a licensed dermatologist or medical professional. All recipes shared are based on personal experience and research. Always perform a patch test before trying new skincare, and consult a healthcare provider for specific concerns.
    Pinterest YouTube
    • About
    • Contact
    • Disclaimer
    • Privacy Policy
    • Terms and Conditions
    © 2025 DIYBeautyCorner.com.

    Type above and press Enter to search. Press Esc to cancel.