Close Menu
Creative DIY Beauty Ideas & Tools for Home Projects
    Pinterest
    • About Us
    • Contact Us
    • Disclaimer
    • Privacy Policy
    • Terms
    Creative DIY Beauty Ideas & Tools for Home Projects
    • Home
    • TRENDING
    • DIY BEAUTY
    • BODY SCRUB IDEAS
    • BODY BUTTER IDEAS
    • LIP BALM IDEAS
    • PERFUME IDEAS
    Creative DIY Beauty Ideas & Tools for Home Projects
    Home»DIY Body Butter Ideas»How to Make Mango Butter & Coconut Oil Body Butter Recipe
    DIY Body Butter Ideas

    How to Make Mango Butter & Coconut Oil Body Butter Recipe

    November 25, 20224 Mins Read
    Facebook Twitter Pinterest LinkedIn Tumblr Email
    Share
    Facebook Twitter LinkedIn Pinterest Email
    This post may contain affiliate links. As an Amazon Associate I earn from qualifying purchases.
    How to Make Mango Butter & Coconut Oil Body Butter Recipe

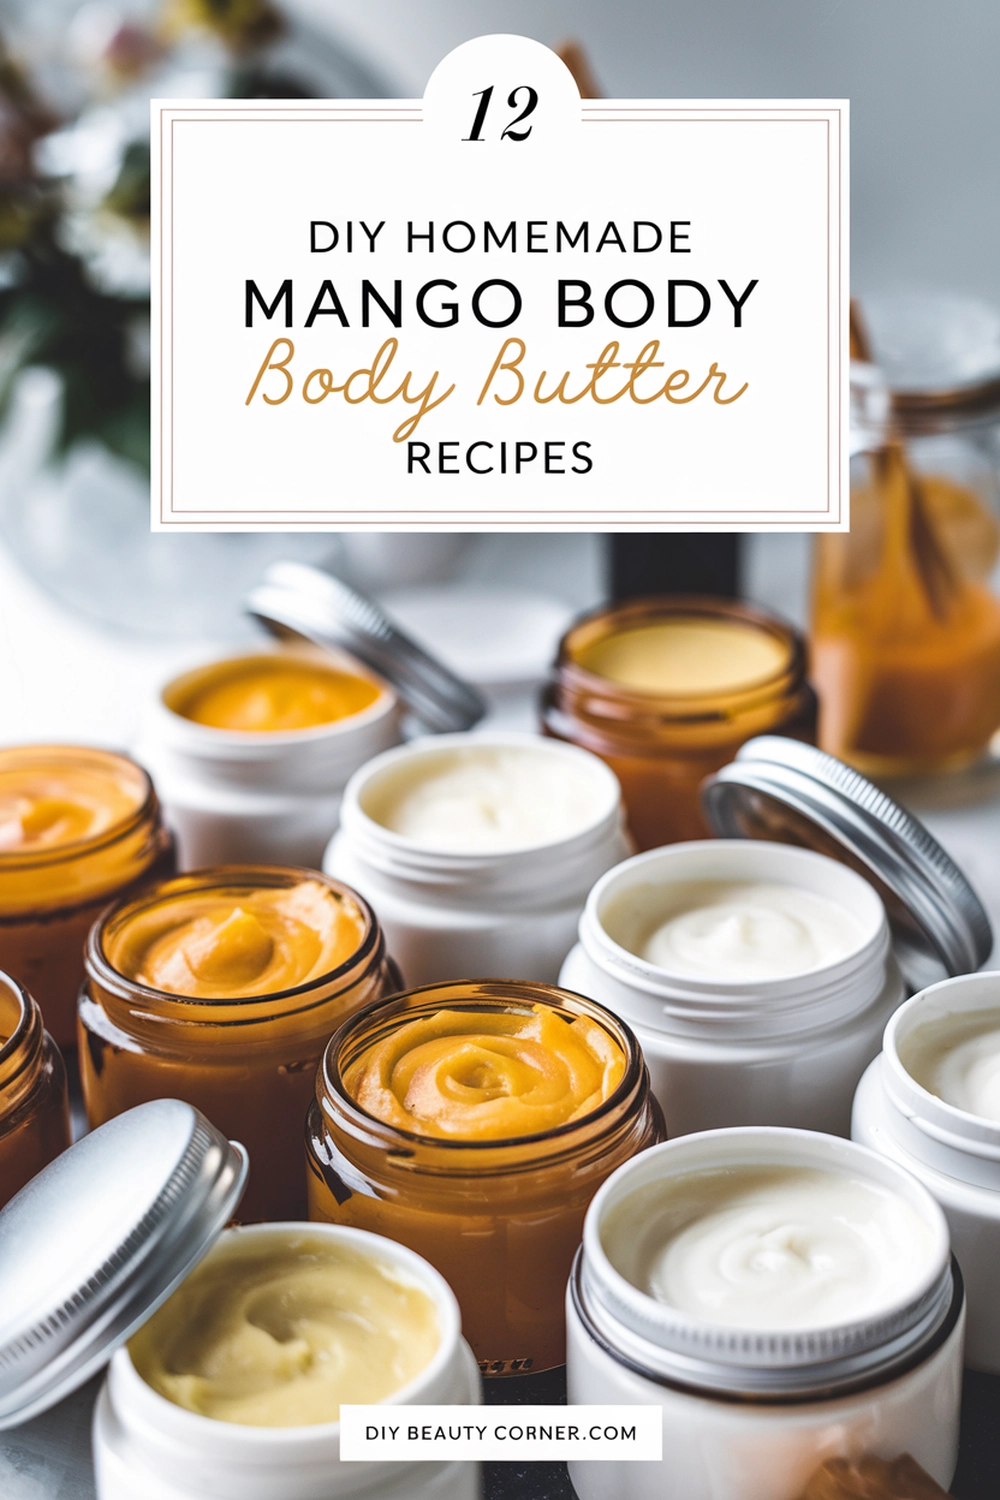
    Creating your own body butter at home is a rewarding and enjoyable experience, especially when using natural ingredients like mango butter and coconut oil. This recipe not only offers deep hydration for your skin but also allows you to customize scents by adding your favorite essential oils.

    I’ve found that the combination of mango butter and coconut oil results in a luxurious cream that absorbs quickly and leaves the skin feeling incredibly soft. With just a few simple steps, you can whip up a batch that rivals any store-bought option.

    In this blog post, I’ll guide you through the process, including the exact measurements and techniques I use to ensure the best results. Let’s dive into making this nourishing body butter that will transform your skincare routine.

    Step-by-Step Crafting Process

    Creating a mango butter and coconut oil body butter involves careful preparation and attention to detail. This process will guide you through gathering your ingredients, melting and mixing, cooling and whipping, then storing your finished product.

    Preparing the Ingredients

    I start by gathering all the necessary ingredients to ensure a smooth crafting process. For this recipe, I measure out 50 grams of mango butter, 30 grams of coconut oil, and 10 grams of jojoba oil. These ingredients work together to create a nourishing blend for my skin.

    If I wish to add a pleasant fragrance, I consider including a few drops of essential oils like lavender or eucalyptus. Using a kitchen scale guarantees precise measurements, which is vital for achieving the desired consistency.

    To prepare, I have small bowls ready for each ingredient and a spatula for mixing. Having everything organized enhances my efficiency and allows me to focus on each step in the process.

    Melting and Mixing

    Next, I move on to melting the butters and oils. I set up a double boiler by placing a heat-safe bowl on top of a pot filled with simmering water. This method provides gentle heat, preventing the ingredients from scorching.

    I add the measured mango butter and coconut oil to the bowl, stirring occasionally until both are fully melted. Once melted, I incorporate the jojoba oil, mixing thoroughly for an even blend.

    If I’m using essential oils, I add them at this stage. Generally, a few drops are sufficient for a pleasant scent. This mixture should be smooth and uniform, ready for the next stage of cooling.

    Cooling and Whipping

    After combining the ingredients, I remove the bowl from the heat and allow it to cool slightly. At this point, it’s important to monitor the mixture closely. Once it starts to solidify around the edges, I grab a hand mixer.

    Whipping the cooling mixture introduces air, creating a light and fluffy texture. I whip for about 3-5 minutes until the body butter becomes creamy. During this step, I remain attentive to achieve the desired consistency.

    The whipped body butter should feel soft and luxurious. If I prefer a firmer texture, I can place it in the refrigerator for a few minutes, then whip again.

    Storage and Preservation

    Once my body butter has reached the perfect texture, I prepare to store it. I use a clean, airtight container such as a glass jar. This not only keeps my body butter fresh but also preserves its beneficial properties.

    It’s crucial to label the container, noting the date it was made. This helps me keep track of its freshness. Homemade body butter can last about 3-6 months when stored in a cool, dry place away from direct sunlight.

    For best results, I avoid introducing moisture into the container, as this can lead to spoilage. With proper care, my homemade mango butter and coconut oil body butter can provide lasting hydration for my skin.

    12 Best Diy Homemade Mango Butter Body Butter Recipes

    Related posts:

    1. Homemade Whipped Vanilla Body Butter With Shea Butter
    2. DIY Homemade Lavender & Green Tea Antioxidant Body Butter Recipe for Smooth Skin
    3. How to Make a Vanilla Orange Blossom Whipped Body Butter at Home: A Step-by-Step Guide
    4. The Best Homemade Whipped Vanilla Honey Body Butter Recipe – A Step-by-Step Guide
    Share. Facebook Twitter Pinterest LinkedIn Tumblr Email
    Previous ArticleHow to Make an Almond and Chocolate Indulgent Body Scrub: A Guide to Homemade Spa Treatments
    Next Article 21 Best DIY Homemade Lip Gloss Recipes

    Related Posts

    DIY Homemade Mango & Shea Butter Whipped Body Butter

    How to Make a Vanilla & Jojoba Oil Body Butter (Simple Homemade Recipe)

    How to Make a Soothing Vanilla & Chamomile Whipped Body Butter at Home

    17 Best DIY Homemade Body Butter Recipes

    Homemade Whipped Body Butter Recipe Non Greasy

    Moisturizing Tallow Body Butter With 3 Natural Ingredients

    Comments are closed.

    Trending Now
    • Top 5 Rosemary Hair Growth Oils for Shine & Strength in 2026
    • Affordable Rosemary Hair Oils Under $10 That Boost Shine & Strength
    • Best Rosemary Hair Growth Oils for Dry & Damaged Hair Hydration and Strength
    • Budget-Friendly Rosemary Hair Growth Oils Under $20 That Actually Work Wonders
    • Which CeraVe Eye Cream Is Best for Your Under-Eye Needs? Compare Top Picks Now!
    • Best CeraVe Eye Creams Under $20 to Combat Wrinkles & Puffiness
    • Viral CeraVe Products Your Skincare Routine Needs for Hydration & Glow
    • Affordable CeraVe Anti-Acne Skincare Essentials for Clear Skin
    • Budget-Friendly CeraVe Skincare Essentials Under $20 for Healthy, Hydrated Skin
    • Most Loved CeraVe Eye Creams to Combat Puffiness and Dark Circles

    DIY Beauty Corner is a skincare-focused lifestyle blog sharing simple, effective beauty routines and carefully curated product recommendations.

    From affordable Amazon finds to everyday glow-boosting essentials, you’ll find practical skincare ideas without complicated routines or overwhelming trends — just trusted favourites and easy ways to elevate your self-care.

    Pinterest YouTube
    • About
    • Contact
    • Disclaimer
    • Privacy Policy
    • Terms and Conditions

    As an Amazon Associate I earn from qualifying purchases. This website may contain affiliate links. If you click and purchase, I may receive a small commission at no extra cost to you.

    © 2026 DIYBeautyCorner.com. All rights reserved. Content is intended for general informational and creative purposes only. Always consult a qualified professional for personal decisions.

    Type above and press Enter to search. Press Esc to cancel.