Getting a perfect manicure at home can be a daunting task, but it is not impossible. With the right tools and techniques, anyone can achieve salon-quality nails from the comfort of their own home. This article will provide some tips and tricks on how to get the perfect manicure at home.
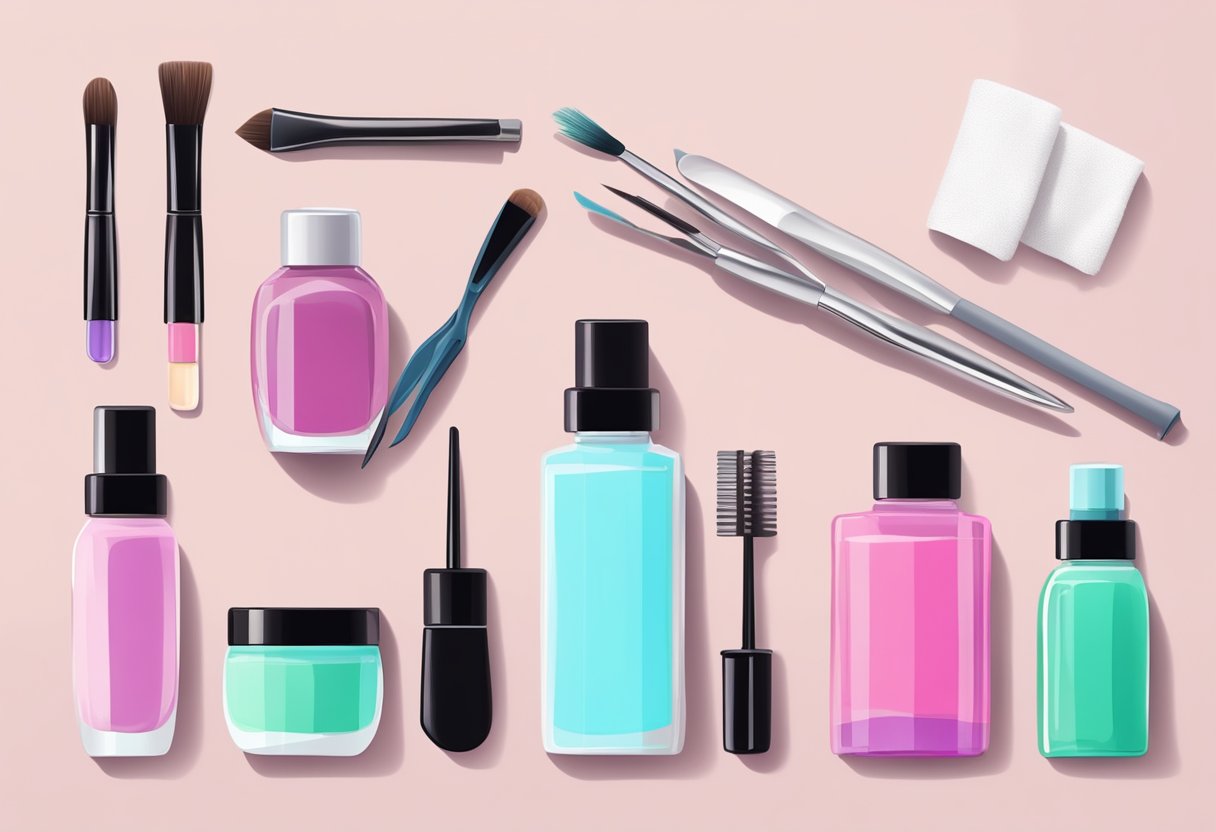
The first step to getting the perfect manicure at home is to gather all the necessary tools. This includes nail polish remover, cotton balls or pads, a nail file, a cuticle pusher, nail clippers, a base coat, nail polish, and a top coat. It is important to have all of these tools on hand before starting the manicure to avoid any interruptions.
Once all the tools are gathered, the next step is to prepare the nails. This involves removing any old nail polish with the nail polish remover and cleaning the nails with soap and water. After the nails are clean, use the nail clippers to trim them to the desired length and shape. Use the nail file to smooth out any rough edges and shape the nails. Finally, use the cuticle pusher to gently push back the cuticles. By following these steps, the nails will be prepped and ready for the perfect manicure.
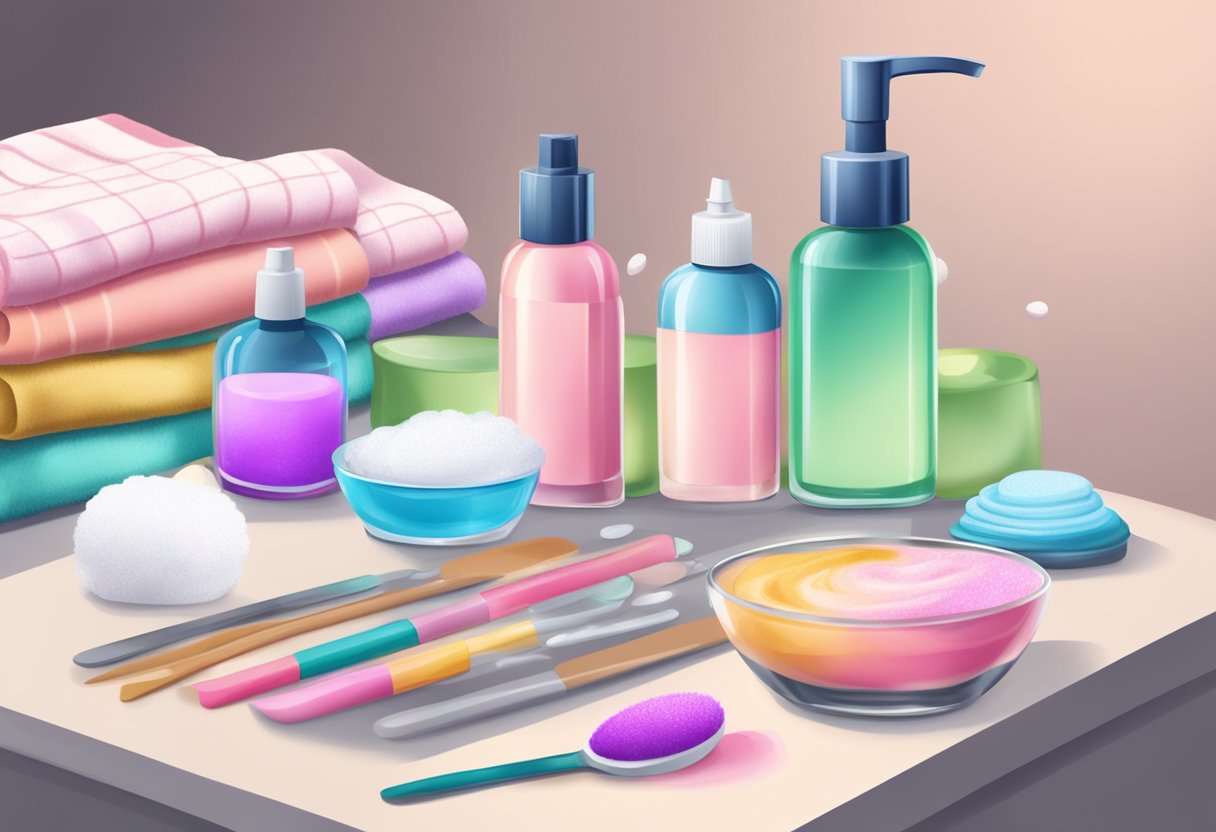
Essential Tools and Materials
When it comes to getting a perfect manicure at home, having the right tools and materials is crucial. Here are some essential items to have on hand:
Nail Clippers and Files
Keeping your nails trimmed and filed is the first step to a great manicure. Look for high-quality nail clippers that are sharp and sturdy, and choose a file that is gentle on your nails.
Cuticle Pushers and Nippers
Pushing back your cuticles is an important part of any manicure. A cuticle pusher is a tool that helps you gently push back your cuticles without damaging your nails. If you have excess cuticle that needs to be removed, a pair of cuticle nippers can be handy.
Base and Top Coats
Using a base coat before applying nail polish helps to protect your nails and prevent staining. A top coat adds a glossy finish and helps to prevent chipping. Look for formulas that are quick-drying and long-lasting.
Nail Polish and Remover
Choose a high-quality nail polish in your favorite color. When it’s time to remove your polish, use a gentle, acetone-free nail polish remover that won’t dry out your nails.
Other Manicure Accessories
There are a few other tools that can come in handy for a DIY manicure. Cotton balls, rounds, or squares can be used to remove polish or clean up any mistakes. A nail brush can help you clean under your nails. And if you want to get really creative, you can add some nail art tools like stencils or brushes to your collection.
By having these essential tools and materials on hand, anyone can achieve a perfect manicure at home.
Preparing Your Nails
Before starting the manicure process, it is essential to prepare your nails properly. This section will cover the necessary steps to prepare your nails for the perfect manicure at home.
Cleaning and Shaping
The first step is to clean your nails with polish remover. Use a lint-free cotton pad soaked in nail polish remover to sweep over your nails to remove any oils, impurities, and lingering varnish. Then, wash your hands with soap and water, and dry them thoroughly.
Next, it is time to shape your nails. Use a nail trimmer to cut your nails straight across and then use a nail file to shape them. File your nails in one direction, starting at the outer edge and moving towards the center. Avoid back-and-forth sawing motions, which can weaken your nails.
Buffing Nails
Buffing your nails is an essential step to make them smooth and shiny. Use a nail buffer to gently buff the surface of your nails in a back-and-forth motion. Be careful not to over-buff your nails, as this can damage them. Buffing your nails once a week is enough to keep them healthy.
Handling Cuticles
Pushing back your cuticles is an essential step to make your nails look neat and clean. Use a cuticle pusher to gently push back your cuticles. Be careful not to cut them, as this can cause infections. If you have dry cuticles, apply a cuticle oil or cream to moisturize them.
Applying Base Coat
Before applying nail polish, it is essential to apply a base coat. A base coat helps to protect your nails from staining and makes your nail polish last longer. Apply a thin layer of base coat to your nails and let it dry completely before applying nail polish.
By following these steps, you can prepare your nails for the perfect manicure at home. With a little practice and patience, you can achieve salon-quality results without leaving your house.
Applying Nail Polish

When it comes to applying nail polish, there are a few key things to keep in mind to achieve a perfect at-home manicure. Here are some tips and tricks to help you get the best results.
Choosing the Right Color
Selecting the right nail polish color is an important step in achieving a perfect manicure. When choosing a color, consider your skin tone, the occasion, and your personal style. If you have fair skin, lighter shades like pastels and nudes will complement your skin tone. For medium to dark skin tones, bold and bright colors like reds, oranges, and purples are great options. If you’re unsure, you can always opt for a classic red or neutral shade.
Techniques for Even Application
To ensure a smooth and even application, start with a clean and dry nail bed. Apply a base coat to help the polish adhere better and prevent staining. When applying the polish, use thin and even strokes, starting from the base of the nail and working your way up to the tip. Avoid applying too much polish in one stroke as it can result in streaks and bubbles. For hard-to-reach areas like the sides and edges of the nails, use a small brush or an angled brush to get a precise application.
Drying Time and Tips
After applying the polish, allow it to dry completely before applying a second coat or a topcoat. It’s important to be patient and avoid touching or bumping your nails during the drying process to prevent smudging and ruining your manicure. To speed up the drying time, you can use a quick-dry topcoat or a drying spray. Once your nails are dry, you can clean up any mistakes or excess polish using a small brush dipped in nail polish remover.
By following these simple tips, you can achieve a perfect at-home manicure and enjoy beautiful, salon-worthy nails.
Finishing Touches
Applying Top Coat
After you have applied your nail polish, the next step is to apply a top coat. This helps to protect your nails from chipping and adds an extra layer of shine to your manicure. Make sure to apply the top coat evenly and let it dry completely before doing anything else with your hands.
Moisturizing Hands and Cuticles
Moisturizing your hands and cuticles is an important step in achieving a perfect manicure. Dry hands and cuticles can make your nails look dull and unpolished. Apply a moisturizer to your hands and cuticles after your top coat has dried. This will help to keep your hands and nails looking healthy and hydrated.
Cleanup and Maintenance
Once your manicure is complete, it’s important to maintain it properly. Use a nail polish remover and a cotton swab to clean up any mistakes or smudges around your nails. Keep your nails looking fresh by applying a new top coat every few days. Additionally, avoid using your nails as tools to prevent chipping and breaking.
Remember, practice makes perfect when it comes to achieving a perfect manicure at home. With a little bit of patience and the right tools, you can have salon-worthy nails without ever leaving your house.
Advanced Techniques
Nail Art Basics
For those who want to take their at-home manicure to the next level, nail art is a great option. With a little bit of practice and the right tools, anyone can create beautiful designs on their nails. Some basic nail art techniques include:
- Dotting Tool: This tool can be used to create polka dots or other circular designs on the nails.
- Striping Tape: This tape can be placed on the nails to create straight lines or other geometric shapes.
- Stencils: These can be used to create more intricate designs, such as flowers or animals.
DIY Nail Decals
Another fun way to add some flair to your at-home manicure is to create your own nail decals. This can be done by printing out designs onto special decal paper, which can then be applied to the nails. Some tips for creating DIY nail decals include:
- Choose the Right Paper: Make sure to use decal paper that is specifically designed for use on nails.
- Seal the Edges: After applying the decal to the nail, use a clear topcoat to seal the edges and prevent the decal from peeling off.
- Experiment with Colors: Try printing out designs in different colors to see what looks best on your nails.
French Manicure Tips
The French manicure is a classic look that can be easily achieved at home. To create a French manicure, follow these steps:
- Apply a clear base coat to the nails.
- Use a white nail polish to paint the tips of the nails.
- Once the white polish has dried, use a sheer pink or beige polish to paint the rest of the nail.
- Finish with a clear topcoat to seal the polish and add shine.
Some additional tips for creating the perfect French manicure include:
- Use Guides: If you’re having trouble painting straight lines for the tips, use guides such as tape or stickers to help create a clean edge.
- Choose the Right White Polish: Make sure to use a white polish that is opaque and not too streaky.
- Experiment with Colors: Instead of using a sheer pink or beige polish, try using a different color for the base of the nail, such as a light blue or lavender.
Aftercare and Longevity

Protecting Your Manicure
After putting in the time and effort to give yourself a perfect manicure, it’s important to take some extra steps to protect it and make it last as long as possible. Here are some tips to help you do just that:
- Wear gloves when doing household chores or any activity that could damage your nails. This will help prevent chipping, peeling, and other types of damage.
- Apply a clear topcoat every few days to help protect your nails and extend the life of your manicure.
- Avoid using your nails as tools to open packages or perform other tasks. This can cause your nails to break or chip, ruining your manicure.
- Apply cuticle oil or cream regularly to keep your nails and cuticles moisturized. This will help prevent dryness and cracking, which can also damage your manicure.
When to Redo Your Nails
No matter how well you take care of your manicure, it will eventually start to show signs of wear and tear. Here are some signs that it’s time to redo your nails:
- Chipping or peeling: If your nail polish is starting to chip or peel, it’s time for a touch-up or a complete redo.
- Visible growth: As your nails grow, the gap between the nail bed and the polish will become more noticeable. If this bothers you, it’s time for a redo.
- Fading or discoloration: Over time, nail polish can fade or become discolored. If your nails no longer look fresh and vibrant, it’s time for a redo.
By following these tips, you can help protect your manicure and make it last as long as possible. And when it’s time for a redo, you’ll be ready to give yourself another perfect manicure at home.
Frequently Asked Questions
What essential items are needed to perform a manicure at home?
To perform a manicure at home, you will need some essential items such as a nail file, nail clippers, cuticle pusher, cuticle nipper, buffer, nail polish remover, base coat, nail polish, and topcoat. You can also use hand cream and cuticle oil to keep your hands soft and moisturized.
What are some natural methods for doing a manicure at home?
If you prefer to use natural methods for doing a manicure at home, you can use ingredients such as lemon juice, olive oil, and sugar to exfoliate your hands and nails. You can also use tea tree oil to treat any fungal infections on your nails.
What are the best practices for a beginner attempting a manicure at home?
If you are a beginner attempting a manicure at home, it is best to start with the basics. Clean your nails with polish remover, trim and file your nails to the desired length and shape, push back your cuticles, and apply a base coat before applying your favorite nail polish. Finish with a topcoat to protect your nails and make your manicure last longer.
How can I execute a manicure at home using everyday household ingredients?
You can execute a manicure at home using everyday household ingredients such as baking soda, vinegar, and hydrogen peroxide. For example, you can mix baking soda and water to make a paste for exfoliating your hands and nails, or you can soak your nails in a mixture of vinegar and warm water to strengthen them.
Is it possible to achieve a professional-looking manicure and pedicure at home, and if so, how?
Yes, it is possible to achieve a professional-looking manicure and pedicure at home with the right tools and techniques. Start by cleaning your nails, trimming and filing them to the desired length and shape, pushing back your cuticles, and applying a base coat. Apply your favorite nail polish and finish with a topcoat to protect your nails and make your manicure last longer.