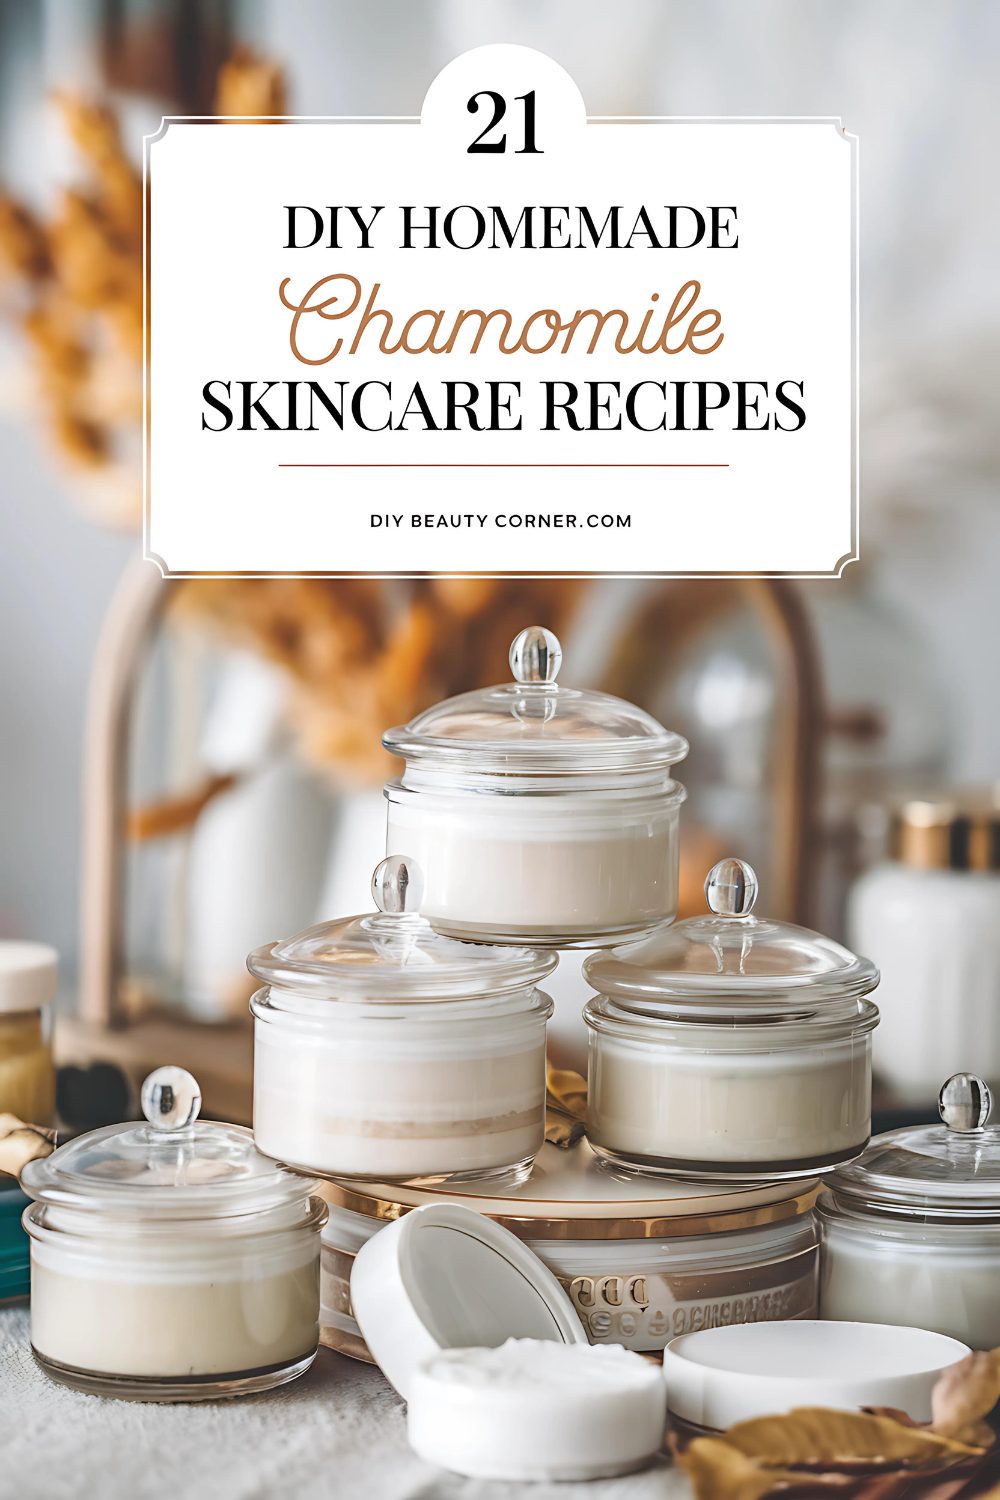
Creating your own skincare products can be both empowering and effective. One standout recipe that I recently discovered is the DIY Homemade Chamomile and Salt Acne-Fighting Face Scrub. This scrub combines the soothing properties of chamomile with the exfoliating benefits of salt, making it a fantastic option for naturally combating acne.
To make this easy yet effective scrub, I use a few simple ingredients that you likely have at home. A mixture of sea salt, dried chamomile flowers, coconut oil, and optional tea tree oil works wonders on the skin by providing both gentle exfoliation and nourishment. This blend helps to eliminate impurities while keeping your skin hydrated.
Incorporating this scrub into my skincare routine has resulted in noticeable improvements. The calming effect of chamomile, coupled with the salt’s ability to remove dead skin cells, leaves my face feeling refreshed and clear. Join me as I guide you through the recipe and application steps for this effective face scrub.
Benefits of Chamomile and Salt for Acne
Combining chamomile and salt in a facial scrub provides several benefits for managing acne. Each ingredient serves a specific purpose that contributes to clearer and healthier skin.
Chamomile’s Soothing Properties
Chamomile is well-known for its calming and anti-inflammatory effects. When applied to the skin, it can reduce redness and irritation associated with acne. This herb contains antioxidants that help fight free radicals, which can exacerbate skin issues. I often find that using chamomile aids in skin recovery, promoting a more balanced complexion.
Moreover, chamomile is effective in soothing inflamed skin and preventing breakouts. Its natural properties can decrease the size of existing pimples, making them less noticeable. Incorporating dried chamomile flowers into my scrub offers not just a pleasant scent, but a boost of gentleness for sensitive or irritated skin types.
Salt’s Cleansing Effects
Salt acts as a natural exfoliant, helping to slough off dead skin cells that can clog pores. The coarse texture of salt can effectively remove impurities, contributing to a clearer complexion. I appreciate how salt absorbs excess oil, which is crucial for those with oily and acne-prone skin.
Additionally, salt possesses antimicrobial properties, which can help kill acne-causing bacteria. When mixed with chamomile, the cleansing action of salt complements the soothing nature of chamomile. Together, they form a powerhouse combination that helps maintain clean and healthy skin. Regular use of a chamomile and salt scrub can lead to noticeable improvements in overall skin clarity.
Creating Your DIY Face Scrub
Crafting a chamomile and salt face scrub is not only straightforward but also rewarding. I will guide you through gathering the necessary ingredients, mixing them together, and applying your scrub for optimal results.
Gathering Ingredients
To create my acne-fighting face scrub, I ensure I have the right materials. Here’s what I need:
- 1/2 cup sea salt: This serves as the main exfoliant, helping to remove dead skin cells.
- 1/4 cup dried chamomile flowers: Chamomile is known for its soothing properties, reducing inflammation and calming angry skin.
- 1/4 cup coconut oil: A natural moisturizer, coconut oil hydrates the skin and has antibacterial properties.
- 5-10 drops of tea tree oil (optional): This oil can boost the scrub’s acne-fighting power due to its antiseptic qualities.
I recommend measuring the ingredients precisely for the best consistency and effectiveness.
Step-by-Step Mixing Process
To begin the mixing process, I take a clean mixing bowl. First, I add the sea salt and dried chamomile flowers together. I find that blending these two provides a nice texture.
Next, I gently melt the coconut oil if it’s solid, then pour it into the bowl. Using a spatula, I mix everything until I achieve a uniform texture. If I opt for tea tree oil, I add a few drops during this stage, enhancing its acne-fighting properties.
It’s important to stir well to ensure that all ingredients are evenly distributed. The final mixture should have a slightly gritty texture that will effectively exfoliate my skin without causing irritation.
Application and Use
Once I have my scrub ready, it’s time to apply it. I start by washing my face with warm water to open up my pores.
I then take a small amount of the scrub and gently massage it onto my face using circular motions. Focusing on areas prone to acne, I apply the scrub for about 1-2 minutes, making sure not to apply too much pressure.
After massaging, I rinse my face with cool water to close the pores and pat it dry with a clean towel. I typically use this scrub once or twice a week to maintain clear skin without over-exfoliating.