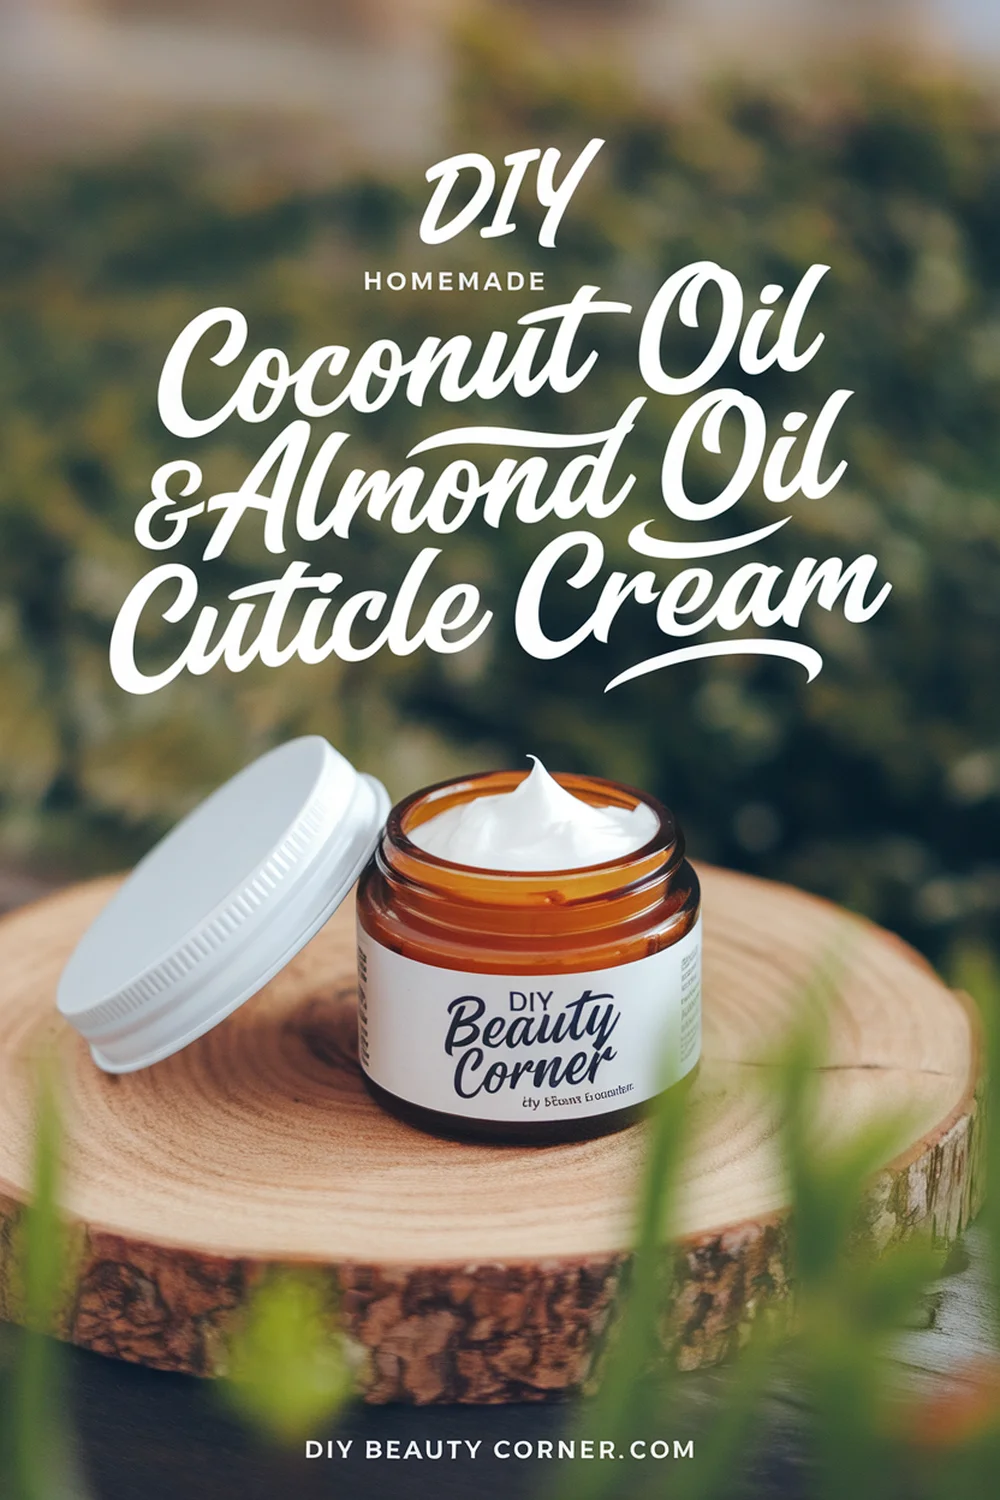
Nourishing your cuticles is essential for maintaining healthy nails, and making your own cuticle cream at home can be both simple and rewarding. This DIY homemade cuticle cream combines the moisturizing properties of coconut oil and almond oil, offering a natural solution to hydrate and protect your nail beds.
In this post, I’ll share my favorite recipe that features easily accessible ingredients you might already have in your kitchen. With just a few steps, you can create a creamy, soothing blend that will leave your hands looking and feeling fabulous.
I’ll also cover how to use this cuticle cream effectively to maximize its benefits. Whether you’re dealing with dry, brittle nails or just want some extra pampering, this recipe is perfect for anyone looking to enhance their nail care routine.
Ingredients List
To create an effective DIY cuticle cream, I focus on a few key ingredients that provide nourishment and hydration for my cuticles and nails. Each component plays a vital role in both the texture and benefits of the cream.
Coconut Oil
Coconut oil is a key ingredient in my cuticle cream recipe. It offers deep moisturizing properties, which help prevent dryness and cracking in the cuticles. Rich in fatty acids, coconut oil is easily absorbed into the skin, making it effective for hydrating and soothing.
Additionally, it contains antioxidants that contribute to overall nail health. I appreciate how it leaves a subtle shine on my nails while also providing a protective barrier against external elements. Using about 1/4 cup ensures the cream has a creamy consistency that’s easy to apply.
Beeswax Pellets
Beeswax pellets are essential for giving my cuticle cream a solid structure. They act as a natural thickener and create a protective layer on the skin. This barrier helps lock in moisture while preventing external irritants from affecting my cuticles.
I typically use 1 tablespoon of beeswax pellets in my recipe. When melted, beeswax adds a smooth texture, making the cream easier to apply without feeling greasy. Furthermore, it has natural anti-inflammatory properties that can help soothe irritation in the skin around the nails.
Sweet Almond Oil
Sweet almond oil is another vital ingredient I include in my cuticle cream for its nourishing benefits. This oil is rich in vitamins E and D, which promote healthy skin and nails. It offers excellent emollient properties, keeping my cuticles soft and supple.
Incorporating 1 tablespoon of sweet almond oil helps to enhance the absorption of other ingredients while providing additional moisture. I find that it also helps with the flexibility of the nails, reducing breakage. The light, pleasant scent is an added bonus that makes the application process enjoyable.
Lavender Essential Oil
I sometimes add lavender essential oil for its scent and calming properties. While this ingredient is optional, its inclusion brings a lovely aroma that enhances the self-care experience. Lavender is known for its soothing qualities, which can help to relax me during application.
If I choose to include it, I typically add about 10 drops. It can also have mild antiseptic properties, which may further benefit the health of my nails and cuticles. This ingredient not only adds fragrance but rounds out the nourishing effects of the other oils in the cream.
Recipe
Creating your own cuticle cream is straightforward and rewarding. This recipe focuses on blending natural oils and beeswax to nourish your cuticles effectively. Below are detailed steps to guide you through the process.
Melt Ingredients
I start by setting up a double boiler on the stove, which allows for gentle heating. In the top portion, I combine coconut oil and beeswax pellets. These ingredients work together to create a creamy texture once melted.
I heat the mixture over medium heat, stirring occasionally. It usually takes about 5-10 minutes for the beeswax to fully liquefy. Once melted, I remove the boiler from the heat. At this point, the blend should be smooth, indicating it’s ready for the next step.
Combine Oils
After the melted mixture has cooled slightly, I add sweet almond oil. This oil is rich in vitamins and enhances moisture. If I choose, I also include a few drops of lavender essential oil for its soothing properties and pleasant scent.
I stir the combination thoroughly, ensuring the oils are evenly distributed. This step is crucial as it guarantees that the nourishing properties of each oil are fully utilized. The final mixture should have a consistent appearance, free from lumps or separation.
Pour and Cool
Next, I prepare a small container, which can be a glass jar or a squeeze tube. Carefully, I pour the warm oil mixture into my chosen container, taking care not to spill. It’s essential to use a container that can withstand heat and won’t warp.
I allow the mixture to cool at room temperature for several hours. During this time, it solidifies into a creamy texture. I often place it in the refrigerator for quicker cooling, but I make sure it’s covered to prevent dust from settling on it.
Application Instructions
Once the cuticle cream is fully set, I use it sparingly. I apply a small amount to each cuticle, ensuring not to overdo it. The key is to massage it gently onto the cuticles and surrounding skin.
It’s beneficial to push back the cuticles with a manicure stick after application to promote healthy nail growth. For the best results, I recommend using this cream daily, especially after washing hands or using hand sanitizer, to maintain optimal hydration.