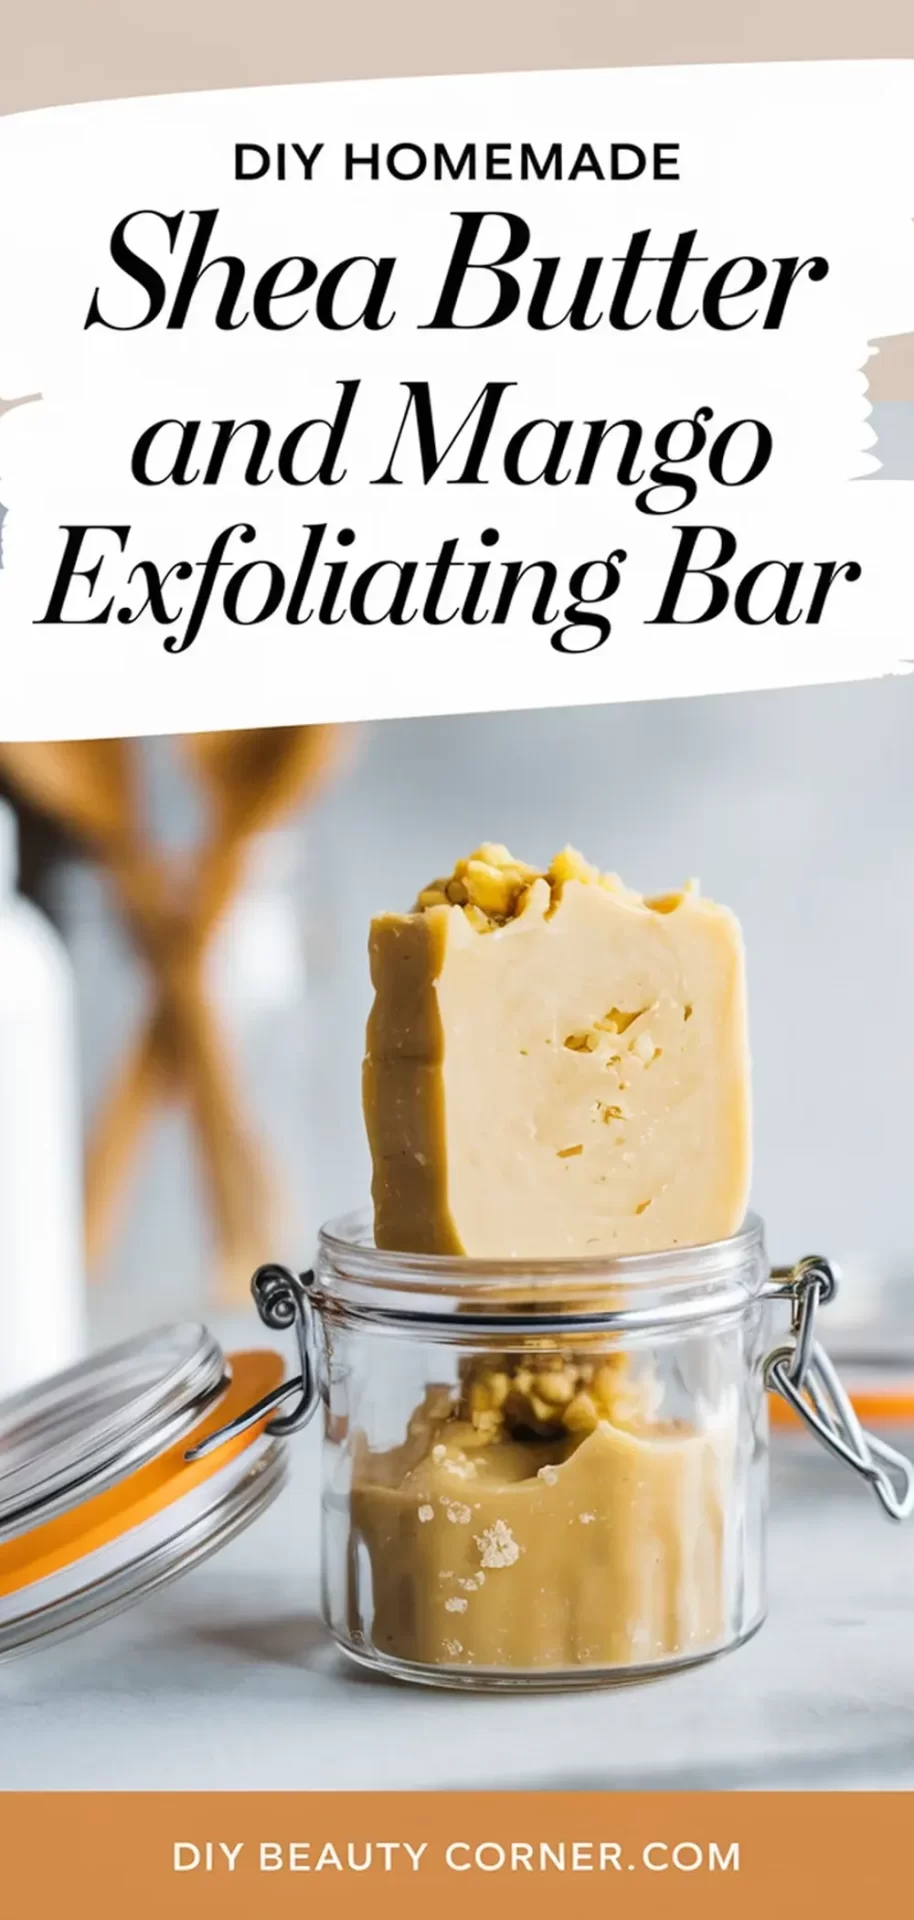
Creating your own DIY homemade exfoliating bar is an enjoyable and rewarding process that enhances your skincare routine. With the richness of shea butter and the lightness of mango butter, this recipe offers an effective way to nourish and exfoliate the skin simultaneously. Not only does this natural bar remove dead skin cells, but it also leaves your skin feeling smooth, hydrated, and refreshed.
In this post, I’ll guide you through the ingredients you’ll need, along with a straightforward method for making your own exfoliating bar at home. I will also share tips on how to effectively use this product to maximize its benefits in your daily routine. By incorporating these natural ingredients, you can achieve glowing skin without the harsh chemicals often found in commercial products.
Join me as we embark on this simple yet fulfilling DIY project that will enhance your self-care rituals. Whether you’re a skincare novice or a seasoned DIY enthusiast, you’ll find that crafting your own exfoliating bar is not only easy, but it also allows you to customize the ingredients to suit your skin’s unique needs.
Ingredients List
To create a nourishing DIY exfoliating bar, I use the following ingredients:
-
1/2 cup shea butter: Known for its moisturizing properties, shea butter helps maintain skin hydration.
-
1/2 cup mango butter: This adds a creamy texture and further nourishes the skin.
-
1/2 cup coconut oil: A great moisturizer that helps bind the ingredients together.
-
1/2 cup sugar: Acts as the exfoliant, gently sloughing off dead skin cells.
-
1/2 cup oatmeal: Provides additional gentle exfoliation and soothes the skin.
-
10 drops of essential oil (optional): For fragrance and a touch of aromatherapy. Choose your favorite scent!
These ingredients work in harmony to create a natural exfoliating bar that leaves the skin feeling soft and rejuvenated. Mixing them properly ensures a balanced texture that is easy to apply. Feel free to customize your bar by adjusting the essential oils to suit your preferences.
How To Make The DIY Homemade Exfoliating Bar – Natural Shea Butter And Mango Recipe
Creating a DIY exfoliating bar is a straightforward process. The combination of shea butter, mango butter, and coconut oil provides nourishment to the skin, while sugar and oatmeal act as natural exfoliants. Here’s how to make it step-by-step.
Melt The Butters And Oils
I start by measuring out 1/2 cup each of shea butter, mango butter, and coconut oil. These ingredients will create a rich, moisturizing base for my exfoliating bar. I place them in a microwave-safe bowl or a double boiler.
If using a microwave, I heat the mixture in 30-second intervals, stirring each time until everything is melted and well combined. If I prefer the double boiler method, I fill the bottom pot with water and allow the steam to gently melt the butters and oils.
Once melted, I remove it from heat and let it cool for a few minutes. This ensures that it won’t cook the next ingredients, maintaining the integrity of my homemade bar.
Mix In The Exfoliants
After my butters and oils have cooled slightly, I incorporate 1/2 cup of sugar and 1/2 cup of oatmeal into the mixture. Sugar acts as an effective exfoliant, helping to slough off dead skin cells, while oatmeal soothes and hydrates the skin.
I stir these dry ingredients in until they are evenly distributed, ensuring that every bit of the bar has exfoliating properties. If desired, I can adjust the texture by adding more sugar for a coarser scrub or additional oatmeal for a gentler feel. The consistency should be thick and slightly grainy.
Add Essential Oils
For an added boost of fragrance and therapeutic benefits, I consider adding 10 drops of my favorite essential oil. Options like lavender, tea tree, or peppermint can enhance the bar’s effectiveness while providing a pleasant scent.
I gather the mixture and gently fold the essential oil in, making sure it is well blended throughout. It’s important to note that some essential oils may have specific skin sensitivities, so I choose an oil that suits my skin type.
Mold The Mixture
Next, I prepare to mold the mixture. I choose silicone molds or an empty lip balm container. The convenience of silicone molds makes it easy to pop out the finished exfoliating bars.
I carefully pour the mixture into the molds, filling them evenly. Using a spatula or the back of a spoon, I gently press down on the mixture to prevent air bubbles and ensure a compact form.
Once filled, I smooth the top for a neat finish.
Cool And Store
After molding, I need to let the bars cool and solidify. I place the molds in the refrigerator for about 2 to 3 hours until they are firm. Once set, I can gently remove them from the molds.
To store my homemade exfoliating bars, I wrap them in parchment paper or place them in an airtight container. I keep them in a cool, dry place to maintain their integrity. These bars can last for several months, ready for use whenever I want a soothing exfoliation experience.


