Achieving bright and glowing skin is often simpler than one might think, especially with natural ingredients readily available at home. In this post, I’ll share a straightforward DIY recipe for a sea salt and lemon brightening face scrub that not only exfoliates but also rejuvenates the skin. This scrub harnesses the power of lemon, rich in vitamin C, combined with sea salt’s exfoliating properties to help remove dead skin cells and promote a radiant complexion.
Creating this scrub is quick and requires minimal ingredients. You’ll need just a few items that you likely already have in your kitchen. I’ll walk you through the process step by step, making it easy to include this refreshing treatment in your skincare routine. Whether you’re preparing for a special occasion or just want to pamper yourself, this scrub can provide a natural boost to your skin’s appearance.
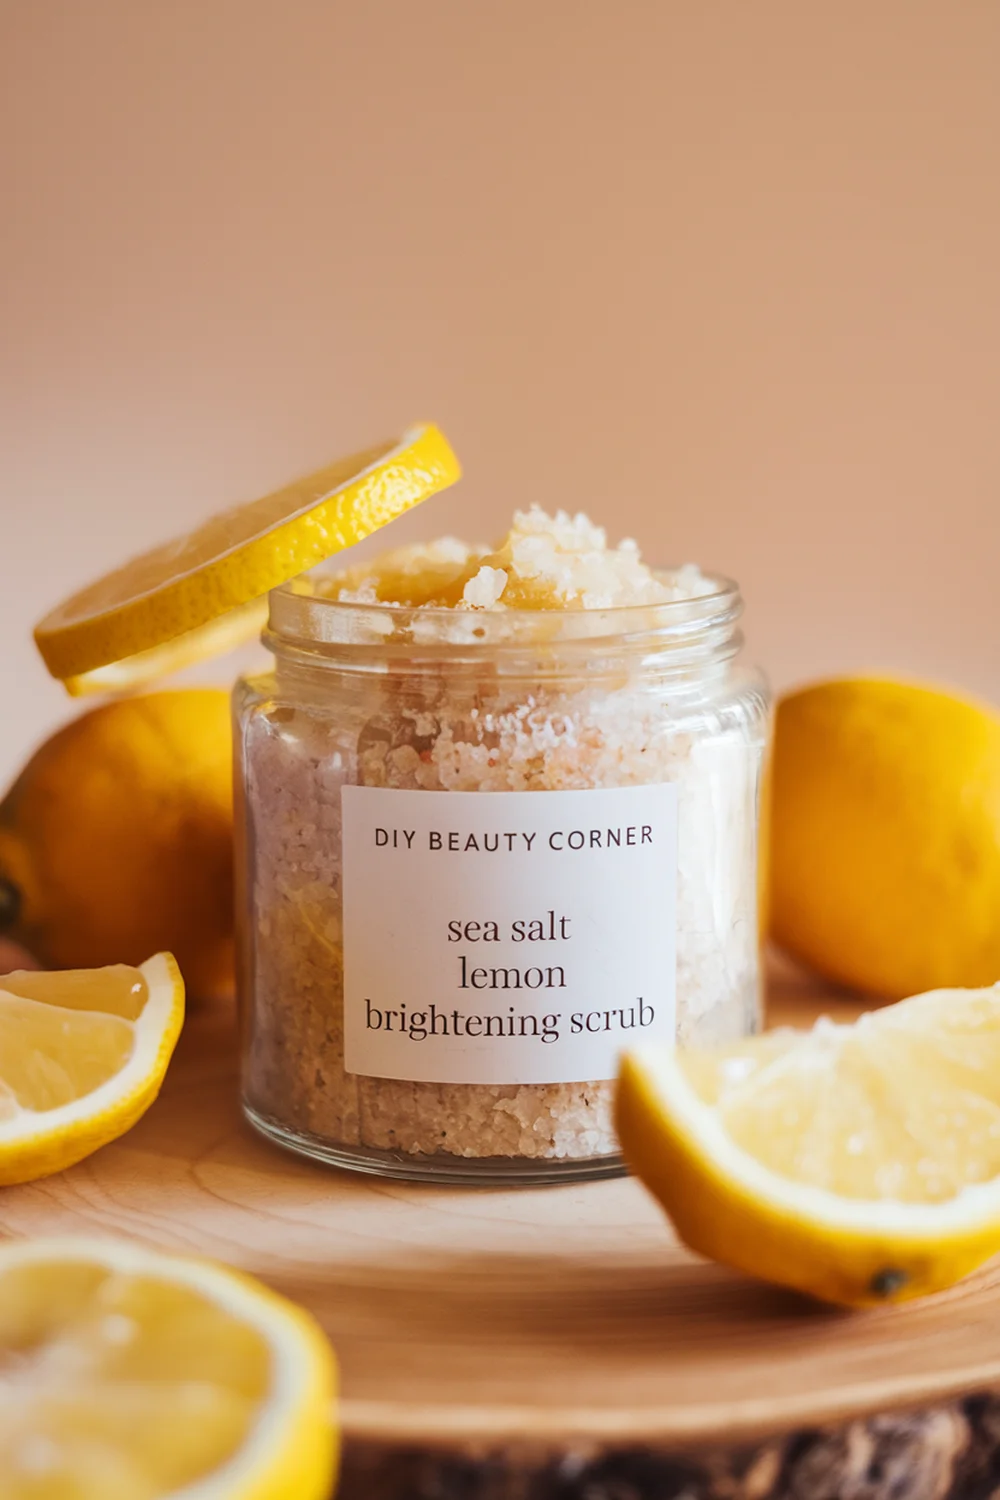
From the invigorating scent of lemon essential oil to the textural benefits of sea salt, this scrub offers a delightful experience. I encourage you to give this DIY recipe a try and see how it rejuvenates your skin. Let’s get started!
Essential Ingredients and Their Benefits
In creating a DIY homemade sea salt and lemon brightening face scrub, I focus on the vital ingredients that not only exfoliate but also nourish the skin. Understanding the specific roles of each component can help enhance the scrub’s effectiveness and provide maximum benefits.
The Role of Sea Salt in Skin Care
Sea salt acts as a natural exfoliant, effectively removing dead skin cells and impurities from the skin’s surface. Its coarseness helps to buff the skin, leaving it smoother and more refined.
Additionally, sea salt has excellent mineral content, including magnesium and potassium, which can contribute to skin health. Magnesium helps to calm inflammation, while potassium aids in hydration. By stimulating blood circulation, sea salt can promote a more vibrant complexion.
Lemon’s Contribution to Brightening
Lemon juice is well-known for its brightening properties. Rich in vitamin C, it acts as an antioxidant, helping to reduce dark spots and uneven skin tone. The acidity of lemon juice also works as a natural astringent, which can tighten pores and control excess oil.
Using lemon in a scrub can help rejuvenate tired skin, giving it a fresh and healthy appearance. Its natural antibacterial properties may also assist in preventing breakouts and keeping skin clear.
Additional Natural Ingredients
In addition to sea salt and lemon, I often incorporate coconut oil into my scrub. Coconut oil serves as a moisturizer, counterbalancing the exfoliating effect of the salt. It penetrates deeply, locking in hydration and leaving the skin soft.
For those looking to enhance their scrub further, consider adding essential oils or herbs. Lavender provides relaxation benefits, while rosemary can invigorate the skin. These natural ingredients not only improve the scrub’s fragrance but also offer additional therapeutic advantages.
Step-by-Step Scrub Preparation and Usage
Creating a DIY face scrub involves a few straightforward steps that ensure a potent and refreshing blend. I will guide you through mixing the ingredients, applying the scrub effectively, and taking care of your skin after use.
Creating Your Scrub Blend
To start, I measure out 1 1/2 tablespoons of freshly squeezed lemon juice. This citrus fruit is known for its brightening properties. Next, I add 1 tablespoon of sea salt to the bowl. Sea salt acts as an excellent exfoliator, helping to remove dead skin cells.
Then, I incorporate 1 tablespoon of coconut oil. It not only provides hydration but also helps the scrub stick together. I mix all the ingredients until they form a cohesive mixture with a slightly gritty texture.
This combination leaves my skin feeling invigorated. I find it helpful to adjust the lemon juice or coconut oil for a preferred consistency if necessary.
Application Technique for Optimal Results
When I apply the scrub, I start with clean, damp skin. I take a small amount of the scrub in my fingers and gently massage it onto my face using circular motions. This technique enhances circulation and promotes better absorption of nutrients.
I focus on areas prone to dullness while being careful around sensitive spots like the eyes. I typically spend about 1-2 minutes massaging the scrub into my skin.
Afterward, I rinse my face with warm water to remove any residue. This step is vital for ensuring the salt does not irritate the skin.
Post-Scrub Care and Storage
After rinsing, I gently pat my face dry with a clean towel. I follow up with a light moisturizer to keep my skin hydrated and balanced after exfoliation.
For storage, I recommend keeping any leftover scrub in an airtight container. It can be stored in the refrigerator for up to one week, which helps maintain freshness.
Before each use, I give it a quick stir. This ensures the ingredients are evenly mixed, providing the best possible results each time.
