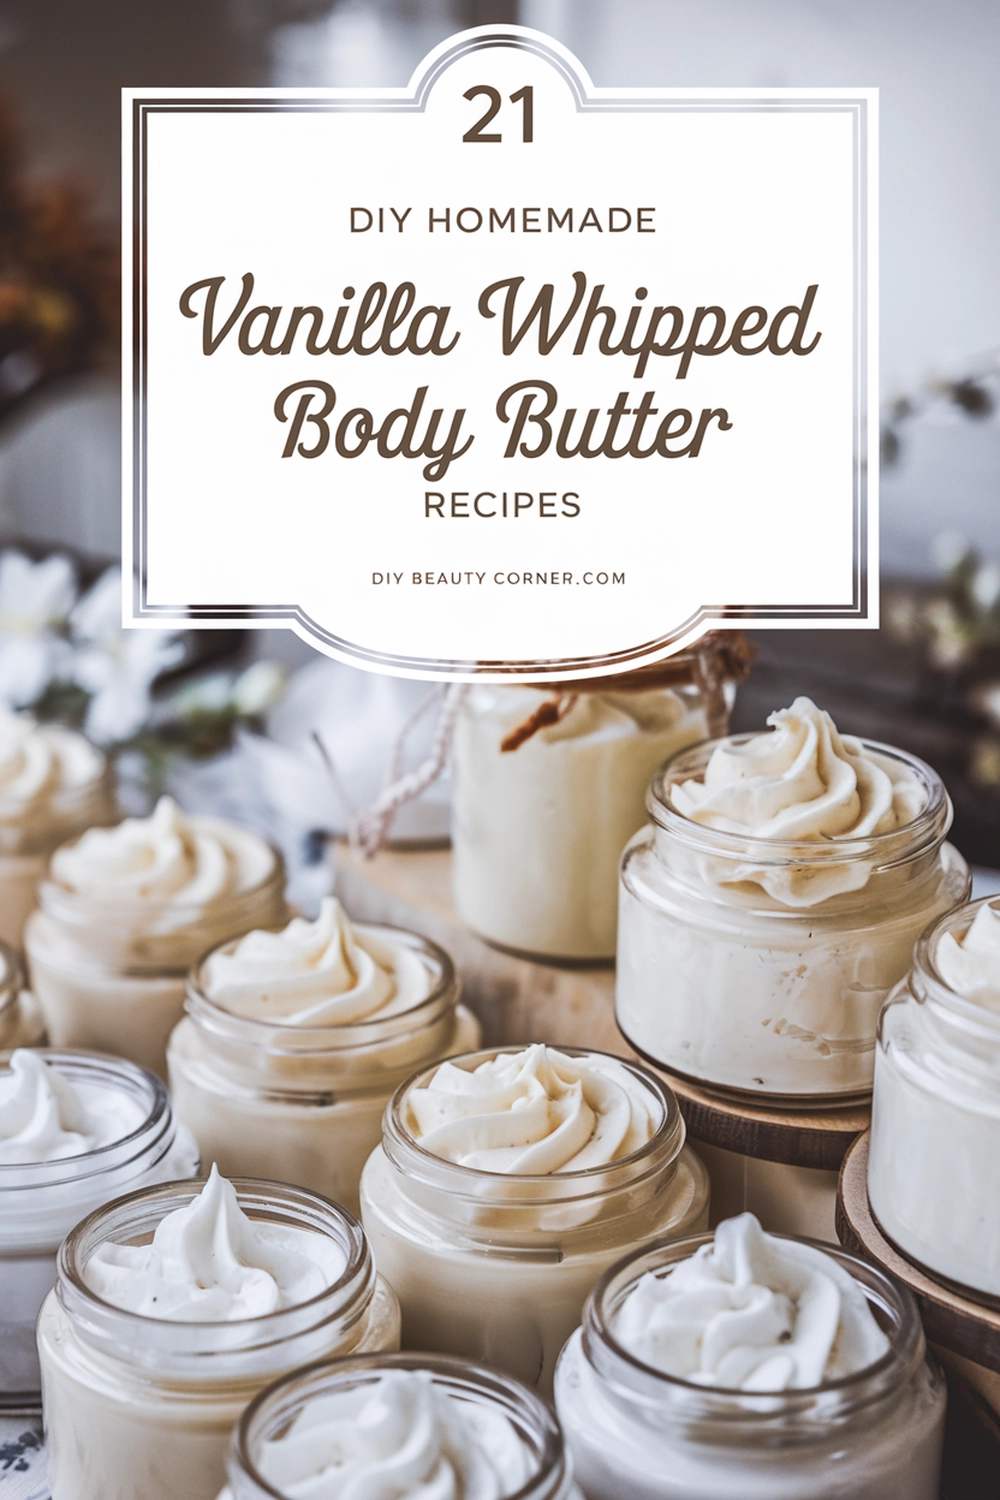
When it comes to nurturing my skin, I find that a rich, homemade body butter can make all the difference. Creating a DIY Homemade Vanilla & Cocoa Butter Hydrating Body Butter not only ensures that I know exactly what goes into my skincare routine, but it also leaves my skin feeling incredibly soft and hydrated. The delightful combination of vanilla and cocoa butter offers a comforting fragrance while providing essential moisture.
Gathering a few simple ingredients like cocoa butter, coconut oil, and vanilla essential oil allows me to whip up a luxurious body butter that rivals any store-bought option. This recipe is not just about hydration; it transforms my daily skincare routine into a pampering experience. With just a little effort, I can enjoy the benefits of natural ingredients that nourish my skin deeply.
Join me as I walk through the steps to create this soothing body butter that I cherish. You’ll discover how easy it is to make and how rewarding it feels to apply a product made from scratch, tailored to my skin’s needs. Let’s dive into the ingredients and the simple process that will leave your skin glowing.
Ingredients and Benefits
Creating a hydrating body butter requires attention to the quality of ingredients. The right choices enhance not only the texture but also the nourishing benefits for your skin. Here are the key components and their advantages.
Choosing the Right Vanilla
When I select vanilla for my body butter, I prefer pure vanilla extract rather than synthetic vanilla flavoring. Pure vanilla extract is derived from vanilla beans and offers a rich aroma that elevates the skincare experience. It can also have antioxidant properties, which help protect the skin from environmental stressors.
In addition to the extract, I sometimes consider including vanilla essential oil. This option will impart a soothing scent, while also providing potential calming benefits. The choice of vanilla contributes significantly to the body’s sensual quality and scent profile.
Benefits of Cocoa Butter
Cocoa butter is a powerhouse ingredient for body butter. In my recipe, I use one cup of cocoa butter for its remarkable skin benefits. It acts as an excellent moisturizer, providing a protective barrier that locks in moisture.
Rich in fatty acids, cocoa butter can help improve skin elasticity and reduce the appearance of scars and stretch marks over time. Its antioxidant-rich nature may also aid in protecting my skin from free radicals. I find that regular use gives my skin a silky smooth texture, providing a luxurious feel.
Additional Hydrating Oils
Alongside cocoa butter, I incorporate coconut oil into my body butter. This oil is known for its deep hydration and rapid absorption properties. One cup of coconut oil complements the richness of cocoa butter, offering a lightweight texture that won’t leave a greasy residue.
I often consider adding essential oils, like lavender or peppermint, for their aromatic properties and potential skin benefits. These oils can enhance relaxation or provide a refreshing sensation, making the body butter not just a moisturizer but also a therapeutic experience.
Creating Your Body Butter
Crafting your own body butter is a rewarding project that nourishes your skin. The process involves preparing your workspace, carefully mixing the ingredients, and ensuring proper storage to maintain freshness.
Preparing Your Workspace
Before starting, I ensure my workspace is clean and organized. I gather all necessary tools and ingredients, including:
- Mixing bowls: Choose a size that comfortably holds your mixture.
- Whisk: An electric whisk can be helpful but a manual whisk works too.
- Measuring cups: Accurate measurements are crucial for consistency.
- Jars: Dark glass jars are ideal for storage as they protect against light exposure.
Having a clean surface also helps avoid contamination. I like to lay down some paper towels to catch any spills and set up my tools within easy reach.
The Mixing Process
To begin, I measure one cup each of cocoa butter and coconut oil. I melt these together in a double boiler or a heat-safe bowl over simmering water, stirring gently until fully liquefied. This method ensures the ingredients heat evenly without burning.
Once melted, I remove the mixture from heat and allow it to cool slightly before adding one tablespoon of vanilla extract. For added fragrance, I might include a few drops of essential oils, such as lavender or peppermint, at this stage.
Next, I whisk the mixture until it becomes creamy. This usually takes about 5 to 10 minutes. If I notice it starting to solidify, I can return it to the heat briefly to remix.
Storage and Preservation
Proper storage is essential for maintaining the quality of my body butter. I carefully transfer the finished product into my prepared jars, leaving a bit of space at the top.
To keep my body butter fresh, I store it in a cool, dark place. This helps prevent melting or spoilage. Homemade body butter can typically last for several months if stored properly.
Labeling the jars with the date made can also help track freshness. Each time I need some, I enjoy knowing I have a nourishing product ready to use, made with all-natural ingredients.


