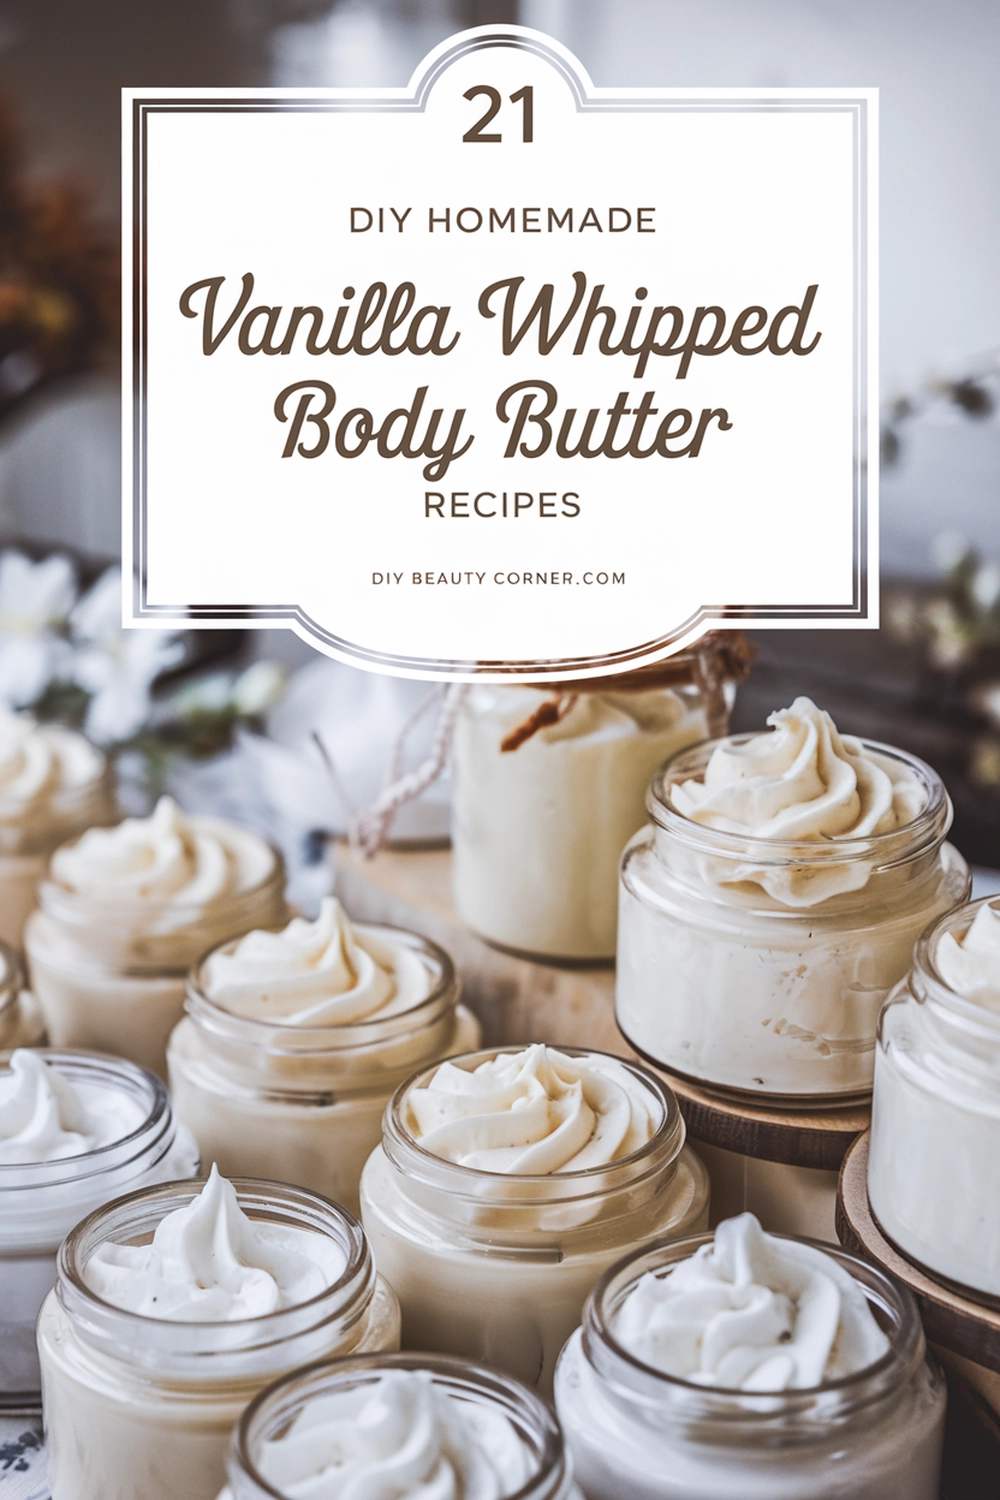
If you’re looking for a way to keep your skin soft and hydrated, I have just the solution for you: DIY Homemade Vanilla & Green Tea Whipped Body Butter. This luxurious body butter combines the soothing properties of green tea with the sweet aroma of vanilla, resulting in a cream that’s not only nourishing but also delightful to use. Making this body butter at home allows you to customize the ingredients, ensuring it’s free from harsh chemicals while providing your skin with the best nature has to offer.
I love how easily this recipe comes together, requiring just a few simple ingredients that you may already have in your pantry. The blend of shea butter, coconut oil, and essential oils creates a whipped texture that’s light and non-greasy. Each application leaves my skin feeling silky smooth and deeply moisturized, making it perfect for daily use or as a special treat for dry areas.
In this blog post, I’ll guide you through the steps to create your own Vanilla & Green Tea Whipped Body Butter. You’ll find precise measurements and tips to achieve the perfect consistency. Get ready to indulge in a homemade skincare experience that will leave your skin feeling incredible.
Creating Your Vanilla & Green Tea Body Butter
I find making my own Vanilla & Green Tea Body Butter to be an enjoyable and fulfilling process. It allows me to tailor the ingredients to my skin’s needs while ensuring the product is all-natural. Below, I’ll detail the essential steps involved in creating this hydrating body butter.
Gather Your Materials
To get started, I make sure I have all the necessary materials on hand. Here’s a list of what you’ll need:
-
Ingredients:
- 1 cup shea butter
- 1/2 cup coconut oil
- 1/4 cup jojoba oil
- 2 tablespoons green tea (loose leaf or bags)
- 15 drops of vanilla essential oil
-
Equipment:
- Double boiler or microwave-safe bowl
- Mixing bowl
- Electric mixer or whisk
- Storage container
By having everything ready, I can streamline the process and focus on creating a nourishing body butter without interruptions.
Preparing the Green Tea Infusion
Next, I prepare the green tea infusion. This step enhances the body butter with antioxidants and soothing properties. I typically use either loose leaf green tea or tea bags.
-
Heat the Oil: In a double boiler, I heat the coconut oil gently until it melts.
-
Add Tea: I add the green tea to the melted coconut oil and allow it to infuse on low heat for about 30 minutes. This step releases the beneficial properties of the tea into the oil.
-
Strain: Once the infusion is complete, I strain the mixture through a fine mesh sieve or cheesecloth to remove the tea leaves. I let it cool before moving on to the next step.
Blending Ingredients for Whipped Texture
After preparing the green tea infusion, it’s time to blend the ingredients for a light, whipped texture.
-
Combine Base Ingredients: In a mixing bowl, I combine the strained green tea-infused coconut oil, shea butter, and jojoba oil.
-
Whip the Mixture: Using an electric mixer, I whip the mixture on medium speed until it becomes fluffy and light. This usually takes about 5-10 minutes.
-
Texture Check: If the mixture is too soft, I can place it in the refrigerator for a few minutes and then whip again until I achieve the desired consistency.
Adding Fragrance and Preservatives
To complete my body butter, I turn my attention to fragrance and shelf stability.
-
Essential Oils: I add 15 drops of vanilla essential oil for a delightful scent. This also provides additional skin benefits.
-
Optional Preservatives: If I plan to store the body butter for an extended period, I consider using natural preservatives like vitamin E oil. This helps prolong the shelf life and maintain freshness.
-
Final Mix: I give the mixture one last whip to ensure the essential oil is evenly distributed before transferring it to my storage container.
With these steps, my Vanilla & Green Tea Body Butter is ready to use, providing luxurious hydration and a calming fragrance.
Application and Storage
Applying and storing your DIY Vanilla & Green Tea Whipped Body Butter properly will enhance its effectiveness and longevity. Here’s how to make the most of your homemade creation.
How to Apply the Body Butter Effectively
To achieve the best results with your whipped body butter, apply it to clean, damp skin. This helps to seal in moisture. I recommend using a small amount, about a nickel-sized dollop, and warming it between my hands before application.
Start at your feet and work your way up, massaging gently into your skin in circular motions. Focus on drier areas such as elbows and knees, where extra moisture is often needed. Remember to use a light, even layer; a little goes a long way.
For daytime use, I find that applying in the morning keeps my skin hydrated throughout the day. For nighttime, a thicker layer can provide overnight nourishment, ensuring that I wake up with soft, supple skin.
Tips for Storing Your Homemade Body Butter
Proper storage is key to maintaining the quality of your whipped body butter. I prefer to use airtight containers to prevent air exposure, which can degrade the ingredients over time. Glass jars work best as they’re non-reactive and help maintain freshness.
Keep your body butter in a cool, dry place, like a bathroom cabinet. Avoid direct sunlight and temperature fluctuations, which can impact texture and effectiveness.
I find that the shelf life is about 3 to 6 months, depending on the oils used. Labeling the container with the date I made it can help me keep track. By following these storage tips, I ensure that I always have fresh body butter ready for use.