Creating a DIY homemade yogurt and apple cider vinegar brightening cream is an effective way to enhance your skincare routine using natural ingredients. This combination not only helps to brighten your complexion but also balances your skin’s pH levels, promoting a healthier appearance. I’ve found that both yogurt and apple cider vinegar have numerous benefits for the skin, making this cream a valuable addition to anyone’s beauty regimen.
Yogurt is rich in vitamins and probiotics, providing nourishment while acting as a natural exfoliant. Apple cider vinegar contributes with its mild acidity, helping to remove dead skin cells and soothe inflammation. Together, they form a powerful duo that can rejuvenate your skin with regular use.
In this post, I’ll share a straightforward recipe that outlines the exact ingredients and measurements you’ll need to create this refreshing cream at home. With just a few simple steps, you can harness the power of these ingredients right in your kitchen.
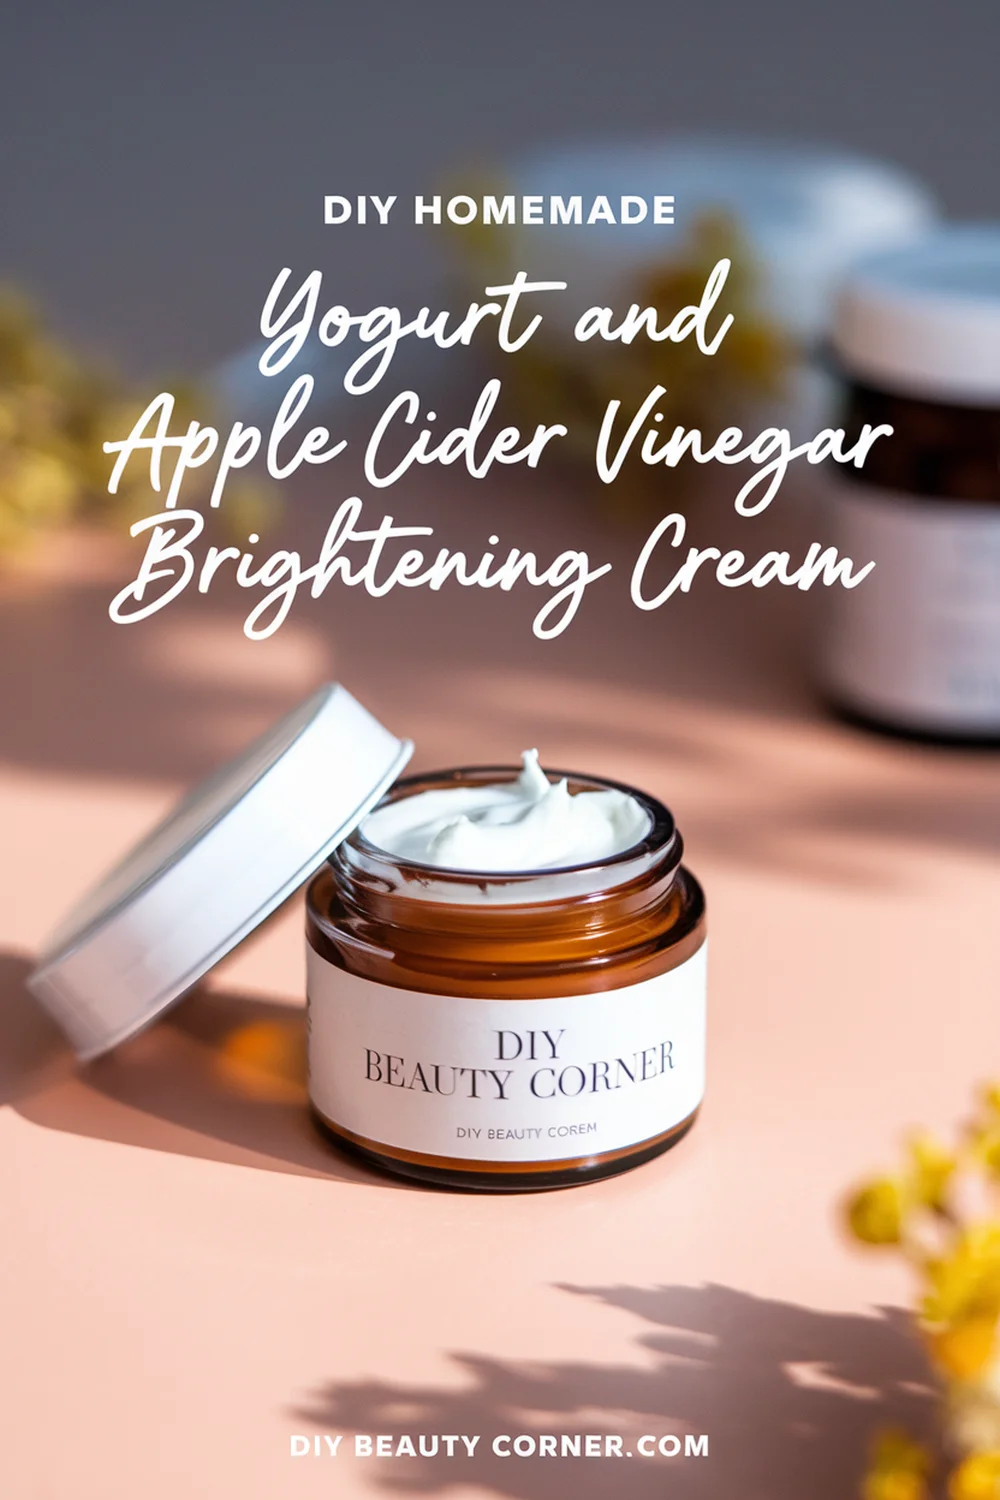
Creating Your DIY Yogurt and ACV Cream
This section will cover the advantages of yogurt and apple cider vinegar for skin health, the necessary ingredients and tools for the cream, a straightforward mixing process, and the timing required for fermentation.
Benefits of Yogurt and Apple Cider Vinegar for Skin
Yogurt is rich in probiotics, which help maintain healthy skin by balancing the skin’s microbiome. It contains lactic acid, a natural exfoliant that helps slough off dead skin cells, making the skin appear brighter and more radiant.
Apple cider vinegar (ACV) is known for its natural acidity, which helps to balance skin pH levels. It also has antimicrobial properties that can help address issues like acne. The combination of yogurt and ACV can hydrate the skin and improve texture. Together, they promote a clearer and more luminous complexion.
Necessary Ingredients and Tools
For this DIY cream, I need a few simple ingredients:
- 1 tablespoon plain yogurt: This serves as the base, providing moisture.
- 1 tablespoon apple cider vinegar: Adds acidity and skin-balancing properties.
- 1 teaspoon honey: Known for its antibacterial qualities and hydration.
- 1 teaspoon lemon juice: Brightens the skin and adds a fresh scent.
Additionally, I will need the following tools:
- A mixing bowl
- A whisk or spoon for blending
- An airtight container for storage
Step-by-Step Mixing Process
- Combine Ingredients: In a mixing bowl, I will first add the tablespoon of plain yogurt.
- Add ACV: Next, I incorporate the tablespoon of apple cider vinegar, mixing it carefully to maintain a smooth consistency.
- Include Honey and Lemon Juice: I will then stir in the teaspoon of honey and the teaspoon of lemon juice, ensuring all ingredients are fully blended.
- Whisk Thoroughly: Using a whisk or spoon, I will beat the mixture until it’s smooth and creamy.
This consistency is crucial for effective application on the skin.
Timing and Fermentation
For optimal results, I let the mixture sit for about 10-15 minutes before applying it to my face. This resting period allows the fermentation process to kick in slightly, enhancing the beneficial properties of the ingredients.
Once ready, I apply the cream evenly over my cleansed face. I leave it on for 10-15 minutes and then rinse it off with warm water. This routine can be repeated a few times a week for best results.
Application and Usage Tips
Applying DIY homemade yogurt and apple cider vinegar brightening cream correctly is essential for achieving the best results. Understanding how and when to use this cream can significantly enhance its effectiveness for your skin.
Applying the Cream for Best Results
To maximize the benefits of the cream, I recommend starting with a clean face. Gently cleanse your skin with a mild facial cleanser. Next, apply a small amount of the yogurt and apple cider vinegar cream evenly across your face, avoiding the eye area. Use gentle upward strokes and make sure to cover all areas, including the neck.
For a more targeted approach, I focus on areas that require extra brightness or hydration. Allow the cream to sit on your skin for 10 to 15 minutes to let the ingredients penetrate effectively. Rinse off with lukewarm water and pat your face dry with a clean towel.
Frequency and Duration of Use
Incorporating this cream into my skincare routine is efficient. I typically use it 2 to 3 times a week to avoid overstimulation of my skin. Regular application helps maintain skin brightness and hydration without causing irritation.
Each application can last 10 to 15 minutes, which is a manageable time frame. I recommend observing how my skin reacts initially. If I notice no adverse effects, I can gradually increase to three times weekly.
Storage and Shelf Life
Proper storage is crucial for maintaining the effectiveness of my yogurt and apple cider vinegar cream. I keep it in an airtight container in the refrigerator. This not only preserves its freshness but also enhances the cooling effect upon application.
The cream typically lasts about 1 week when stored this way. I watch for changes in color or odor, which indicate that the cream may no longer be effective. Discard any unused portions past its peak freshness to ensure optimal results on my skin.