As the crispness of fall fills the air, it’s the perfect time to craft a thoughtful gift that captures the essence of the season. A DIY pumpkin spice exfoliating sugar scrub not only pampers the skin but also brings a delightful autumn aroma into any beauty routine. This easy-to-make scrub is a wonderful way to indulge yourself or share with friends and family.
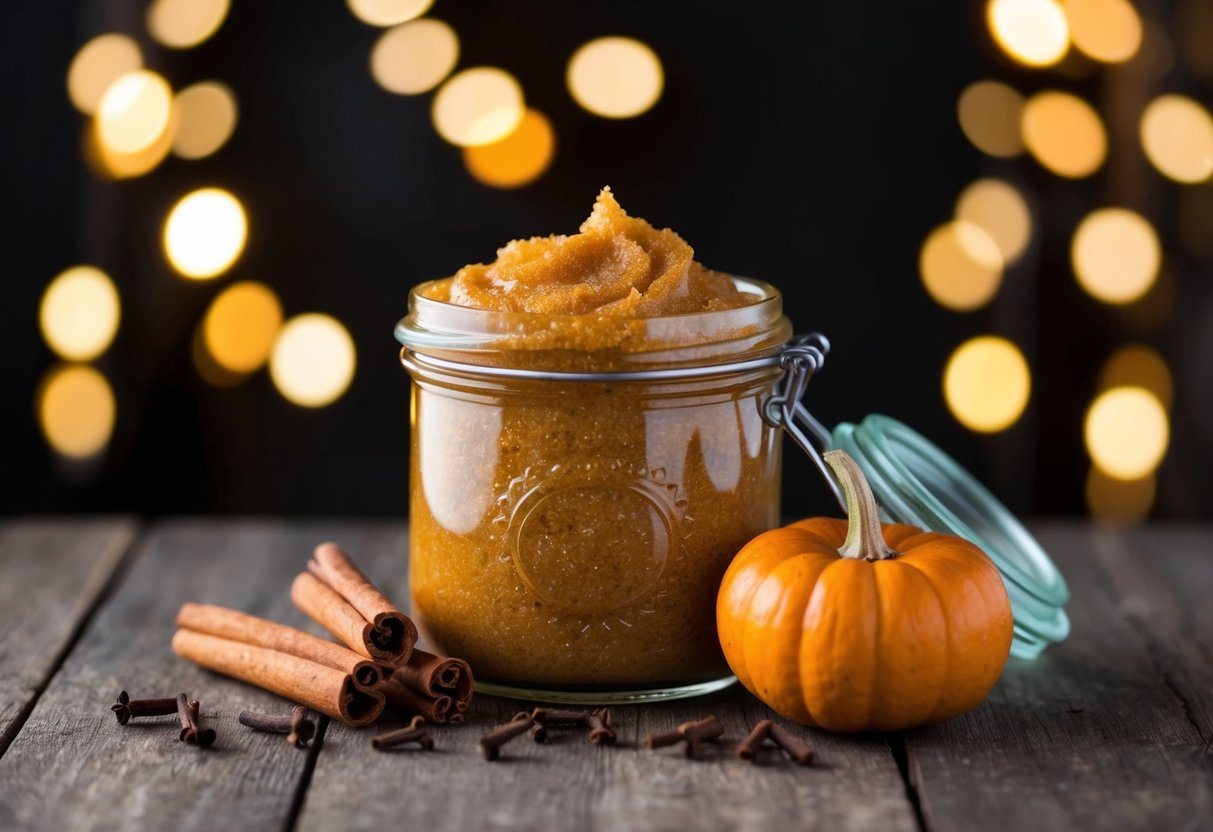
Gather a few simple ingredients from your kitchen, and in just a short time, you can create an inviting and luxurious sugar scrub. With warm notes of pumpkin pie spice blended with the nourishing properties of coconut oil and sugar, this scrub will leave your skin feeling soft and rejuvenated. It’s not just a treat for the skin; it’s a fragrant reminder of cozy autumn days.
Prepare to impress your loved ones with a creative and personal gift that shows you care. This DIY project is not only enjoyable to make but also customizable to suit various preferences and skin types. Let’s dive into the step-by-step process to whip up this delightful scrub for your next gifting occasion.
Creating Your DIY Pumpkin Spice Sugar Scrub
Making a pumpkin spice sugar scrub is straightforward and requires minimal ingredients. This section details how to gather what you need, the mixing process, and how to apply the scrub effectively.
Gathering the Ingredients
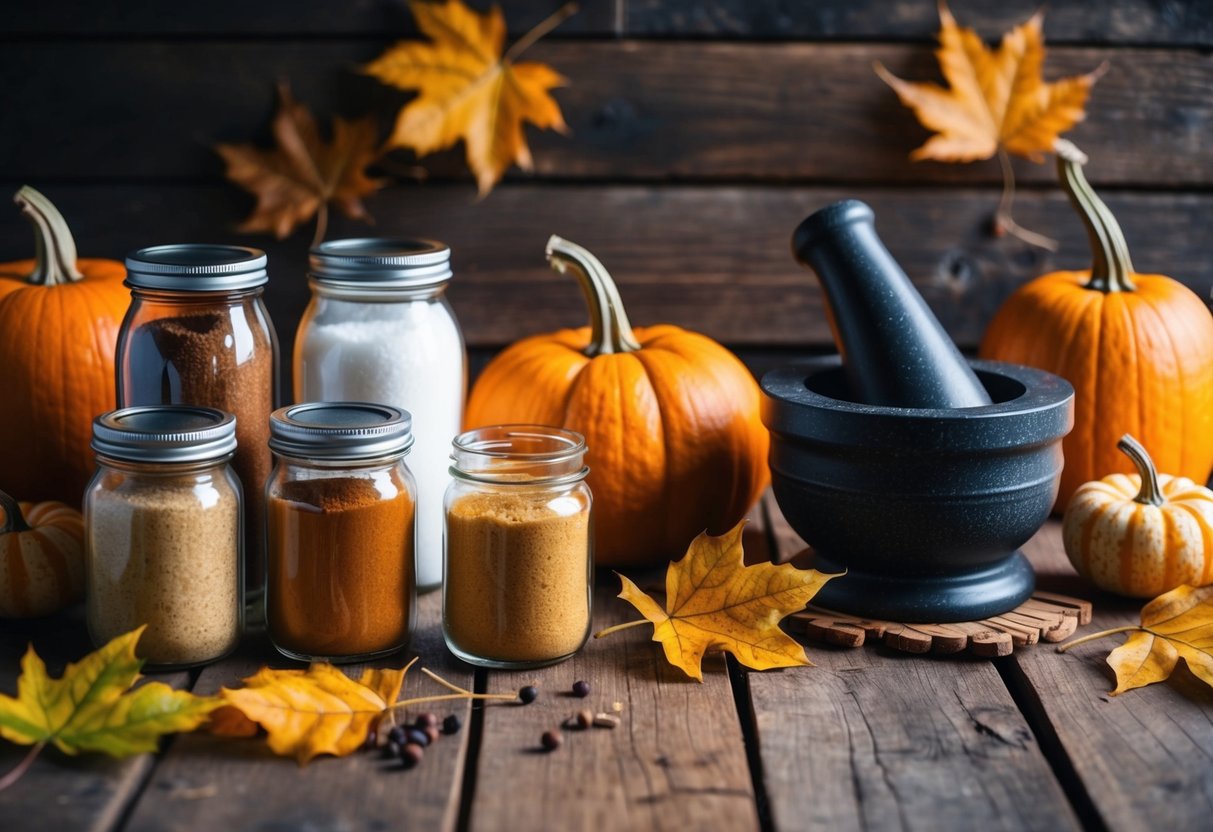
For your DIY Pumpkin Spice Sugar Scrub, you will need the following ingredients:
- 1 cup granulated sugar
- 1/2 cup coconut oil (melted)
- 2 teaspoons pumpkin pie spice
- 1 teaspoon vanilla extract (optional)
- A few drops of essential oil (optional for added fragrance)
Ensure the coconut oil is melted but not hot, as this can affect the texture. Gather these ingredients in a mixing bowl, and prepare a clean jar for storage. Using a sterilized jar helps prolong freshness.
Step-by-Step Mixing Process
Combine Ingredients: In a mixing bowl, start by adding the granulated sugar.
Incorporate Coconut Oil: Pour the melted coconut oil into the bowl. Stir them together until well combined.
Mix in Spices and Vanilla: Add the pumpkin pie spice and vanilla extract to the mixture. This is where the distinctive scent originates.
Blend Well: Use a hand mixer or a spoon to combine everything thoroughly. Ensure there are no clumps. Mixing should take about three to five minutes, leading to a fluffy texture.
Transfer to Jar: Once mixed, transfer the scrub into your prepared jar. Seal it tightly for freshness.
Applying the Scrub
To use your pumpkin spice sugar scrub, start by taking a small amount in your hands. Apply it to damp skin, scrubbing gently in circular motions. This not only exfoliates but also hydrates your skin.
Focus on areas that need extra care, like elbows and knees. Allow the scrub to sit on your skin for 3-5 minutes to let the nourishing oils work. When finished, rinse thoroughly with warm water and pat your skin dry with a soft towel. Enjoy the soothing effects and pleasant aroma.
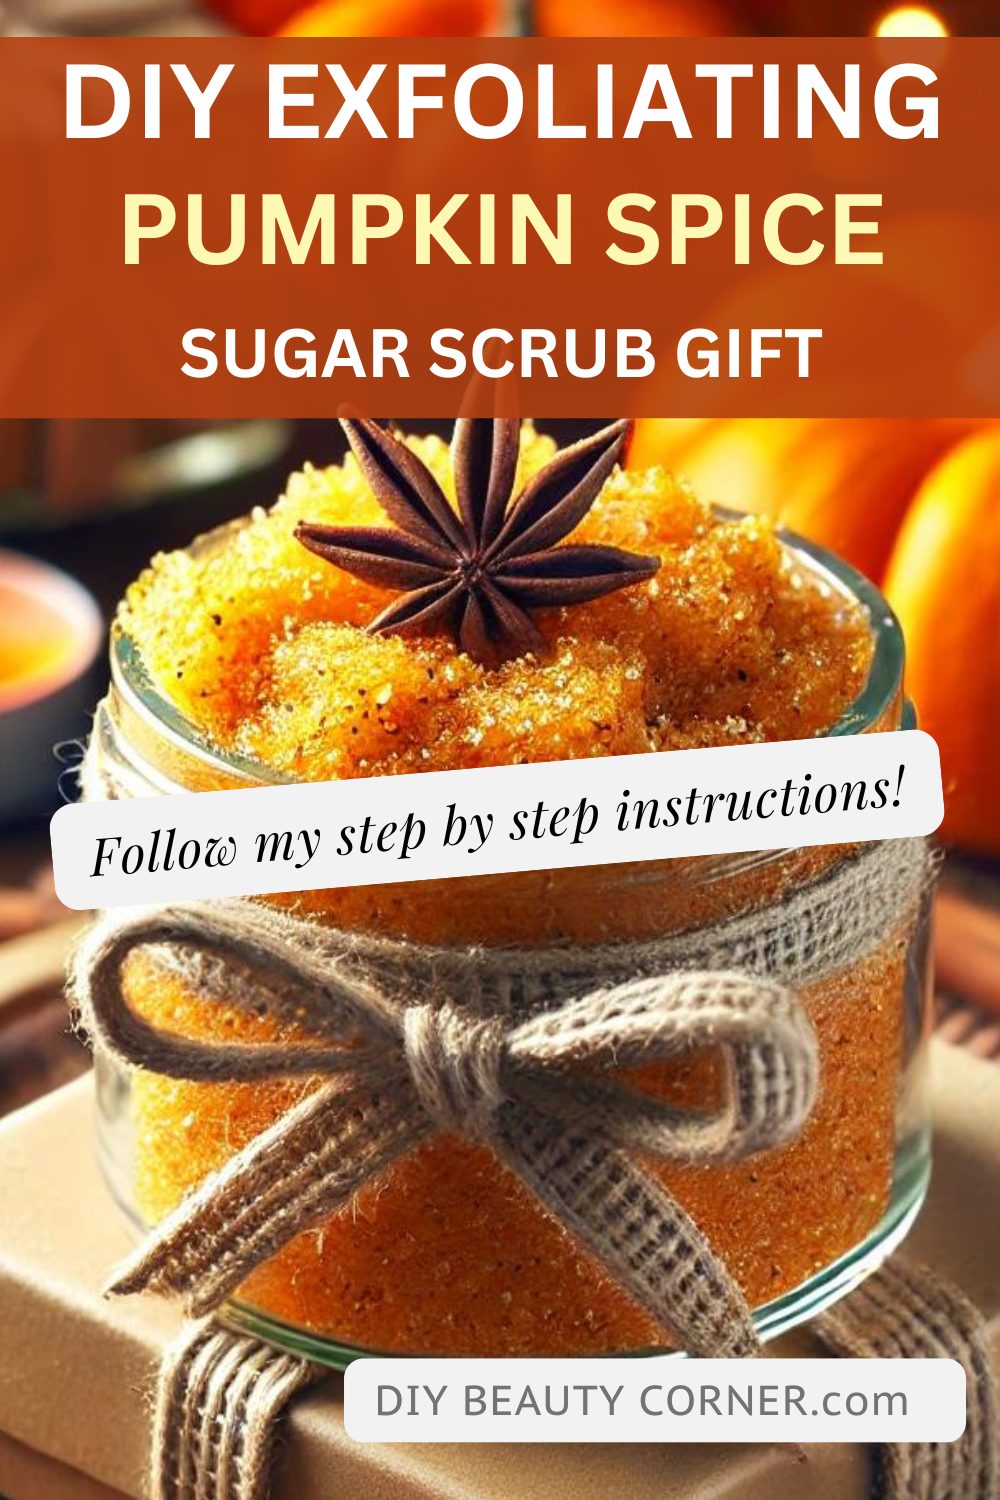
Packaging and Presentation
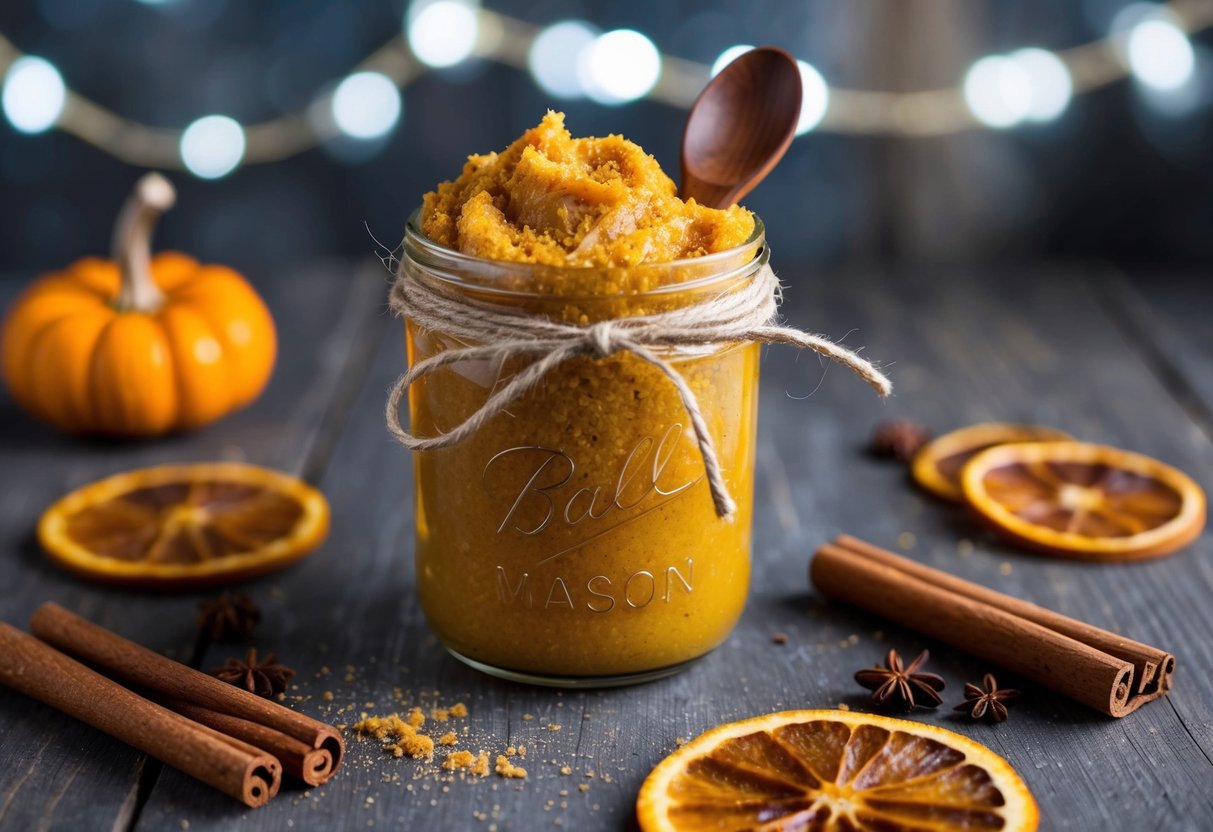
Thoughtful packaging and presentation can elevate your DIY Pumpkin Spice Exfoliating Sugar Scrub into a delightful gift. Focus on selecting suitable containers, adding decorative labels, and incorporating a personal touch to enhance the overall appeal.
Selecting the Right Container
Choosing the right container is crucial for presenting your sugar scrub attractively. Glass jars are popular options as they provide a rustic charm and show off the scrub’s color and texture. Look for jars with wide mouths for easy scooping. Sizes ranging from 8 to 16 ounces work well depending on how much scrub you’ve made. Ensure each container has a secure lid to keep the scrub fresh. You might also consider plastic containers if you need something lightweight and break-resistant, especially for shipping.
Decorative Labeling Tips
Custom labels offer an easy way to personalize your sugar scrub. Use card stock or adhesive paper to create labels that reflect the autumn theme. Consider including the following details:
- Ingredients: List the main components to inform users.
- Usage Instructions: Briefly explain how to use the scrub for the best results.
- Expiration Date: If applicable, note when the scrub is best used by.
You can enhance the look with a punch to create cute shapes or borders. Use twine or ribbon to attach the label neatly to your container. This adds a handcrafted feel while ensuring it’s beautiful for gifting.
Adding a Personal Touch
Incorporating a personal touch can make your gift even more memorable. Handwriting your labels can convey sincerity and thoughtfulness. You could also personalize the scrub by adding a small card with a note, sharing your inspiration for the gift.
Including a small spoon might also enhance the experience. Consider gifting the scrub with a related item, like a cozy candle or a pair of socks, to create a themed gift set. These thoughtful additions can elevate your scrub from just a homemade product to a heartfelt gift that recipients will appreciate.