Easy DIY Pumpkin Spice Lip Balm Recipe – Cozy Fall Lip Care You’ll Love
Nothing says fall quite like pumpkin spice, and now you can enjoy it in your lip care routine! This DIY Pumpkin Spice Lip Balm blends beeswax, coconut oil, and warm spices into a soothing recipe that hydrates dry lips and adds a seasonal touch. Perfect for self-care or as a handmade gift, this balm is a fun, cozy project you’ll want to make every autumn.
Why Make Pumpkin Spice Lip Balm?
Creating your own lip balm at home means you control the ingredients, ensuring a natural and nourishing product. Homemade lip balms are free from unnecessary additives, affordable, and customizable. Plus, pumpkin spice adds a touch of cozy fall flavor that’s perfect for the season.
Ingredients You’ll Need
- Beeswax (2 tbsp): Provides structure and locks in moisture.
- Coconut Oil (2 tbsp): Softens and hydrates lips with antibacterial properties.
- Pumpkin Seed Oil or Almond Oil (1 tbsp): Rich in vitamins and fatty acids to nourish skin.
- Pumpkin Pie Spice (½ tsp): A cozy blend of cinnamon, nutmeg, and ginger.
- Optional: 3–4 drops vitamin E oil for preservation and added nourishment.
- Optional: A few drops of cinnamon or vanilla essential oil for extra fragrance.
Step-by-Step Recipe
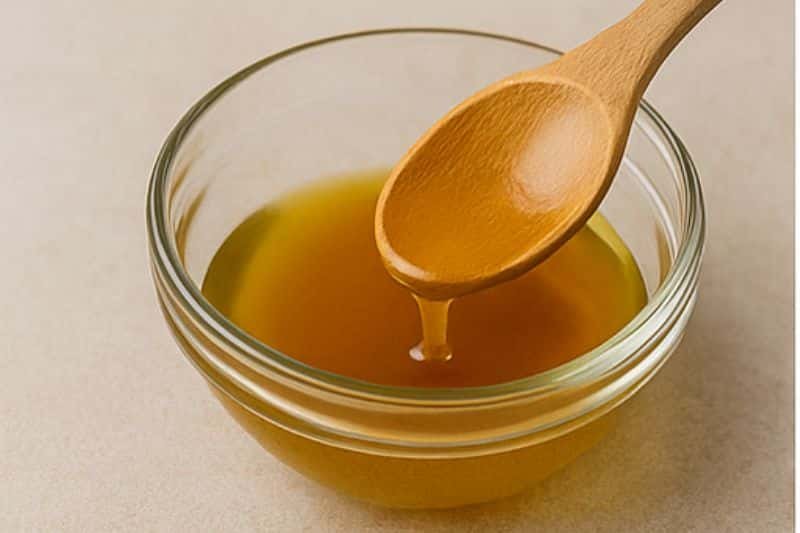
- Melt and Mix: In a double boiler, gently melt the beeswax, coconut oil, and pumpkin seed oil until smooth.
- Add Spice: Stir in pumpkin pie spice and optional vitamin E or essential oils. Mix well.
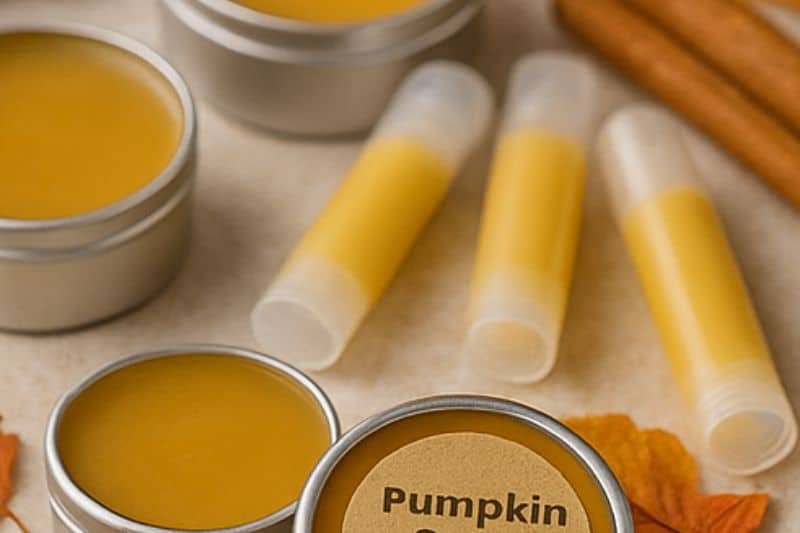
- Pour and Set: Carefully pour the mixture into small tins or lip balm tubes. Let cool at room temperature for 2–4 hours.
- Store: Seal containers tightly and keep in a cool, dry place. Use within 6 months.
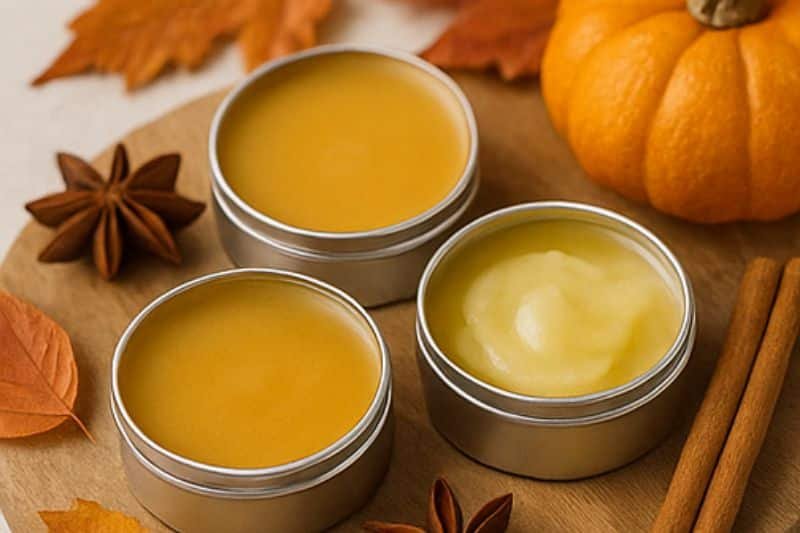
Packaging and Gifting
One of the best parts of making DIY lip balms is how giftable they are. Use small tins or tubes, and add a festive label for a thoughtful homemade gift. Pair with a Pumpkin Spice Sugar Scrub to create a fall-inspired self-care set.
Benefits of Pumpkin Spice Lip Balm
- Beeswax: Protects against dryness by sealing in moisture.
- Coconut Oil: Heals and nourishes cracked lips.
- Pumpkin Seed Oil: Boosts skin health with antioxidants and vitamins.
- Pumpkin Spice: Adds cozy seasonal fragrance and flavour.
Tips for Best Results
- Use fresh, high-quality spices for the strongest scent and flavor.
- Always store your balm in a cool place to prevent melting.
- Make a double batch and freeze extras for later.
This DIY Pumpkin Spice Lip Balm is a cozy, nourishing way to keep your lips soft all season long. Whether you make it for yourself or as a gift, it’s a fall must-try!