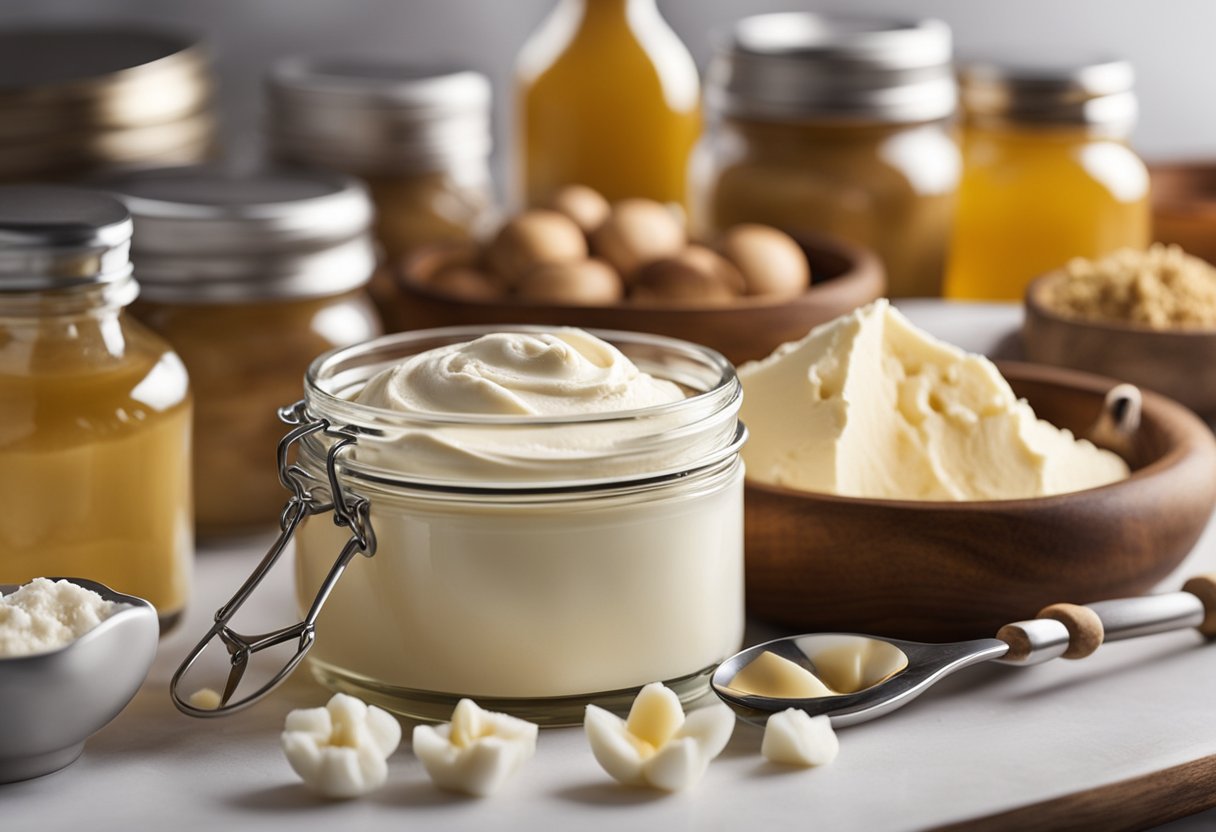
Creating your own DIY whipped body butter at home allows for personalized skincare using natural, nourishing ingredients. Whipping up a blend of shea butter, cocoa butter, and essential oils can result in a luxurious, non-greasy formula that hydrates and moisturizes the skin. This approach not only ensures that you’re using clean, chemical-free ingredients but also provides the flexibility to customize the scent and texture to suit personal preferences.
Homemade body butter recipes are often simple, requiring just a few key ingredients that can be easily found in most kitchens or local stores. By experimenting with various combinations of butters and oils, such as mango and sweet almond oil, users can discover unique blends that offer specific benefits for different skin types. This hands-on process is both rewarding and beneficial, allowing one to understand better and control what goes into their skincare routine.
These DIY projects are not only practical but also enjoyable, enabling creativity while promoting a healthier approach to skin hydration. Preparing whipped body butter can be a delightful activity, providing a natural alternative to commercial products that often contain synthetic additives. Whether aiming for a silky finish or a deeply moisturizing effect, making body butter at home promises a customizable and satisfying skincare experience.
Understanding Whipped Body Butter
Whipped body butter offers numerous benefits for the skin due to its rich, creamy texture and blend of nourishing ingredients. This section discusses these benefits and the key components involved in making a high-quality product.
Benefits of Whipped Body Butter
Whipped body butter is celebrated for its capacity to deeply moisturize the skin. Its thick consistency helps to lock in moisture, making it an excellent choice for dry or flaky skin. Layers of natural oils and butters create a protective barrier that shields the skin from environmental damage.
In addition to hydration, many formulations contain essential vitamins like E and A, which promote skin health. These vitamins help combat free radicals and improve skin elasticity. This makes whipped body butter a versatile product for softening rough patches and soothing irritated areas.
This type of body butter is also popular because it can be tailored with various essential oils. These oils add both fragrance and additional therapeutic benefits like calming, invigorating, or even anti-inflammatory properties.
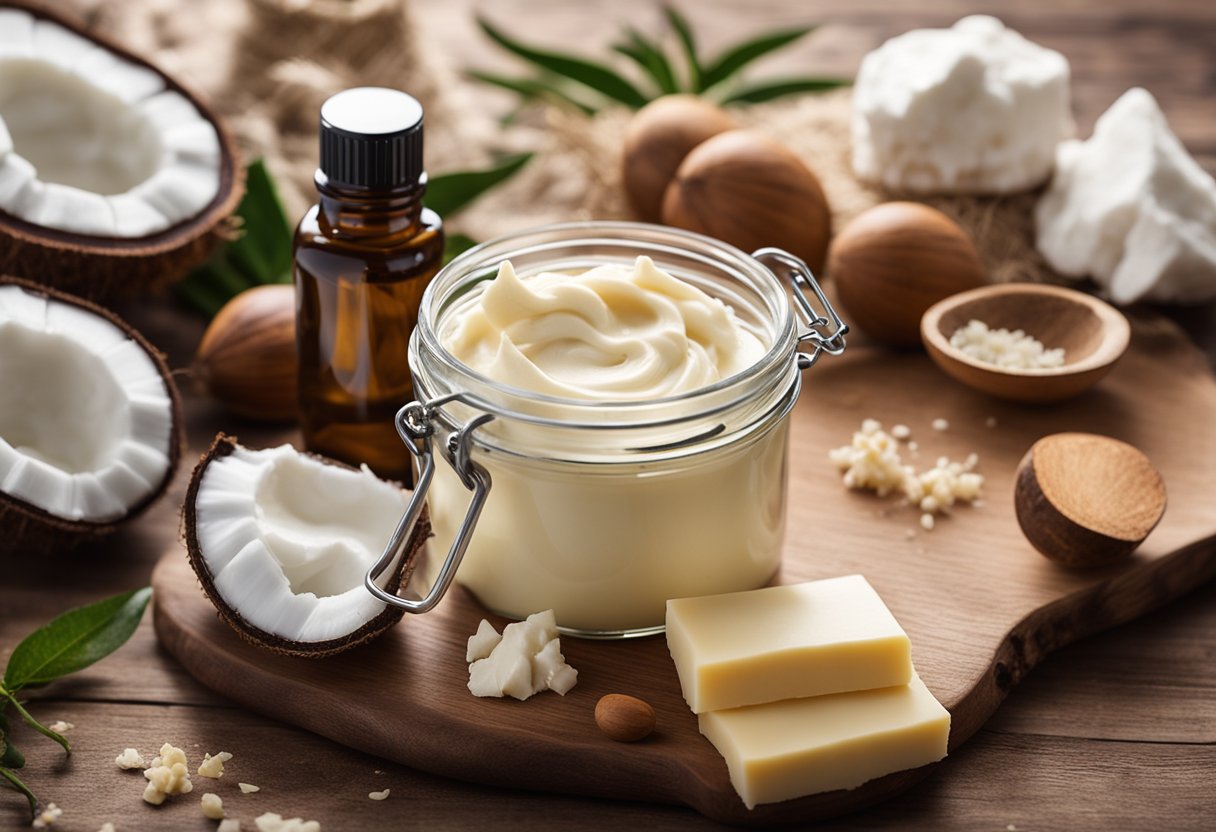
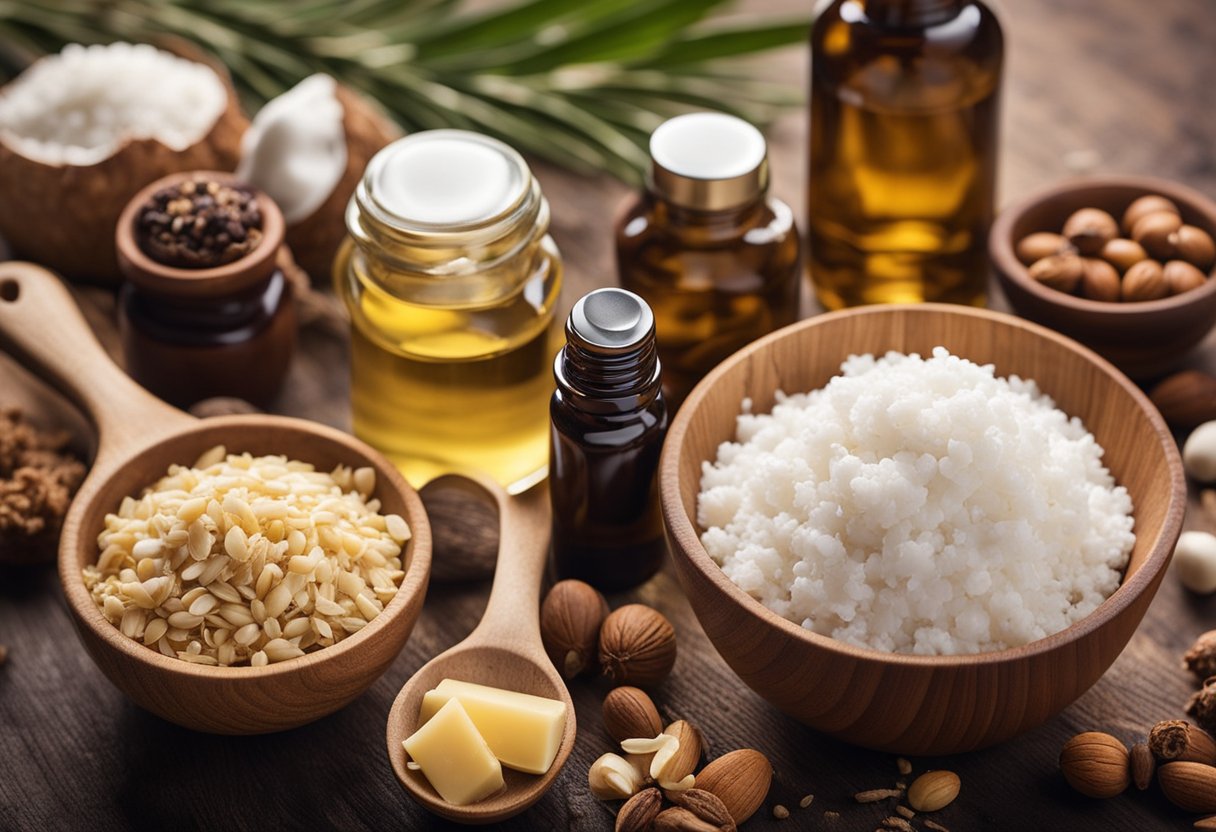
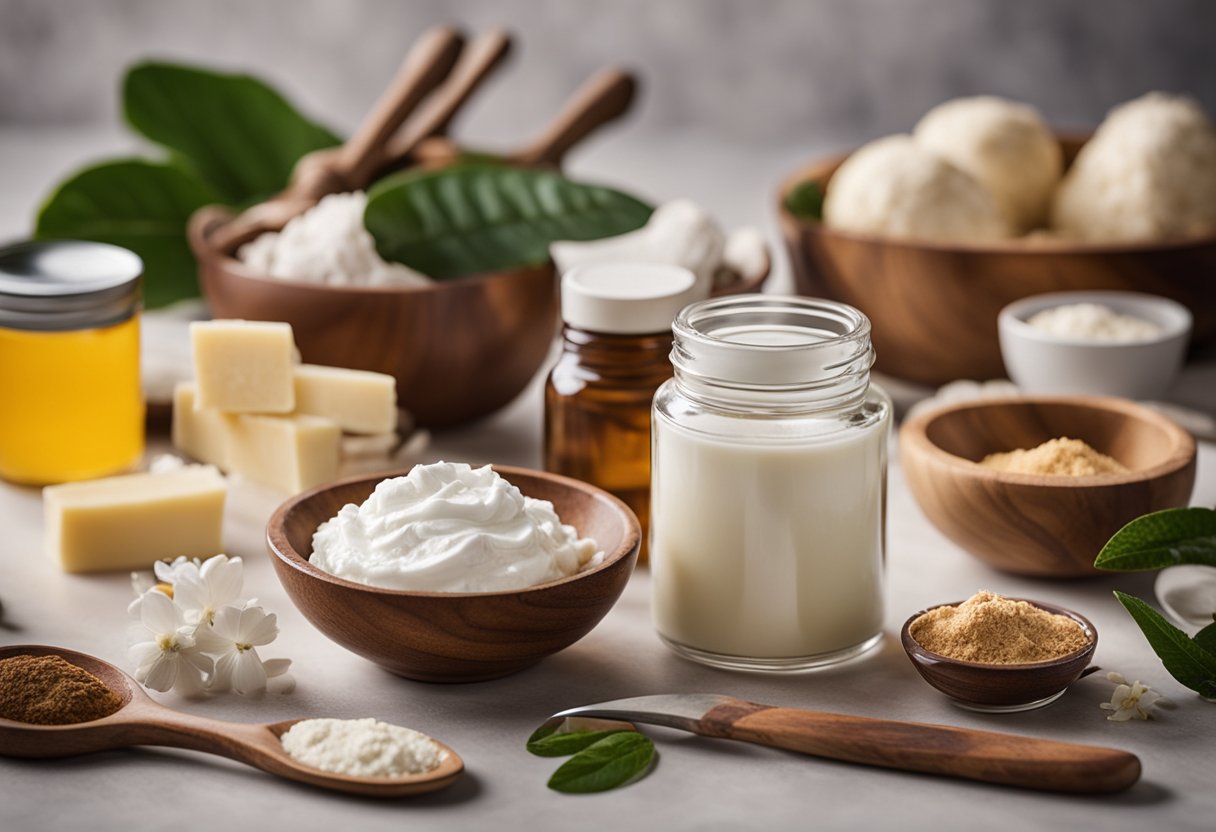
Key Ingredients Overview
Shea Butter: Known for its hydrating properties, shea butter contains vitamins A and E, which nourish the skin and improve its elasticity.
Coconut Oil: Offers deep moisturization and is rich in fatty acids. It also has antibacterial properties which can benefit acne-prone skin.
Cocoa Butter: Provides a rich source of natural antioxidants and deeply moisturizes to help improve the appearance of scars and stretch marks.
Sweet Almond Oil: Lightweight and rich in vitamin E, it helps to soften and repair the skin without leaving a greasy residue.
Beeswax: Acts as a natural emulsifier, helping to blend the oils and butters into a stable formulation. It adds an additional layer of protection for the skin.
Essential Oils: Lavender, peppermint, and tea tree oils can be added for fragrance and specific skin benefits, like calming inflammation or revitalizing tired skin.
Understanding these ingredients helps in creating a whipped body butter that meets specific skin needs and preferences.
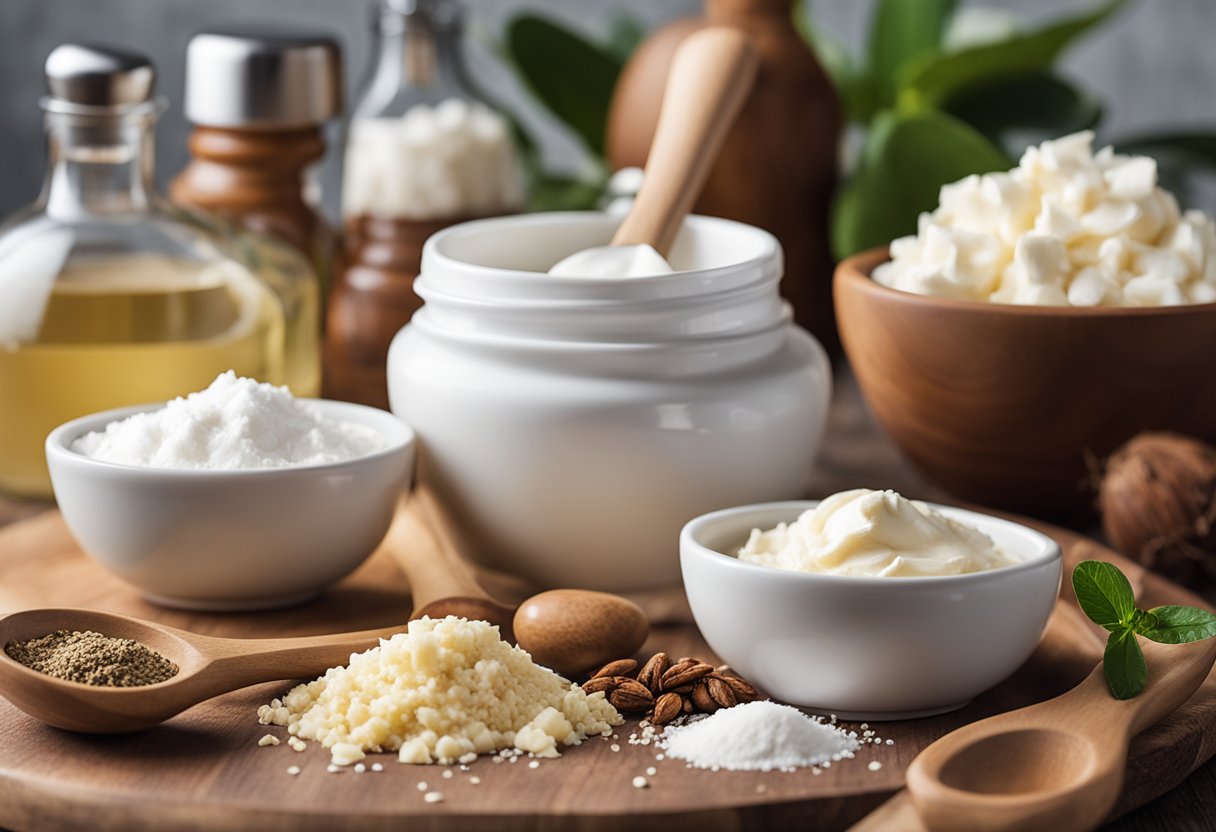
Essential Tools and Equipment
To create the perfect whipped body butter, it is crucial to have the right tools and equipment. Essential items include mixing bowls, proper mixers, and suitable storage containers for the final product.
Mixing Bowls and Utensils
For melting and mixing the ingredients, a heatproof mixing bowl is needed.
Double boilers or pyrex measuring pitchers work well for melting ingredients like shea butter and coconut oil. Use a stainless steel mixing bowl for combining oils. It’s important to also have heatproof spatulas and stirring utensils to handle the mixture safely.
Choose bowls that can withstand temperature changes to ensure smooth mixing.
Hand Mixer vs. Stand Mixer
Using a hand mixer or stand mixer significantly affects the texture of the body butter.
A hand mixer is more flexible and easier to control, making it perfect for beginners. It allows for better adjustment of mixing speed.
A stand mixer, on the other hand, provides more power and stability, which helps in achieving a consistently smooth texture. It’s ideal for larger batches. Factors like frequency of use and batch size should determine the choice between hand and stand mixers.
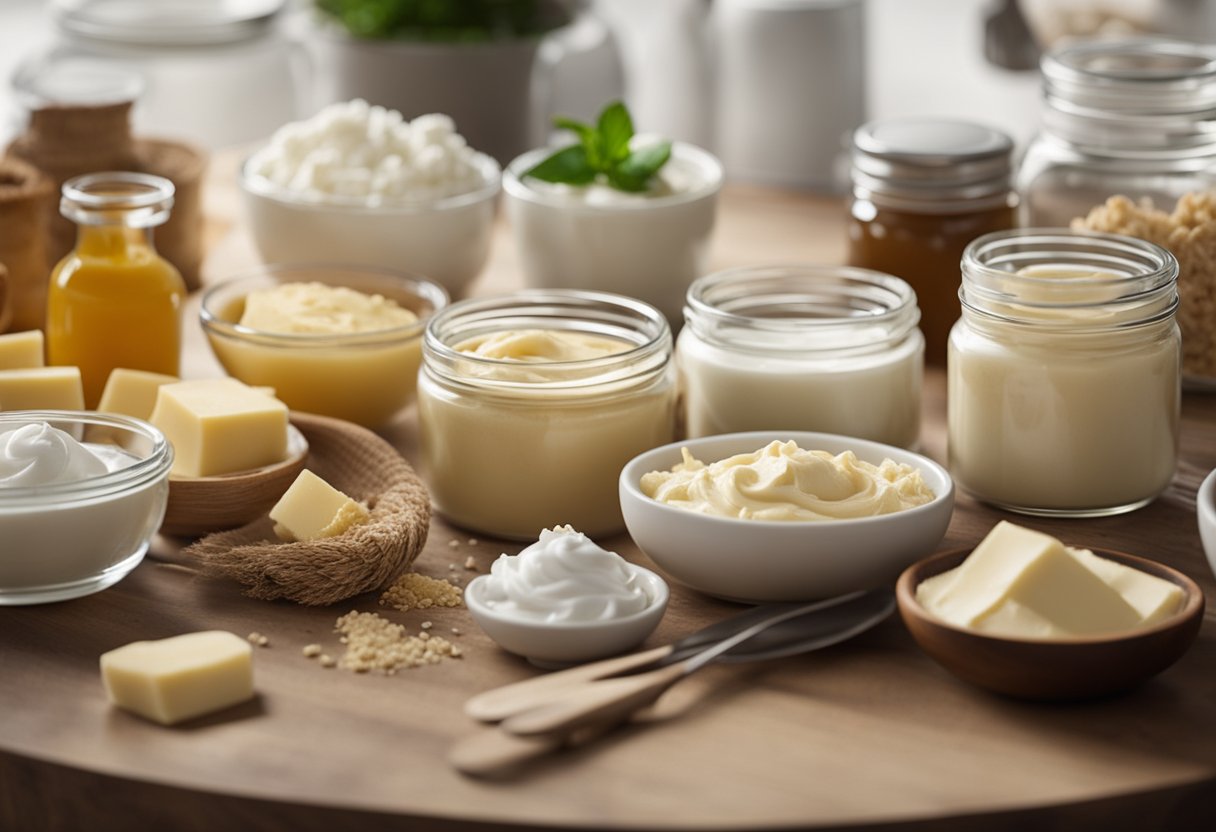
Storage Containers
Proper storage is essential to maintain the quality of the whipped body butter.
Use four-ounce glass jars or wide-mouth pint canning jars for storage. These containers should be airtight to prevent the body butter from drying out. Glass containers are preferred as they do not react with essential oils.
Plastic containers are an option but ensure they are BPA-free. Label the containers with ingredients and date for easy tracking.
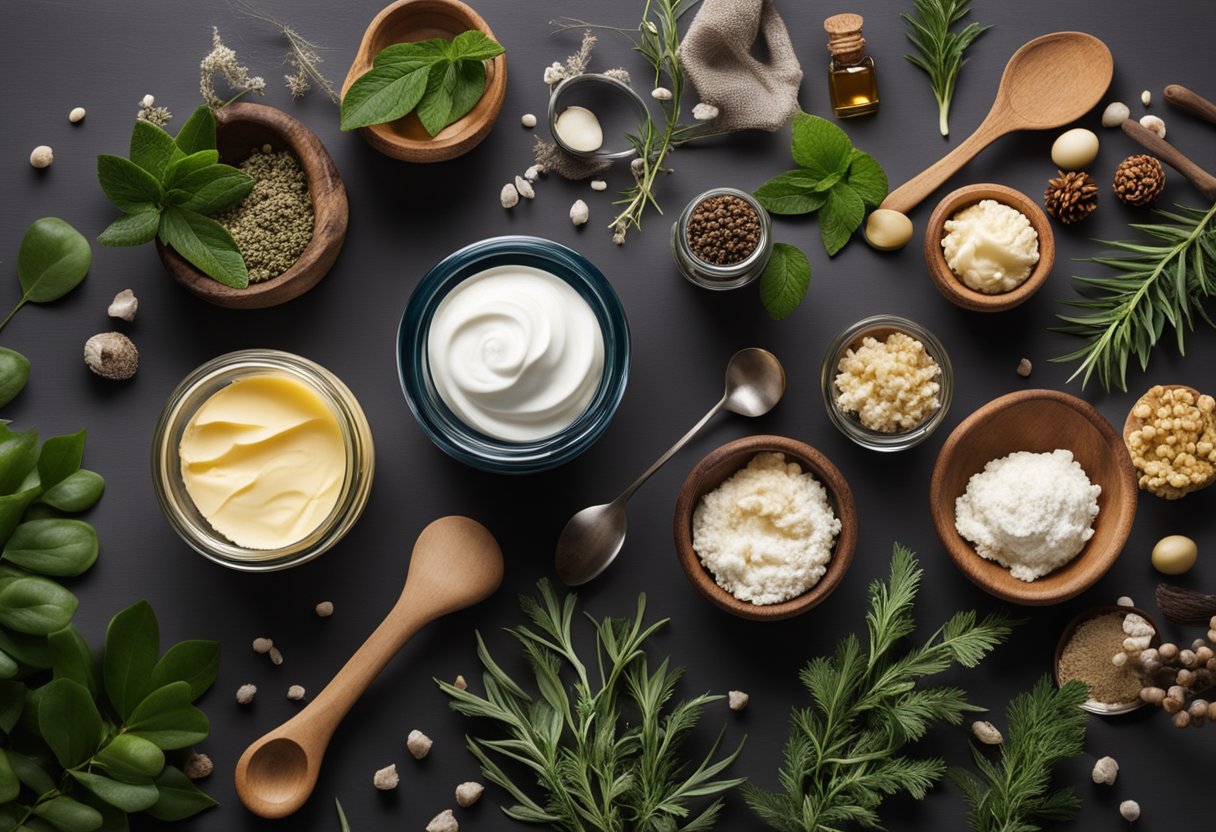
Choosing Your Ingredients
Selecting the right ingredients is crucial for crafting a high-quality whipped body butter. The main categories include butters, carrier oils, and essential oils, each providing their own unique benefits.
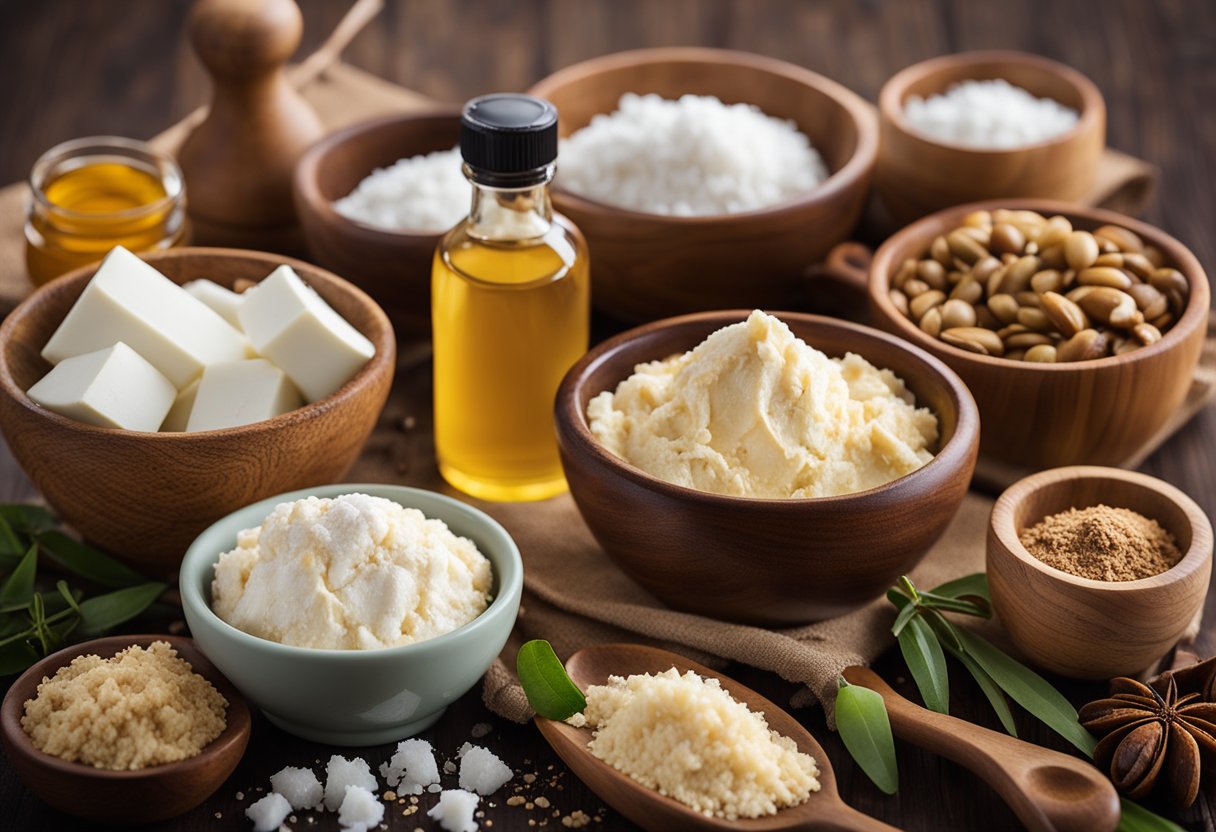
Butters: Shea, Mango, and Cocoa
Shea Butter is renowned for its moisturizing and anti-inflammatory properties. Extracted from the nuts of the shea tree, it is rich in vitamins A and E, making it perfect for soothing dry, irritated skin.
Mango Butter offers a lighter texture compared to shea. Extracted from the kernel of mangoes, it is rich in vitamins A and C, which help to rejuvenate and restore the skin. It’s particularly beneficial for reducing fine lines and wrinkles.
Cocoa Butter is extracted from cocoa beans and is well-known for its deep moisturizing abilities. Its high fatty acid content makes it ideal for improving skin elasticity and reducing stretch marks. Additionally, its subtle chocolate scent can add a pleasant aroma to your body butter.
Carrier Oils: Jojoba, Coconut, and Almond
Jojoba Oil closely mimics the skin’s natural sebum, making it an excellent moisturizer. It is lightweight and non-greasy, making it ideal for all skin types, including oily and acne-prone skin.
Coconut Oil has long been a favorite for its deeply moisturizing capabilities. Extracted from the meat of coconuts, it contains lauric acid, which has antibacterial and antifungal properties. This makes it beneficial for soothing irritated skin and protecting against infections.
Sweet Almond Oil is rich in essential fatty acids and vitamins A and E. It absorbs easily without leaving a greasy residue, making it excellent for softening and hydrating dry, cracked skin. It also helps to improve skin tone and texture.
Essential Oils for Fragrance and Benefits
Lavender Oil is well-known for its calming and anti-inflammatory properties. It is ideal for promoting relaxation and reducing skin irritation.
Tea Tree Oil has potent antibacterial and antifungal properties. It is particularly effective for treating acne-prone skin and can help reduce redness and swelling.
Rosehip Oil is rich in vitamins A and C. It is beneficial for brightening the skin and reducing signs of aging such as fine lines and dark spots.
By carefully selecting these ingredients, you can create a personalized whipped body butter tailored to your skin’s needs.
Step-by-Step Creation Process
Creating your own whipped body butter at home can be a rewarding experience. This guide will walk you through the melting of butters, incorporating oils, whipping, and finally setting and packaging the body butter for use.
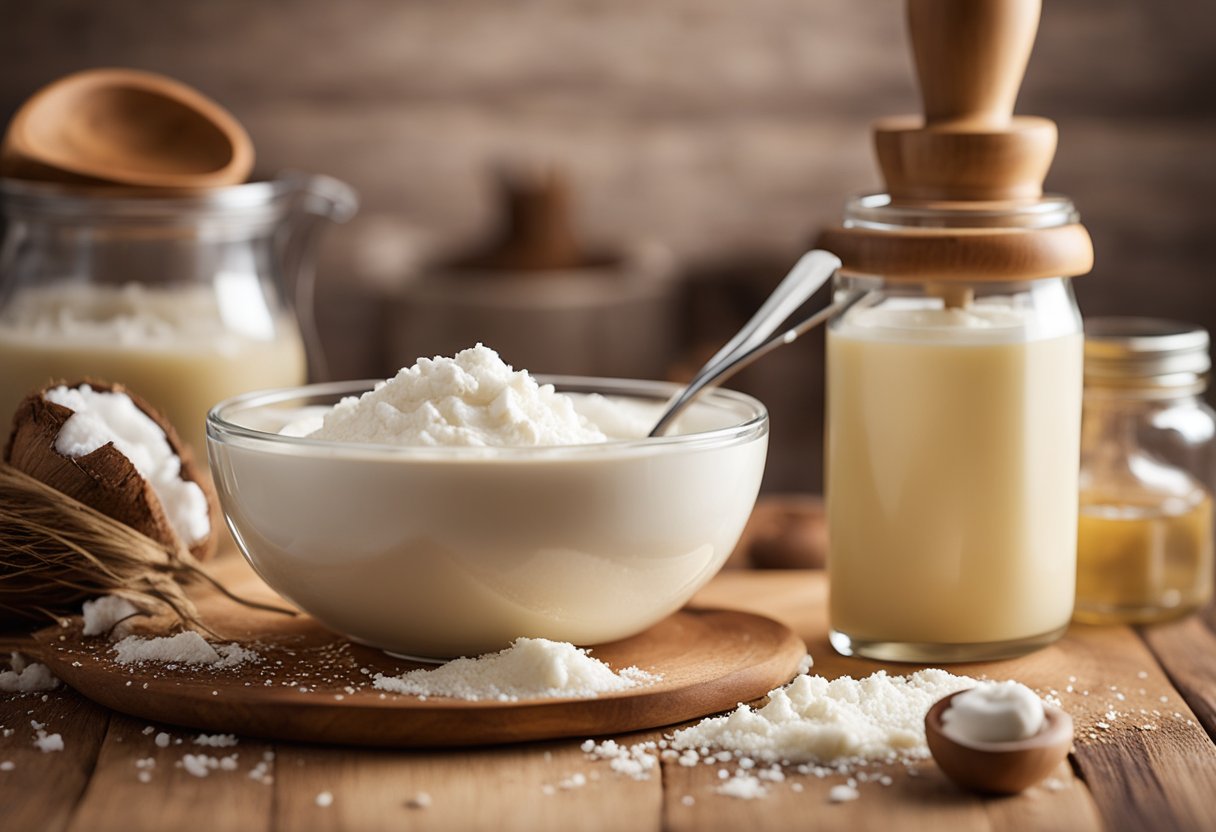
Melting the Butters
To begin, gather a wide-mouth pint canning jar or any other heatproof container. Add shea butter and cocoa butter to the container.
Place this container into a saucepan filled with a couple of inches of water, creating a double boiler effect. This ensures a gentle, even melt. Heat over medium heat until the butters are fully melted, stirring occasionally.
Carefully remove the container from heat once melted and allow it to cool slightly.
Incorporating Oils
Next, add in your liquid oils. Coconut oil and sweet almond oil are common choices, offering beneficial properties for the skin.
Carefully measure and stir thoroughly into the melted butters until fully combined. At this stage, you can also add vitamin E oil for extra nourishment and essential oils for fragrance.
Ensure the mixture is homogeneous before moving on to the next step.
Whipping to Perfection
Now, let the mixture cool slightly, then place it in the refrigerator for about an hour. This helps the mixture start to solidify around the edges, making it easier to whip.
Once it’s semi-solid, use a hand mixer or stand mixer to whip at high speed. Continue until the body butter becomes light and fluffy, resembling whipped cream.
This process usually takes a few minutes, depending on the temperature and consistency.
Setting and Packaging
After whipping, spoon the light and airy body butter into clean, airtight jars. These jars help maintain the freshness and consistency of the product.
Let the filled jars sit at room temperature or refrigerate them again for a bit to finish setting up.
Label each jar with the contents and date, making it easy to track when it was made. Proper storage ensures durability and effectiveness of your homemade whipped body butter.
Customization Tips
Creating a personalized whipped body butter allows you to tailor scents, textures, and even nutritional benefits to suit your unique needs and preferences.
Tailoring Scents and Textures
Scents can profoundly impact your experience with body butter. Essential oils like lavender, peppermint, and eucalyptus can be added for various effects. Lavender can be soothing, while peppermint can be refreshing.
Adjusting the texture involves tweaking the ratio of oils and butters. Adding more shea butter results in a firmer texture, while increasing coconut oil creates a softer, more whipped consistency.
Test small batches to find your ideal combination. Use a hand mixer for the final whip to achieve that light, fluffy texture.
Natural Colorants Use
Natural colorants provide both aesthetic appeal and benefits without harmful chemicals. Spirulina adds a green hue and is rich in antioxidants. Beetroot powder offers a pink tint, enhancing glow.
Use approximately 1/4 teaspoon of colorant per cup of body butter. Add the colorant during the melting phase for even distribution.
Remember that some natural colorants can mildly stain skin or clothing. Always test on a small patch of skin first to ensure compatibility and satisfaction with the color and effect.
Vitamin Additives
Incorporating vitamins can enhance the nourishing properties of your whipped body butter. Vitamin E acts as a powerful antioxidant, helping to protect and repair skin. Add a few drops of Vitamin E oil per cup of body butter.
Vitamin A, found in retinol or carrot seed oil, can improve skin texture and tone. Use these in moderation, usually 1-2 drops per cup of body butter.
Ensure the vitamins are properly mixed to distribute their benefits evenly throughout the product.
Proper Usage and Application

To maximize the benefits of DIY whipped body butter, it’s important to know how to apply it properly and when to use it for the best results. Proper application techniques can enhance hydration and nourishment.
How to Apply Whipped Body Butter
Applying whipped body butter starts with clean, dry skin. It’s best used after a shower or bath when pores are open.
Warm a small amount of the butter between the palms. This helps in spreading it easily over the skin.
Focus on Areas: Target dry areas like elbows, knees, and heels. Use circular motions to ensure deep absorption.
Overuse can make the skin greasy. A small amount, around the size of a dime, is typically sufficient for most areas.
Massage Until Absorbed: Gently massage until the butter absorbs into the skin.
Best Times for Application
After Shower or Bath: The ideal time to apply whipped body butter is post-shower or bath. This ensures maximum absorption due to open pores.
Before Bed: Applying before bedtime allows the skin to absorb the nutrients overnight. Skin repairs and regenerates during sleep, making nighttime ideal for hydration.
Dry Seasons: During winter or dry spells, frequent application can combat skin dryness. Adjust usage frequency based on the skin’s condition and external weather.
Always store the whipped body butter in a cool, dry place to maintain its consistency and longevity. This ensures that it remains effective over time.
Preservation and Shelf Life
Homemade whipped body butter can last a long time if properly preserved and stored under the right conditions. Specific ingredients and methods can help extend the shelf life of your DIY creation.
Natural Preservatives
Using natural preservatives is essential for extending the shelf life of your homemade body butter. Vitamin E oil is commonly added at about 0.5% of the recipe by weight to slow down oxidation, which leads to rancidity.
Another effective preservative is rosemary extract. It acts as an antioxidant and helps maintain the freshness of the oils.
Essential oils such as tea tree or lavender not only add fragrance but also possess antimicrobial properties that could help in preservation.
Storage Conditions
Proper storage is equally critical for the longevity of whipped body butter. The product should be stored in an airtight container to prevent exposure to air, which can cause oxidation. Glass jars are preferable because they do not react with the oils.
Keep the body butter in a cool, dark place away from direct sunlight. Excessive heat can melt the butter and alter its texture.
Refrigeration can be useful for extending shelf life, but make sure the jars are sealed tightly to avoid moisture contamination.
Troubleshooting Common Issues
When making DIY whipped body butter, common issues include graininess, separation, and inconsistency in texture. Each of these problems can be addressed with specific techniques and adjustments to ensure a smooth and effective homemade product.
Preventing Graininess
Graininess often occurs when the butter solidifies unevenly. To avoid this:
Proper Melting: Ensure all ingredients are fully melted and mixed together. Use a double boiler to gently melt without overheating.
Cooling: After melting, allow the mixture to cool at room temperature before placing it in the refrigerator. This gradual cooling helps prevent the formation of grains.
Whipping: Whip the mixture once it has partially solidified. This breaks up any potential grainy structures.
With these steps, you can achieve a smooth, grain-free body butter.
Fixing Separation
Separation happens when the oils and butters don’t stay emulsified. To fix this:
Correct Ratios: Ensure you are using the right proportions of solids (butters) to liquids (oils). An imbalance can cause separation.
Solidify Properly: Allow the mixture to solidify adequately before whipping. Placing it in the fridge for about one hour helps it reach the right texture.
Re-whipping: If separation occurs after whipping, simply remix. Sometimes re-whipping can help reintegrate the ingredients.
By maintaining these practices, you can help ensure your body butter remains stable and homogenous.
Adjusting Consistency
Achieving the right consistency is crucial for a lotion that’s easy to apply and absorbs well.
Measurement Adjustments: If the body butter is too hard, add a bit more liquid oil. If it’s too soft, add more butter. Adjust these ratios in small increments to reach the desired consistency.
Temperature Control: Temperature plays a big role. Work in a cool environment to prevent the butter from melting too quickly. Use a thermometer to monitor melting and cooling stages.
Whipping Time: Whip longer for airier, lighter butter. For a denser product, whip for a shorter time.
Careful adjustments can help you fine-tune the texture of your DIY whipped body butter to your preference.
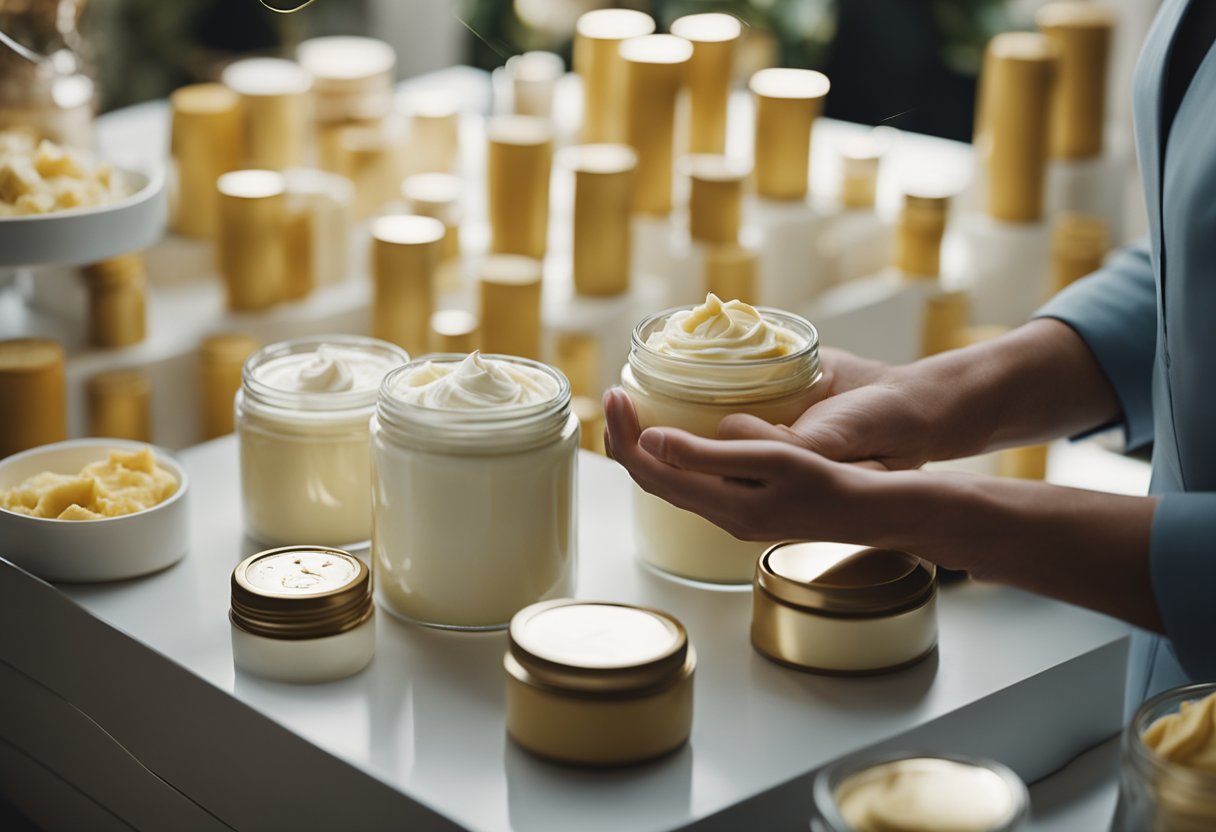
Packaging and Labeling

Proper packaging and clear labeling are essential for ensuring the quality and safety of your DIY whipped body butter. Selecting the right containers and providing detailed information are key steps.
Choosing the Right Packaging
For DIY whipped body butter, airtight containers are crucial to prevent contamination and preserve freshness. Glass jars and BPA-free plastic containers are popular choices. Glass jars, such as mason jars or wide-mouth pint canning jars, are preferred due to their non-reactive nature and durability.
If using plastic, ensure it is designed for cosmetic use. Consider the size of the container based on how much body butter you make. Common sizes include 4-ounce and 8-ounce jars. Always use clean, dry containers to minimize the risk of contamination.
Labeling Requirements and Tips
Labeling your whipped body butter provides essential information to the user and helps maintain quality standards. Include the name of the product, ingredient list, and date of creation on your label. An expiry date based on the shortest shelf life of the ingredients used is also important.
Consider adding usage instructions and storage recommendations. For DIY projects, handwritten labels or printable templates can be used. Ensure the labels are water-resistant to handle bathroom humidity. Use clear, legible fonts and durable adhesive to keep the labels intact.
By choosing the right packaging and carefully labeling your whipped body butter, you can ensure that your product remains safe and effective for use.
Gifting and Selling
DIY whipped body butter can be a thoughtful gift for loved ones or a potential business venture. It’s essential to consider how to create appealing gift sets and understand the regulations for selling homemade body products.
Creating Gift Sets
To make the gifting experience special, consider assembling themed gift sets. Combine different scented body butters, such as lavender, vanilla, and citrus, for variety. Include additional items like a small jar of sugar scrub or a hand-written note for a personal touch.
Presentation matters. Use decorative jars, ribbons, and labels to enhance the aesthetic appeal. Offering an instruction card or a list of ingredients can add a professional touch and reassure recipients of the product’s quality.
Think about occasions when people might appreciate such gifts, such as birthdays, holidays, or anniversaries. Customizing the package to suit the event can make the gift even more meaningful.
Regulations for Selling Body Butter
When planning to sell whipped body butter, it’s crucial to adhere to local regulations. Research the specific requirements in your area, as these can vary widely. Common regulations include having a cosmetic manufacturing license and ensuring all ingredients are sourced responsibly and listed clearly on the packaging.
Proper labeling is essential. Labels should include an ingredient list, net weight, and usage instructions. Not only is this often required by law, but it also builds trust with customers.
Ensure the workspace where the body butter is produced meets hygiene standards. Using sterile equipment and maintaining a clean environment helps prevent contamination, ensuring a safe product for consumers.
Frequently Asked Questions
This section addresses common inquiries about crafting DIY whipped body butter. Topics range from creating non-greasy recipes to ensuring the end product remains light and fluffy.
How can I create a non-greasy whipped body butter at home?
To achieve a non-greasy texture, balance oils and butters appropriately. Using a higher ratio of absorbing oils like jojoba oil or grapeseed oil can help. Adding arrowroot powder or cornstarch to the mixture also reduces greasiness.
What are the necessary steps to make body butter suitable for dry skin?
Ingredients beneficial for dry skin include shea butter, cocoa butter, and coconut oil. These provide deep hydration. Incorporate vitamin E oil to enhance moisturizing properties. Using a double boiler, melt the butters and oils together, then whip until the mixture is fluffy.
What is a simple recipe for a three-ingredient body butter?
A basic three-ingredient recipe includes:
- 1 cup shea butter
- 1/2 cup coconut oil
- 1/2 cup almond oil
Melt the shea butter and coconut oil together, then mix in the almond oil. Allow to cool slightly before whipping until light and creamy.
Can you provide tips for keeping homemade whipped body butter fluffy?
To maintain a fluffy texture, refrigerate the mixture until it begins to solidify and then whip it with a hand mixer. Avoid over-whipping. Store it in a cool environment to prevent the butter from melting and losing its whipped consistency.
Why might my homemade whipped body butter fail to whip properly?
If the mixture is too warm, it might not whip well. Ensure it cools adequately before whipping. Adding too many liquid oils can also make it difficult to achieve a fluffy texture. Always cool down the mixture to a semi-solid state before whipping.
What process should I follow to create a body butter that gives skin a glowing appearance?
For a glowing effect, include oils like jojoba or argan oil, which are known for their skin-enhancing properties. Mix in a small amount of mica powder to add a subtle shimmer. Melt the necessary butters and oils, blend together, let cool, and then whip until airy and smooth.