I love creating simple and effective skincare solutions at home, and one of my favorites is the banana and yogurt face mask. This easy recipe not only helps in brightening my skin but also hydrates and soothes it, making it a go-to for anyone looking to enhance their skincare routine. The combination of banana’s natural vitamins and yogurt’s probiotics works wonders, delivering a boost of hydration and radiance.
To make this mask, you only need two ingredients: a ripe banana and yogurt. I find this mixture incredibly easy to prepare, as it requires minimal effort and time. Simply mash the banana, blend it with yogurt, and you’ll have a nourishing mask ready to go in just minutes.
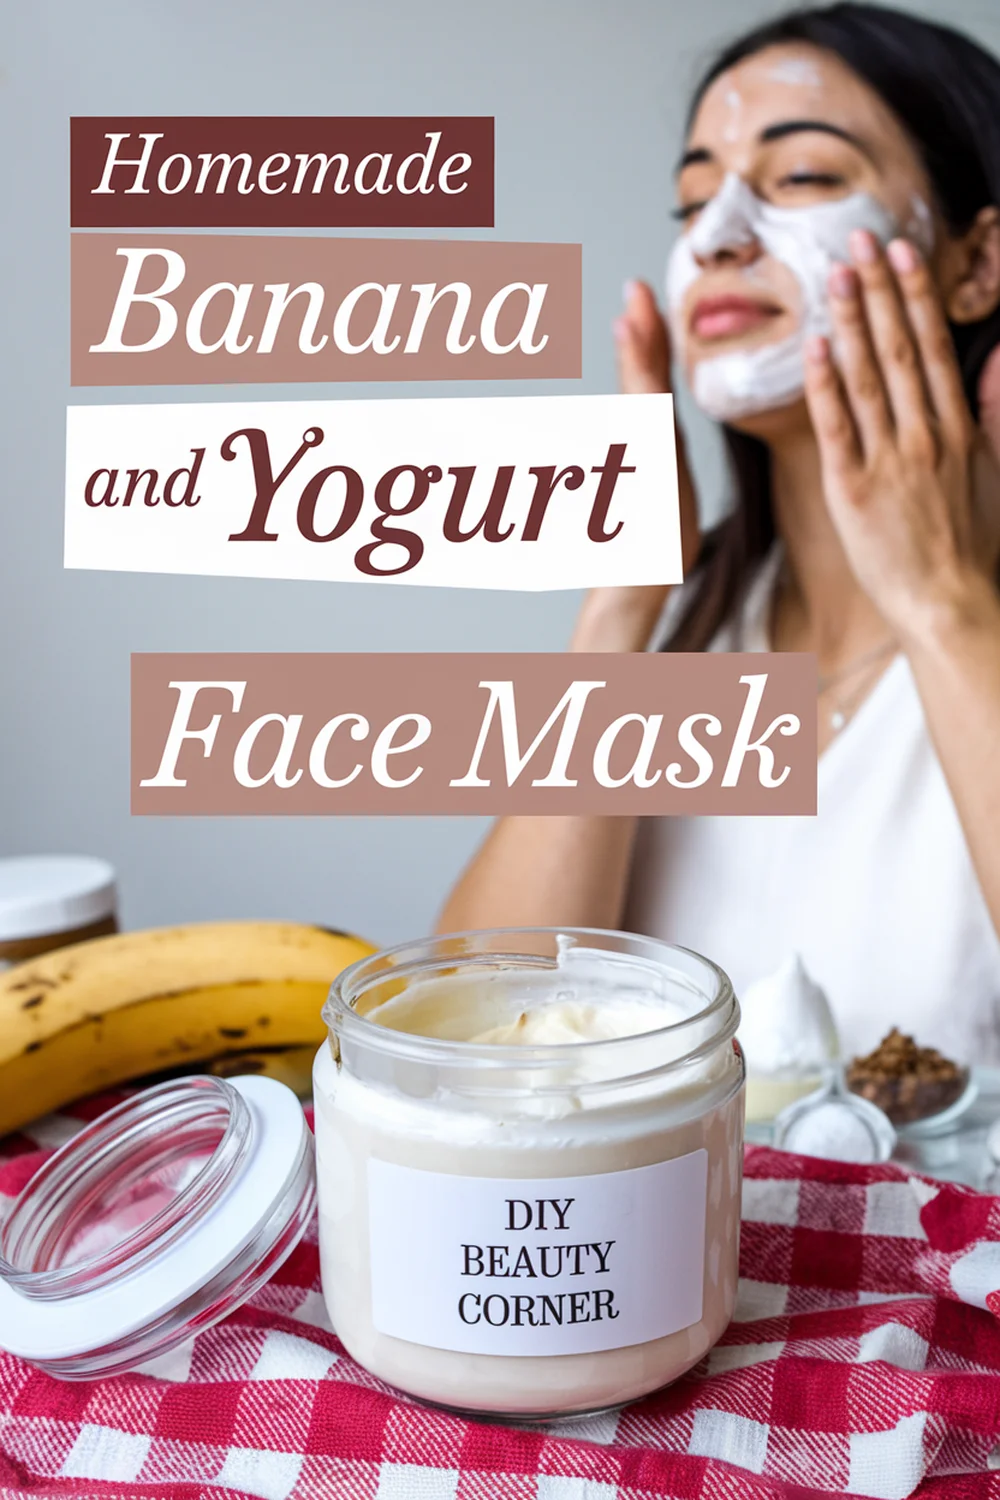
Applying this face mask is a refreshing treat for my skin. After leaving it on for about 10 minutes, I can feel the difference in hydration and softness. Keep reading to discover the full recipe and the benefits of this delightful homemade face mask that can transform your skincare routine.
Benefits of Banana and Yogurt for Skin
Using banana and yogurt in homemade face masks offers numerous benefits for skin health. Both ingredients possess unique properties that can nourish, hydrate, and treat various skin concerns effectively.
Nutritional Content and Properties
Bananas are rich in vitamins A, B, and E, which are essential for maintaining healthy skin. These vitamins help promote cell regeneration and enhance skin elasticity.
Additionally, bananas contain antioxidants that combat free radicals, diminishing the signs of aging. Meanwhile, yogurt is packed with lactic acid, a natural exfoliant that gently removes dead skin cells. This quality promotes a smoother and brighter complexion.
Together, the nutritional components of bananas and yogurt create a potent combination that acts to rejuvenate and revitalize the skin.
Skin Hydration and Nourishment
The moisturizing properties of yogurt are particularly effective for dry skin. It provides a non-greasy layer of hydration that helps retain moisture while soothing irritation.
Bananas also contribute to hydration; their high potassium content draws moisture to the skin. This combination helps keep my skin supple and soft.
When I apply a banana and yogurt mask, I often notice my skin feels plumper and more hydrated afterward. Consistent use can lead to improved skin texture and overall radiance.
Acne and Blemish Treatment
For those struggling with acne, yogurt can be a valuable ally due to its antibacterial properties. Lactic acid helps reduce bacteria on the skin, which can minimize breakouts and prevent future acne.
Bananas add to this effect by providing essential nutrients that support healing. Their anti-inflammatory properties can soothe inflamed areas, reducing redness and irritation.
By applying a banana and yogurt face mask regularly, I have experienced fewer blemishes and a more balanced complexion. This natural approach can be a gentle yet effective way to manage acne-prone skin.
Homemade Banana and Yogurt Face Mask Recipe
This recipe is simple to make and utilizes common ingredients. Both banana and yogurt are known for their skin benefits, providing nourishment and hydration.
Ingredients List
To create this effective mask, I gather the following ingredients:
- 1 ripe banana: Packed with vitamins and natural oils, it helps moisturize the skin.
- 2 tablespoons plain yogurt: Contains lactic acid, which gently exfoliates and brightens the skin.
- 1 teaspoon honey (optional): A natural humectant that attracts moisture and offers antibacterial properties.
These ingredients work together to create a hydrating and nourishing mask, suitable for various skin types.
Step-by-Step Preparation
- Mash the Banana: I start by peeling the ripe banana and placing it in a bowl. Using a fork, I mash it until smooth, ensuring there are no lumps.
- Add Yogurt: Next, I measure out two tablespoons of plain yogurt and mix it with the banana. I stir this mixture until it becomes a creamy paste.
- Incorporate Honey: If desired, I add one teaspoon of honey to enhance hydration and mix well. This also helps to improve the mask’s texture.
- Final Mixing: I ensure all ingredients are thoroughly combined for a uniform consistency, making the application smoother.
Application and Usage Tips
Before applying the mask, I recommend cleansing my face. This ensures that the pores are open and ready to absorb the nutrients.
- Apply the Mask: I use my fingers or a clean brush to apply the mask evenly across my face while avoiding the eye area.
- Leave It On: I allow the mask to sit for about 10-15 minutes. This duration is sufficient for the ingredients to penetrate the skin effectively.
- Rinse Off: Using cool water, I gently rinse the mask off, ensuring no residue is left behind. Patting my face dry with a clean towel follows.
For best results, I repeat this treatment 1-2 times a week to maintain healthy and glowing skin.
