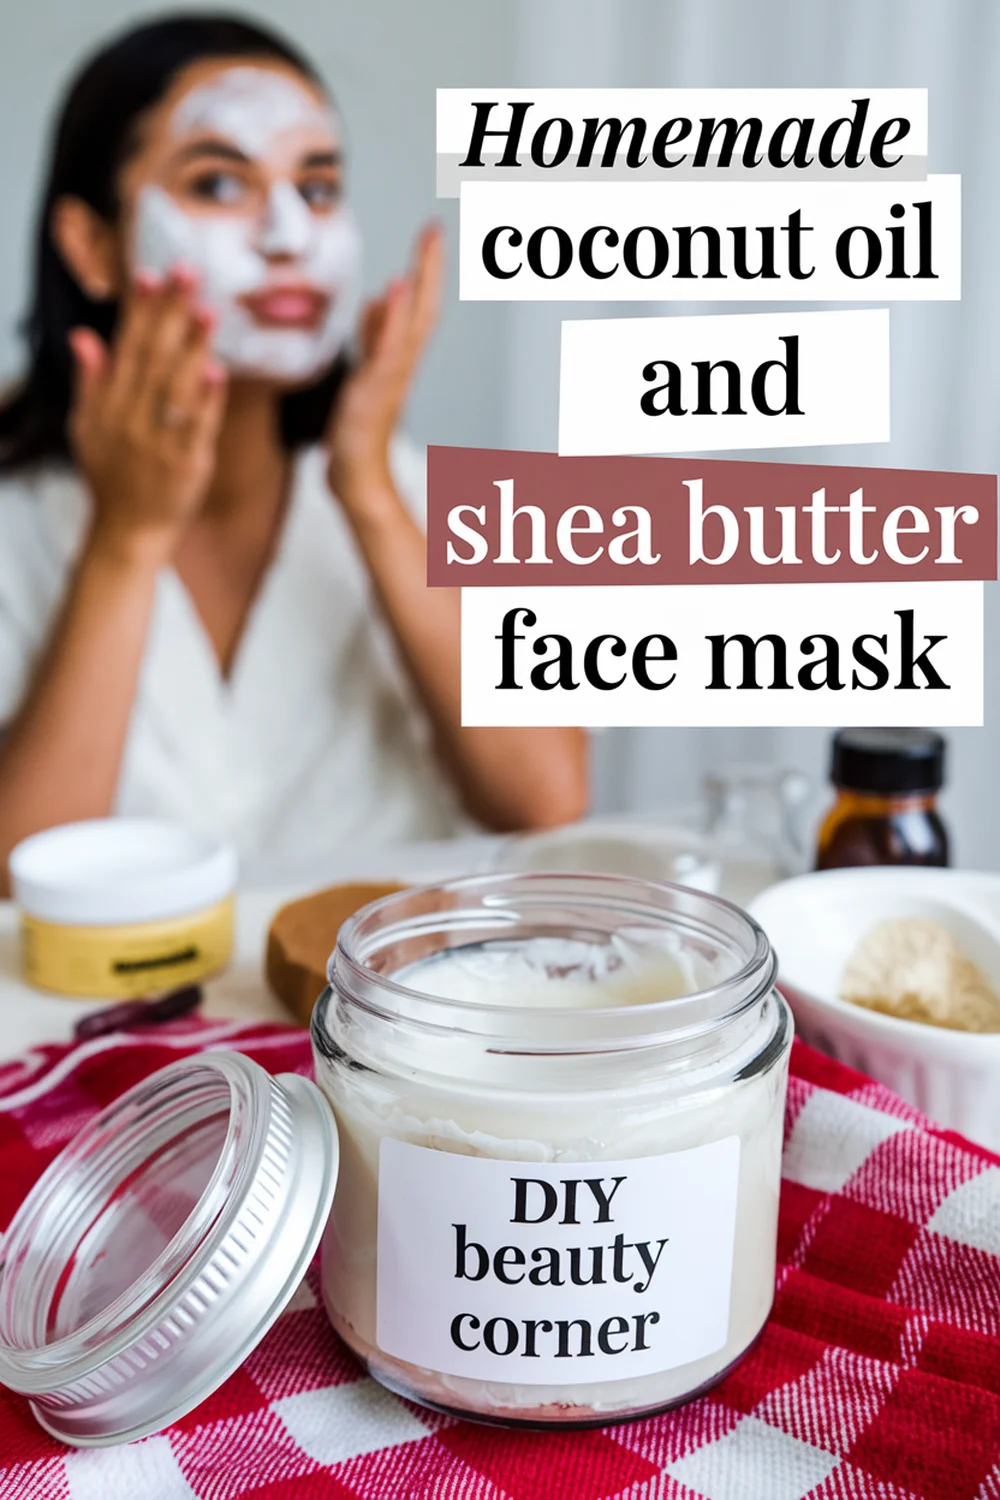
Coconut oil and shea butter are two powerhouse ingredients known for their hydrating and nourishing properties. I’ve found that combining these two can create a simple yet effective face mask that promotes glowing skin. This easy homemade coconut oil and shea butter face mask can help hydrate, soothe, and enhance your skin’s natural radiance.
To make this mask, I gather a few basic ingredients that are likely already in my kitchen. With coconut oil’s ability to moisturize and shea butter’s richness in vitamins, this blend not only feels luxurious but also delivers real benefits for my skin. The preparation is quick and straightforward, allowing me to incorporate this mask into my regular skincare routine effortlessly.
Applying this mask regularly has transformed my skin’s texture and tone. It serves as a perfect remedy for those days when my skin feels dull or dry. Discover how to create this rejuvenating face mask so you can enjoy the same beautiful results.
Benefits of Coconut Oil and Shea Butter for the Skin
Coconut oil and shea butter offer a range of benefits that enhance skin health and appearance. Their nourishing and healing properties make them popular choices in skincare routines.
Nourishing Properties of Coconut Oil
Coconut oil is an excellent moisturizer due to its high fatty acid content. It penetrates the skin easily, providing deep hydration without a greasy residue. This makes it ideal for daily use, especially for those with normal to slightly dry skin.
It contains lauric acid, known for its antibacterial properties. This can help protect the skin from harmful bacteria. Additionally, coconut oil has a natural SPF, offering some protection against sun exposure.
Using coconut oil can improve skin texture, leaving it feeling soft and smooth. Regular application may help to reduce flakiness and dryness, promoting a more radiant complexion. Its antioxidant properties also contribute to protecting the skin from environmental stressors.
Healing Effects of Shea Butter
Shea butter is renowned for its rich, creamy texture, making it a powerful moisturizer. Its thick consistency provides intense hydration, particularly beneficial for very dry or cracked skin. Because of this, I find it an excellent choice during harsh weather conditions.
The anti-inflammatory properties of shea butter make it effective in soothing irritated skin. It promotes healing and can aid in reducing the appearance of scars and stretch marks. Additionally, shea butter is rich in vitamins A and E, which are vital for skin health and regeneration.
Using shea butter regularly can improve the skin’s elasticity, making it look firmer and more youthful. Its natural ability to heal and nourish makes it an essential ingredient in my skincare regimen, especially for maintaining a glowing complexion.
Creating Your Face Mask
In this section, I will outline the essential ingredients and supplies, provide a detailed mixing and application process, and share aftercare tips to enhance your glowing skin experience.
Ingredients and Supplies Needed
For this nourishing face mask, I gather the following ingredients:
- 1 tablespoon coconut oil
- 1 tablespoon shea butter
- 1 teaspoon honey
- 1 teaspoon oatmeal
I also prepare some supplies to ensure a smooth process. You will need:
- A small mixing bowl
- A spoon for combining ingredients
- A double boiler or a heat-safe bowl for melting
- A facial brush or clean fingers for application
Make sure all ingredients are at room temperature for easier mixing. Having everything ready helps streamline the process.
Step-by-Step Mixing and Application Process
To start, I melt 1 tablespoon of coconut oil and 1 tablespoon of shea butter together in a double boiler. This gentle heat helps them blend smoothly. Once melted, I remove the mixture from heat and allow it to cool slightly.
Next, I add 1 teaspoon of honey to the mixture. Honey is great for moisturizing and providing antibacterial properties. After that, I stir in 1 teaspoon of oatmeal, which soothes the skin and helps with exfoliation.
Once everything is well combined, I use a clean brush or my fingers to apply the mask evenly on my face, avoiding the eye area. I leave the mask on for about 15-20 minutes before rinsing it off with warm water. Patting my face dry gently completes the application process.
Aftercare and Frequency of Use
After rinsing off the face mask, I like to apply a light moisturizer to lock in the hydration. This step is essential, as coconut oil and shea butter can provide deep moisture, but it’s important to seal it in.
I recommend using this mask 1-2 times a week for the best results. Consistent use helps maintain glowing skin without overwhelming it. If your skin feels irritated, I suggest taking a break and reducing the frequency.
Always pay attention to how your skin responds after use to ensure it’s well-tolerated and happy. Regular care can lead to a smoother, more radiant complexion over time.
