Blackheads are a common skin problem that can affect people of all ages, genders, and skin types. They are small, dark spots that appear on the skin, usually on the nose, cheeks, and chin. Blackheads are caused by the accumulation of oil, dead skin cells, and bacteria in the pores. While they are not harmful, blackheads can be unsightly and can make the skin appear dull and congested.
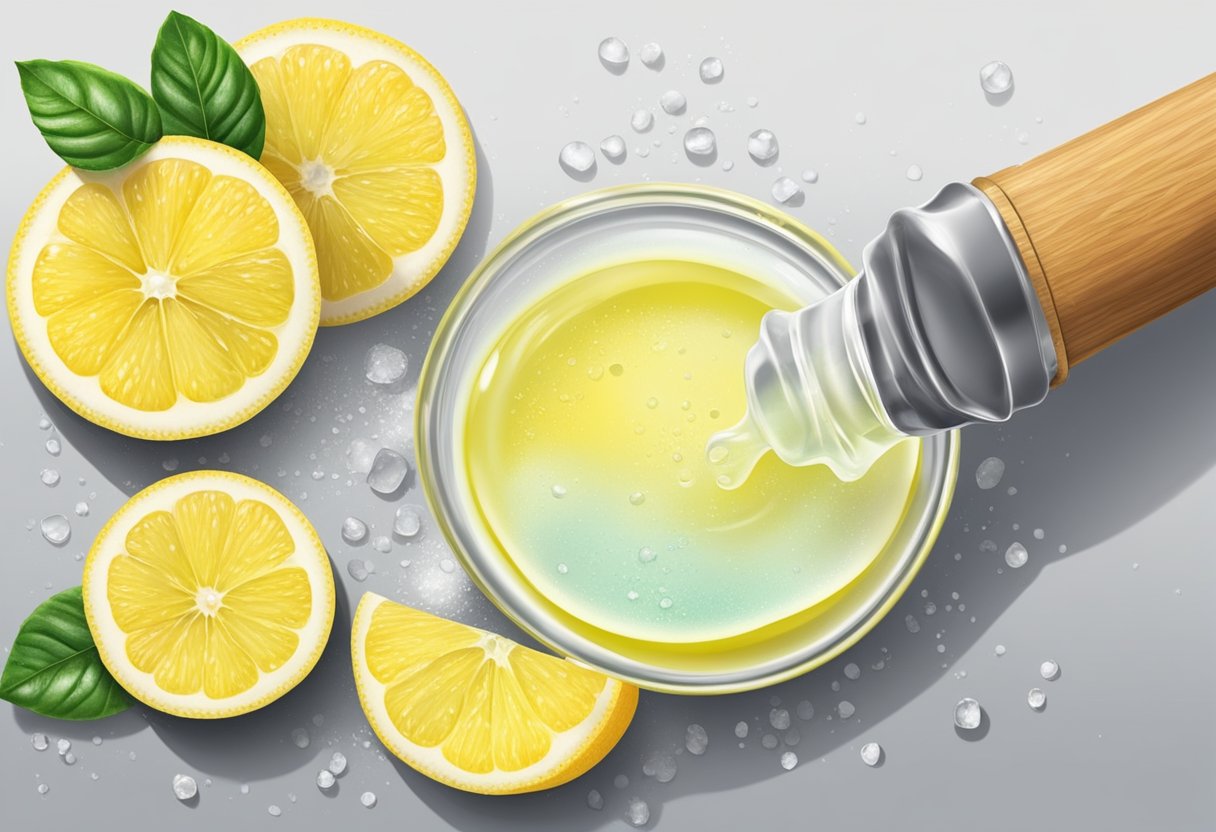
One popular home remedy for blackheads is the use of lemon juice and baking soda. Lemon juice is a natural astringent that can help to tighten the pores and reduce the appearance of blackheads. Baking soda, on the other hand, is a natural exfoliant that can help to remove dead skin cells and unclog the pores. When used together, lemon juice and baking soda can create a powerful blackhead-fighting solution that can help to improve the appearance of the skin.
It is important to note that while lemon juice and baking soda can be effective in treating blackheads, they may not work for everyone. It is also important to use these ingredients properly and in the right amounts to avoid damaging the skin. In the following sections, we will explore the effectiveness of lemon juice and baking soda in getting rid of blackheads and provide some tips on how to use these ingredients safely and effectively.
Understanding Blackheads
Blackheads are a common type of acne that occur when hair follicles become clogged with oil, dead skin cells, and other debris. They are called blackheads because the surface of the clog oxidizes and turns black.
Causes of Blackheads
Blackheads can be caused by a variety of factors, including:
- Excess oil production: When the skin produces too much oil, it can mix with dead skin cells and other debris to form a clog.
- Hormonal changes: Hormonal changes during puberty, menstruation, and pregnancy can increase oil production and lead to blackheads.
- Certain medications: Some medications, such as corticosteroids and androgens, can increase oil production and contribute to blackheads.
- Genetics: Some people are more prone to developing blackheads due to their genetics.
Why Lemon Juice and Baking Soda
Lemon juice and baking soda are two natural ingredients that are often used to treat blackheads. Lemon juice contains citric acid, which can help to exfoliate the skin and remove dead skin cells. Baking soda, on the other hand, has a slightly abrasive texture that can help to unclog pores and remove excess oil.
When used together, lemon juice and baking soda can help to reduce the appearance of blackheads and improve the overall texture of the skin. However, it is important to note that these ingredients may not be suitable for everyone, as they can be irritating to some skin types. It is always best to do a patch test before using any new skincare product or ingredient.
Preparation and Safety
When using lemon juice and baking soda to get rid of blackheads, it is important to take certain precautions to ensure that the process is safe and effective. Here are some key considerations to keep in mind:
Skin Type Considerations
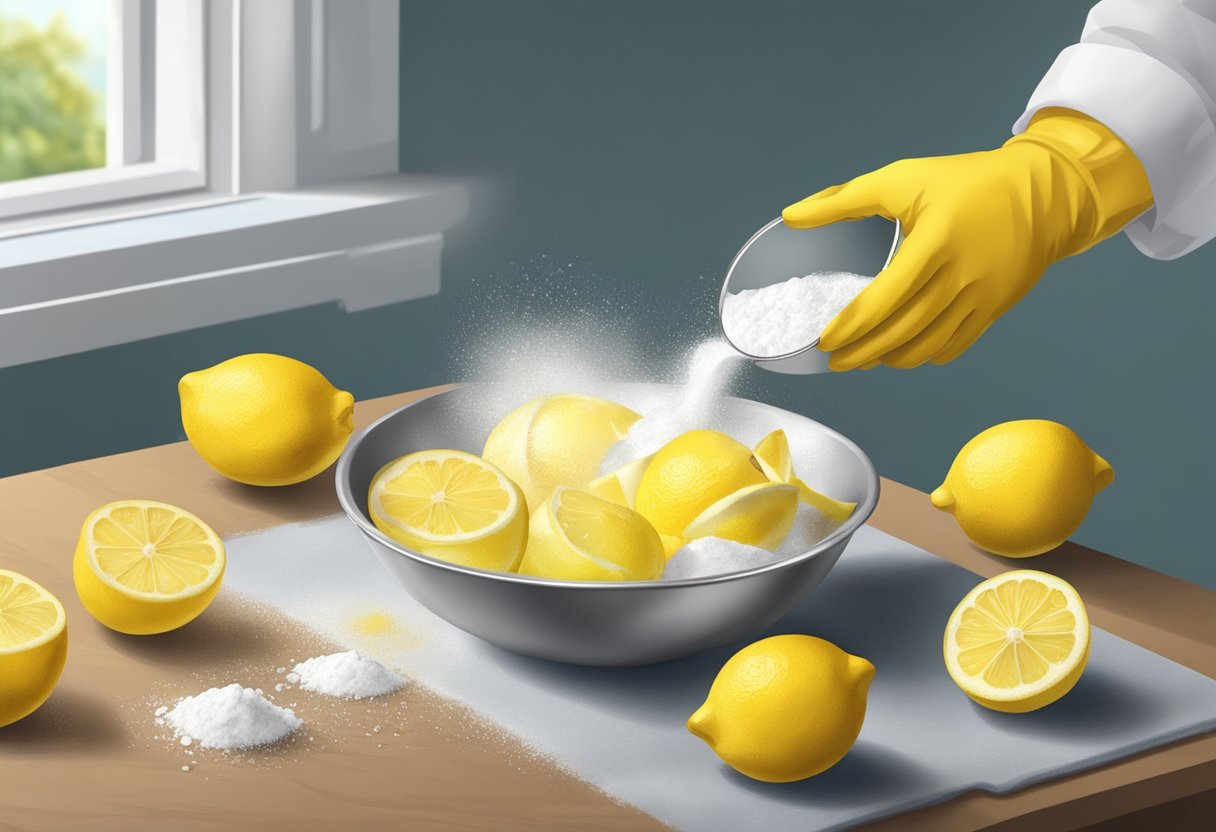
Different skin types may react differently to lemon juice and baking soda, so it is important to consider your skin type before using these ingredients. For example, people with dry or sensitive skin may find that lemon juice is too harsh and can cause irritation or redness. On the other hand, people with oily skin may benefit from the astringent properties of lemon juice, which can help to remove excess oil and unclog pores.
Similarly, baking soda can be quite abrasive and may cause irritation or inflammation if used too frequently or in large amounts. It is generally recommended to use baking soda in moderation and to avoid using it on broken or irritated skin.
Patch Test for Allergies
Before using lemon juice and baking soda on your face, it is a good idea to do a patch test to check for any allergic reactions. To do this, apply a small amount of the mixture to a small area of skin, such as the inside of your wrist, and wait for 24 hours to see if any redness, itching, or swelling occurs.
If you experience any adverse reactions, such as hives or difficulty breathing, stop using the mixture immediately and seek medical attention. It is also important to note that lemon juice can make your skin more sensitive to sunlight, so be sure to wear sunscreen if you plan to be outdoors after using this ingredient.
Lemon Juice and Baking Soda Recipe

Required Ingredients
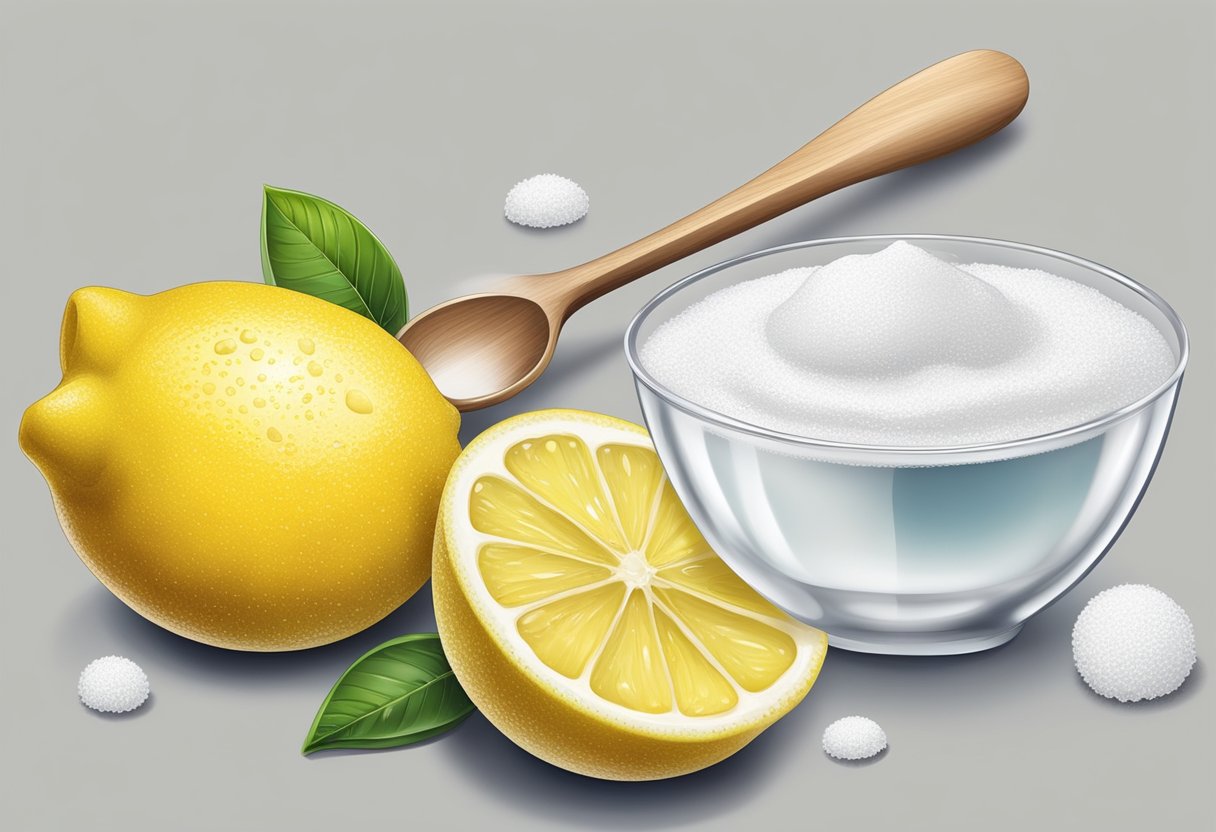
To make a lemon juice and baking soda blackhead removal solution, you will need the following ingredients:
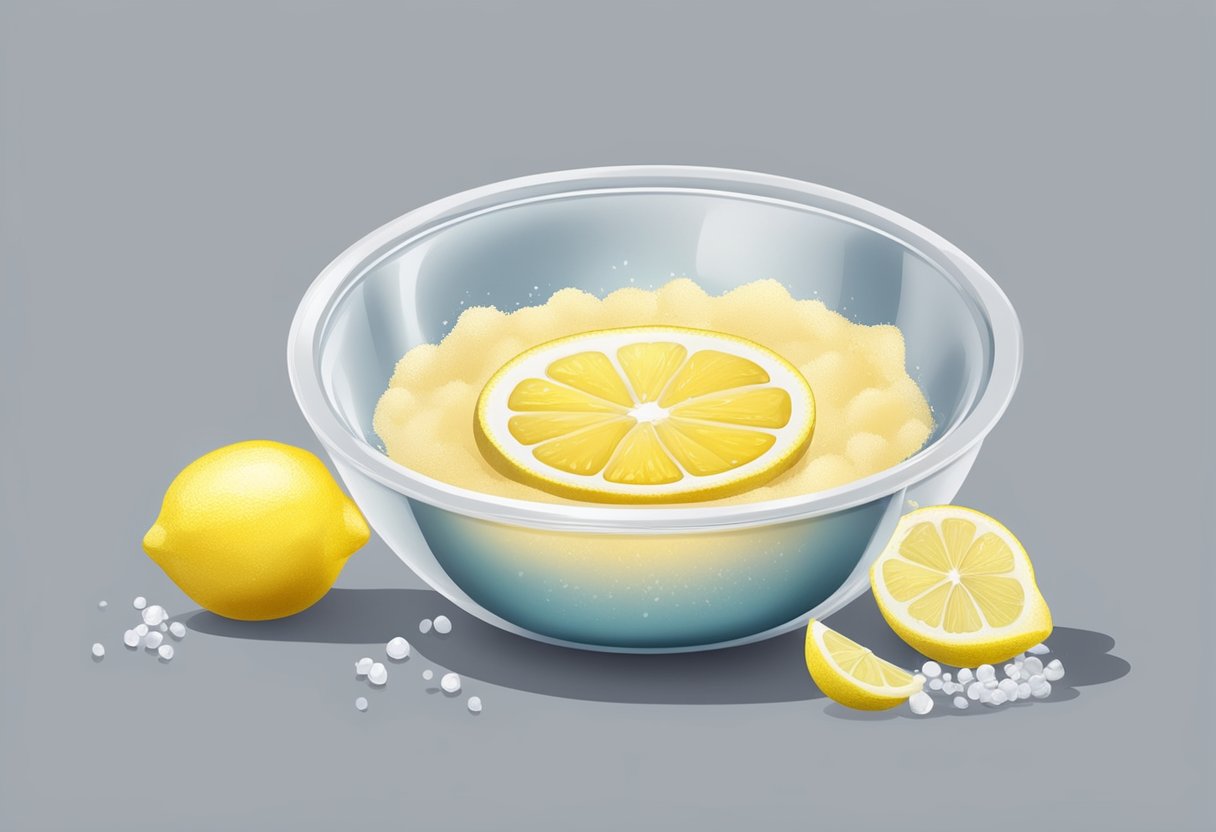
- 1 tablespoon of baking soda
- 1 tablespoon of lemon juice
- 1 teaspoon of water (optional)
Step-by-Step Mixing Instructions
-
Begin by mixing the baking soda and lemon juice together in a small bowl.
-
If the mixture is too thick, add a small amount of water to thin it out.
-
Stir the mixture until it forms a smooth paste.
-
Wash your face with warm water and pat it dry with a clean towel.
-
Apply the paste to the affected areas of your skin, using your fingers or a clean brush.
-
Leave the paste on for 10-15 minutes, or until it has completely dried.
-
Rinse your face with warm water and pat it dry with a clean towel.
It is important to note that lemon juice can be harsh on the skin, so it is recommended that you use this solution no more than once a week. Additionally, if you have sensitive skin or are prone to allergies, you may want to do a patch test before using this solution on your entire face.
Overall, this lemon juice and baking soda blackhead removal solution can be an effective and affordable way to achieve clearer, smoother skin.
Application Process
Cleansing Your Skin
Before applying the mixture of lemon juice and baking soda, it is important to cleanse your skin thoroughly. Use a gentle cleanser to remove any dirt, oil, or makeup from your face. Rinse your face with lukewarm water and pat it dry with a clean towel.
Applying the Mixture
To make the mixture, combine one tablespoon of baking soda with one tablespoon of lemon juice. Mix it well until it forms a paste. Apply the paste to the affected areas of your skin, such as your nose or chin. Gently massage the paste into your skin using circular motions for about 2-3 minutes. Be careful not to apply too much pressure, as this can irritate your skin.
Duration and Frequency of Treatment
Leave the mixture on your skin for about 10-15 minutes. Then rinse it off with lukewarm water and pat your face dry with a clean towel. You can apply this mixture once or twice a week, depending on your skin type. If you have sensitive skin, it is recommended to use this treatment only once a week.
Remember, lemon juice can make your skin more sensitive to sunlight, so it is important to apply sunscreen before going outside. Also, do not use this treatment if you have any open wounds or cuts on your skin, as it can cause irritation.
Aftercare and Skin Maintenance

Post-Application Care
After using the lemon juice and baking soda mixture to get rid of blackheads, it is important to take care of the skin to prevent further breakouts. Here are some tips to follow:
- Rinse the face thoroughly with lukewarm water after using the mixture to remove any residue.
- Apply a gentle, non-comedogenic moisturizer to the skin to keep it hydrated.
- Avoid touching the face with dirty hands to prevent bacteria from entering the pores.
- Do not use harsh scrubs or exfoliants on the skin for at least 24 hours after using the mixture.
- Apply sunscreen to the face before going outside as lemon juice can make the skin more sensitive to the sun.
Long-Term Skin Care Tips
In addition to post-application care, there are some long-term skin care tips that can help prevent blackheads from forming:
- Cleanse the face twice a day with a gentle cleanser to remove dirt, oil, and makeup.
- Exfoliate the skin once or twice a week to remove dead skin cells and unclog pores.
- Use non-comedogenic products on the skin to prevent clogging of pores.
- Avoid using heavy makeup that can clog pores.
- Eat a healthy diet that includes plenty of fruits and vegetables to provide the skin with essential nutrients.
- Drink plenty of water to keep the skin hydrated and healthy.
By following these tips, one can maintain healthy and clear skin and prevent blackheads from forming.
Potential Risks and Alternatives

Possible Side Effects
While using lemon juice and baking soda to treat blackheads is generally considered safe, there are some potential side effects to be aware of. Lemon juice can be irritating to the skin, especially if it is not diluted or if the skin is sensitive. It may cause redness, dryness, and even a burning sensation. Baking soda, on the other hand, can be too abrasive for some skin types and may cause micro-tears in the skin, leading to inflammation and irritation.
To avoid these side effects, it is important to dilute the lemon juice with water and to use baking soda in moderation. It is also recommended to do a patch test on a small area of skin before applying the mixture to the entire face.
Alternative Blackhead Treatments
If you are looking for alternative treatments for blackheads, there are several options to consider. Here are a few:
-
Salicylic acid: This beta-hydroxy acid is a common ingredient in acne-fighting products and can help to exfoliate the skin and unclog pores.
-
Retinoids: These vitamin A derivatives can help to regulate cell turnover and prevent the buildup of dead skin cells that can lead to blackheads.
-
Clay masks: Masks made from kaolin or bentonite clay can help to absorb excess oil and unclog pores.
-
Oil cleansing: Using an oil cleanser can help to dissolve the oil and sebum that can lead to blackheads, without stripping the skin of its natural oils.
Remember, blackheads are a common skin concern and there are many ways to treat them. It is important to find the method that works best for your skin type and to always be gentle and cautious when trying new treatments.
Frequently Asked Questions
What are effective home remedies for removing blackheads on the nose?
There are several effective home remedies for removing blackheads on the nose. Some of these remedies include using lemon juice and baking soda, honey and lemon, salt and lemon, egg white and lemon, and baking soda and water. These remedies work by unclogging the pores and removing dead skin cells that can lead to blackheads.
Can lemon juice and baking soda be safely used to treat blackheads?
Yes, lemon juice and baking soda can be safely used to treat blackheads. Lemon juice helps to shrink the pores on your skin, while baking soda exfoliates and removes dead skin cells. However, it is important to dilute the lemon juice with water or mix it with a carrier oil like coconut oil to avoid potential skin irritation. It is also important to note that baking soda can be harsh on the skin, so it should be used in moderation.
What are the before and after effects of using baking soda for blackhead removal?
Before using baking soda for blackhead removal, the skin may appear dull and clogged with blackheads. After using baking soda, the skin may appear brighter and smoother, with fewer blackheads. However, it is important to note that baking soda can be harsh on the skin, so it should be used in moderation.
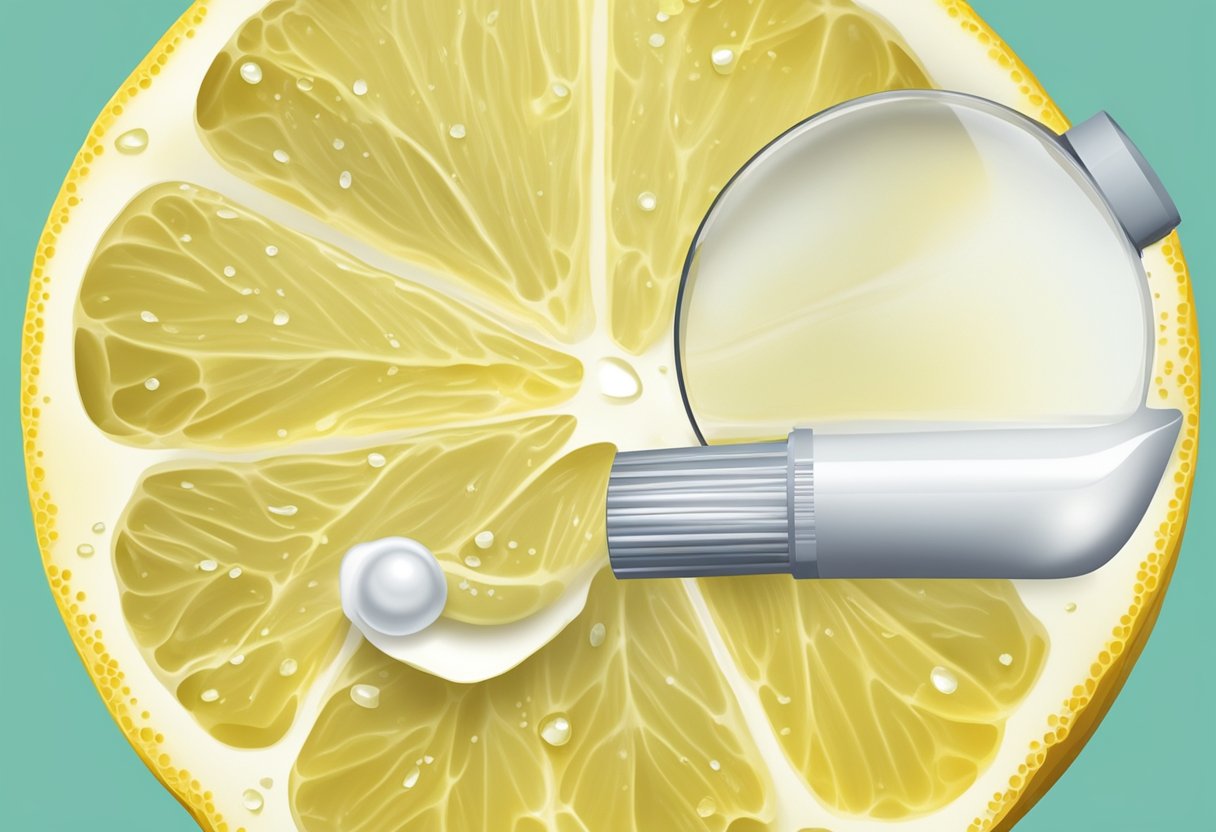
Are there any quick methods to remove blackheads in 5 minutes?
While it is not possible to completely remove blackheads in 5 minutes, there are some quick methods that can help to reduce their appearance. One method is to use a blackhead removal tool to gently extract the blackheads. Another method is to use a clay mask, which can help to draw out impurities and unclog pores.
What alternatives to lemon juice and baking soda work for stubborn blackhead removal?
There are several alternatives to lemon juice and baking soda that can work for stubborn blackhead removal. Some of these alternatives include using apple cider vinegar, tea tree oil, activated charcoal, and green tea. These remedies work by unclogging pores and removing dead skin cells that can lead to blackheads. However, it is important to dilute these remedies with water or mix them with a carrier oil to avoid potential skin irritation.