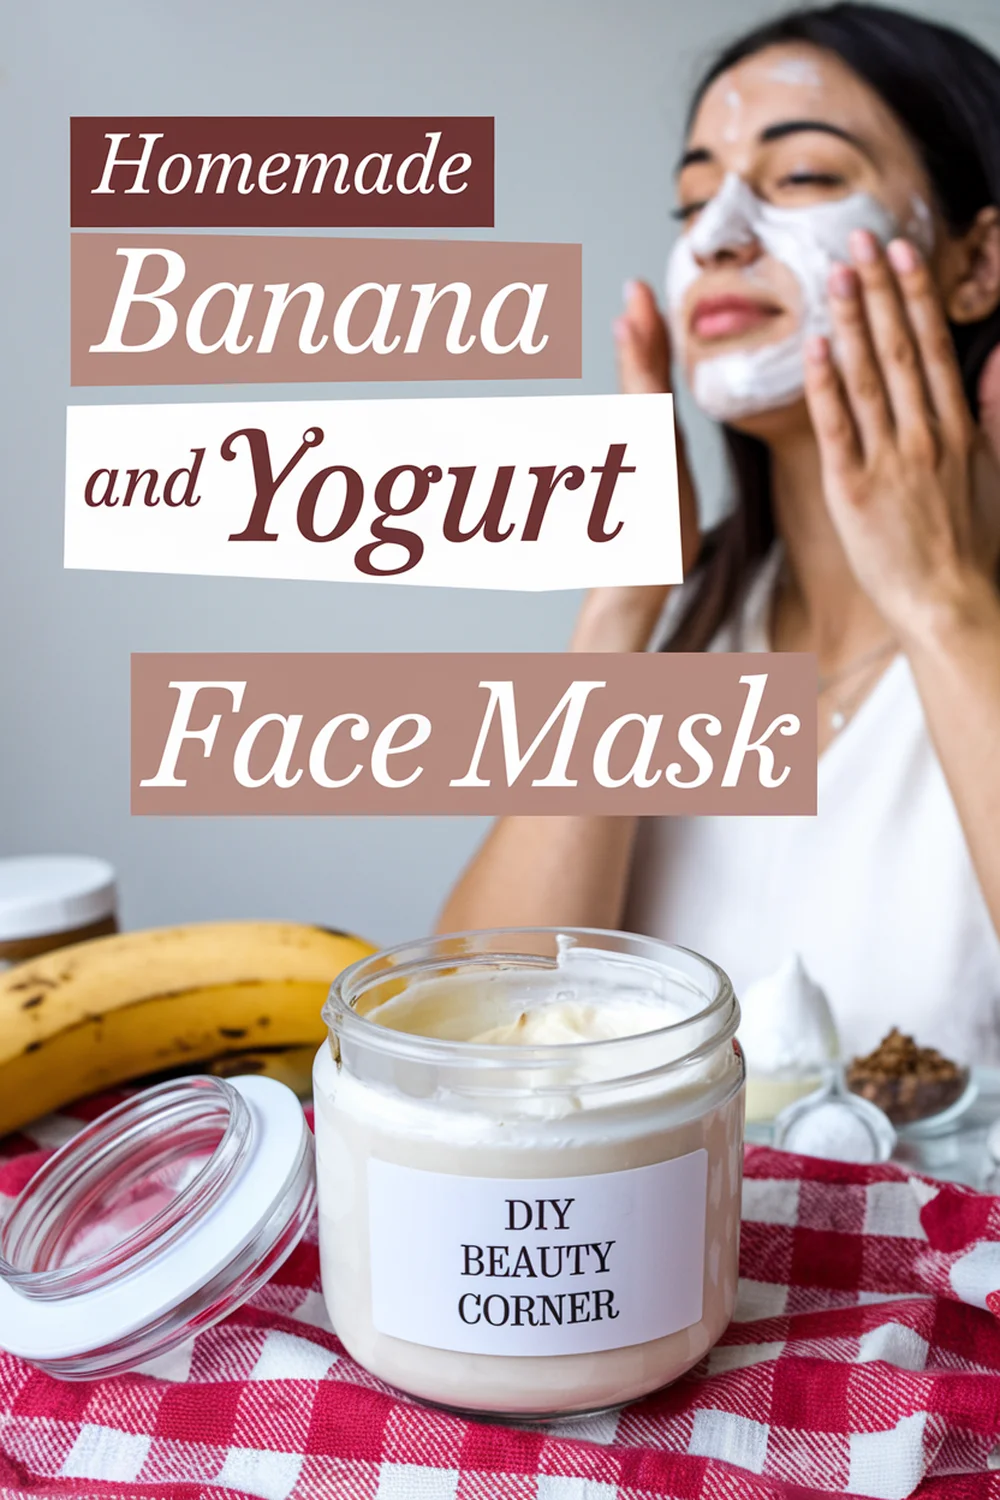
Creating a homemade banana and yogurt face mask is an easy and effective way to nourish and rejuvenate your skin. This simple combination not only hydrates your skin but also helps reduce blemishes and balance your complexion. With just a few ingredients, I can provide my skin with essential vitamins and moisture that it craves.
I often reach for ripe bananas and plain yogurt, both of which offer fantastic benefits for my skin. Bananas are rich in potassium and vitamins, while yogurt provides probiotics and lactic acid that gently exfoliate and brighten the complexion. Together, they form a soothing mask that leaves my skin feeling smooth and hydrated.
In this post, I will share my easy recipe for a banana and yogurt face mask, along with tips on how to apply it for the best results. You’ll find it takes little time to prepare and will fit seamlessly into your skincare routine.
Ingredients and Benefits
For a homemade banana and yogurt face mask, I’ll focus on two key ingredients: the ripe banana and plain yogurt. Each ingredient not only serves a specific purpose in the recipe but also offers distinct benefits for my skin.
Selecting the Right Banana
When selecting a banana for my face mask, I look for a ripe banana, preferably with some brown spots. These spots indicate that the banana is at peak ripeness, which means it’s softer and easier to mash.
A ripe banana is rich in vitamins A, B, and E, which nourish the skin. The natural sugars present in bananas provide hydration and help create a soothing effect. I ensure that the banana has no bruises or bad spots to make sure I use only the best parts for my mask.
Benefits of Yogurt for Skin
Plain yogurt is a powerhouse for skincare. I prefer using plain yogurt because it contains live cultures that promote gentle exfoliation. Lactic acid, found in yogurt, helps remove dead skin cells, revealing a brighter complexion.
Yogurt also provides hydration, making my skin feel soft and plump. Its anti-inflammatory properties can soothe irritation and redness. This ingredient is suitable for all skin types, helping maintain a healthy skin barrier. Together with the banana, yogurt enhances the overall effectiveness of the face mask.
Step-by-Step Preparation
Creating a banana and yogurt face mask involves a simple yet effective process. Each step is crucial for achieving the best results, from preparing the banana to applying the mask and ensuring proper removal.
Preparing the Banana
I start by selecting a ripe banana, which is essential for maximum benefits. The banana should have a few brown spots, indicating ripeness and softness, making it easier to mash.
Next, I peel the banana and place it in a bowl. Using a fork, I mash it until it reaches a smooth consistency, removing any lumps. This step ensures even blending with yogurt, promoting a uniform application on the skin.
If desired, I can also use a food processor for a finer texture. The goal is to create a creamy base that will easily adhere to my face during application.
Mixing Ingredients
Once the banana is ready, I add 1/4 cup of plain yogurt to the bowl. Yogurt is rich in nutrients and helps to hydrate and exfoliate the skin.
I thoroughly combine the mashed banana and yogurt using the fork. Stirring gently ensures both ingredients blend seamlessly.
For an added boost, I sometimes include a teaspoon of honey, which is great for its antibacterial properties. This mixture should have a smooth and creamy texture, making it easy to spread on my skin without dripping.
Applying the Mask
Before applying the mask, I make sure my face is clean and dry. I wash my face with a gentle cleanser and pat it dry with a towel. This step allows my skin to absorb the mask effectively.
Using clean fingers or a makeup brush, I gently spread the mixture over my face, avoiding the eye area. I focus on areas that need extra care, like cheeks or forehead. The mask should cover my face evenly, creating a nourishing layer.
I let the mask sit for about 10 to 15 minutes. This duration allows the ingredients to penetrate the skin, offering their full benefits.
Mask Removal and Aftercare
After the mask has set, I rinse it off with lukewarm water. I gently massage my face during rinsing to help remove any residue while enjoying the soothing effect of the mask.
Once I have removed the mask, I pat my face dry with a soft towel. Following this, I like to apply a light moisturizer to lock in hydration.
Using a moisturizer is an important part of aftercare, as it helps to maintain the skin’s moisture barrier. I might even apply a few drops of facial oil for extra nourishment, especially if my skin feels particularly dry.

