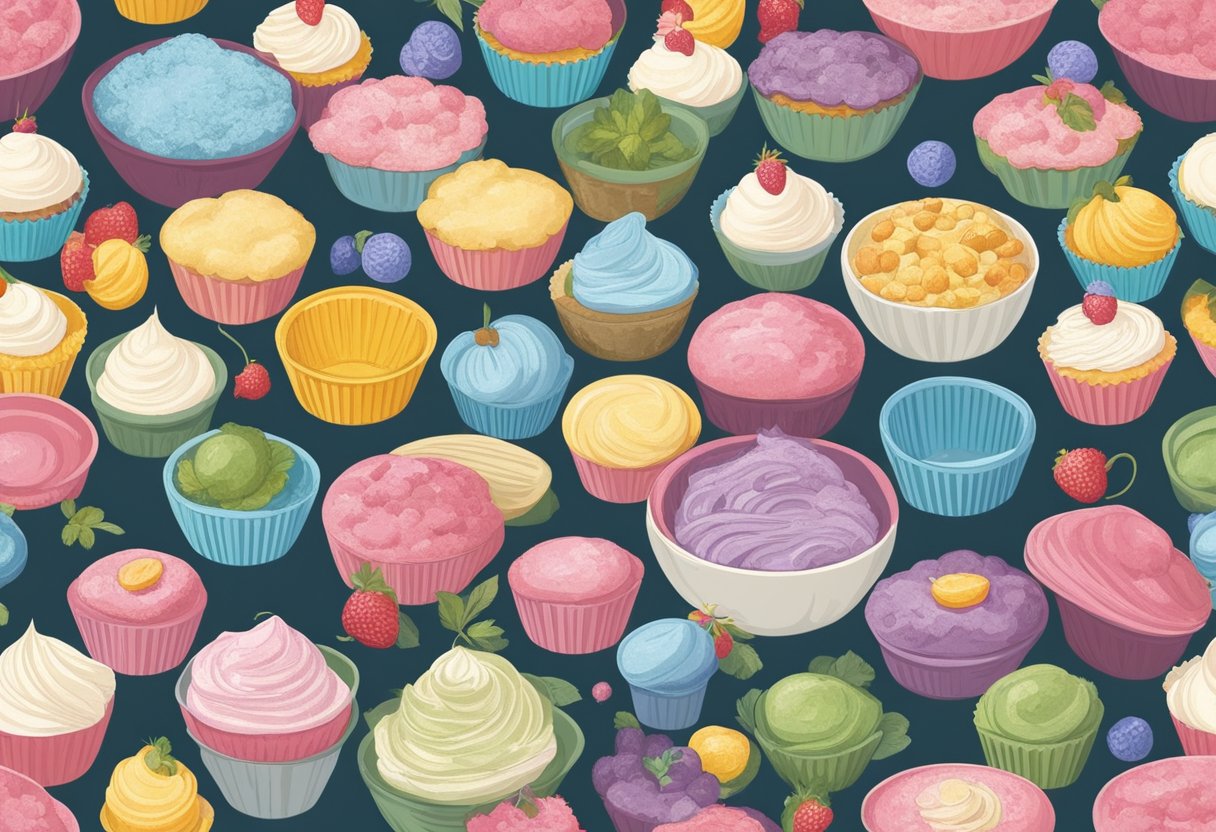
Cupcake bath bombs are a fun and creative way to enjoy a luxurious bath. These bath bombs look like miniature cupcakes and are made with ingredients that are gentle on the skin. They are easy to make and can be customized with different scents and colors.
To make cupcake bath bombs, you will need baking soda, citric acid, cornstarch, Epsom salt, coconut oil, essential oil, and food coloring. The dry ingredients are mixed together and then combined with the wet ingredients to form a paste. The mixture is then molded into cupcake shapes and decorated with frosting made from a simple recipe of foaming bath bomb frosting.
There are many variations of cupcake bath bombs that can be made, including mermaid and unicorn-themed bath bombs. With a little creativity and some basic ingredients, anyone can make their own cupcake bath bombs at home and enjoy a relaxing and luxurious bath experience.
Understanding Bath Bombs
Bath bombs are a popular and fun way to enhance bath time. They are small, hard-packed balls or shapes that dissolve in water, releasing a variety of scents, colors, and skin-nourishing ingredients. Bath bombs are typically made from baking soda, citric acid, and a mixture of essential oils, fragrances, and other ingredients.
Benefits of Bath Bombs
Bath bombs offer several benefits, including:
-
Relaxation: Bath bombs are designed to help you relax and unwind. They are often infused with essential oils like lavender, chamomile, and eucalyptus, which are known for their calming properties.
-
Skin Care: Bath bombs may also contain ingredients like shea butter, coconut oil, and jojoba oil, which can help moisturize and nourish your skin.
-
Aromatherapy: Bath bombs are available in a variety of scents, from fruity to floral to earthy. The scents can help create a calming and soothing atmosphere.
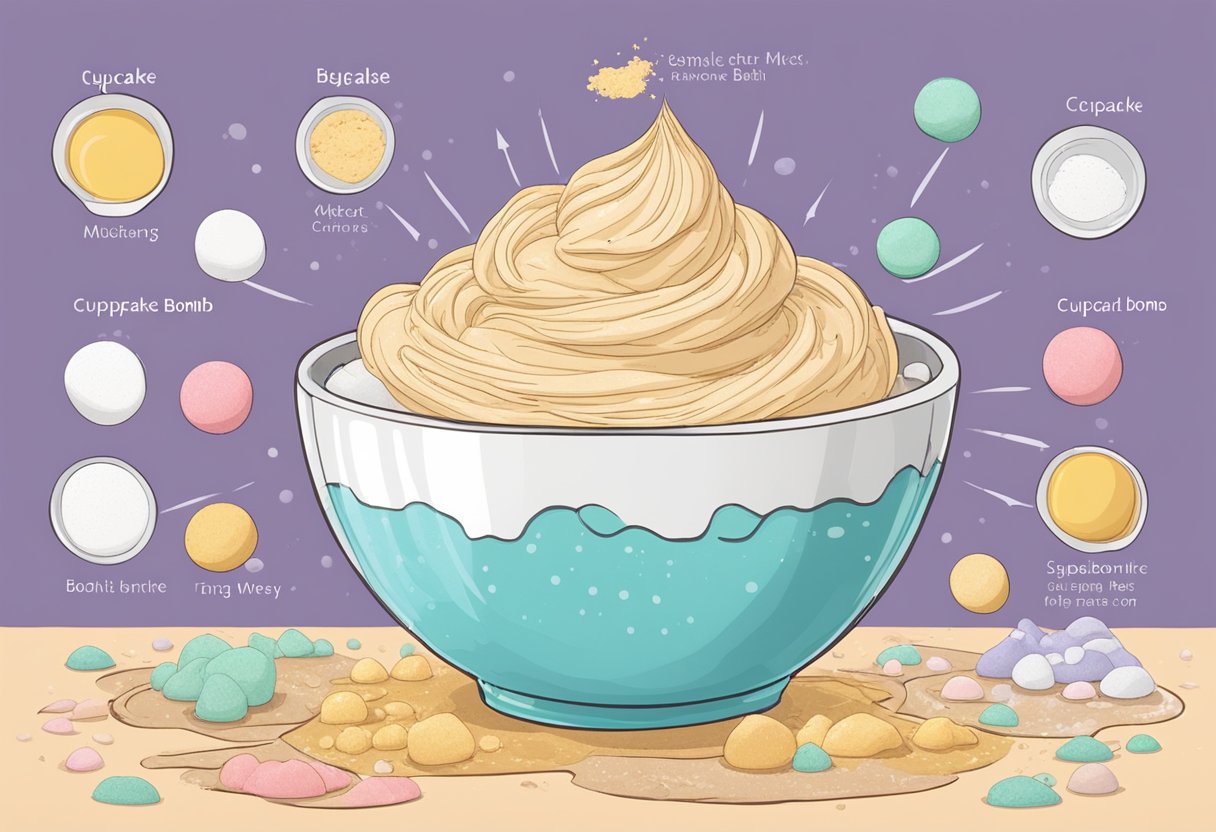
Cupcake Bath Bomb Concept
Cupcake bath bombs are a fun and creative twist on traditional bath bombs. They are shaped like cupcakes and often come with a frosting-like topping that dissolves in the water. Cupcake bath bombs are typically made with the same ingredients as traditional bath bombs, but with the addition of a few extra ingredients to create the frosting.
To make cupcake bath bombs, you’ll need baking soda, citric acid, cornstarch, buttermilk powder, and essential oils or fragrances. You’ll also need a few additional ingredients to make the frosting, such as meringue powder, powdered sugar, and jojoba oil.
Overall, bath bombs are a fun and easy way to enhance your bath time. Whether you prefer traditional bath bombs or the creative twist of cupcake bath bombs, there is a bath bomb out there for everyone.
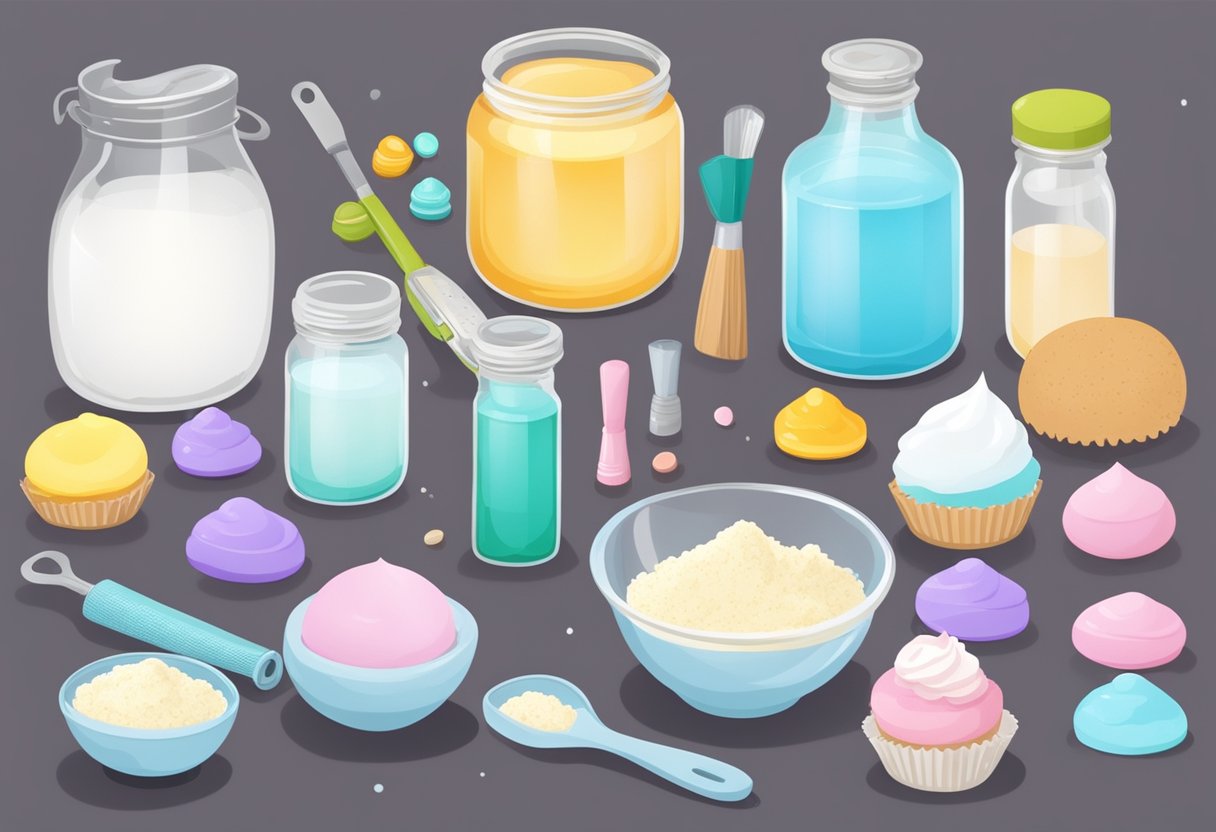
Gathering Materials
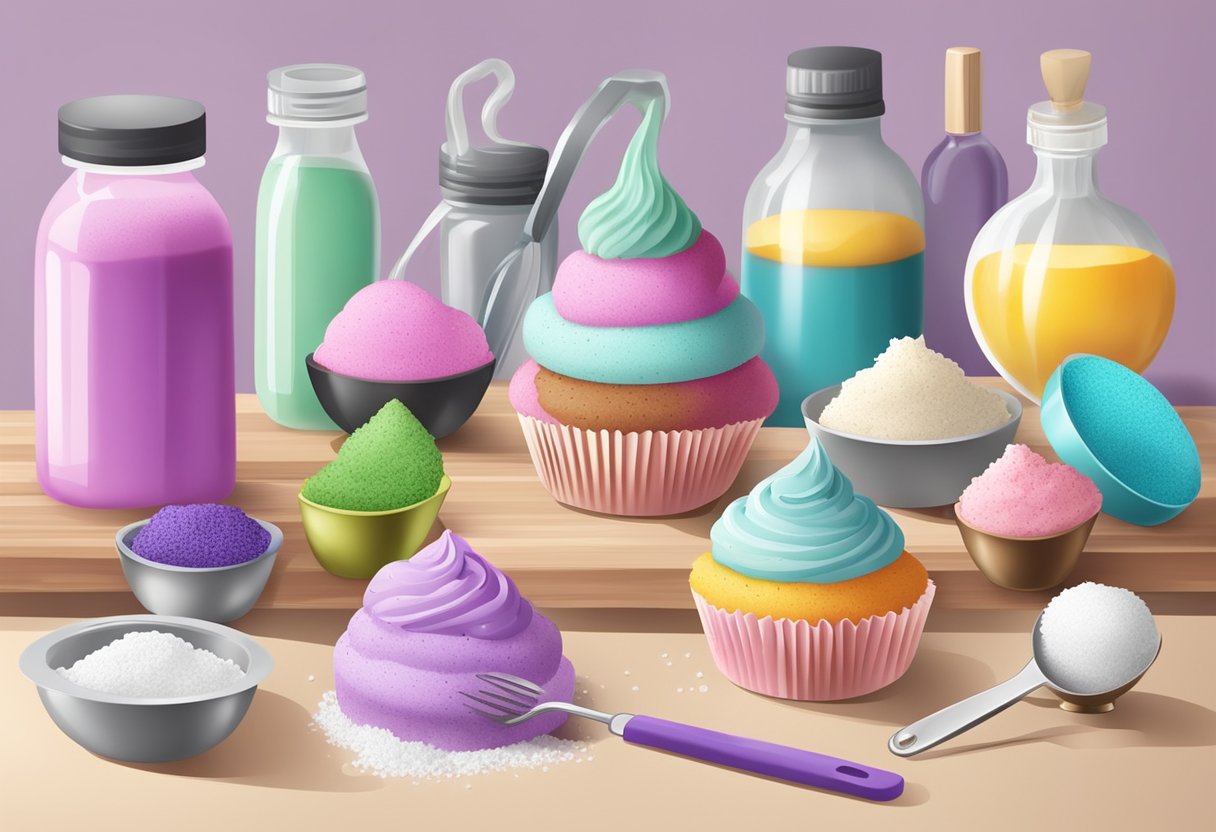
When making cupcake bath bombs, it is important to gather all the necessary materials beforehand. This will ensure that the process goes smoothly and the end product turns out as desired. The materials needed for making cupcake bath bombs can be categorized into two sections – essential ingredients and tools and equipment.
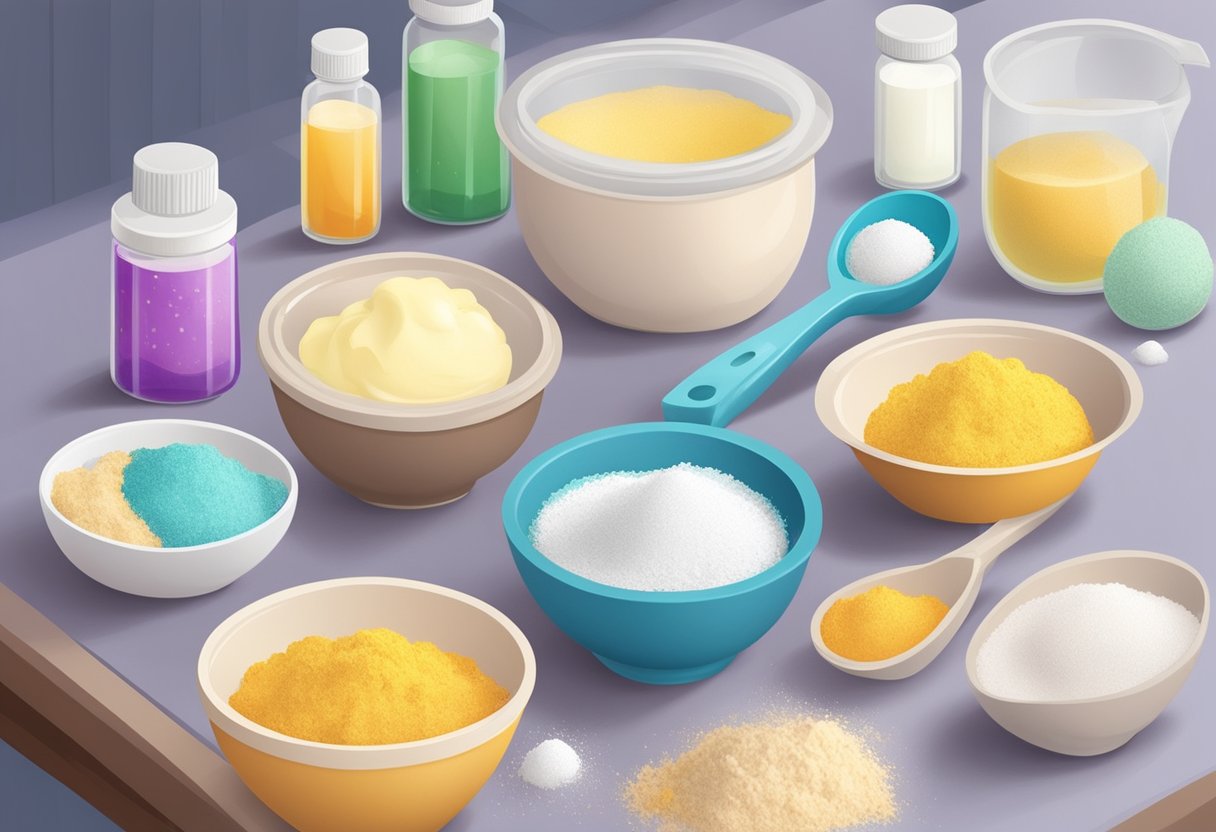
Essential Ingredients
The essential ingredients needed for making cupcake bath bombs are baking soda, citric acid, white Kaolin clay, Himalayan salt, water, and essential oils. Baking soda is a key ingredient that helps to create the fizzing effect when the bath bomb comes in contact with water. Citric acid is another essential ingredient that reacts with baking soda to create the fizzing effect. White Kaolin clay helps to bind the ingredients together and also adds a silky feel to the water. Himalayan salt is added for its detoxifying properties and to help soothe sore muscles. Water is added to bind the ingredients together and essential oils are added for fragrance and aromatherapy benefits.
Tools and Equipment
The tools and equipment needed for making cupcake bath bombs include a mixing bowl, whisk, measuring cups and spoons, a spray bottle filled with water, silicone cupcake molds, piping bag, and nozzle. A mixing bowl is needed to combine all the dry ingredients. A whisk is used to mix the ingredients together thoroughly. Measuring cups and spoons are needed to measure out the ingredients accurately. A spray bottle filled with water is used to spritz the mixture with water to achieve the right consistency. Silicone cupcake molds are used to shape the bath bombs. A piping bag and nozzle are used to create the frosting on top of the bath bombs.
Gathering all the necessary materials before starting the process of making cupcake bath bombs will ensure that the process goes smoothly and the end product turns out as desired.
Creating the Base Mixture
When it comes to making cupcake bath bombs, the base mixture is the foundation of your product. It is important to get it right in order to create a bath bomb that is both visually appealing and effective. In this section, we will go over the steps for creating the base mixture.
Mixing Dry Ingredients
The first step in creating the base mixture is to mix the dry ingredients together. This includes baking soda, citric acid, and cornstarch. The measurements for each ingredient may vary depending on the recipe, but a common ratio is 2 parts baking soda, 1 part citric acid, and 1 part cornstarch.
It is important to mix the dry ingredients thoroughly and evenly to ensure that the bath bombs will fizz and dissolve properly in the bath. A good way to do this is to use a sifter or a fine mesh strainer to sift the dry ingredients together.
Adding Wet Ingredients
Once the dry ingredients are mixed together, it is time to add the wet ingredients. This includes oils, fragrances, and colorants. The exact measurements and types of wet ingredients may vary depending on the recipe, but some common ones include:
- Coconut oil
- Shea butter
- Essential oils
- Fragrance oils
- Food coloring or mica powder
It is important to add the wet ingredients slowly and mix them thoroughly with the dry ingredients. This will help to avoid clumps and ensure that the mixture is evenly colored and scented.
Overall, creating the base mixture for cupcake bath bombs is a simple process that requires careful attention to detail. By following the steps outlined in this section, you can create a base mixture that is both visually appealing and effective in the bath.
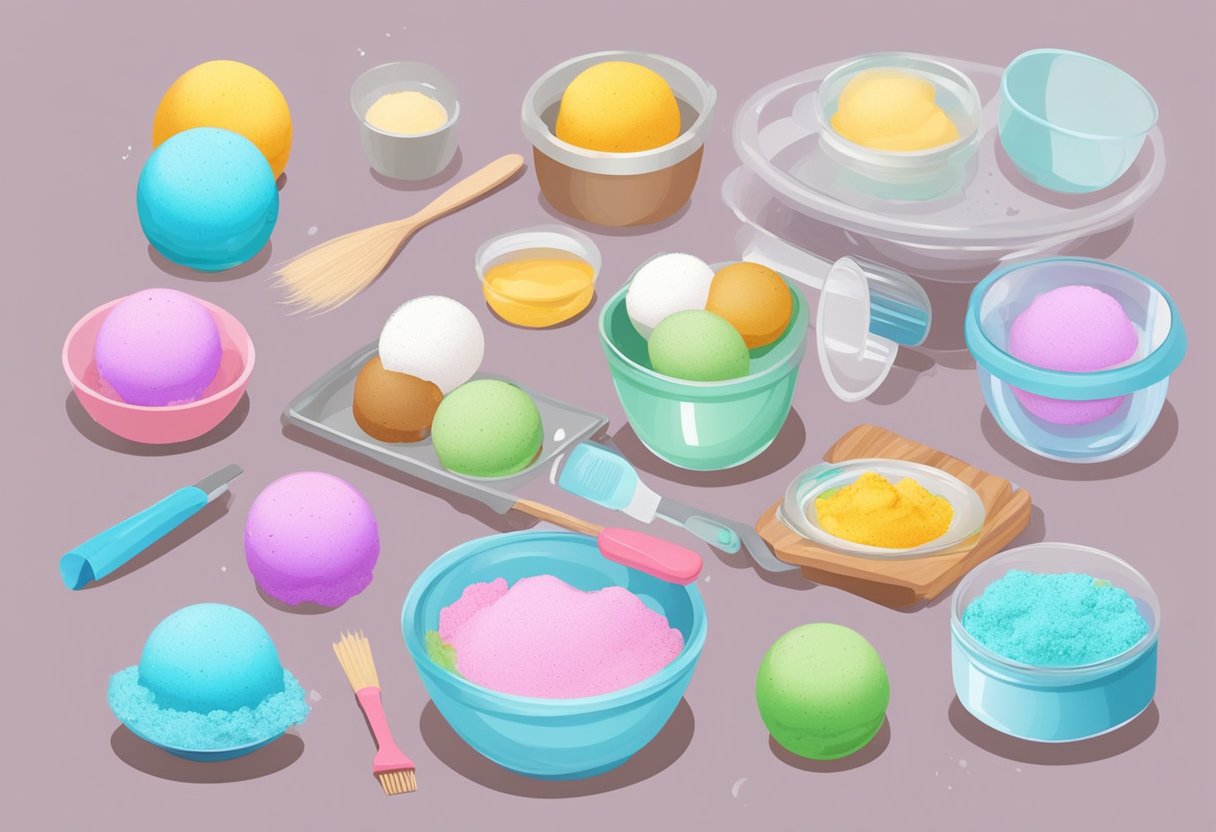
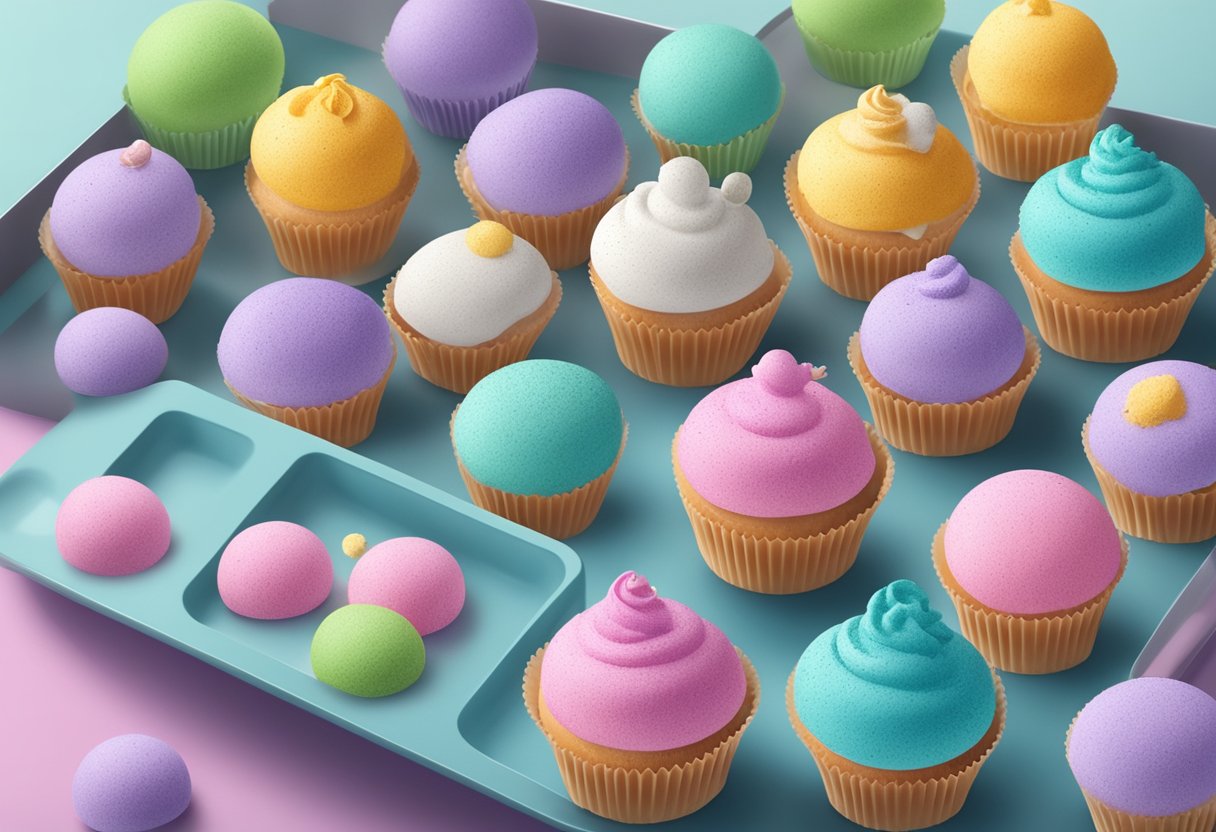
Forming the Cupcake Shape
Cupcake bath bombs are a fun and creative way to add some excitement to your bath time routine. The process of forming the cupcake shape requires some patience and precision, but the end result is worth it. Here are the steps to follow when forming the cupcake shape.
Preparing the Molds
Before molding the base of the cupcake, it is essential to prepare the molds. Silicone molds are the best option for making cupcake bath bombs. They come in various shapes and sizes, and they are flexible, making it easier to remove the bath bombs once they are set.
To prepare the molds, lightly grease them with coconut oil or any other oil of your choice. This step will ensure that the bath bombs come out of the molds easily once they are set.
Molding the Base
To mold the base of the cupcake, follow these steps:
- Mix the dry ingredients in a large mixing bowl. These include baking soda, citric acid, and cornstarch.
- In a separate bowl, mix the wet ingredients, including the essential oils, carrier oils, and food coloring.
- Slowly add the wet mixture to the dry mixture while stirring continuously. The mixture should be crumbly but hold its shape when squeezed.
- Pack the mixture tightly into the prepared molds, making sure to fill them to the top.
- Use a spoon or your fingers to create a well in the center of each mold. This well will be filled with the frosting later on.
- Let the base of the bath bombs set for at least 24 hours before removing them from the molds.
By following these steps, you can form the perfect cupcake shape for your bath bombs. The next step is to add the frosting, which is what makes the cupcake bath bombs look so realistic.
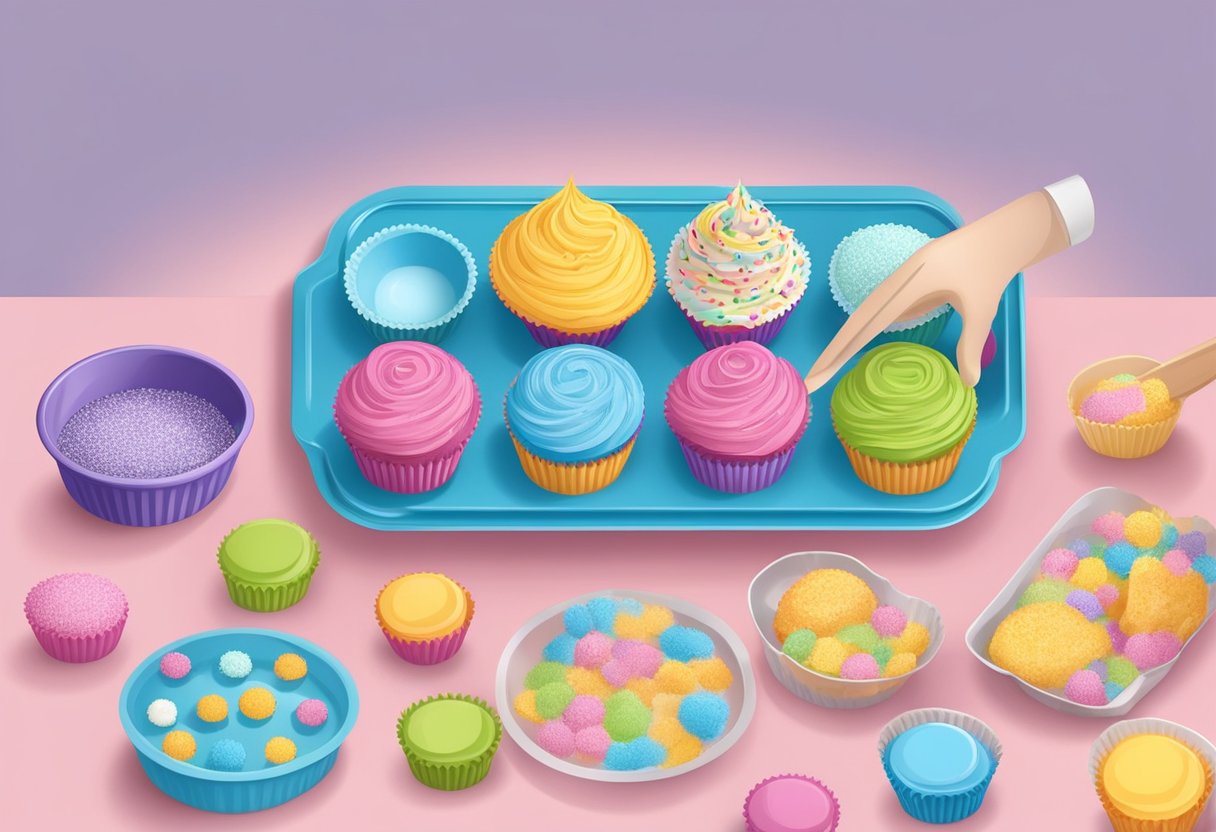
Decorating the Cupcake Bath Bombs

When it comes to decorating the cupcake bath bombs, there are two main aspects to consider: creating the icing and applying decorations. Here’s how to do both:
Creating the Icing
The icing is what makes the cupcake bath bombs look like real cupcakes. To make the icing, you will need:
- 1 cup of baking soda
- 1/2 cup of citric acid
- 1/2 cup of cornstarch
- 1/2 cup of Epsom salt
- 2 tablespoons of coconut oil
- 1 tablespoon of water
- 1 teaspoon of vanilla extract
- A few drops of food coloring (optional)
To create the icing, mix all of the dry ingredients together in a bowl. In another bowl, mix the wet ingredients together. Slowly pour the wet ingredients into the dry ingredients, mixing as you go. The mixture should resemble wet sand. If it’s too dry, add a little more water.
Once the mixture is ready, scoop it into a piping bag or a plastic bag with a small hole cut in the corner. Pipe the icing onto the top of each cupcake bath bomb, making sure to cover the entire top. You can make the icing as thick or as thin as you like, depending on your preference.
Applying Decorations
Once the icing is in place, it’s time to apply the decorations. Here are a few ideas:
- Sprinkles: Sprinkle some colorful sprinkles on top of the icing before it dries. This will give the cupcake bath bombs a fun, festive look.
- Sugar Pearls: Sugar pearls are small, round balls of sugar that can be used to decorate the top of the cupcake bath bombs. They come in a variety of colors and sizes, so you can choose the ones that best match your bath bombs.
- Edible Glitter: Edible glitter is a fun way to add some sparkle to your cupcake bath bombs. Simply sprinkle a little bit on top of the icing before it dries.
Once you’ve decorated your cupcake bath bombs, let them dry completely before packaging them up. You can store them in an airtight container until you’re ready to use them.
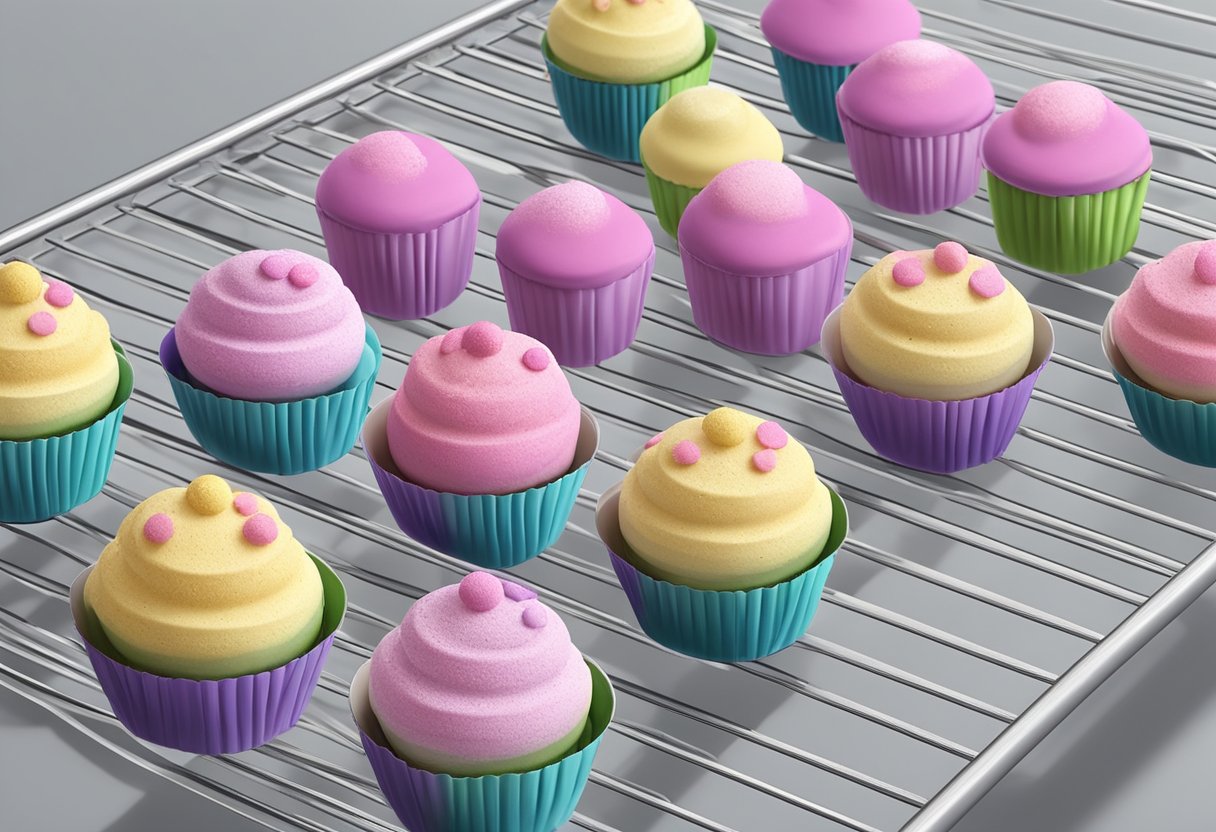
Drying and Unmolding
Setting Time
After filling the cupcake molds with the bath bomb mixture, it is important to allow them to dry completely before unmolding. The drying time may vary depending on the humidity and temperature of the room. Generally, it takes at least 24 hours for the bath bombs to dry completely. If the climate is wet or cold, additional drying time may be necessary.
Removing from Molds
Once the cupcake bath bombs are completely dry, it is time to remove them from the molds. Gently press on the bottom of the mold to release the bath bomb. If the bath bomb does not come out easily, try tapping the mold gently on a flat surface to loosen it.
If the bath bomb still does not come out, it may be necessary to use a small spatula or butter knife to loosen the edges of the mold before tapping it again. It is important to be gentle when removing the bath bombs from the molds to avoid breaking them.
After removing the bath bombs from the molds, it is recommended to store them in an airtight container until ready to use. This will help to preserve their fragrance and prevent them from absorbing moisture from the air.
By following these simple steps, anyone can make beautiful and fragrant cupcake bath bombs at home. With a little creativity and experimentation, it is possible to create unique and personalized bath bombs that are perfect for gift-giving or personal use.
Packaging and Storage
When it comes to packaging and storing cupcake bath bombs, there are a few options to consider. Here are some suggestions:
Packaging Options
-
Air-tight Containers: Store your bath bombs in a pretty air-tight container like an apothecary jar. Not only is this great for keeping the bath bombs ready-to-use, but it’s also a really cute packaging if you plan to gift them!
-
Cellophane Bags: Put your cupcake bath bombs in clear cellophane bags and tie them with a ribbon to give them a professional look. This is a great option if you plan to sell your bath bombs.
-
Gift Boxes: Gift boxes add an extra level of presentation to your cupcake bath bombs. You can find boxes in various sizes and designs, and they’re perfect for gift-giving.
Storage Tips
-
Keep Them Dry: Moisture is the enemy of bath bombs. Store them in a dry place to prevent them from getting soggy and losing their fizz.
-
Avoid Heat: Heat can also cause bath bombs to lose their fizz. Store them in a cool, dry place away from direct sunlight.
-
Label Them: If you’re making different scents or colors of cupcake bath bombs, be sure to label them so you know what’s what. You can use stickers or tags to label them.
Overall, packaging and storing cupcake bath bombs is easy and fun. With a little creativity, you can make your bath bombs look amazing and keep them fresh for longer.
Using Cupcake Bath Bombs
Bath Preparation
Before using the cupcake bath bombs, it is important to prepare the bath properly. Fill the bathtub with warm water, making sure to adjust the temperature to your liking.
Next, drop the cupcake bath bomb into the water. As the bath bomb dissolves, it will release a lovely fragrance and create a fizzy, bubbly effect in the water.
For an extra luxurious experience, consider adding some Epsom salt or bubble bath to the water. This will help to soothe sore muscles and create an even more relaxing atmosphere.
After-Bath Care
After using the cupcake bath bomb, it is important to take care of your skin. Rinse off any remaining residue from the bath bomb and pat your skin dry with a towel.
To lock in moisture and keep your skin feeling soft and smooth, apply a body lotion or oil. This will help to prevent dryness and keep your skin looking healthy and radiant.
Overall, using cupcake bath bombs can be a fun and indulgent way to pamper yourself. By following these simple steps for bath preparation and after-bath care, you can enjoy a luxurious and rejuvenating experience every time you use them.
Frequently Asked Questions
What ingredients are needed for cupcake bath bomb frosting?
To make cupcake bath bomb frosting, you will need whipped soap base, glycerin, meringue powder, and icing sugar. You can also add food coloring and fragrance oil to customize the frosting to your liking.
What can be used as a hardening agent for bath bomb frosting?
Meringue powder is commonly used as a hardening agent for bath bomb frosting. It helps the frosting hold its shape and prevents it from melting or flattening out.
How can I create a bubble frosting effect for my bath bombs?
To create a bubble frosting effect, you can add a small amount of SLSA (Sodium Lauryl Sulfoacetate) to your frosting mixture. This will create small bubbles when the frosting is applied to the bath bomb.
Can I make bath bomb frosting without using meringue powder?
Yes, you can make bath bomb frosting without using meringue powder. You can substitute it with cornstarch or arrowroot powder. However, keep in mind that the frosting may not hold its shape as well without meringue powder.
What is the process for adding icing sugar to bath bomb frosting?
To add icing sugar to bath bomb frosting, start by mixing the whipped soap base and glycerin together. Slowly add the icing sugar while mixing until the frosting reaches the desired consistency. Add food coloring and fragrance oil if desired.
How do you incorporate a unicorn theme into bath bomb designs?
To incorporate a unicorn theme into bath bomb designs, use pastel colors such as pink, purple, and blue. Add glitter or shimmer to the bath bombs to give them a magical look. You can also use unicorn-shaped molds and add a horn and ears to the bath bomb frosting.