Close Menu
Homemade Skincare Recipes and Beauty Tips
    Pinterest
    Trending
    • DIY Rosemary Water Hair Rinse
    • Brown Sugar & Coconut Oil Scrub
    • Oatmeal & Yogurt Soothing Scrub
    • Turmeric & Rice Flour Scrub for Dark Spots
    • Coffee & Sugar Scrub Recipe at Home
    • DIY Lemon & Honey Body Scrub for Bright Skin
    • How to Do a Skincare Patch Test
    • How to Make Rice Water Rinse for Hair Growth
    • About Us
    • Contact Us
    • Disclaimer
    • Privacy Policy
    • Terms
    Homemade Skincare Recipes and Beauty Tips
    • Home
    • DIY Body Scrub Recipes
    • DIY Face Mask Recipes
    • DIY Body Butter Recipes
    • DIY Hair Growth Recipes
    • DIY Lip Balm Recipes
    Homemade Skincare Recipes and Beauty Tips
    Home»Homemade Skin Care Recipes»How to Make DIY Natural Sinus Relief Body Balm
    Homemade Skin Care Recipes

    How to Make DIY Natural Sinus Relief Body Balm

    HersheyBy HersheyMarch 1, 2022No Comments11 Mins Read
    Facebook Twitter Pinterest LinkedIn Tumblr Email
    Share
    Facebook Twitter LinkedIn Pinterest Email

    Natural sinus relief body balm is a simple and effective way to alleviate sinus pressure and congestion. It is made from all-natural ingredients that can help soothe and open up nasal passages. This balm can be made at home with a few simple ingredients, making it an affordable and accessible option for those seeking natural remedies.

    A table with various natural ingredients like beeswax, coconut oil, eucalyptus, and peppermint essential oils. A mortar and pestle for grinding herbs, and a double boiler for melting the wax and oil

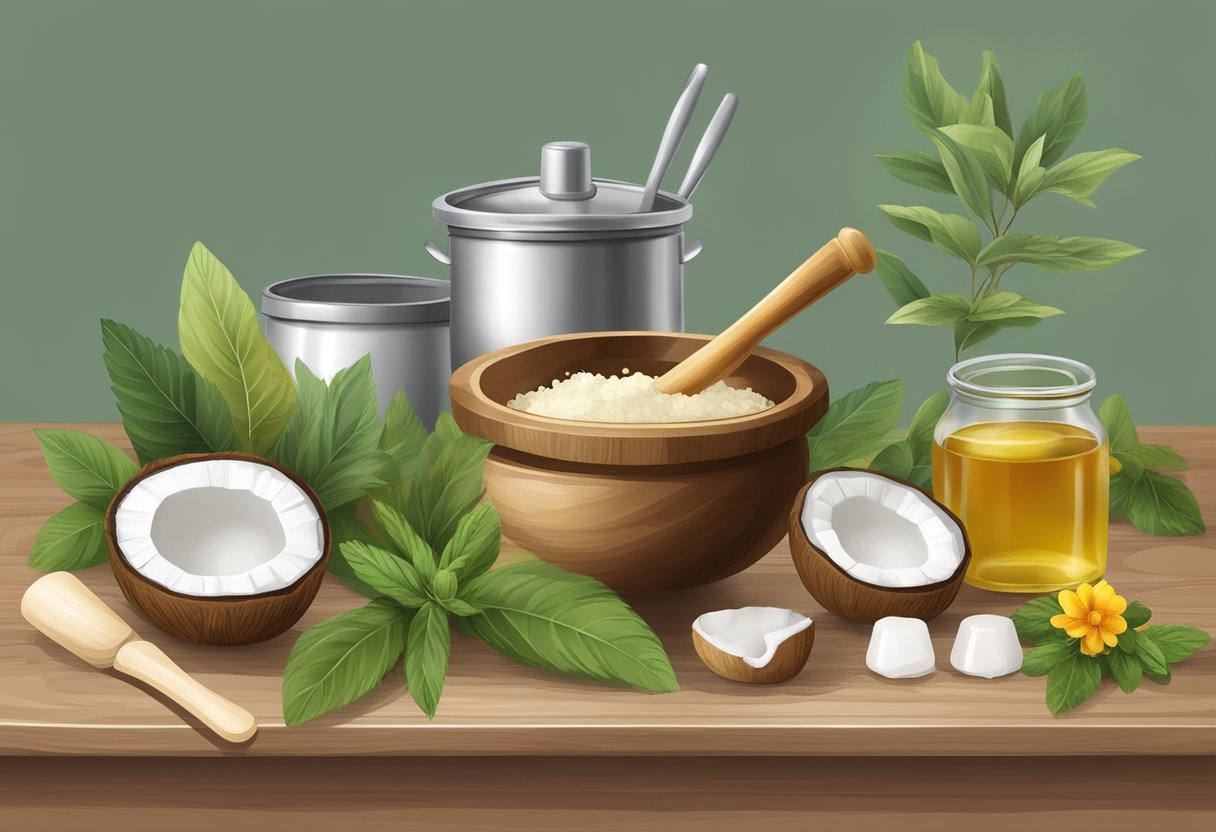
    The main ingredients in a natural sinus relief body balm are carrier oils, beeswax, and essential oils. Carrier oils, such as jojoba oil, are used to dilute the essential oils and provide a base for the balm. Beeswax is added to the mixture to create a solid texture that can be applied to the skin. Essential oils, such as eucalyptus and peppermint, are added for their natural decongestant and anti-inflammatory properties.

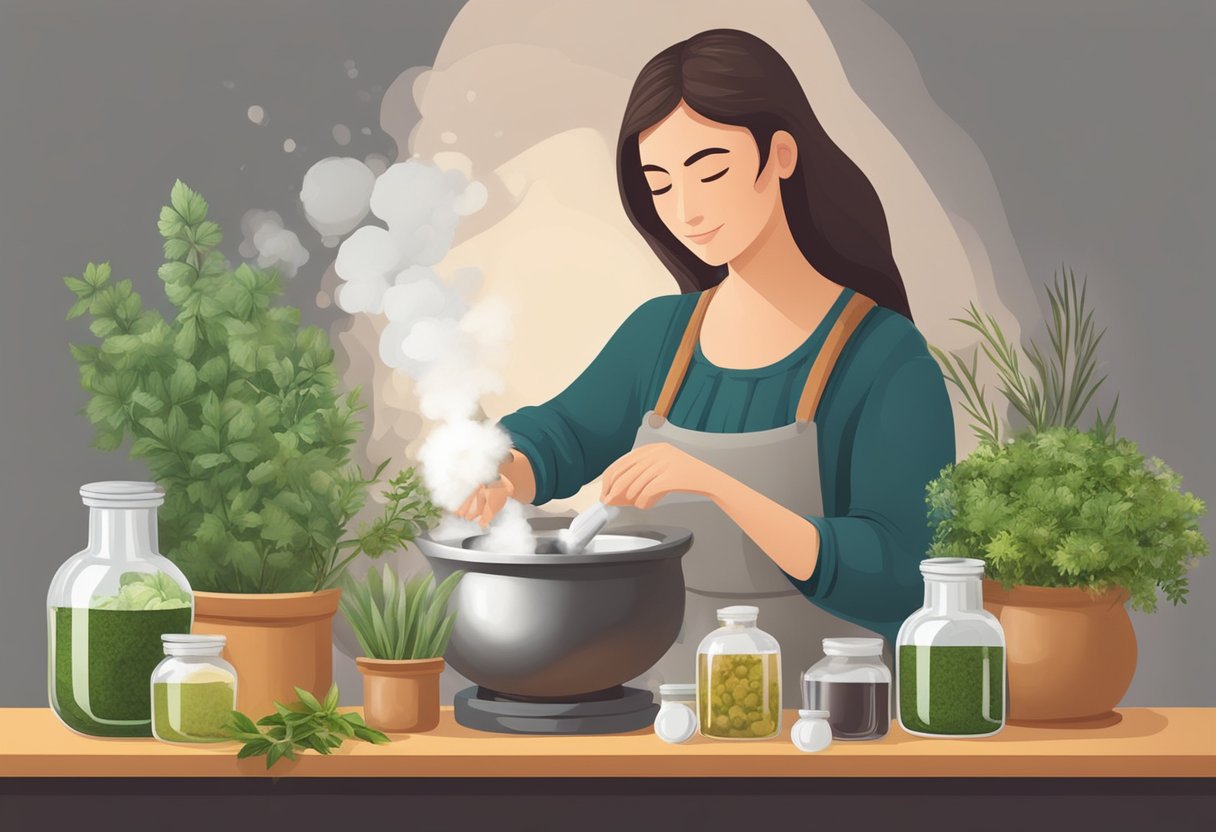
    Making a natural sinus relief body balm is a simple process that can be done in just a few steps. The ingredients are melted together in a double boiler, then poured into containers and allowed to cool and solidify. The balm can then be applied to the chest, neck, and temples to help relieve sinus pressure and congestion. With this easy recipe, anyone can make their own natural sinus relief body balm at home and enjoy the benefits of natural remedies.

    Understanding Sinus Relief

    A woman gathers herbs and oils, mixing them in a mortar and pestle. Steam rises as she pours the mixture into small jars

    Benefits of Natural Ingredients

    The use of natural ingredients in sinus relief body balm has several benefits. Natural ingredients have fewer side effects compared to synthetic ones. They are also gentle on the skin and do not cause irritation or allergic reactions. Some of the natural ingredients used in making sinus relief balm include beeswax, coconut oil, peppermint oil, eucalyptus oil, and rosemary oil.

    Beeswax is a natural emulsifier that helps to bind the ingredients together and create a smooth texture. Coconut oil is a natural moisturizer that helps to soothe dry, irritated skin. Peppermint oil has a cooling effect that helps to relieve congestion and sinus pressure. Eucalyptus oil has anti-inflammatory properties that help to reduce inflammation and swelling. Rosemary oil has antibacterial properties that help to fight off infections.

    How Sinus Relief Balm Works

    Sinus relief balm works by providing a soothing and cooling effect on the skin. When applied to the chest, neck, and under the nose, the natural ingredients in the balm help to open up the nasal passages and relieve congestion. The cooling effect of peppermint oil helps to reduce sinus pressure and headaches.

    The natural ingredients in the balm also have anti-inflammatory and antibacterial properties that help to reduce inflammation and fight off infections. The balm can be used as a preventive measure to keep the sinuses clear and healthy or as a treatment for sinusitis and other sinus-related conditions.

    Overall, sinus relief body balm is an effective and natural way to relieve sinus pressure and congestion. By using natural ingredients, the balm is gentle on the skin and has fewer side effects compared to synthetic remedies. With the right ingredients list and recipe, making your own sinus relief body balm can be a simple and cost-effective solution for sinus relief.

    Essential Ingredients

    A table with various natural ingredients like beeswax, eucalyptus, and peppermint oil. A mortar and pestle for grinding herbs. A pot for melting and mixing ingredients

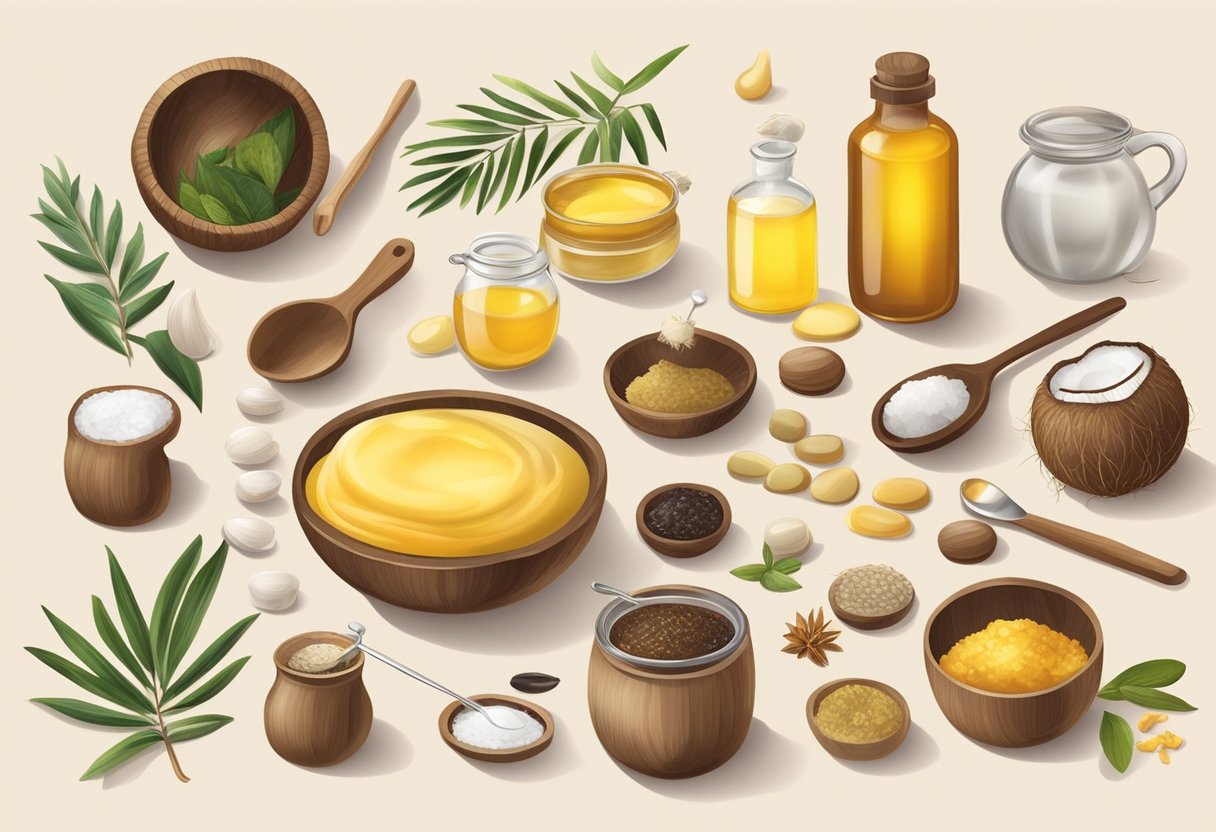
    When it comes to making a natural sinus relief body balm, there are a few essential ingredients that are required to make a soothing and effective balm. These ingredients include carrier oils, essential oils, and beeswax or butters.

    Carrier Oils

    Carrier oils are an essential ingredient in this body balm recipe. They help to dilute the essential oils and provide a base for the balm. Some popular carrier oils include fractionated coconut oil, grapeseed oil, safflower oil, hazelnut oil, and rosehip oil. These oils are lightweight and easily absorbed into the skin, making them ideal for use in a body balm.

    Essential Oils

    Essential oils are the star of the show when it comes to making a natural sinus relief body balm. They provide the scent and therapeutic benefits of the balm. Some essential oils that are particularly effective for sinus relief include eucalyptus, peppermint, rosemary, lavender, and tea tree oil. These oils are known for their ability to open up the sinuses and provide relief from congestion and pressure.

    Beeswax and Butters

    Beeswax and butters are used to give the balm a thick, creamy texture and to help it stay solid at room temperature. Beeswax is a popular choice because it is all-natural and has a mild, honey-like scent. Shea butter and cocoa butter are also commonly used in body balm recipes because they are moisturizing and nourishing for the skin.

    Overall, these essential ingredients work together to create a natural and effective sinus relief body balm. By combining carrier oils, essential oils, and beeswax or butters, you can create a soothing and aromatic balm that can help to alleviate sinus pressure and congestion.

    Equipment and Tools Needed

    A table with various natural ingredients and tools: beeswax, coconut oil, essential oils, double boiler, measuring spoons, and small containers for the finished balm

    Making natural sinus relief body balm requires a few essential tools and equipment. Here are some of the items that one would need to make the balm:

    Double Boiler

    A double boiler is essential for melting the oils and wax. It is a device that consists of two pots, one inside the other, with water in the bottom pot and the ingredients in the top pot. This ensures that the ingredients do not burn or overheat, providing a gentle heat source.

    Glass Mixing Bowls

    Glass mixing bowls are necessary for stirring ingredients and creating a double boiler. It is recommended to keep a separate set of mixing bowls dedicated to body-care projects since butters, oils, and beeswax can be challenging to remove from bowls.

    Measuring Cups and Spoons

    Measuring cups and spoons are necessary to ensure accurate measurements of ingredients. It is essential to measure the ingredients precisely to ensure that the balm is effective.

    Jars or Containers

    Jars or containers are required to store the balm. It is recommended to use glass or metal containers since plastic containers can leach chemicals into the balm.

    Essential Oils

    Essential oils are the active ingredients in the balm. It is essential to use high-quality, pure essential oils to ensure that the balm is effective. Some of the essential oils that can be used for sinus relief body balm include peppermint, eucalyptus, and lavender.

    Overall, making natural sinus relief body balm requires a few essential tools and equipment. By using the right tools and ingredients, one can create a balm that is effective and safe to use.

    Step-by-Step Guide

    A table with various natural ingredients and essential oils, a double boiler, and a mixing bowl. Labels for each ingredient and a recipe book open to the sinus relief body balm page

    Preparing the Ingredients

    Before starting to make the sinus relief body balm, gather all the necessary ingredients and equipment. The ingredients include beeswax, carrier oil, and essential oils of your choice. The equipment needed includes a double boiler, a spatula, and containers for the balm.

    Melting and Mixing

    The first step in making the sinus relief body balm is to melt the beeswax and carrier oil in a double boiler. The ratio of beeswax to carrier oil should be roughly 1:4. Once the beeswax and carrier oil have melted, use a spatula to mix them together thoroughly.

    Adding Essential Oils

    After the beeswax and carrier oil have been mixed, it’s time to add the essential oils. Essential oils such as eucalyptus, peppermint, and rosemary are known to help relieve sinus congestion. Add a few drops of each essential oil to the melted mixture and stir well.

    Pouring and Setting

    Once the essential oils have been added, pour the mixture into containers and let it cool. Glass or metal containers work best for storing the balm. Once the balm has cooled and set, it’s ready to use.

    Making your own sinus relief body balm is a natural and effective way to relieve sinus congestion. By following these simple steps, anyone can make their own balm at home.

    Application Tips

    A serene scene of a person mixing natural ingredients in a small bowl, surrounded by fresh herbs and essential oils. A gentle breeze wafts through the open window, carrying the soothing scent of eucalyptus and peppermint

    How to Apply the Balm

    To apply the natural sinus relief body balm, scoop out a small amount of the balm with your fingertips. Rub the balm onto your chest, neck, and under your nose. Make sure to rub the balm in well and apply it to the back of the neck if you have head congestion. The balm should be applied as needed, but do not use more than three times a day.

    When to Use the Balm

    The natural sinus relief body balm can be used when you are experiencing nasal congestion, sinus pressure, and headaches. It can also be used as a preventative measure during allergy season or when you are exposed to irritants that can cause sinus issues.

    It is important to note that the natural sinus relief body balm should not be used as a substitute for medical treatment. If you have severe or chronic sinus issues, it is recommended that you consult with a healthcare professional.

    Overall, the natural sinus relief body balm is a safe and effective way to alleviate symptoms associated with sinus issues. With the right ingredients and recipe, you can make your own natural balm and enjoy the benefits of a natural remedy.

    Storage and Shelf Life

    A wooden shelf filled with glass jars of natural ingredients, surrounded by dried herbs and essential oils, with a handwritten label for "Natural Sinus Relief Body Balm."

    Proper storage is essential to maximize the shelf life of the natural sinus relief body balm. The balm should be stored in a cool, dry place away from direct sunlight and heat. Exposure to heat and sunlight can cause the balm to melt and lose its effectiveness.

    To ensure the balm stays fresh for longer, use clean, sterilized jars or containers. If recycling containers, make sure they have been washed well with soap and hot water to remove any residue from previous products.

    The natural sinus relief body balm should last for up to six months when stored properly. However, the shelf life may vary depending on the quality of the ingredients used and the storage conditions.

    It is important to note that the balm should not be used if it has an unusual smell or appearance. If the balm starts to smell rancid or develops mold, it should be discarded immediately.

    Overall, proper storage and handling of the natural sinus relief body balm can help extend its shelf life and ensure its effectiveness.

    Safety Considerations

    A clean, organized workspace with natural ingredients and safety gear. A mixing bowl, measuring tools, and a stove for heating ingredients

    Skin Patch Test

    Before using the natural sinus relief body balm, it is important to perform a skin patch test. This will help determine if the individual has any allergic reactions to any of the ingredients used. It is recommended to apply a small amount of the balm on the inner part of the elbow or wrist and wait for 24 hours. If there are no signs of redness, itching, or swelling, it is safe to use the balm.

    Contraindications and Cautions

    Although natural sinus relief body balm is generally safe to use, there are some contraindications and cautions to consider. Pregnant and breastfeeding women should consult with their healthcare provider before using the balm. Individuals with sensitive skin or allergies to any of the ingredients should avoid using the balm. It is also important to keep the balm out of reach of children and pets.

    It is important to note that the information provided is not intended to be a substitute for professional medical advice, diagnosis, or treatment. Always seek the advice of your physician or other qualified healthcare provider with any questions you may have regarding a medical condition.

    Frequently Asked Questions

    A table with various natural ingredients and tools for making sinus relief body balm, including essential oils, beeswax, and mixing utensils

    What ingredients are required for a homemade sinus relief balm?

    To make a natural sinus relief balm, one will need a few key ingredients. These ingredients include a carrier oil, such as coconut oil or almond oil, beeswax, and essential oils. The specific essential oils used will depend on personal preference and intended use, but popular choices for sinus relief include peppermint, eucalyptus, and lavender.

    Can essential oils be used in making a sinus relief balm, and if so, which ones?

    Yes, essential oils can be used in making a sinus relief balm. Peppermint, eucalyptus, and lavender are popular choices for sinus relief due to their natural anti-inflammatory and decongestant properties. However, it is important to note that essential oils should be used with caution and diluted properly before use.

    What is the process for creating a sinus relief balm at home?

    To create a homemade sinus relief balm, one will need to melt the carrier oil and beeswax in a double boiler. Once melted, the essential oils can be added and mixed thoroughly. The mixture can then be poured into containers and allowed to cool and solidify. It is important to note that the balm may solidify too quickly, and dried herbs can be substituted for essential oils if desired.

    Overall, creating a natural sinus relief balm at home is a simple and effective way to alleviate sinus congestion and discomfort. By using natural ingredients and essential oils, one can avoid harsh chemicals and enjoy the benefits of a soothing and effective remedy.

    We are on YouTube
    How to Make Your Skin GLOW with 3 Ingredients

✨ DIY Carrot Glow Cream Recipe
This recipe is designed to infuse your skin with the antioxidant power of carrots (beta-carotene) using just three core ingredients, as seen in your video.

🥕 Ingredients
Fresh Carrots (Grated)
Coconut Oil (For the oil infusion)
Aloe Vera Gel (For the cream base)

👩‍🍳 Step-by-Step Instructions
Roast the Carrots (Maximize Potency): Gently roast or dry the grated fresh carrots. This step helps to intensify and make the beta-carotene more accessible for extraction.

Infuse the Oil (Extract the Goodness): Place the roasted/dried carrots into a clean jar and cover them completely with coconut oil. Seal the jar and allow it to infuse, ideally overnight or longer, to extract the powerful antioxidants into the oil.

Strain the Oil (The Foundation): Carefully strain the oil mixture into a clean jar, separating the liquid (carrot oil) from the solids. This golden liquid is the foundation of your cream.

Create the Cream Base (Mix the Magic): Start with a dollop of pure aloe vera gel in a bowl.

Whisk and Transform: Slowly add the precise amount of your homemade carrot-infused oil to the aloe vera gel. Whisk the two ingredients together until they instantly transform into a smooth, vibrant orange cream.

🌟 Benefits
Vitamin A/Beta-Carotene: Carrots are rich in beta-carotene, a precursor to Vitamin A, which is known for promoting skin renewal and a healthy glow.

Moisture Lock: The combination of coconut oil and aloe vera helps to deeply hydrate and lock in moisture.

*Disclaimer: Always do a patch test before applying new products, especially DIY recipes, to your skin.*


Watch as we make a luxurious DIY carrot cream for a healthy, radiant complexion! This skincare diy uses natural ingredients to create a homemade skincare solution that's perfect for face care. We'll show you how to get glowing skin with this simple homemade recipes for a carrot body butter.
    I Made a Carrot Cream and My Skin Glows Now #skincare #natural #diy
    Watch how she transforms an empty Tree Hut Sugar Scrub jar into a viral DIY! 🤯 She didn't throw out her old jar—she refilled it from scratch with a homemade body scrub that looks even better than the original.

This DIY Tree Hut Scrub dupe is perfect for anyone looking for a skincare hack to save money and customize their exfoliation.

Ingredients used in the video:

Sugar
Ground Coffee
Body Wash (for a creamy base!)
Honey
Coconut Oil

Have you ever tried making your own body scrub? Let us know your favorite DIY skincare recipes in the comments!

#TreeHut #BodyScrub #DIYSkincare #SkincareHacks #TreeHutDupe #HomemadeScrub #BeautyHacks #Exfoliation #SelfCare #SugarScrub #YouTubeShorts #DIYBeauty

Watch as she creates a luxurious "homemade sugar scrub" right from her kitchen, reusing an old container. This "diy body scrub" combines simple ingredients for a fraction of the cost of store-bought versions, making it an ideal "body scrub at home". With this easy "sugar scrub for body", you can achieve incredibly smooth skin. It's a fantastic "diy projects" that shows you "how to make your skin smooth" naturally.
    Homemade Body Scrub That Looks Even Better Than Tree Hut #skincare
    DIY Moong Dal & Aloe Vera Face Mask for INSTANT GLOW! ✨

You won't believe the secret ingredient for **glowing skin**—it's **LENTILS** (specifically moong dal)! 🤯 Watch this quick DIY to see how she transformed simple kitchen ingredients into a powerful **natural face mask** for instant brightness.

In this short, she blended fine moong dal (split yellow lentils) into a powder, mixed it with soothing aloe vera gel, and a splash of water to create a creamy, natural beauty paste. This is your new go-to homemade glow mask!

**How to Use for Best Results:**
* Apply the mask evenly to your face.
* Leave it on for just **20 minutes**.
* Rinse thoroughly with **cold water** to close pores and lock in the brightness.

This quick DIY skincare hack uses traditional Indian beauty secrets (Ayurveda-inspired) to give you soft, bright, and glowing skin without harsh chemicals. Perfect for those looking for natural skincare routines and affordable beauty tips.

What do you think of this amazing hack? Let me know in the comments if you’ve tried a lentil mask before! 👇
👉 Like this video if you love natural beauty tips!
🔔 Subscribe for more easy DIYs and skincare hacks!

#diybeauty #skincarehacks #naturalbeauty #glowingskin #indianbeauty #moongdal #facepack #homemadefacemask #skincaretips #selfcare
    I Tried a DIY Lentil Face Mask and WOW! #skincare
    The #1 Natural Face Mask For Glowing Skin! ❤️ DIY Anti-Aging Recipe

Want brighter, younger-looking skin without expensive serums? This viral DIY face mask uses a surprisingly powerful ingredient: banana peels!

Watch the full short to learn how to make this simple, all-natural anti-aging remedy that also brightens and adds a gorgeous glow to your skin.

The 7-Day Challenge: Apply this mask every day for one week to see amazing results. It's packed with vitamins and antioxidants to help reduce the appearance of fine lines, wrinkles, and dark spots.

DIY Banana Peel Face Mask Recipe
What You'll Need:

1 Banana peel
2 tablespoons rice
200 ml of water
1 tablespoon milk powder
1 tablespoon cornstarch
1 tablespoon lemon juice

Instructions & Storage:

Boil the banana peel and rice in water until soft.

Blend the mixture until smooth.

Stir in the milk powder, cornstarch, and lemon juice.

Store in an airtight container in the refrigerator for up to 7 days.

👍 If you loved this natural skincare hack, hit the LIKE button and SUBSCRIBE for more easy DIY beauty recipes!

#DIYfaceMask #BananaPeelMask #AntiAgingMask #GlowingSkinHack #NaturalSkincare #RiceMask #DIYBeauty #YouTubeShorts #SkincareRoutine #WrinkleTreatment
    The #1 Natural Face Mask for Glowing Skin! ❤️ DIY Anti-Aging Recipe #skincare
    How to Make DIY Korean Flaxseed Mask for Skin Whitening (Natural Botox Effect!) 

Get the viral **"Natural Botox"** effect at home with this simple **DIY Korean flaxseed mask** recipe! This homemade treatment is famous for making skin look tighter, brighter, and deeply hydrated.

This short video shows you exactly how to make the best flaxseed gel mask using a simple addition—rice flour—for a powerful skin whitening and glass skin effect.

### ✨ Why this Mask Works:
* **Flaxseed Gel:** Rich in Omega-3s and antioxidants, it provides incredible hydration and creates a visible, temporary lift/tightening effect as it dries.
* **Rice Flour:** A key ingredient in Korean and Japanese skincare, known for its gentle brightening and skin-softening properties.

### 📋 Full Recipe Ingredients:
* 1 Cup Water
* 3 Tablespoons Whole Flaxseeds (Linseeds)
* 1 Tablespoon Rice Flour (or Cornstarch)

### 🌿 Quick Instructions:
1.  Boil water, flaxseeds, and rice flour.
2.  Stir continuously until it forms a thick, gelatinous paste (consistency shown in video).
3.  Cool completely. Apply thickly to face.
4.  Rinse off after 20-30 minutes for glowing, firm skin!

**➡️ Did you try this DIY face mask? Drop a comment below!**
👍 **Like and Subscribe for more easy natural skincare recipes and beauty hacks!**

#skincare #DIYMask #FlaxseedMask #NaturalBotox #KoreanSkincare #KBeauty #SkinWhitening #SkinFirming #AntiAgingTips #HomemadeSkincare #GlassSkin #RiceMask
    How to Make DIY Korean Flaxseed Mask for Skin Whitening (Natural Botox Effect!) #skincare
    Ultimate Blackhead Removal Hack! DIY Gelatin & Coffee Peel-Off Mask ☕️

Watch this satisfying mask detox your skin and remove blackheads, dead skin, and dirt! Get super smooth and fresh skin with this simple home remedy.

**✨ How to Make It:**
1. Scoop 1 part Gelatin, 1 part Coffee grounds, and a splash of Hot Water into a bowl.
2. Mix well until the gelatin dissolves and you have a thick, smooth paste.
3. Apply to your nose/t-zone and let it completely dry (about 15-20 minutes).
4. Slowly peel off the mask and see the results!

**⚠️ Note:** Always do a small patch test first. Do not use if you have sensitive or broken skin.

#shorts #blackheads #blackheadremoval #skincare #diyskincare #peeloffmask #satisfying #coffeemask #homeremedy #beautyhacks #skinroutine
    Ultimate Blackhead Removal Hack! DIY Gelatin & Coffee Peel Off Mask #skincare
    Load More... Subscribe
    Share. Facebook Twitter Pinterest LinkedIn Tumblr Email
    Hershey

    Hi, I’m Hershey — a lifelong natural skincare enthusiast with a love for creating simple, homemade beauty solutions that actually work. Inspired by my grandmother’s herbal remedies and my own sensitive skin journey, I started DIY Beauty Corner to share effective, affordable skincare recipes made from ingredients you already have at home.

    Related Posts

    DIY Vanilla and Brown Sugar Body Scrub Recipe

    August 6, 2025

    How to Make a DIY Yoni Oil for External Use

    July 30, 2025

    10 Easy Ways to Make Rosemary Water for Hair Growth (Benefits + How to Use)

    December 13, 2024

    Hi, I'm Hershey. I'm a skin care and beauty blogger who's NOT a morning person. (Seriously, who is?) I love making DIY skin care remedies from natural ingredients, and sharing my recipes and tips that can be used at home. Whether you're looking for ways to save money on your beauty routine, or just want to know how to take better care of your skin, you'll find something useful on my blog. So why not stick around for a while?

    Grandmas Homemade Face Mask Recipe

    Continue Reading
    DIY Beauty Corner

    Popular This Month

    • Sugar & Honey Body Scrub
    • Organic Body Butter
    • Korean Glass Skin Rice Mask
    • Turmeric Glow Body Scrub
    • Rosemary Hair Growth Oil
    • Quick Coffee Sugar Scrub
    • Vanilla & Brown Sugar Scrub
    • Pink Whipped Sugar Scrub
    • Non-Greasy Body Butter
    • Lemon Sugar Scrub

    Browse by DIY Recipe Type

    Body Scrub Recipes
    Face Mask Recipes
    Body Butter Recipes
    Hair Growth Recipes
    Lip Balm Recipes
    Perfume Recipes
    ⚠️ Please note: I’m not a licensed dermatologist or medical professional. All recipes shared are based on personal experience and research. Always perform a patch test before trying new skincare, and consult a healthcare provider for specific concerns.
    Pinterest YouTube
    • About
    • Contact
    • Disclaimer
    • Privacy Policy
    • Terms and Conditions
    © 2025 DIYBeautyCorner.com.

    Type above and press Enter to search. Press Esc to cancel.