Making edible-friendly massage oils at home is a simple way to level up a self-care routine using ingredients you can recognise. These blends are designed to feel smooth on the skin, offer a gentle scent (or flavour), and rinse away easily with warm water and a mild cleanser. Because you’re making it yourself, you can keep the ingredient list short, adjust the texture, and choose options that suit your preferences.
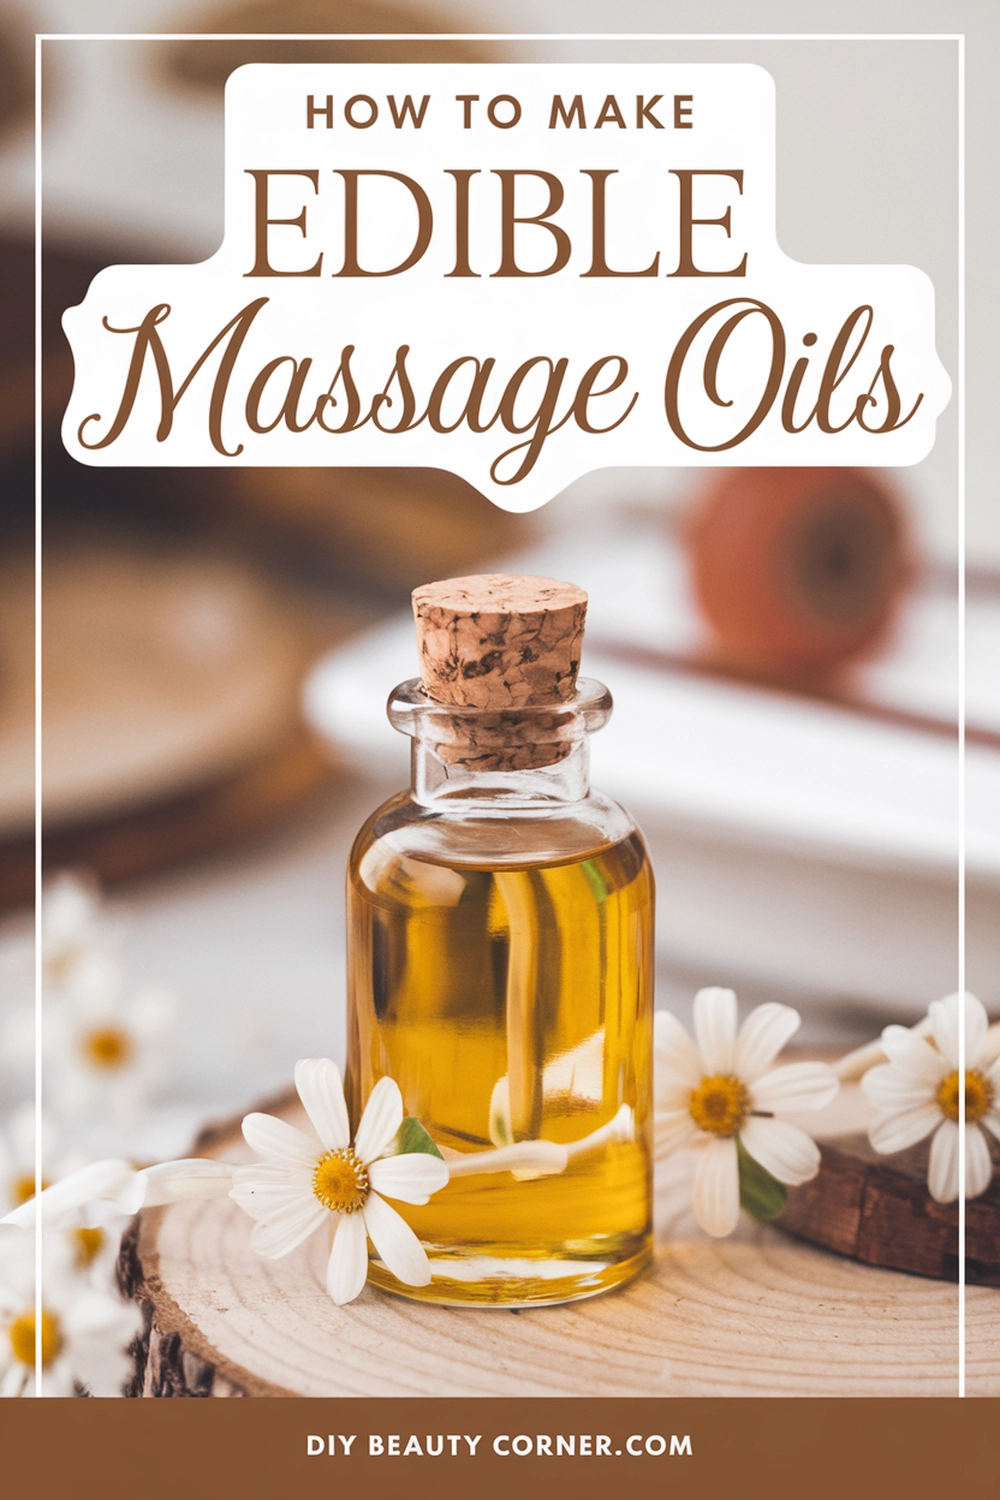
Before we start, a quick clarity point: “edible-friendly” means you’re choosing food-grade carrier oils and food-safe flavouring (like vanilla extract) so the blend is made from kitchen-style ingredients. If you choose to add essential oils for fragrance, treat the blend as topical only and keep the essential oils at a low dilution for skin comfort.
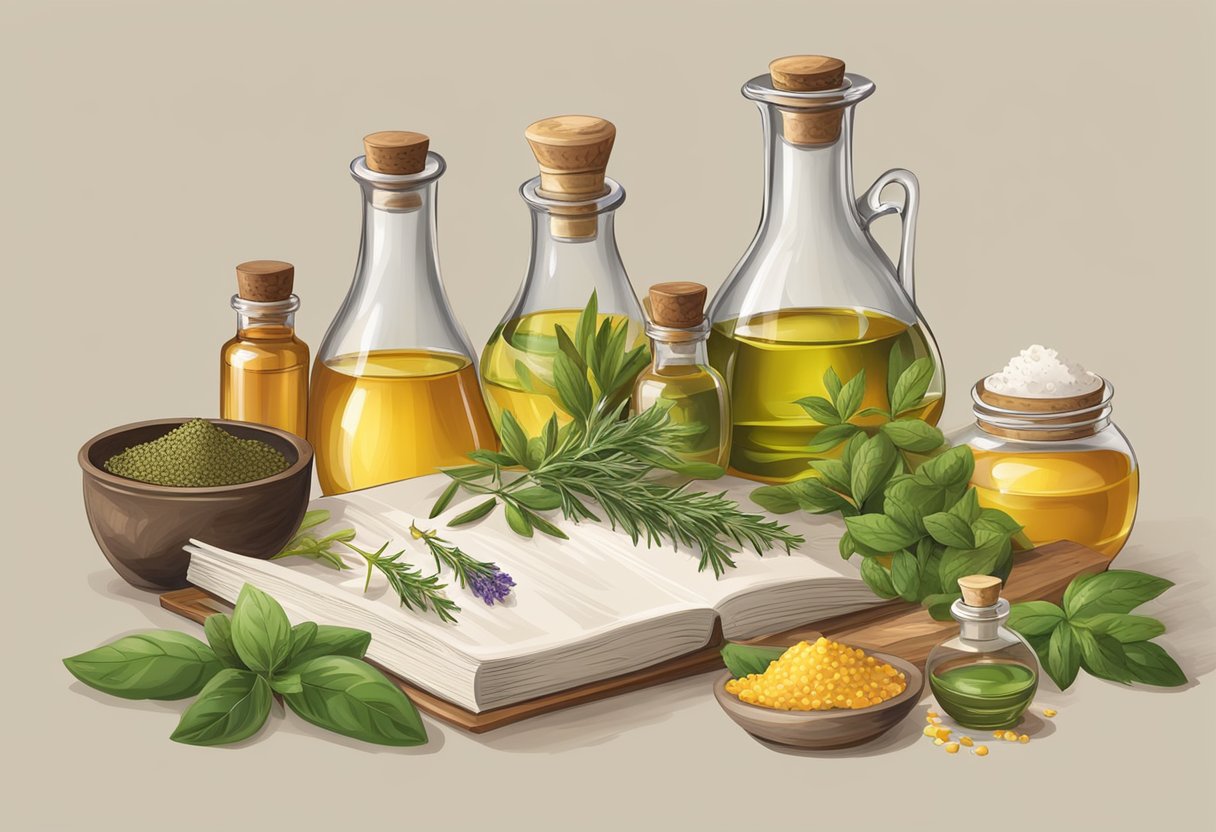
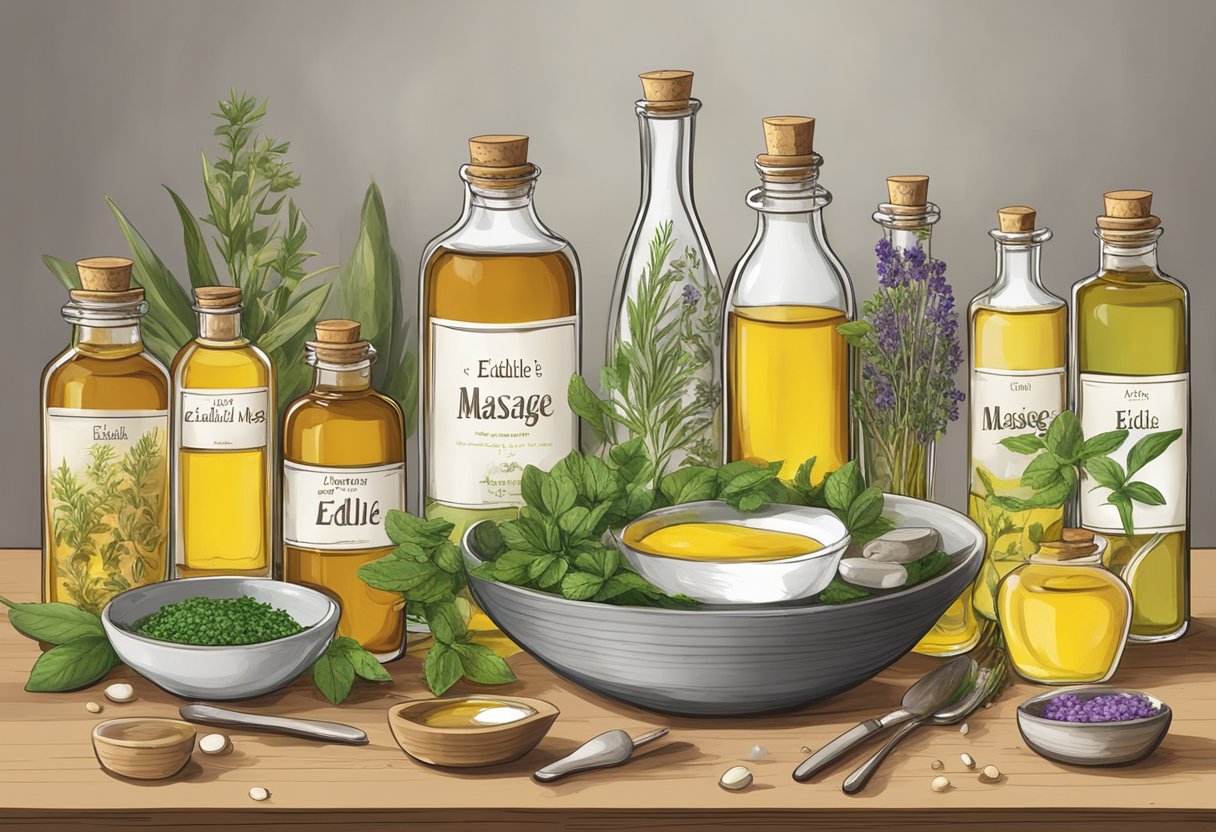
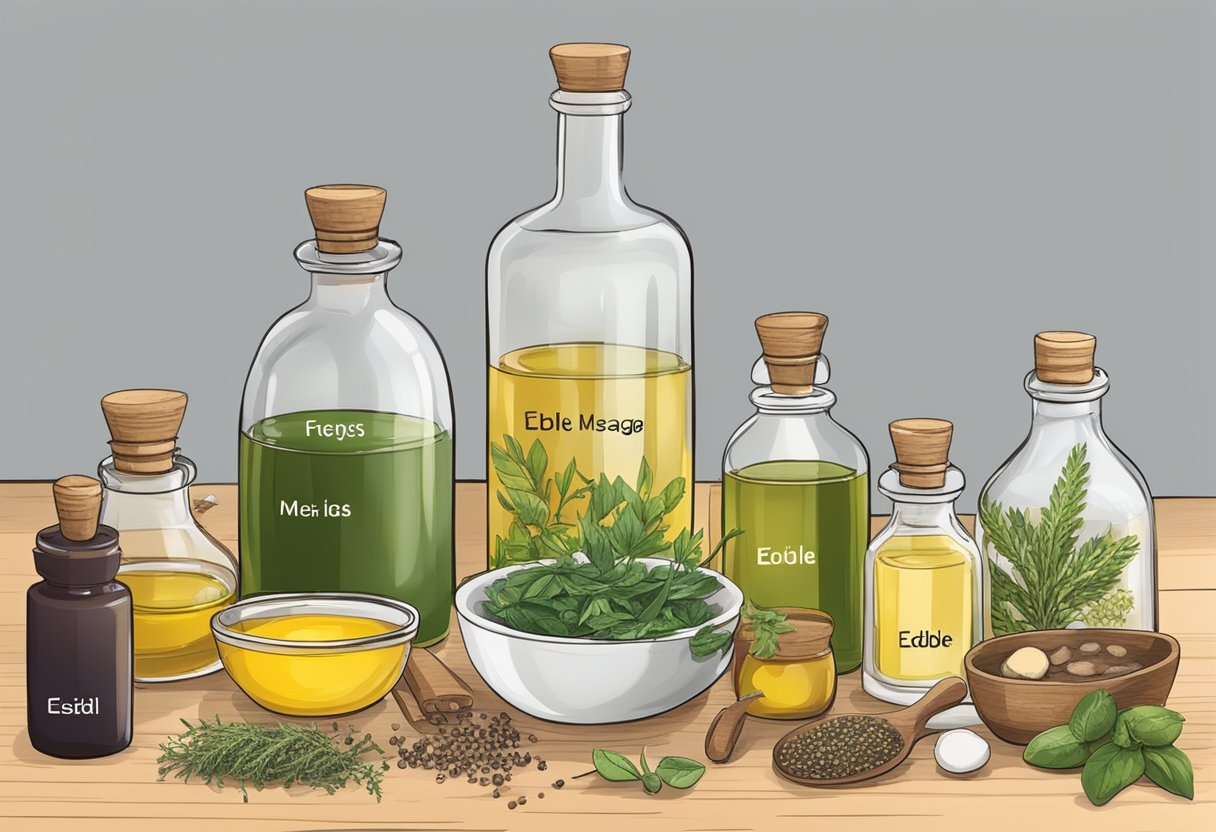
Most DIY massage oils start with a base of carrier oils. These are the “main” oils that give slip, moisturise the skin, and help any fragrance disperse evenly. Popular options include coconut oil, jojoba oil, and sweet almond oil. You can use one oil on its own or blend two together for a nicer feel.
If you’re using essential oils, choose high-quality oils designed for skin use and keep the concentration low. If you want a “tasty” scent without essential oils, use food extracts like vanilla, cocoa, or cinnamon (in tiny amounts), and keep the recipe simple.
Benefits of Edible-Friendly Massage Oils

Homemade massage oils are popular because they’re customisable and multi-purpose. Here are a few practical benefits that make them worth keeping on hand:
1. Simple, skin-friendly ingredients
You choose what goes in the bottle. That’s helpful if you prefer minimal formulas or want to avoid strong fragrance blends.
2. Soft, smooth “slip” for massage
A good carrier oil gives enough glide for massage without feeling sticky. You can fine-tune the texture by blending lighter oils (like jojoba) with richer oils (like coconut).
3. Great for post-shower body oil
Many people also use these oils after bathing. Apply to slightly damp skin, then towel dry gently for a smoother feel.
4. Easy to customise scent and feel
Prefer fragrance-free? Skip the extras. Want a warm vanilla vibe? Add a tiny amount of vanilla extract. Prefer herbal notes? Use a low-dilution essential oil blend.
5. Giftable (with clear labels)
Small bottles make lovely homemade gifts — especially when you include the ingredient list and a “topical use” note on the label.
Essential Ingredients
You only need a few basics to get started. Think of your recipe as: carrier oil + optional flavour extract + optional skin-safe fragrance.
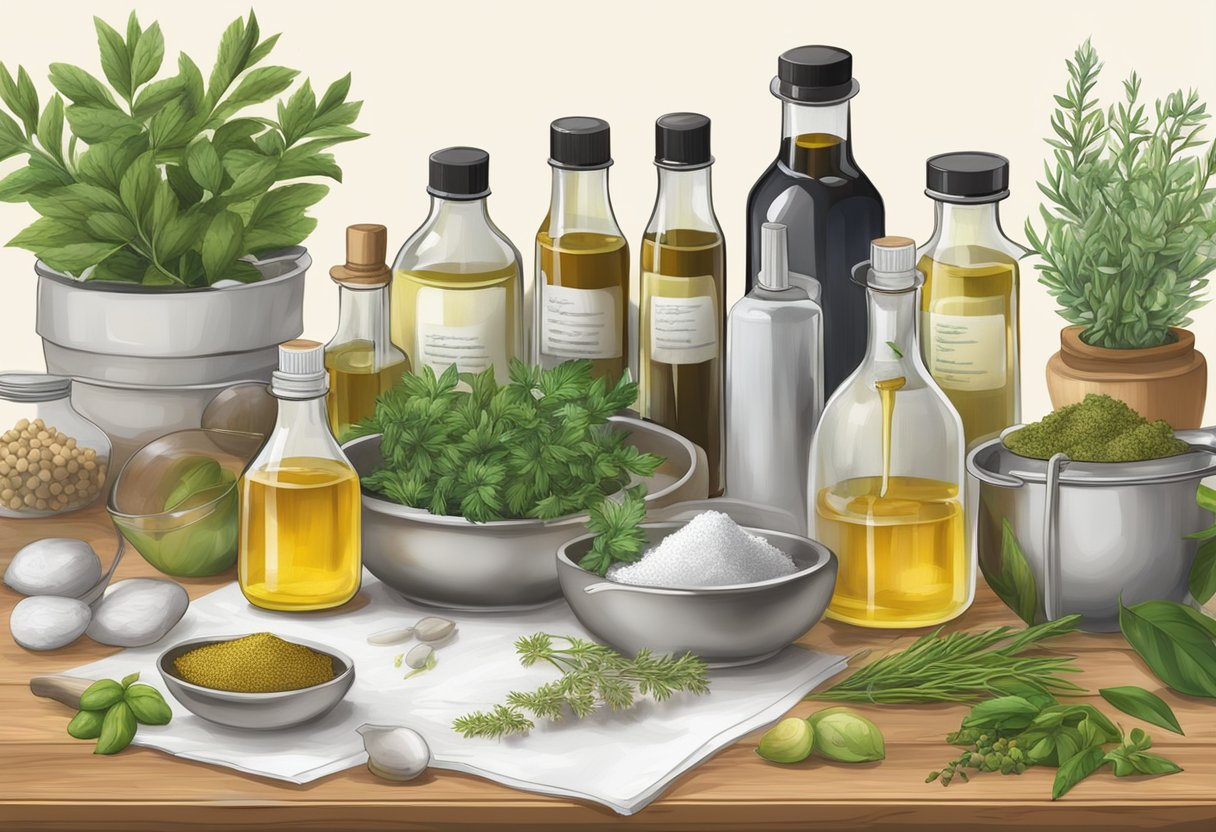
Carrier Oils
Choose food-grade oils where possible. Good beginner options include:
- Sweet almond oil: light and silky
- Jojoba oil: very lightweight feel
- Coconut oil: richer (solid in cool rooms)
- Grapeseed oil: light and fast-absorbing
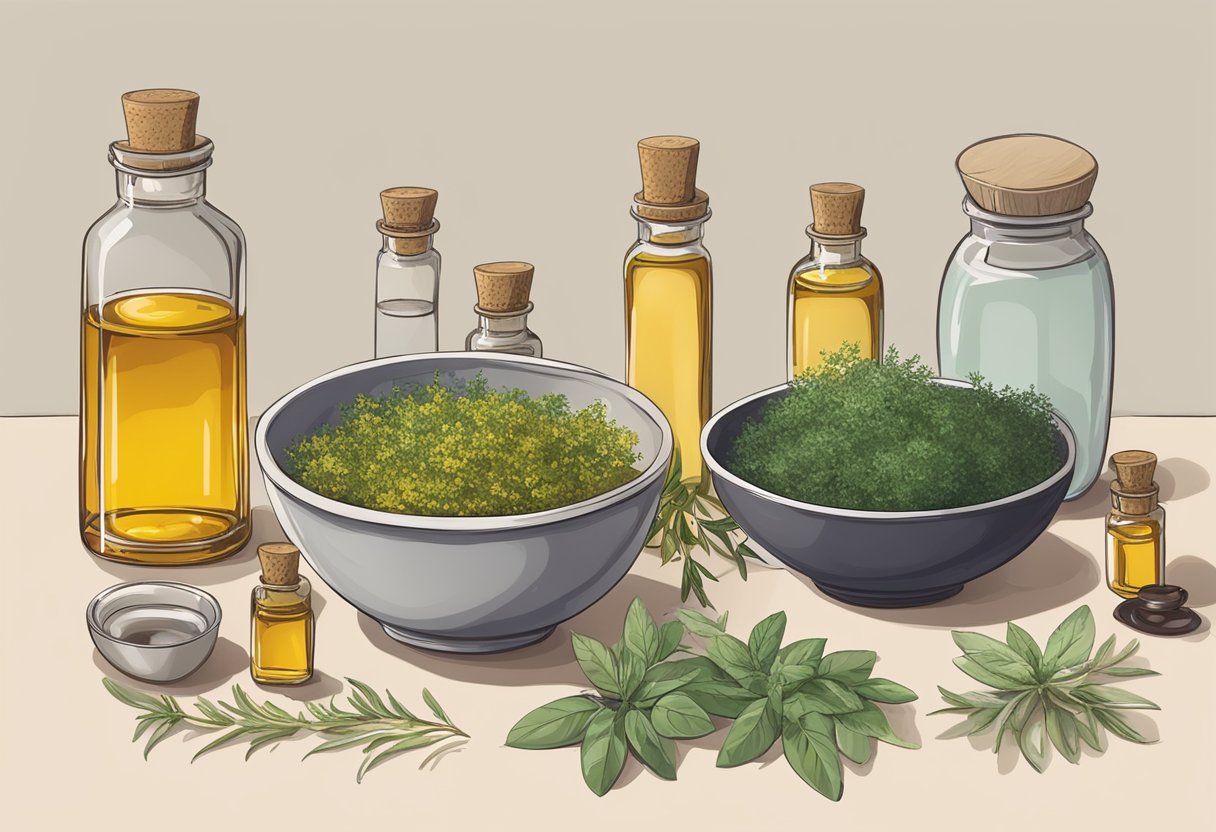
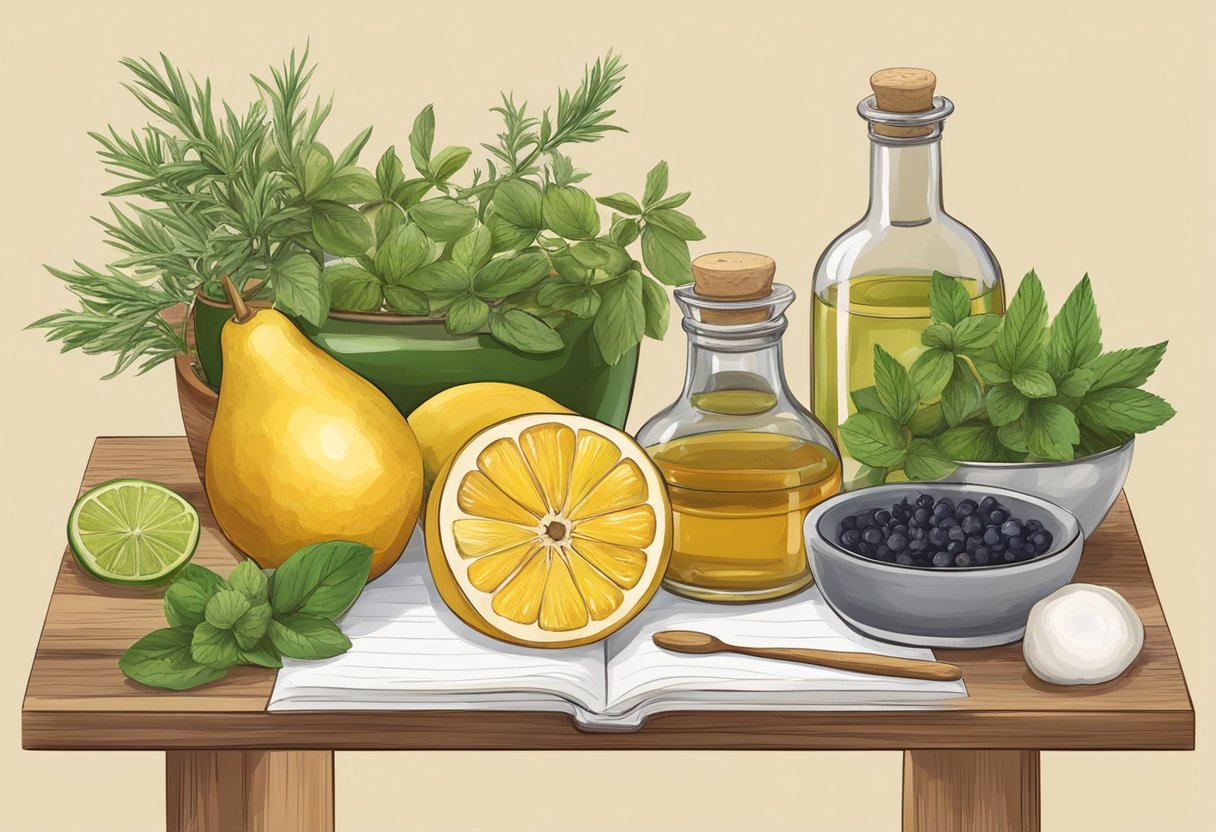
Flavouring Options (food extracts)
For edible-friendly aroma, use food extracts (not fragrance oils): vanilla extract is the easiest. Cocoa powder can work too, but it may leave residue and needs careful mixing.
Natural Sweeteners (optional)
If you want a sweeter “treat-style” blend, a very small amount of honey or maple syrup can be used, but note: sweeteners can shorten shelf life and make the oil feel sticky. If you want long-lasting storage, it’s usually best to skip sweeteners.
Essential Oils for Aroma (topical only)
If you add essential oils, keep them low and treat the final product as for external use only. Choose oils commonly used for skincare fragrance (for example, lavender). Avoid adding essential oils if the blend is intended to be edible-friendly.
Safety Considerations
DIY body oils are simple, but safety matters. These tips help keep your blend skin-friendly and long-lasting.
Patch test first
Try a small amount on your inner arm and wait 24 hours. If irritation occurs, discontinue use.
Shelf life basics
Pure oils last longer than oils mixed with fresh ingredients or sweeteners. Store in a cool, dark place and keep water out of the bottle to reduce spoilage risk. If the oil smells “off” or rancid, discard it.
Essential oil dilution (topical use)
A gentle guideline for body oils is 1% dilution (about 6 drops essential oil per 1 oz / 30 ml carrier oil). If you want an edible-friendly oil, skip essential oils and use food extracts instead.
Creating Your Blend
This is the easiest way to build your own blend. Start small so you can adjust the feel and scent before making a bigger bottle.
Selecting your base
For a balanced beginner blend, try:
- 2 tbsp sweet almond oil
- 2 tbsp jojoba oil
If you want a richer feel, swap one tablespoon for melted coconut oil (note it may firm up again in cool rooms).
Mixing scent or flavour
For edible-friendly aroma, add ¼ tsp vanilla extract to a 4 oz bottle and shake well. For topical fragrance only, add essential oils at a low dilution and label clearly as “external use”.
Testing consistency
Warm a few drops between your palms and check the glide. Too heavy? Add more jojoba or grapeseed oil. Too light? Add a touch of coconut oil or increase the almond oil.
Packaging and Storage
Use clean, food-grade containers. Glass bottles with a tight lid work best, especially if you want the oil to stay fresh for longer.
Label your bottle with the date, ingredients, and “external use” if you included essential oils. Store away from heat and direct sunlight.
Usage Tips
Applying the oil
Start with a small amount. Warm it between your hands, then apply in gentle circular motions. Add more as needed rather than using too much at once.
Clean-up
To avoid oil transfer, wipe off any excess with a towel. A mild cleanser removes leftover oil from skin if needed.
Recipes and Ideas
Here are three simple blend ideas you can make in small batches. Always label your bottles clearly.
Vanilla Infusion (edible-friendly)
- ¼ cup sweet almond oil
- ¼ cup jojoba oil
- ½ tsp vanilla extract
Shake well before each use.
Citrus-Style Scent (topical only)
- ¼ cup sweet almond oil
- ¼ cup grapeseed oil
- 8 drops skin-safe essential oil (low dilution)
Label as external use only.
Lavender-Style Wind-Down Blend (topical only)
- ¼ cup jojoba oil
- ¼ cup sweet almond oil
- 8–10 drops lavender essential oil
Frequently Asked Questions

What are the best base oils for an edible-friendly massage oil?
Look for food-grade oils with a smooth feel, such as sweet almond oil, jojoba oil, or fractionated coconut oil. If you have allergies, choose an oil that suits your needs and patch test first.
Can I make a cocoa-style body oil?
Yes. For a cocoa-style scent, use a tiny amount of vanilla extract and keep the blend simple. Cocoa powder can work, but it may leave residue and can shorten shelf life, so many people prefer extracts.
Can essential oils be used in edible-friendly massage oils?
If you want the blend to stay edible-friendly, it’s best to skip essential oils and use food extracts instead. If you use essential oils, treat the blend as topical only and keep the dilution low.
How do I make a vanilla-infused oil?
Add vanilla extract to a carrier oil blend and shake well. For a stronger scent, store it for 24 hours and shake again before use.
How can I extend shelf life?
Keep water out of the bottle, store in a cool dark place, and use clean hands or a pump-top bottle. Vitamin E is often used in DIY oils as an antioxidant, but it won’t turn a fresh-ingredient blend into a long-term product.