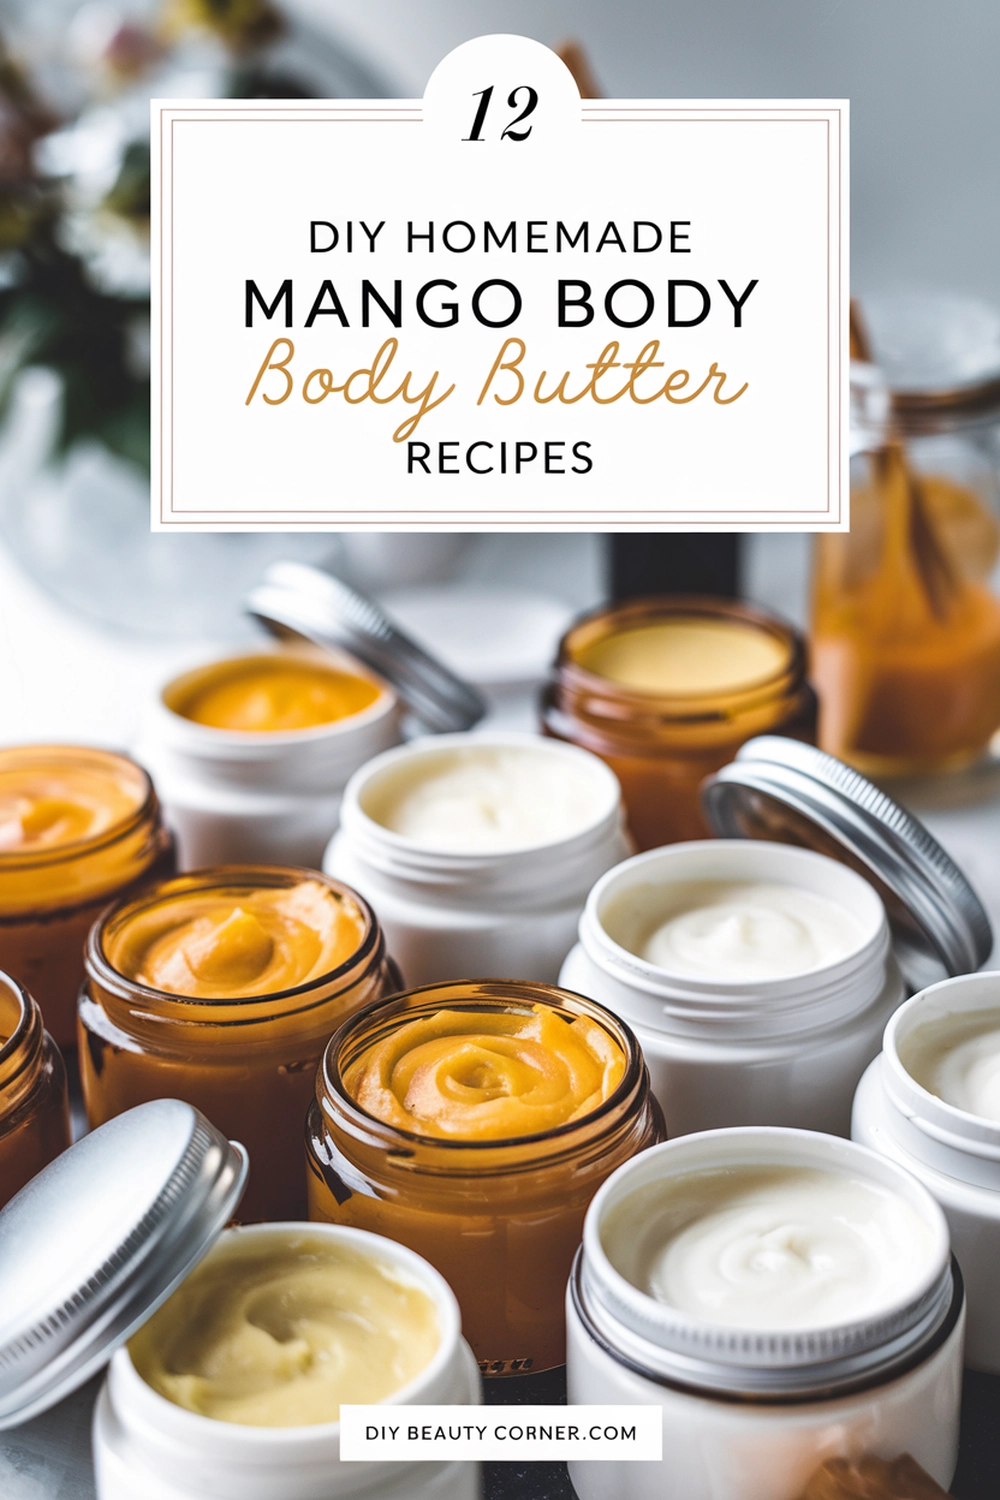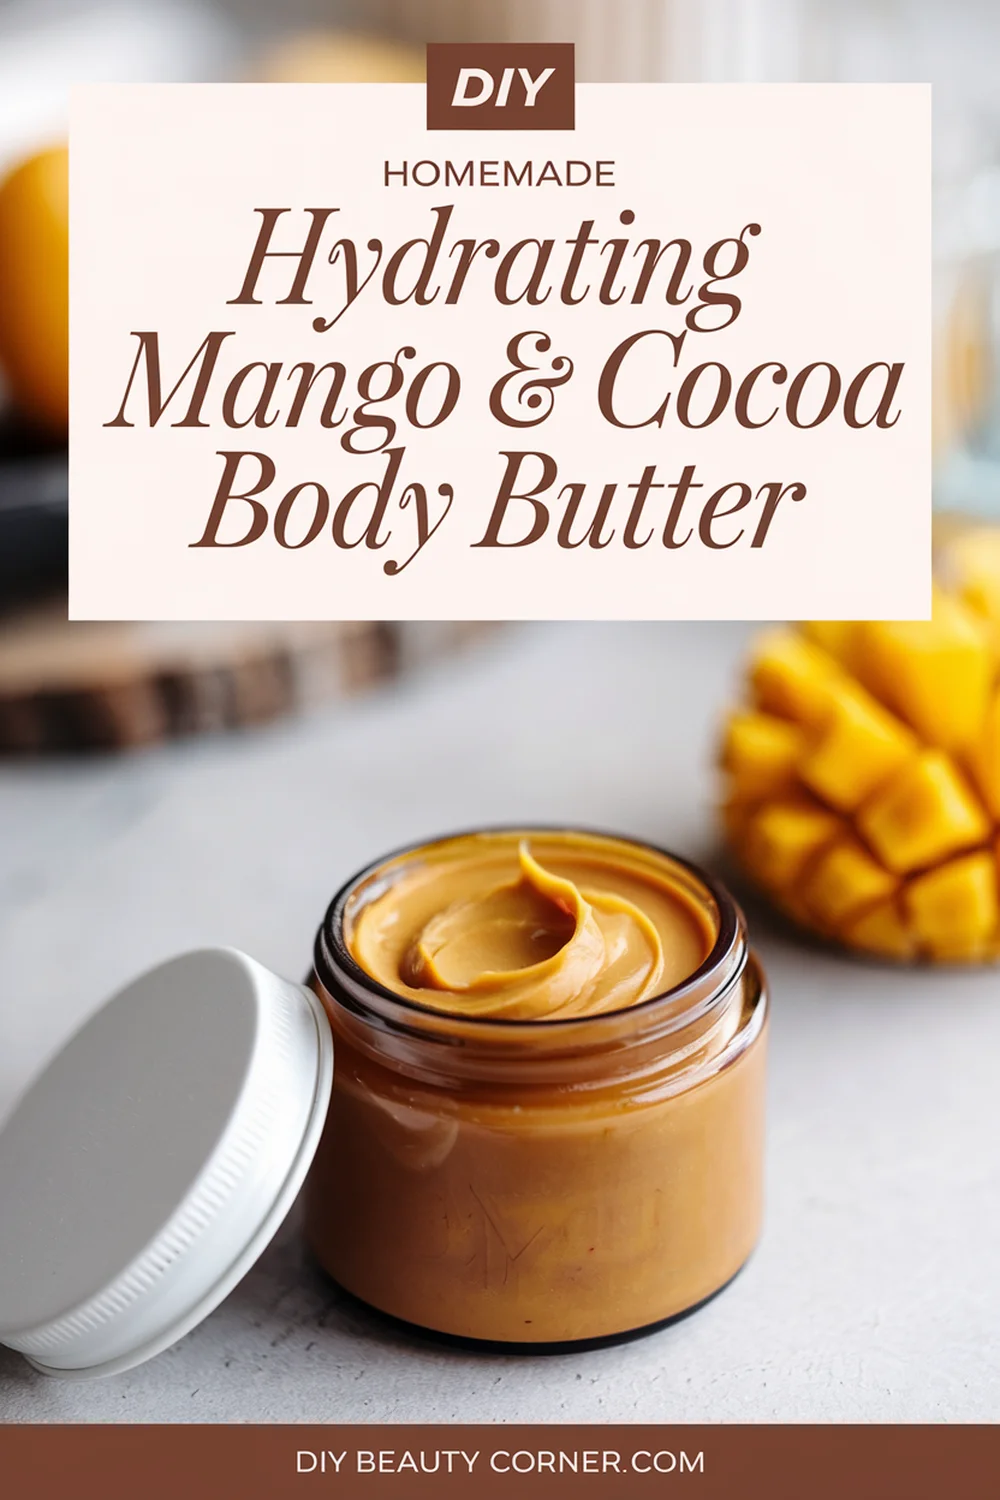
Making your own body butter can be a rewarding experience that offers significant benefits for your skin. By combining mango butter and cocoa butter, you create a deeply hydrating blend that nourishes and moisturizes. This recipe not only locks in moisture but also enhances the elasticity of my skin, making it feel soft and supple.
In this blog post, I’ll guide you through the process of crafting your own hydrating body butter. The ingredients are straightforward and accessible, allowing me to whip up a batch tailored to my preferences. With a few simple steps, I achieve a luxurious product that keeps my skin glowing and healthy.
Let’s gather the key ingredients and get started on this delightful DIY project that will elevate my skincare routine. Making body butter is an excellent way to treat myself while ensuring my skin feels fantastic year-round.
Ingredients and Benefits
In this section, I will discuss the key ingredients that make up a hydrating body butter alongside their significant benefits for the skin. The focus will be on mango butter, cocoa butter, additional oils, and essential fragrances.
Mango Butter Properties
Mango butter is extracted from the seeds of the mango fruit. It is a rich source of vitamins A and E, which are known for their ability to nourish and rejuvenate the skin. The fatty acids in mango butter help to lock in moisture, making it especially beneficial for dry or sensitive skin.
When applied, mango butter melts into the skin, providing a smooth texture and enhancing elasticity. Its anti-inflammatory properties can help alleviate irritation from conditions like eczema or psoriasis. Additionally, it has a subtle, sweet aroma that adds to the overall experience of using a homemade body butter.
Cocoa Butter Advantages
Cocoa butter is derived from the beans of the cacao tree. It is famed for its high content of saturated fats, which create a protective barrier on the skin. This helps to retain moisture effectively, making it a popular choice for those wanting to improve skin hydration.
Rich in antioxidants, cocoa butter also fights free radical damage, potentially reducing the appearance of fine lines and wrinkles. Its natural emollient properties soothe dry skin and give it a smoother, softer feel. Many people appreciate cocoa butter for its rich, chocolate scent, which can enhance the body butter experience.
Additional Hydrating Oils
In addition to mango and cocoa butter, I often include other hydrating oils to enhance the texture and benefits of my body butter. Oils like coconut oil, jojoba oil, and grapeseed oil can be excellent additions.
- Coconut Oil: Moisturizes deeply and has antibacterial properties.
- Jojoba Oil: Mimics the skin’s natural oils, making it suitable for all skin types.
- Grapeseed Oil: Light in texture and rich in linoleic acid, it helps balance oily skin.
Combining different oils allows for a personalized formulation tailored to address specific skin concerns and preferences.
Essential Oils and Fragrances
To elevate the body butter’s scent profile, I often incorporate essential oils. Essential oils not only provide pleasant fragrances but also come with various skin benefits. For example:
- Lavender Oil: Known for its calming properties and skin-soothing effects.
- Tea Tree Oil: Offers antibacterial benefits, making it great for acne-prone skin.
- Peppermint Oil: Provides a cooling sensation and can improve circulation.
Adding these oils allows me to customize the body butter and create an experience that is both aromatic and beneficial for the skin. It’s essential to use them in moderation to avoid irritation while enjoying their positive effects.
Preparation and Usage
This section covers the essential equipment, detailed preparation steps, effective application techniques, and proper storage methods for your hydrating mango and cocoa butter body butter. Knowing how to handle your ingredients and tools will ensure a smooth process.
Equipment Needed
To start, gather the following equipment for a successful body butter preparation:
-
Double Boiler: This setup gently melts the oils without burning them. If you don’t have one, a heat-safe bowl over a pot of simmering water will work.
-
Mixing Bowl: A large bowl is ideal for combining the ingredients post-melting.
-
Hand Mixer: I prefer using an electric hand mixer for whipping the butter. It creates a light and fluffy texture.
-
Spatula: A spatula is useful for scraping down the sides of the bowl.
-
Storage Containers: Use airtight jars or tins for storing your body butter to keep it fresh and prevent contamination.
Step-by-Step Preparation
-
Measure Ingredients: I’ll generally use equal parts mango butter and cocoa butter, around 1 cup each. You can adjust according to your preference.
-
Melt the Butters: In a double boiler, melt the butters over low heat. Stir occasionally until they are fully liquid.
-
Combine Oils: Once melted, remove the mixture from heat. Add about 2 tablespoons of a carrier oil, such as sweet almond oil.
-
Cool the Mixture: Allow the mixture to cool slightly, but it’s best to keep it pourable.
-
Whip the Mixture: Use a hand mixer to whip the mixture until it doubles in volume and becomes light and fluffy.
-
Add Essential Oils: This step is optional. Incorporate a few drops of your favorite essential oil for fragrance while whipping.
-
Transfer to Jars: Once whipped, scoop the body butter into your prepared jars for storage.
Application Technique
For the best results when applying body butter:
-
Clean and Dry Skin: Apply the body butter to clean, dry skin to help it absorb better.
-
Warm Up the Butter: I find that warming a small amount in my hands first helps it spread easier.
-
Massage In: Use gentle, circular motions to massage the butter into the skin. This not only helps with absorption but also provides a soothing experience.
-
Target Specific Areas: Focus on particularly dry areas such as elbows, knees, and heels for enhanced hydration.
Storage and Shelf Life
Proper storage will extend the life of your body butter.
-
Cool, Dry Place: Store the body butter in a cool, dry area away from direct sunlight to prevent melting or spoilage.
-
Airtight Containers: Using airtight jars is crucial to keep moisture out and preserve the texture.
-
Shelf Life: With proper storage, the body butter can last for up to six months. I recommend checking for any changes in smell or consistency before use, as these can indicate spoilage.
Following these guidelines ensures you effectively prepare, apply, and store your hydrating body butter.