Milk bath bombs are a luxurious addition to any bath, providing a relaxing and moisturizing experience. These bath bombs are made with powdered milk, which provides a soothing and moisturizing effect on the skin. In addition, they are easy to make and can be customized with different scents and colors to suit individual preferences.
To make milk bath bombs, one needs to gather the necessary ingredients, including baking soda, citric acid, powdered milk, and essential oils. Once the ingredients are assembled, they can be mixed together and molded into the desired shape. The bath bombs can then be left to dry and stored in an airtight container until ready to use.
Making milk bath bombs is a fun and easy DIY project that can be enjoyed by anyone. By following a few simple steps, anyone can create a luxurious and relaxing bath experience at home. Whether for personal use or as a gift for a loved one, milk bath bombs are a great addition to any bath routine.
Understanding Milk Bath Bombs
Milk bath bombs are a popular addition to any relaxing bath routine. They are easy to make, and the benefits of milk in bath bombs make them an excellent choice for anyone looking to improve their skin’s health and appearance.
Benefits of Milk in Bath Bombs
Milk is a natural moisturizer that can help soothe and hydrate dry, itchy skin. It contains lactic acid, which helps to exfoliate dead skin cells and promote cell turnover. This can help to reveal smoother, more radiant skin.
Milk also contains vitamins and minerals that are essential for healthy skin, including vitamin E, vitamin D, and calcium. These nutrients can help to nourish and protect the skin, leaving it looking and feeling soft and supple.
Types of Milk to Use
There are several types of milk that can be used in milk bath bombs, each with its own unique benefits. Some of the most popular types of milk to use include:
-
Whole Milk: Whole milk is an excellent choice for anyone looking to hydrate and nourish their skin. It contains a high amount of fat, which can help to moisturize dry skin.
-
Buttermilk: Buttermilk is a great choice for anyone with oily or acne-prone skin. It contains lactic acid, which can help to exfoliate dead skin cells and unclog pores.
-
Coconut Milk: Coconut milk is an excellent choice for anyone with dry or sensitive skin. It contains lauric acid, which can help to soothe and hydrate the skin.
-
Goat Milk: Goat milk is a great choice for anyone with eczema or psoriasis. It contains alpha-hydroxy acids, which can help to exfoliate the skin and reduce inflammation.
When making milk bath bombs, it is important to choose a milk that is fresh and of high quality. This will ensure that you get the maximum benefits from your bath bombs.
Gathering Materials

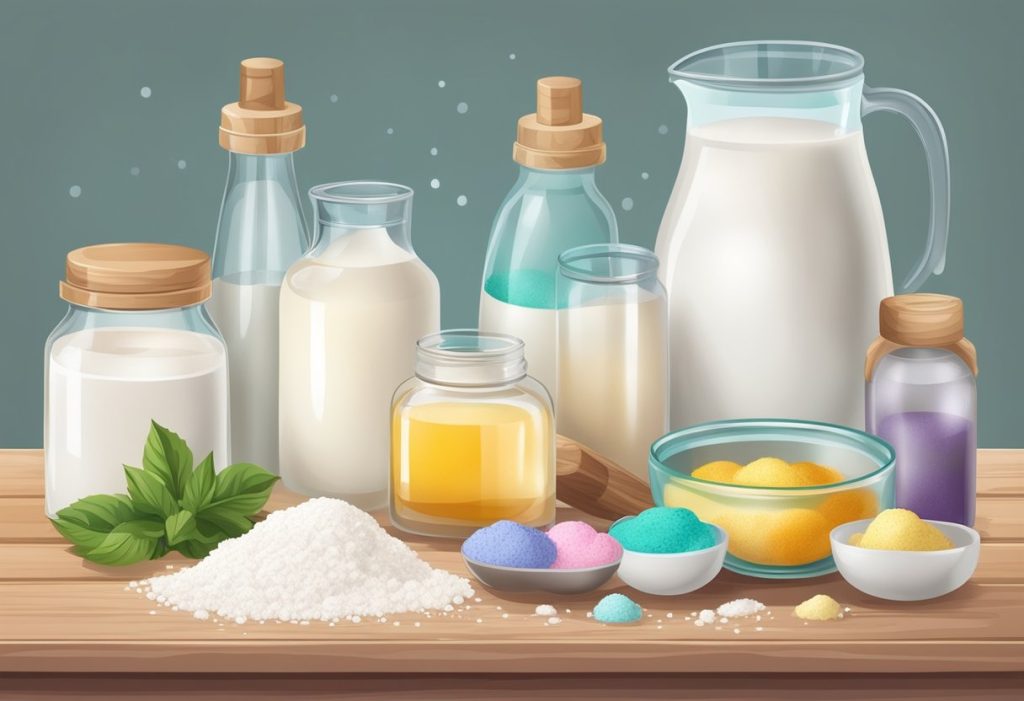
Before starting to make milk bath bombs, it is essential to gather all necessary materials. This section will provide a list of essential ingredients, tools, and equipment needed to make milk bath bombs.
Essential Ingredients
The following ingredients are necessary to make milk bath bombs:
| Ingredient | Function |
|---|---|
| Baking soda | Provides fizz and softens water |
| Citric acid | Provides fizz and acidity |
| Cornstarch | Helps to bind the ingredients together |
| Epsom salt | Relaxes muscles and helps to soothe skin |
| Milk powder | Moisturizes skin and provides a creamy texture |
| Carrier oil | Binds the ingredients together and moisturizes the skin |
| Essential oil | Adds fragrance to the bath bomb |
| Soap colorant | Adds color to the bath bomb |
Tools and Equipment
The following tools and equipment are necessary to make milk bath bombs:
- Mixing bowls
- Whisk
- Measuring cups and spoons
- Spray bottle filled with water
- Bath bomb molds
- Gloves (optional)
It is important to note that using bath bomb molds makes the process easier, but break-apart plastic holiday ornaments can also work. Additionally, gloves are optional but can be useful to prevent skin irritation from the ingredients. By gathering all the necessary ingredients, tools, and equipment, one can easily make milk bath bombs at home.
Creating Your Recipe
When it comes to making milk bath bombs, creating a recipe can seem overwhelming at first. However, with a few basic guidelines, it can be a simple and enjoyable process. This section will provide information on calculating proportions and selecting additional additives for your milk bath bomb recipe.
Calculating Proportions
Calculating the proportions of ingredients is an essential step in creating a successful milk bath bomb recipe. The basic ingredients for milk bath bombs are baking soda, citric acid, and milk powder. Other ingredients such as oils, fragrances, and colorants can also be added to the recipe.
It is recommended to use a ratio of 2:1:1 for baking soda, citric acid, and milk powder respectively. For example, if you use 2 cups of baking soda, you would use 1 cup of citric acid and 1 cup of milk powder. This ratio can be adjusted depending on personal preference and the desired texture of the bath bomb.
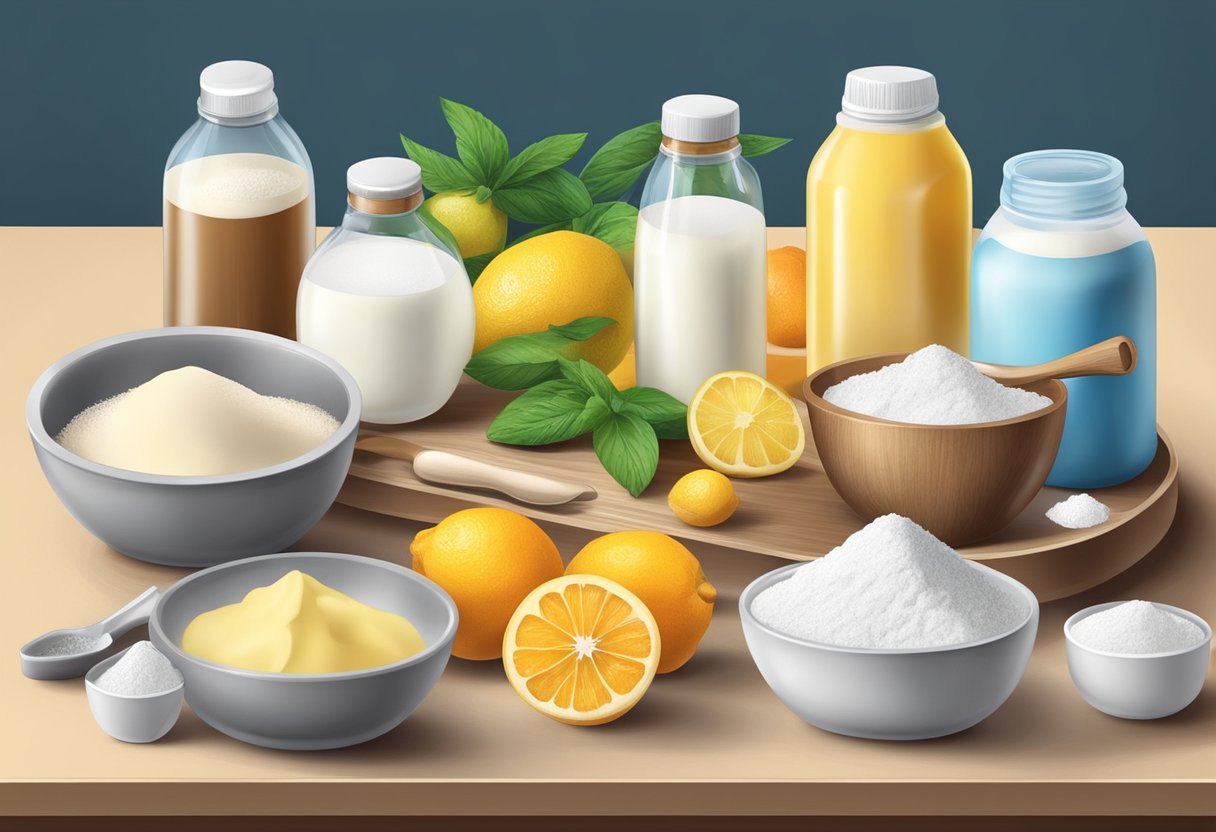
Selecting Additional Additives
Once you have determined the proportions of the basic ingredients, you can add additional additives to enhance the benefits and aroma of your milk bath bomb. Here are some popular additives to consider:
- Oils: Adding oils such as coconut oil or jojoba oil can provide moisturizing benefits to the skin.
- Fragrances: Essential oils or fragrance oils can be added to provide a pleasant aroma to the bath bomb.
- Colorants: Food coloring or natural colorants such as beetroot powder can be added to give the bath bomb a desired color.
It is important to note that when adding additional additives, it is crucial to maintain the correct proportions of the basic ingredients to ensure the bath bomb fizzes and dissolves correctly.
In conclusion, creating a milk bath bomb recipe can be a fun and easy process with the right knowledge and ingredients. By calculating the proportions and selecting additional additives, you can create a unique and beneficial milk bath bomb that suits your personal preferences.
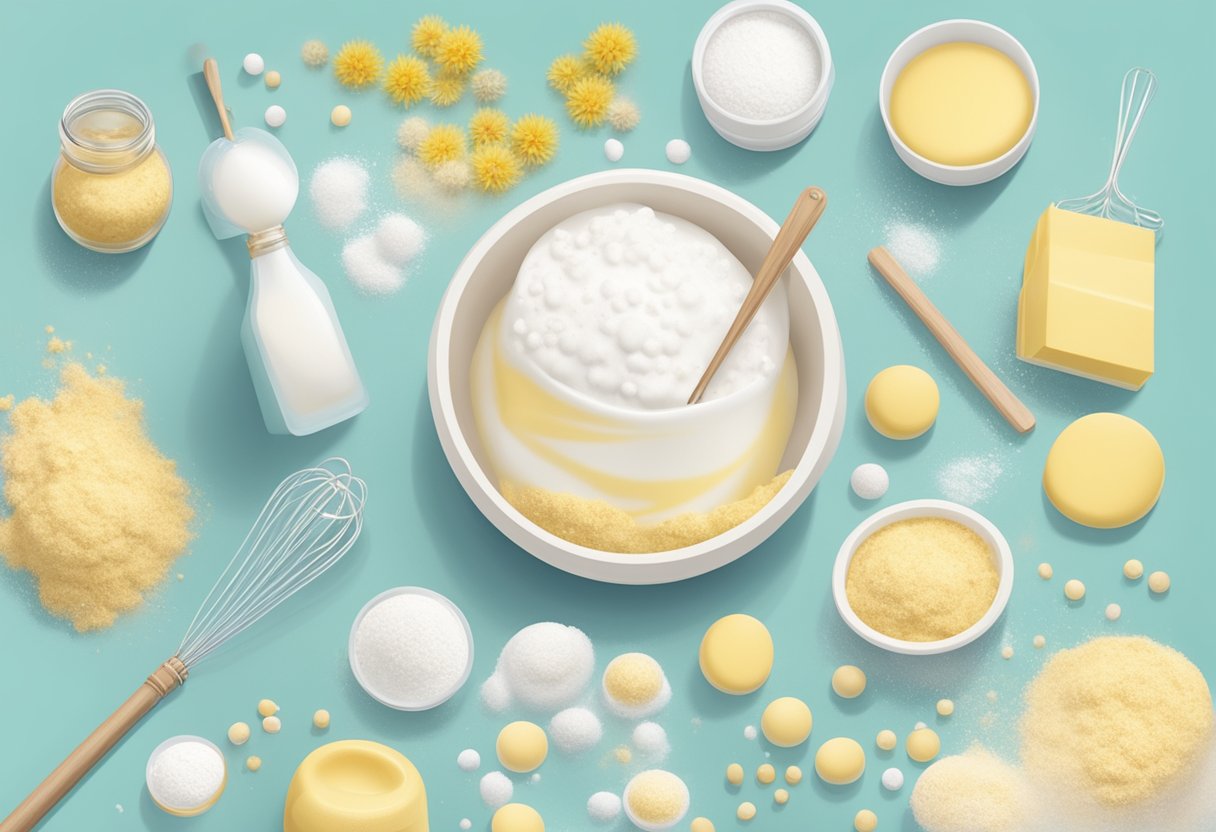
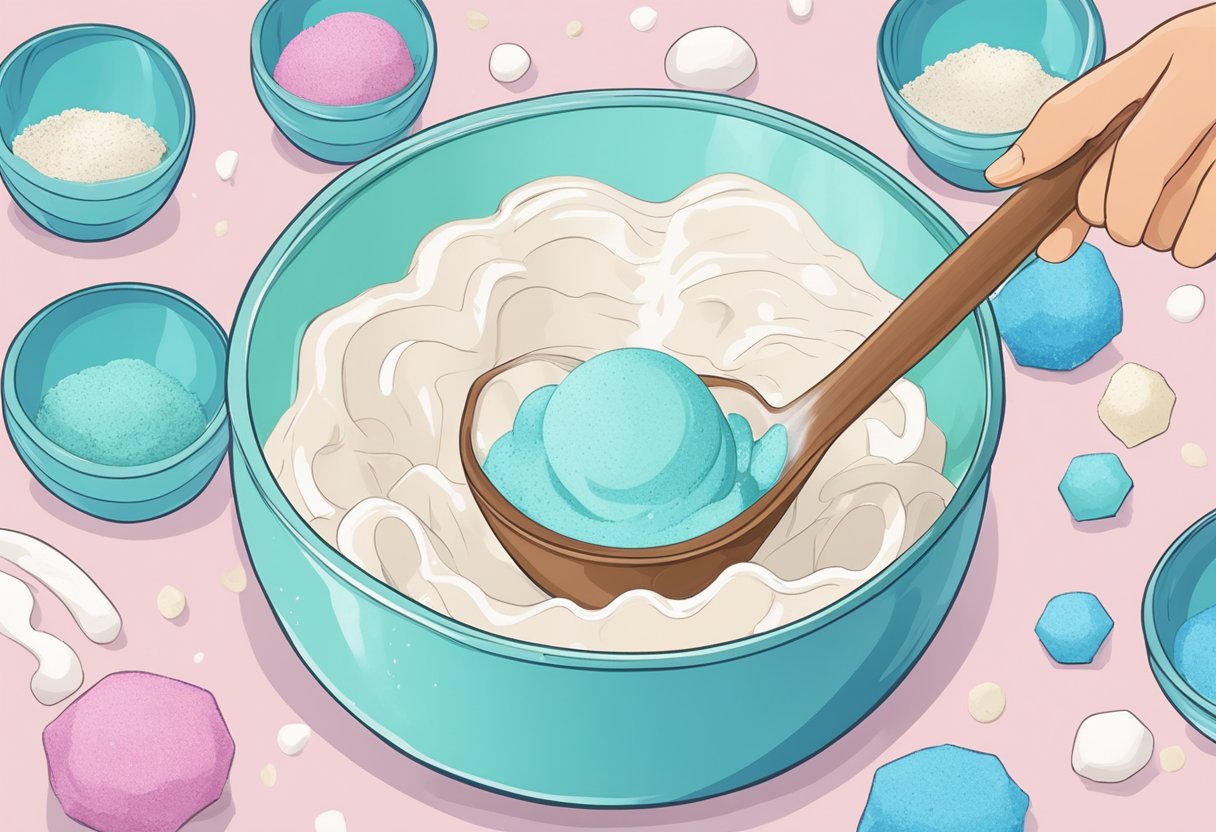
Mixing the Ingredients
Dry Ingredients Process
To make milk bath bombs, the first step is to mix the dry ingredients. This usually includes baking soda, citric acid, cornstarch, and powdered milk. These ingredients are typically added to a large mixing bowl and stirred together until they are thoroughly combined. It is important to make sure that there are no lumps or clumps in the mixture, as this can cause issues when the bath bombs are formed.
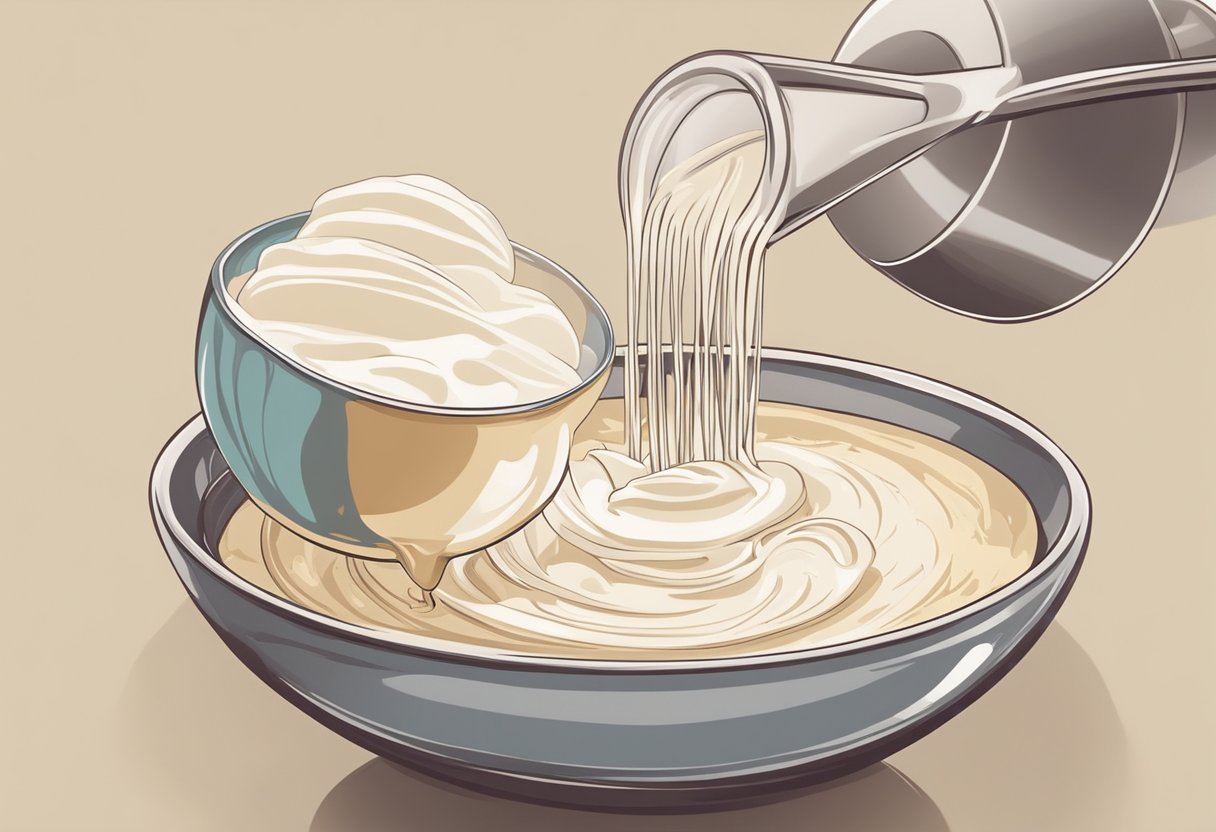
Wet Ingredients Process
Once the dry ingredients have been mixed together, it is time to add the wet ingredients. This typically includes a combination of oils, such as coconut oil or almond oil, and essential oils for fragrance. It is important to add the wet ingredients slowly and gradually, stirring the mixture constantly to ensure that everything is well combined.
When adding the wet ingredients, it is important to note that the mixture should be dry enough to hold its shape when pressed together, but not so dry that it crumbles apart. If the mixture is too dry, it can be difficult to form the bath bombs, and if it is too wet, the mixture may not hold its shape.
Overall, the key to successfully mixing the ingredients for milk bath bombs is to take your time and be patient. By following the right steps and using the right ingredients, you can create bath bombs that are both fragrant and moisturizing, leaving your skin feeling soft and smooth.
Molding and Shaping
Choosing Molds
When it comes to molding milk bath bombs, the options are endless. You can use a variety of molds, including plastic, silicone, metal, or even repurposed household items, such as Christmas ornaments or ice cube trays. The most important thing is to choose a mold that is the right size for your bath bomb and that will hold its shape well.
If you are new to making bath bombs, it’s best to start with a simple mold, such as a round ball mold. As you become more experienced, you can experiment with different shapes and sizes. Some popular molds include hearts, stars, flowers, and geometric shapes.
Packing the Mixture
Once you have chosen your mold, it’s time to pack the mixture into the mold. The key to a good bath bomb is to pack the mixture tightly, so that it holds its shape and doesn’t crumble.
To pack the mixture, start by filling one half of the mold with the mixture. Then, press the mixture down firmly with your fingers or a spoon. Repeat with the other half of the mold. Finally, press the two halves of the mold together, making sure that they are firmly sealed.
If you are using a more complex mold, such as a mold with multiple shapes, you may need to pack each section separately. Once all of the sections are packed, press them together firmly to form the final shape.
Overall, molding and shaping milk bath bombs is a fun and creative process that allows you to experiment with different shapes and sizes. With a little practice, you can create beautiful and fragrant bath bombs that are perfect for pampering yourself or giving as gifts.
Drying and Curing
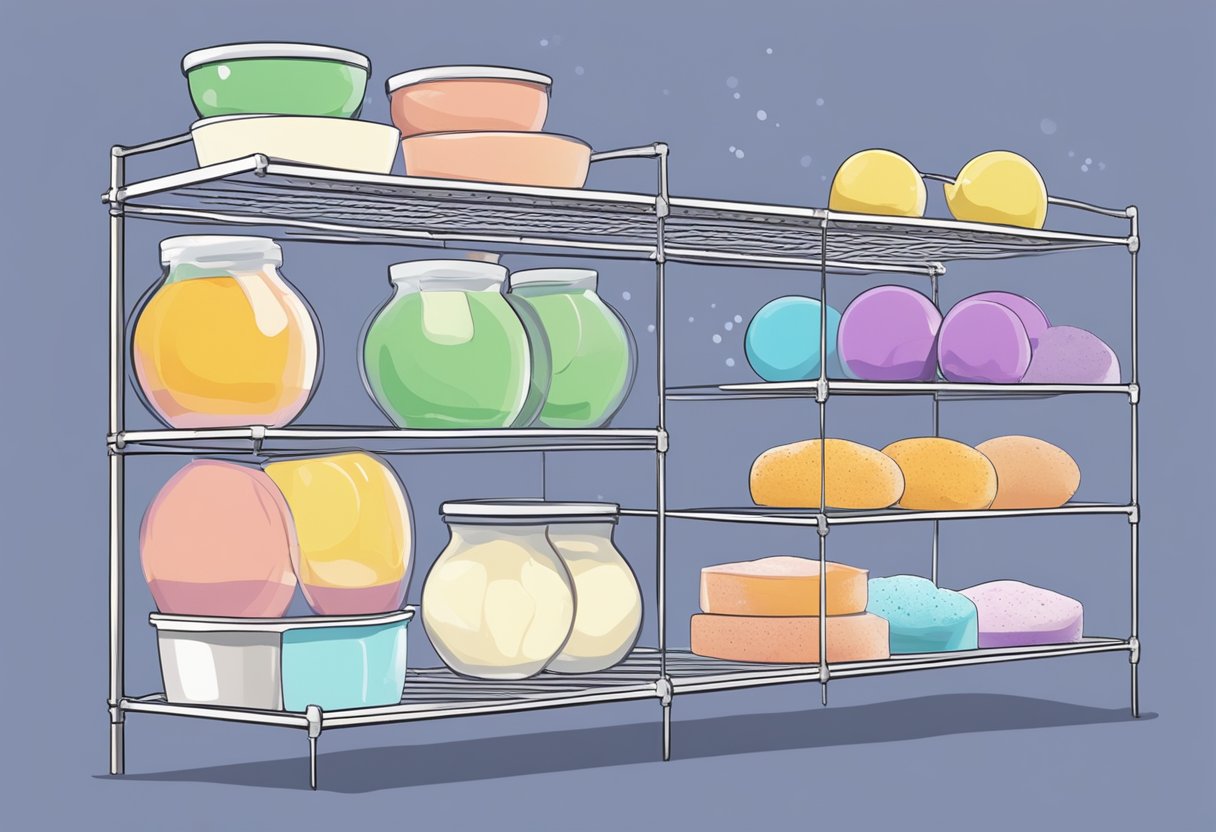
Drying Time
After molding the milk bath bombs, it’s time to dry them. The drying time can vary depending on the humidity and temperature of the room. Typically, it takes 24-48 hours for the bath bombs to dry completely. The bath bombs should be dry to the touch before moving on to the curing process. If the bath bombs are not completely dry, they may crack or crumble during the curing process.
To speed up the drying process, a dehumidifier can be used in the room. Another option is to place the bath bombs in the oven at a low temperature, around 150°F, for a few hours. Be careful not to leave them in the oven for too long, as they may crack or explode.
Curing Process
The curing process is essential for the bath bombs to harden and become more durable. It also allows the bath bombs to retain their scent and fizziness when used in the bath. The curing process typically takes 2-3 days.
To cure the bath bombs, place them in an airtight container or plastic bag with a small amount of rice. The rice will absorb any excess moisture and help the bath bombs harden. Store the container or bag in a cool, dry place away from direct sunlight.
It’s important to note that the longer the bath bombs cure, the better they will be. Cured bath bombs can last up to six months if stored properly. When using the bath bombs, store the remaining ones in an airtight container to preserve their freshness.
In summary, drying and curing the milk bath bombs is a crucial step in the process. By following the recommended drying and curing times, the bath bombs will be more durable, retain their scent, and provide a fizzing and moisturizing bath experience.
Packaging and Storage
Packaging Options
When it comes to packaging milk bath bombs, there are a few options to choose from. Here are a few ideas:
-
Cellophane bags: These are a popular option because they are affordable and easy to use. Simply place the bath bombs in the bag and tie it closed with a ribbon or twist tie.
-
Gift boxes: If you want to give your milk bath bombs as a gift, consider using a gift box. You can find these at craft stores or online. They come in a variety of sizes and styles, so you can choose one that fits your needs.
-
Shrink wrap: Shrink wrapping your milk bath bombs is another option. This is a great way to protect them from moisture and keep them fresh. You can purchase a shrink wrap machine or use a hair dryer to shrink the wrap around the bath bombs.
Storage Tips
Proper storage is important to keep your milk bath bombs fresh and effective. Here are a few tips to keep in mind:
-
Store in a cool, dry place: Milk bath bombs can be sensitive to heat and moisture, so it’s important to store them in a cool, dry place. A linen closet or dresser drawer is a great option.
-
Use an airtight container: If you want to keep your milk bath bombs fresh for longer, consider storing them in an airtight container. This will help protect them from moisture and keep them from drying out.
-
Label your storage container: If you have multiple types of bath bombs, it’s a good idea to label your storage container. This will help you easily identify which bath bomb is which and prevent any mix-ups.
By following these packaging and storage tips, you can keep your milk bath bombs fresh and effective for longer.
Using Milk Bath Bombs
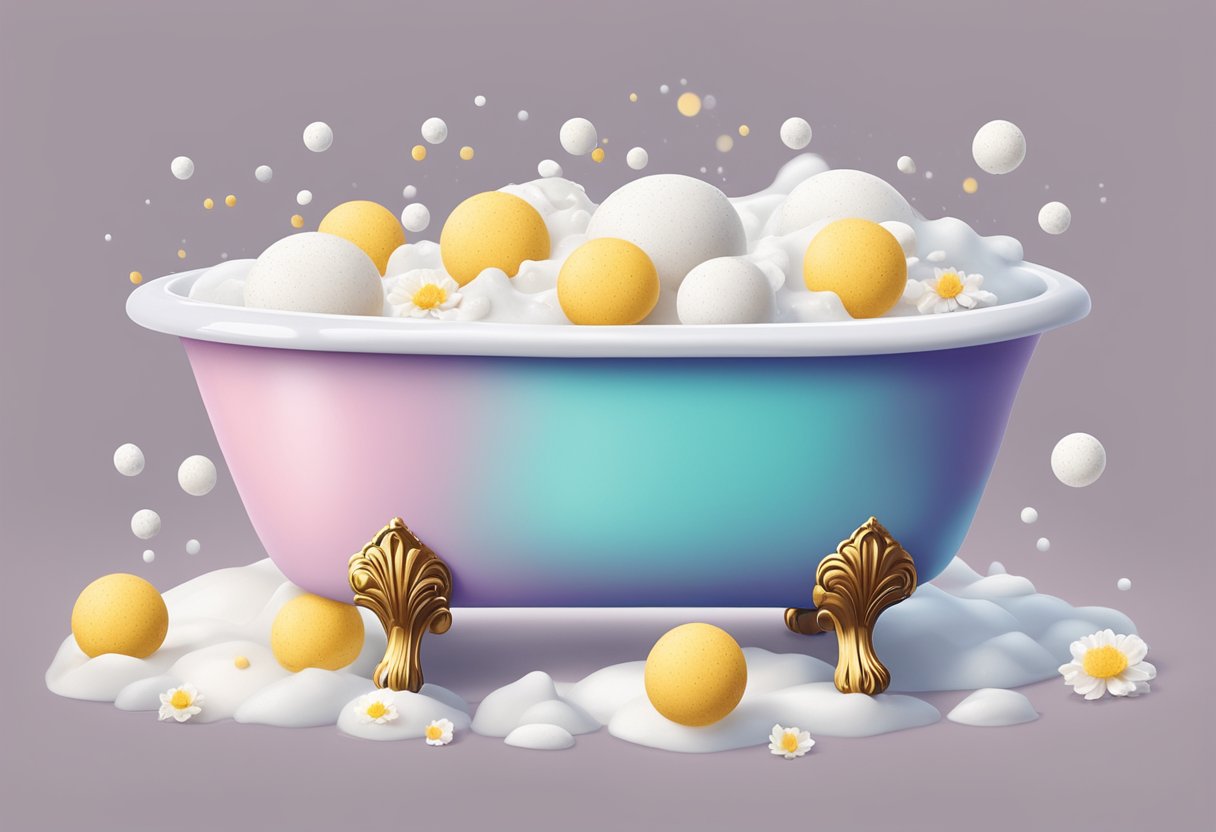
Milk bath bombs are a luxurious addition to any bath routine. They offer a variety of benefits, including moisturizing and soothing dry skin, and providing a relaxing and enjoyable experience. Here are some tips on how to use milk bath bombs to get the most out of your bath.
Bath Preparation
Before using a milk bath bomb, it is important to properly prepare your bath. Begin by filling your bathtub with warm water, making sure the temperature is comfortable for your skin. Add your milk bath bomb to the water and watch as it fizzes and releases its soothing properties.
To enhance the experience, consider adding some additional ingredients to your bath. Epsom salt is a great option for sore muscles, while essential oils can provide a calming and aromatherapeutic effect. Be sure to read the instructions on your milk bath bomb to ensure compatibility with other bath additives.
After-Bath Care
After using a milk bath bomb, it is important to properly care for your skin. Rinse off any remaining residue from the bath bomb and pat your skin dry with a towel. Avoid rubbing your skin, as this can cause irritation.
To lock in the moisturizing properties of the milk bath bomb, apply a hydrating lotion or oil to your skin. This will help to keep your skin soft and smooth, and prevent dryness.
Overall, milk bath bombs are a great addition to any bath routine. By following these simple tips, you can ensure a relaxing and enjoyable experience that leaves your skin feeling soft and moisturized.
Frequently Asked Questions

What are the benefits of adding powdered milk to bath bombs?
Powdered milk is a great addition to bath bombs as it contains lactic acid, which helps to exfoliate the skin, leaving it feeling soft and smooth. It also contains vitamins and minerals that nourish and revitalize the skin.
Which type of milk is most suitable for creating luxurious milk bath bombs?
Full-fat dry milk is the most suitable type of milk for creating luxurious milk bath bombs. It provides the best skin-nourishing and revitalizing vitamins and minerals.
How can essential oils be incorporated into milk bath bombs for added aromatherapy benefits?
Essential oils can be added to milk bath bombs for added aromatherapy benefits. Simply add a few drops of your favorite essential oil to the mixture before molding the bath bombs.
What role does Epsom salt play in the formulation of milk bath bombs?
Epsom salt is a great addition to milk bath bombs as it helps to soothe sore muscles and reduce inflammation. It also helps to soften the skin and promote relaxation.
Can you provide a recipe for a coconut milk bath bomb for sensitive skin?
Yes, here is a recipe for a coconut milk bath bomb for sensitive skin:
- 1/2 cup baking soda
- 1/4 cup citric acid
- 1/4 cup cornstarch
- 1/4 cup coconut milk powder
- 1/4 cup coconut oil
- 15-20 drops of essential oil (optional)
Mix all the dry ingredients in a bowl. Melt the coconut oil and add it to the mixture. Mix well until it forms a crumbly texture. Add essential oils if desired. Press the mixture into molds and let it dry for 24 hours.
What ingredients are necessary to craft a honey and milk bath bomb at home?
To craft a honey and milk bath bomb at home, you will need:
- 1/2 cup baking soda
- 1/4 cup citric acid
- 1/4 cup cornstarch
- 1/4 cup powdered milk
- 1/4 cup honey
- 1/4 cup coconut oil
- 15-20 drops of essential oil (optional)
Mix all the dry ingredients in a bowl. Melt the coconut oil and add honey to it. Add the wet ingredients to the dry ingredients and mix well until it forms a crumbly texture. Add essential oils if desired. Press the mixture into molds and let it dry for 24 hours.