Rice has been a staple food in many cultures for centuries. But did you know that rice also has incredible benefits for your skin? Rice face masks have become increasingly popular in recent years due to their ability to brighten, hydrate, and rejuvenate the skin. In this article, we will explore how to make rice face masks at home using natural ingredients.
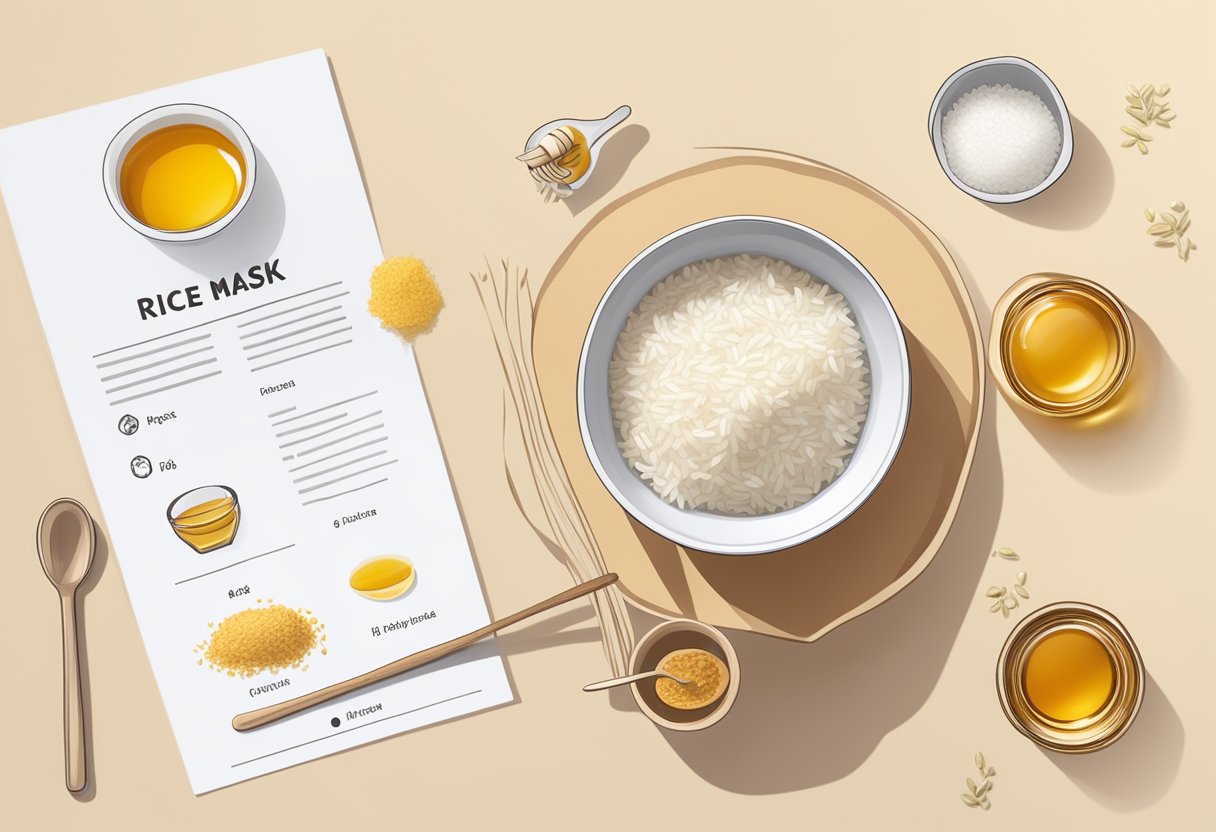
Rice face masks are an affordable and effective way to pamper your skin. They are suitable for all skin types and can be customized to address specific skincare concerns. Rice water, rice flour, and rice grains are the three main ingredients used in rice face masks. Rice water is particularly beneficial for the skin as it contains vitamins, minerals, and antioxidants that help to brighten and hydrate the skin. Rice flour acts as a gentle exfoliant, removing dead skin cells and impurities, while rice grains provide a deeper exfoliation.
Making a rice face mask at home is simple and requires only a few ingredients. There are many recipes available online, ranging from basic rice water masks to more complex masks that incorporate other natural ingredients such as honey, turmeric, and coconut milk. By making your own rice face masks, you can ensure that you are using high-quality, natural ingredients that are free from harmful chemicals.
Benefits of Rice Face Masks
Rice face masks have been used for centuries in Asian cultures for their numerous benefits for the skin. Here are some of the benefits of using rice face masks:
1. Exfoliating Properties
Rice contains natural exfoliating agents that help to remove dead skin cells, dirt, and impurities from the skin. This helps to unclog pores and prevent acne breakouts, leaving the skin looking smoother and brighter.
2. Anti-Aging Properties
Rice is rich in antioxidants that help to prevent premature aging of the skin. These antioxidants protect the skin from damage caused by free radicals, which are responsible for wrinkles, fine lines, and other signs of aging.
3. Moisturizing Properties
Rice face masks are also known for their moisturizing properties. Rice contains natural oils that help to hydrate and nourish the skin, leaving it soft, supple, and radiant.
4. Brightening Properties
Rice face masks can also help to brighten the skin and even out skin tone. Rice contains a high concentration of vitamin B, which helps to improve blood circulation and reduce the appearance of dark spots and hyperpigmentation.
5. Soothing Properties
Rice face masks are known for their soothing properties, making them an excellent choice for those with sensitive or irritated skin. The natural anti-inflammatory properties of rice help to reduce redness and inflammation, leaving the skin feeling calm and refreshed.
Overall, rice face masks are an excellent addition to any skincare routine, providing numerous benefits for the skin.
Types of Rice Face Masks
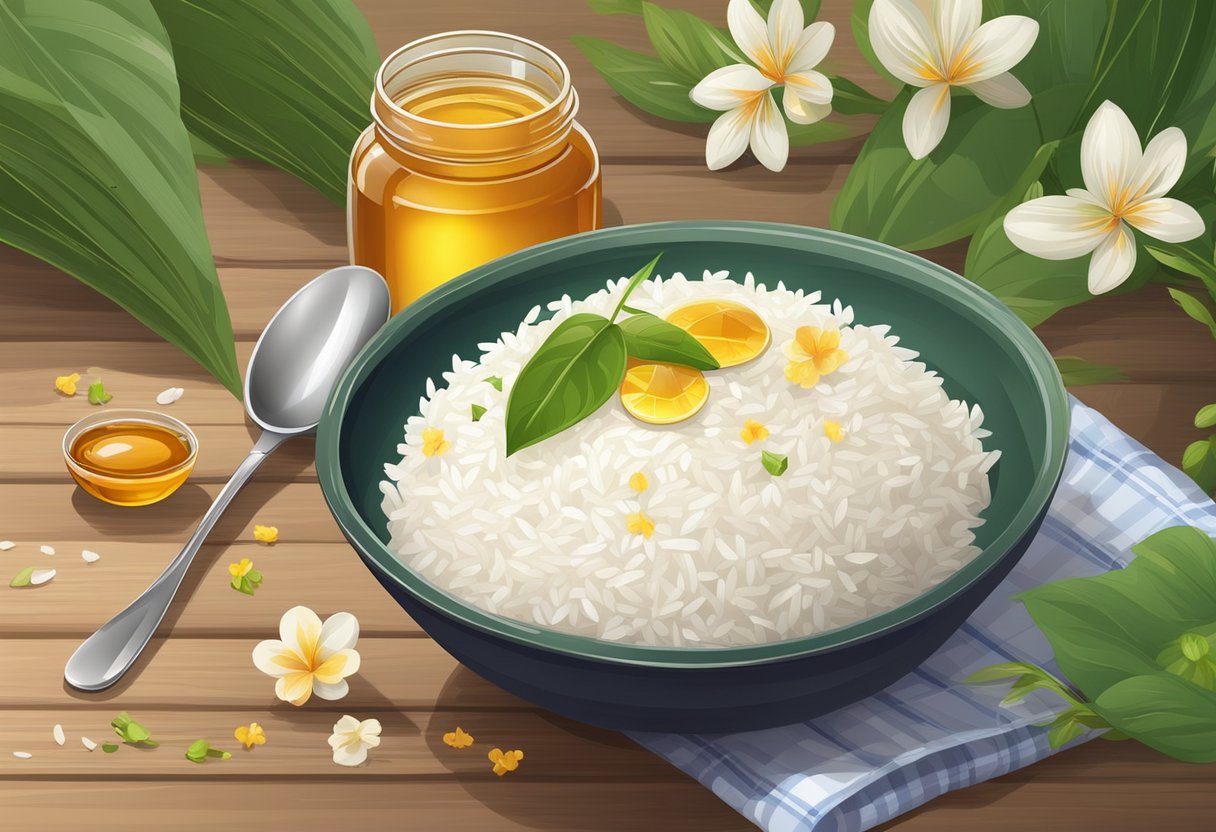
Rice face masks are a natural and effective way to rejuvenate the skin. They can help to moisturize, exfoliate, and brighten the skin, as well as reduce the appearance of fine lines and wrinkles. There are different types of rice face masks that can be made at home using simple ingredients. Here are some popular types of rice face masks:
Fermented Rice Water Mask
Fermented rice water has been used for centuries in Asia as a natural skincare remedy. It is rich in vitamins, minerals, and antioxidants that can help to brighten and hydrate the skin. To make a fermented rice water mask, follow these steps:
- Rinse 1/2 cup of rice and soak it in 1 cup of water for 30 minutes.
- Strain the rice and keep the water in a jar.
- Leave the jar at room temperature for 24-48 hours until the water becomes slightly sour and bubbly.
- Apply the fermented rice water to your face using a cotton pad or a spray bottle.
- Leave it on for 10-15 minutes and rinse off with lukewarm water.
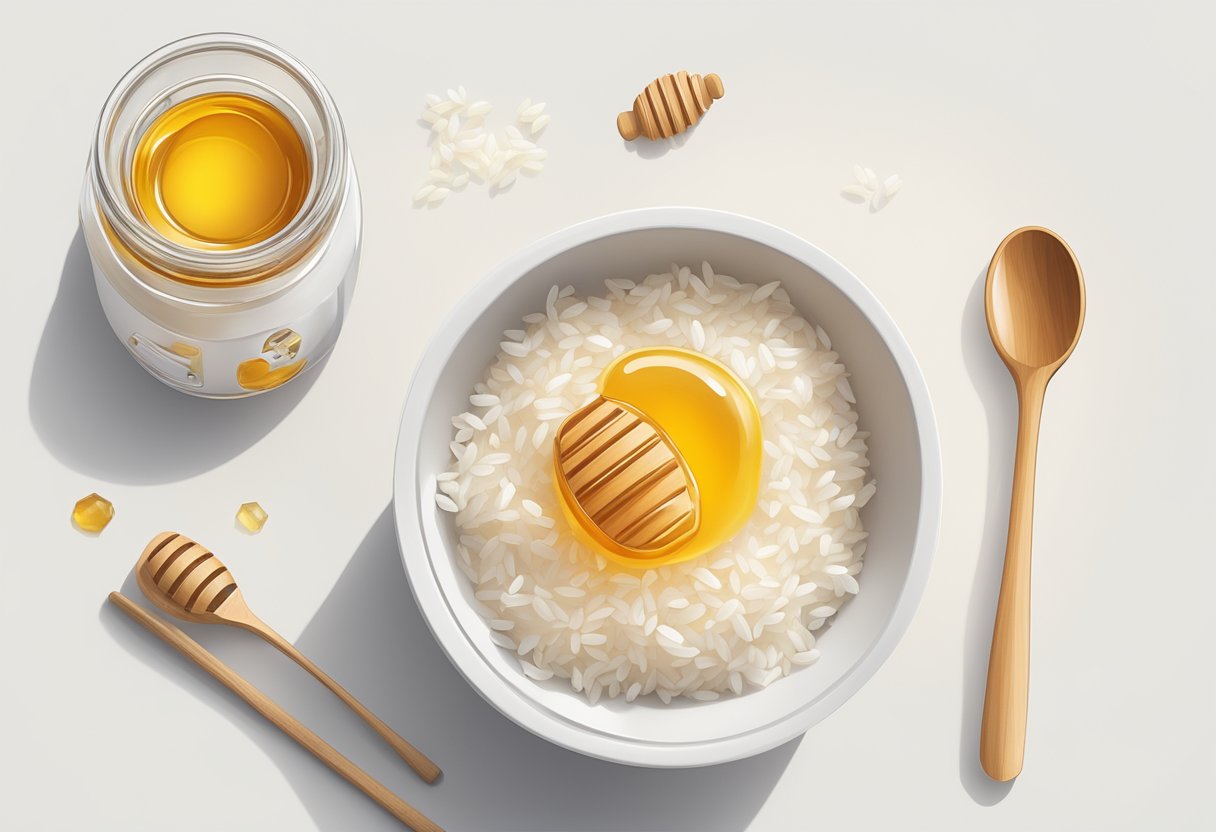
Rice Flour and Honey Mask
Rice flour is a natural exfoliant that can help to remove dead skin cells and brighten the complexion. Honey is a natural humectant that can help to hydrate and soothe the skin. To make a rice flour and honey mask, follow these steps:
- Mix 2 tablespoons of rice flour with 1 tablespoon of honey.
- Add a few drops of water to make a paste.
- Apply the paste to your face and leave it on for 10-15 minutes.
- Rinse off with lukewarm water and pat dry.
Rice and Green Tea Mask
Green tea is rich in antioxidants that can help to protect the skin from damage caused by free radicals. It can also help to reduce inflammation and redness. To make a rice and green tea mask, follow these steps:
- Brew a cup of green tea and let it cool.
- Mix 2 tablespoons of rice flour with enough cooled green tea to make a paste.
- Apply the paste to your face and leave it on for 10-15 minutes.
- Rinse off with lukewarm water and pat dry.
In conclusion, rice face masks are a simple and effective way to improve the health and appearance of your skin. By using natural ingredients such as rice flour, honey, and green tea, you can create a variety of masks that can help to moisturize, exfoliate, and brighten the skin.
Preparing Your Skin for the Mask

Before applying a rice face mask, it’s important to prepare your skin properly. This will ensure that you get the most out of the mask and that your skin is able to absorb all of the beneficial nutrients.
Cleanse Your Skin
The first step in preparing your skin for a rice face mask is to cleanse it thoroughly. Use a gentle cleanser to remove any dirt, oil, and makeup from your skin. This will ensure that the mask is able to penetrate your skin and provide maximum benefits.
Exfoliate
Exfoliating your skin before applying a rice face mask can help to remove dead skin cells and unclog pores. This will allow the mask to penetrate deeper into your skin and provide even better results. You can use a gentle exfoliating scrub or a chemical exfoliant, such as an alpha-hydroxy acid (AHA) or beta-hydroxy acid (BHA) product.
Steam Your Face
Steaming your face before applying a rice face mask can help to open up your pores and allow the mask to penetrate deeper into your skin. You can do this by filling a bowl with hot water and holding your face over the bowl, covering your head with a towel to trap the steam. Alternatively, you can use a facial steamer.
Tone Your Skin
Toning your skin after cleansing and before applying a rice face mask can help to balance your skin’s pH and prepare it for the mask. Use a gentle toner that is free from alcohol and other harsh ingredients. This will help to soothe and hydrate your skin, making it more receptive to the mask.
By following these simple steps, you can prepare your skin for a rice face mask and ensure that you get the most out of this beneficial treatment.
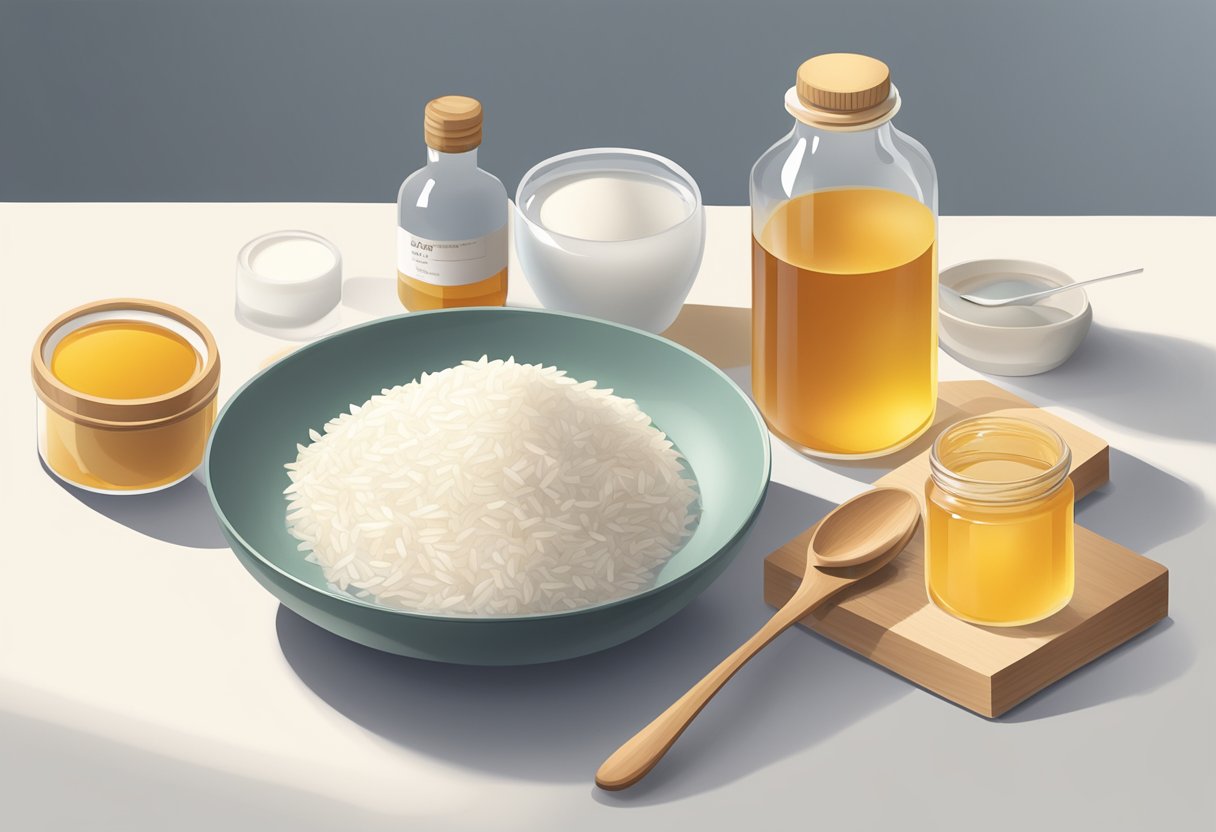
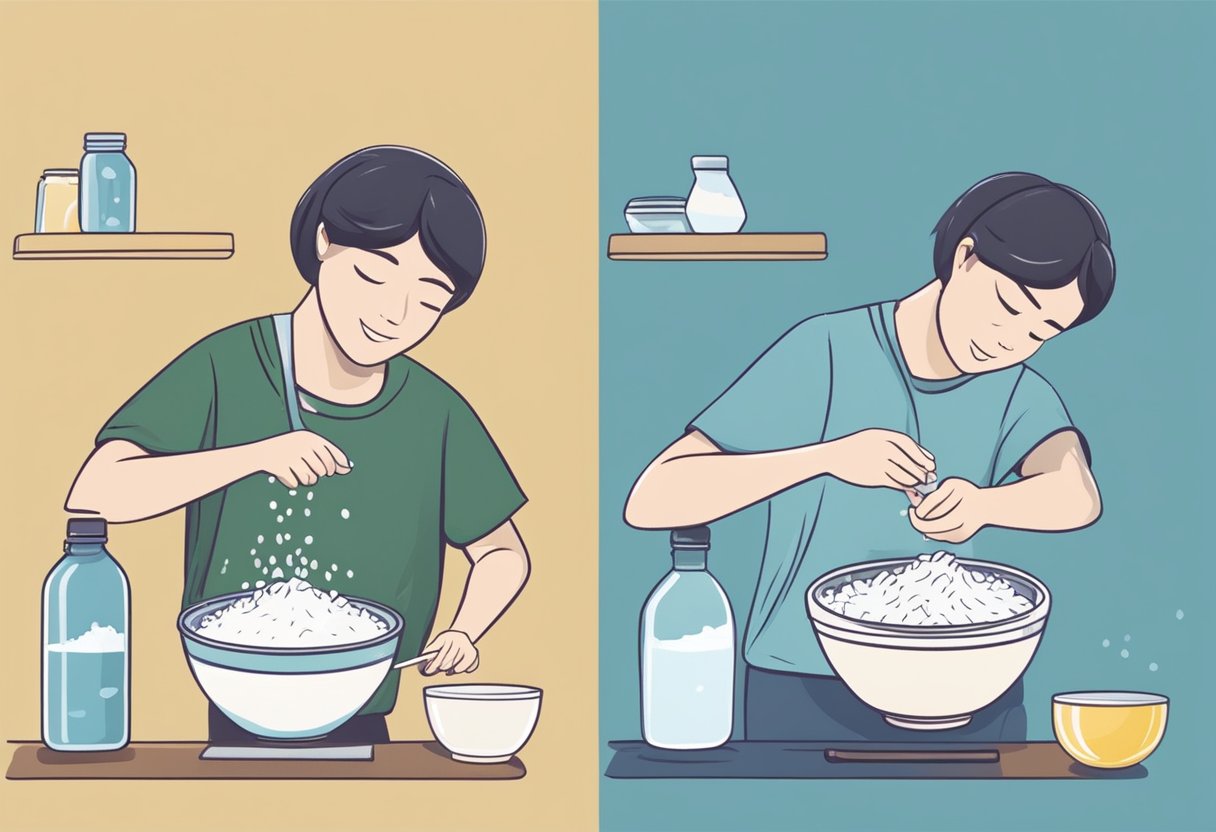
Creating the Base Rice Mask
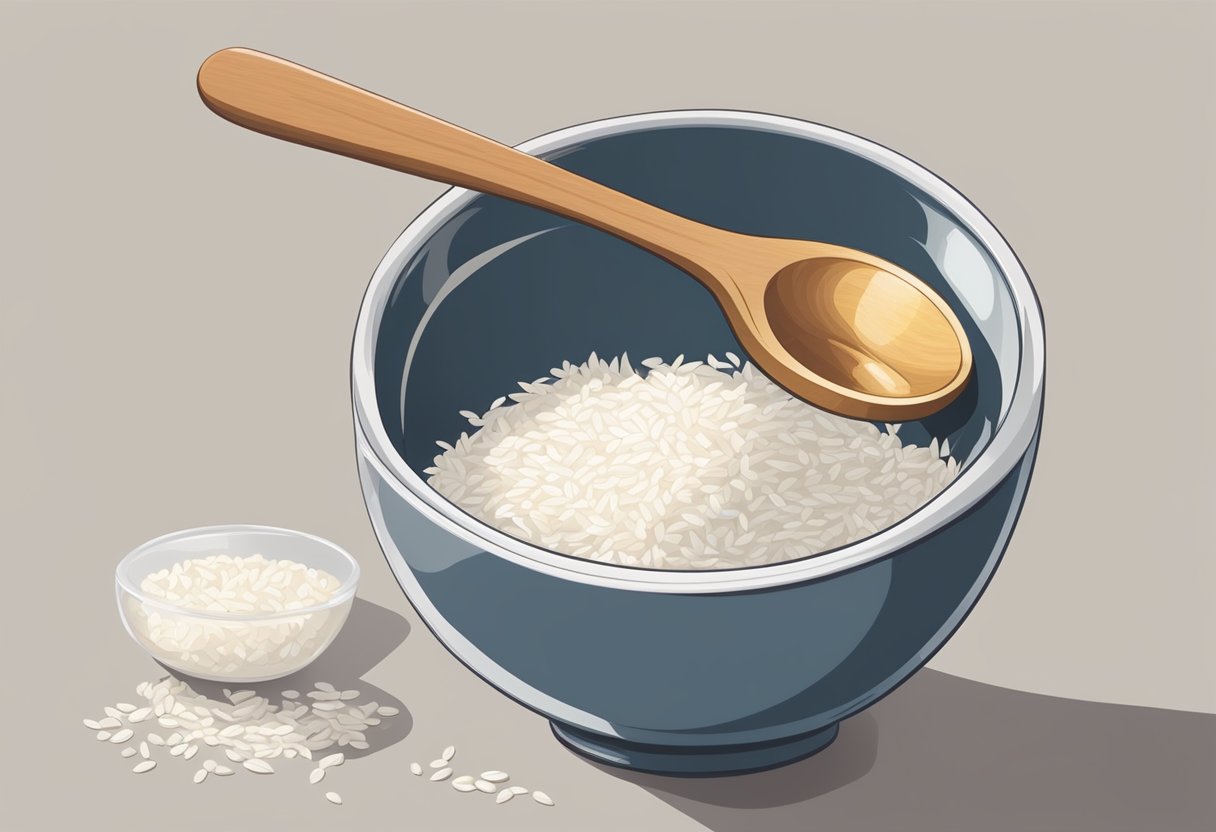
To make a rice face mask, you need to start with a base. There are two methods to create the base rice mask: the Cooked Rice Method and the Rice Flour Method.
Cooked Rice Method
The Cooked Rice Method involves cooking the rice first and then mashing it to create a paste. Here are the steps to follow:
- Cook 1/2 cup of rice in 2 cups of water.
- Once the rice is cooked, let it cool down.
- Mash the cooked rice with a fork or blend it in a food processor until it forms a smooth paste.
- Apply the rice paste on your face and leave it on for 15-20 minutes.
- Rinse off the mask with warm water and pat your face dry.
Rice Flour Method
The Rice Flour Method involves using rice flour to create the base rice mask. Here are the steps to follow:
- Take 1/2 cup of rice and grind it into a fine powder using a blender or food processor.
- Mix the rice flour with water to create a smooth paste.
- Apply the rice paste on your face and leave it on for 15-20 minutes.
- Rinse off the mask with warm water and pat your face dry.
Both methods can be used to create a base rice mask. The Cooked Rice Method is ideal for those who have access to rice and want to use it for their face mask. The Rice Flour Method is ideal for those who don’t have access to rice or don’t want to go through the hassle of cooking it.
Customizing Your Rice Mask
When it comes to creating a rice face mask, there are many ways to customize it to suit your specific skin type and concerns. Here are some tips for customizing your rice mask:
For Dry Skin
If you have dry skin, you may want to add some moisturizing ingredients to your rice mask. Consider adding a tablespoon of honey or a few drops of almond oil to your mask mixture. This will help to hydrate and nourish your skin, leaving it feeling soft and smooth.
For Oily Skin
If you have oily skin, you may want to add some ingredients that can help to control excess oil production. Consider adding a tablespoon of lemon juice or a few drops of tea tree oil to your mask mixture. These ingredients have natural astringent properties that can help to reduce oiliness and leave your skin feeling fresh and clean.
For Acne-Prone Skin
If you have acne-prone skin, you may want to add some ingredients that can help to fight breakouts and reduce inflammation. Consider adding a tablespoon of turmeric or a few drops of lavender oil to your mask mixture. These ingredients have anti-inflammatory and antibacterial properties that can help to calm acne-prone skin and prevent future breakouts.
Remember, when customizing your rice mask, it’s important to pay attention to your skin’s unique needs and adjust the ingredients accordingly. With a little experimentation, you can create a rice mask that works perfectly for your skin type and concerns.
Application Process

Once the rice face mask is prepared, it’s time to apply it to the face. The following steps are recommended for optimal results:
-
Cleanse the face: Before applying the rice face mask, it is essential to cleanse the face thoroughly. Use a gentle cleanser to remove any dirt, oil, or makeup from the face.
-
Apply the rice face mask: Use clean hands or a brush to apply the rice face mask evenly to the face. Avoid the eye area and the lips.
-
Leave it on: Let the rice face mask sit on the face for 15-20 minutes. It’s important to avoid moving the face too much during this time, as this can cause the mask to crack or fall off.
-
Rinse off: After 15-20 minutes, rinse the rice face mask off with lukewarm water. Use gentle circular motions to massage the mask off the face.
-
Moisturize: Finish off the application process by applying a moisturizer to the face. This will help to lock in the hydration from the rice face mask.
It is recommended to use the rice face mask once or twice a week for optimal results. Additionally, if any irritation or discomfort occurs during the application process, it is best to discontinue use and consult a dermatologist.
Aftercare and Skin Moisturizing
After using a rice face mask, it is important to take care of your skin properly to maintain the benefits of the mask. Here are some tips to follow for aftercare and skin moisturizing:
-
Moisturize: After removing the mask, it is essential to moisturize the skin to prevent dryness and flakiness. Use a gentle, fragrance-free moisturizer that suits your skin type. Apply it in circular motions, focusing on the areas that tend to get dry, such as the cheeks, forehead, and chin.
-
Avoid Harsh Products: Avoid using harsh skincare products such as toners, exfoliators, and acne treatments immediately after using the rice face mask. These products can irritate the skin and cause redness, inflammation, and breakouts. Wait for at least 24 hours before using any such products.
-
Sun Protection: The skin becomes more sensitive after using a face mask, so it is crucial to protect it from the sun’s harmful rays. Apply a broad-spectrum sunscreen with an SPF of at least 30 before going out in the sun.
-
Hydrate: Drink plenty of water to keep your skin hydrated from the inside. Water helps to flush out toxins and impurities from the body, which can reflect on the skin’s health.
-
Avoid Touching: Avoid touching your face frequently, especially with dirty hands. Touching can transfer bacteria and germs to the skin, which can lead to breakouts and infections.
By following these tips, you can maintain the benefits of the rice face mask and keep your skin healthy, hydrated, and glowing.
Frequency of Use and Long-Term Care
A rice face mask is a gentle and natural way to exfoliate and brighten the skin. It is suitable for all skin types and can be used 2-3 times a week for best results. However, it is important to note that overuse of any exfoliating product can lead to irritation, dryness, and sensitivity.
To avoid over-exfoliation, it is recommended to start with a once-a-week application and gradually increase the frequency to 2-3 times a week as the skin adjusts. It is also important to listen to the skin and adjust the frequency of use accordingly. If the skin feels tight, dry, or irritated after using a rice face mask, it is best to reduce the frequency of use or discontinue use altogether.
In addition to regular use of a rice face mask, long-term care of the skin is important for maintaining a healthy and youthful complexion. This includes a balanced diet, adequate hydration, and protection from the sun. Antioxidant-rich foods such as berries, leafy greens, and nuts can help protect the skin from damage caused by free radicals. Drinking plenty of water and using a moisturizer can help keep the skin hydrated and supple. Finally, wearing a broad-spectrum sunscreen with at least SPF 30 can help protect the skin from UV damage and prevent premature aging.
In summary, a rice face mask can be a beneficial addition to a skincare routine when used in moderation. It is important to start with a once-a-week application and gradually increase the frequency of use to 2-3 times a week as the skin adjusts. Long-term care of the skin through a balanced diet, hydration, and sun protection is also important for maintaining a healthy and youthful complexion.
Safety and Allergy Considerations
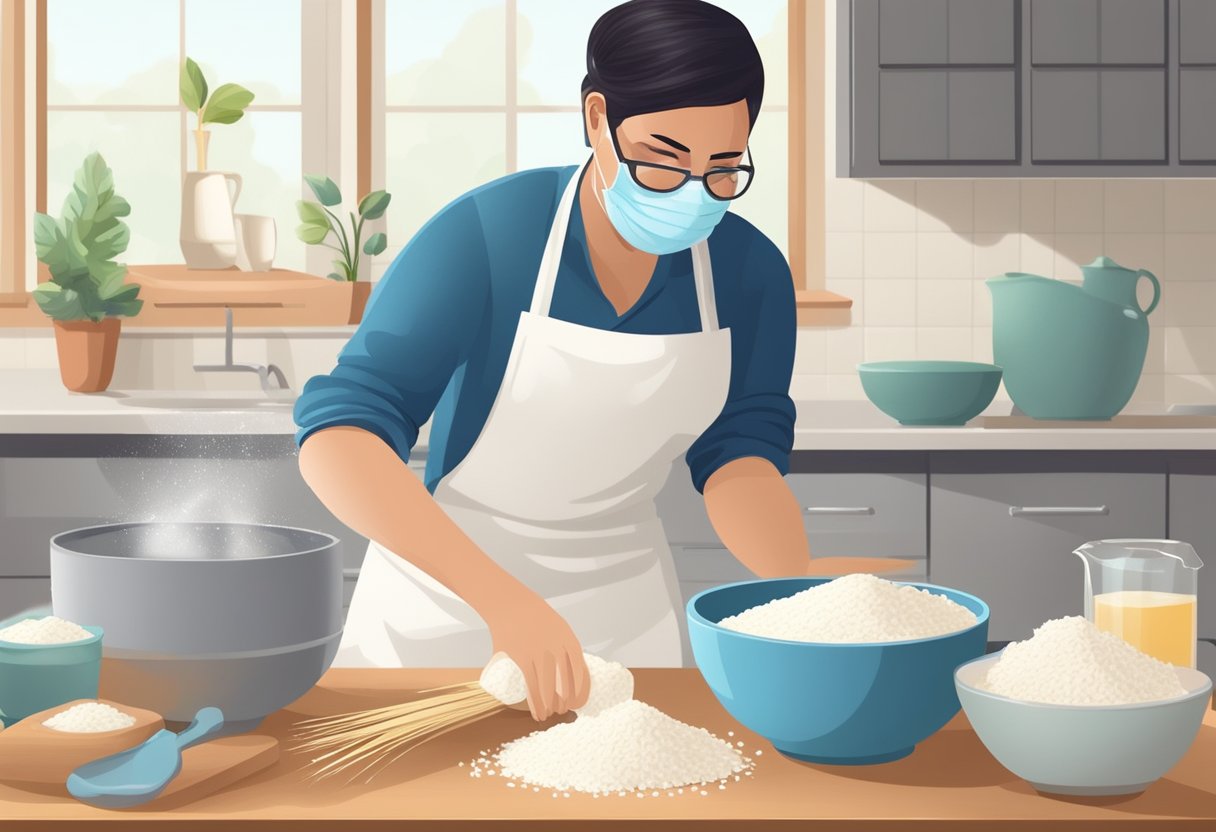
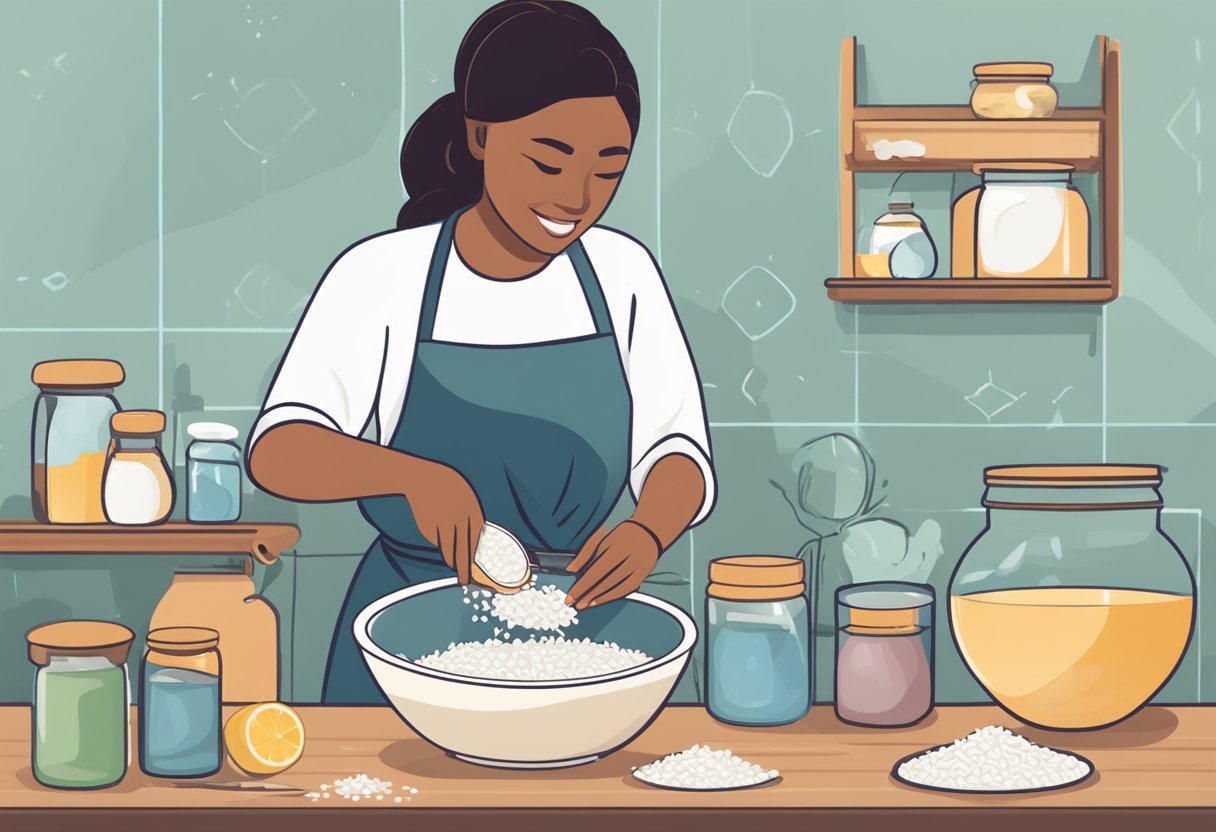
When making a rice face mask, it is important to consider safety and potential allergies. While rice is generally considered safe for topical use, it is still important to take precautions.
Firstly, make sure to use clean utensils and containers when preparing the mask to avoid contamination. If using rice flour, ensure that it is food-grade and not contaminated with any harmful substances.
It is also important to test the mask on a small patch of skin before applying it to the entire face. This can help to identify any potential allergic reactions or skin sensitivities. If redness, itching, or any other adverse reactions occur, discontinue use immediately.
For those with gluten allergies, it is important to note that some rice flours may contain gluten. Make sure to check the label and choose a gluten-free option if necessary.
Overall, while rice face masks can offer numerous benefits for the skin, it is important to prioritize safety and consider potential allergies before use.
Frequently Asked Questions
What are the benefits of using a rice face mask?
Rice face masks have several benefits for the skin. Rice flour is rich in antioxidants, which help to fight free radicals that damage the skin. It also contains vitamins B and E, which help to improve the skin’s texture and reduce the appearance of fine lines and wrinkles. Rice face masks can also help to brighten the skin, reduce dark spots, and improve overall skin tone.
Can you provide a recipe for a Korean rice face mask for glowing skin?
To make a Korean rice face mask for glowing skin, you will need the following ingredients:
- 1/2 cup of uncooked rice
- Water
- A blender or food processor
- A small bowl
First, rinse the uncooked rice to remove any impurities. Then, place the rice in a bowl and add enough water to cover it. Let the rice soak for at least 30 minutes. After soaking, drain the water and add the rice to a blender or food processor. Blend the rice until it forms a smooth paste. Apply the paste to your face and leave it on for 15-20 minutes. Rinse the mask off with warm water and pat your face dry.
What steps should I follow to make a rice face mask at home?
To make a rice face mask at home, you will need rice flour, which can be purchased at most health food stores or made at home by grinding uncooked rice in a blender or food processor. Once you have the rice flour, mix it with water or another liquid, such as milk or honey, to form a paste. Apply the paste to your face and leave it on for 15-20 minutes. Rinse the mask off with warm water and pat your face dry.
How do you prepare rice water for use in a face mask?
To prepare rice water for use in a face mask, rinse 1/2 cup of uncooked rice to remove any impurities. Then, place the rice in a bowl and add enough water to cover it. Let the rice soak for at least 30 minutes. After soaking, drain the water and use it as a facial toner or mix it with rice flour to make a face mask.
What is the process for making rice flour suitable for facial masks?
To make rice flour suitable for facial masks, grind uncooked rice in a blender or food processor until it forms a fine powder. Sift the powder through a fine mesh sieve to remove any large pieces. The resulting rice flour can be used in facial masks or other skincare products.
How should a Japanese rice face mask be applied for optimal results?
To apply a Japanese rice face mask for optimal results, mix 3 teaspoons of boiled rice with 2 teaspoons of honey and 1 tablespoon of milk. Apply the mixture to your face and leave it on for 15-20 minutes. Rinse the mask off with warm water and pat your face dry. Repeat this process 2-3 times a week for best results.