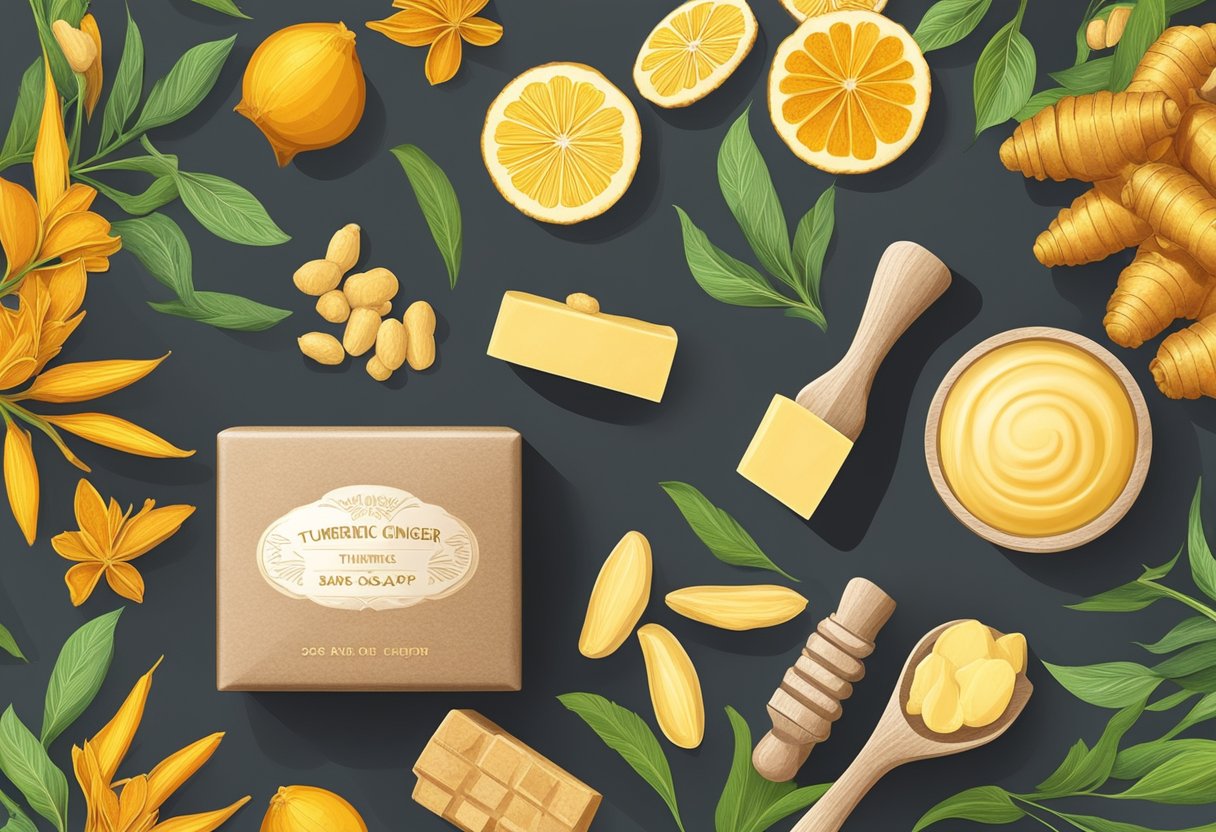
Turmeric and ginger are two popular spices that have been used for centuries in traditional medicine and cooking. But did you know that they can also be used to make soap? Turmeric and ginger soap is a great way to reap the benefits of these spices while also keeping your skin clean and healthy.

One of the key benefits of turmeric and ginger soap is its anti-inflammatory properties. Both turmeric and ginger contain compounds that have been shown to reduce inflammation in the body, which can help to soothe irritated skin. In addition, turmeric has been used for centuries in Ayurvedic medicine to treat a variety of skin conditions, including acne, eczema, and psoriasis.
Making your own turmeric and ginger soap is surprisingly easy and can be a fun DIY project to try at home. With just a few simple ingredients, you can create a soap that is gentle on your skin and packed with natural goodness. So if you’re looking for a new way to incorporate these two powerful spices into your skincare routine, read on to learn how to make turmeric and ginger soap.
Benefits of Turmeric and Ginger Soap
Turmeric and ginger are two powerful ingredients that offer numerous benefits to the skin. When combined in a soap, they work together to provide a variety of advantages that can help improve the overall health and appearance of the skin.
Here are some of the benefits of turmeric and ginger soap:
-
Anti-inflammatory properties: Turmeric and ginger are both known for their anti-inflammatory properties, which can help reduce redness, swelling, and irritation on the skin. This makes turmeric and ginger soap an excellent choice for those with sensitive or acne-prone skin.
-
Antioxidant effects: Turmeric and ginger are both rich in antioxidants, which can help protect the skin from damage caused by free radicals. This can help prevent premature aging and keep the skin looking youthful and radiant.
-
Skin brightening: Turmeric is known for its ability to brighten the skin and even out skin tone. When combined with ginger, which also has skin brightening properties, the result is a soap that can help reduce the appearance of dark spots and hyperpigmentation.
-
Moisturizing: Turmeric and ginger soap often contains nourishing ingredients such as shea butter and coconut oil, which can help moisturize and hydrate the skin. This can help prevent dryness and keep the skin looking soft and supple.
Overall, turmeric and ginger soap is a great choice for anyone looking to improve the health and appearance of their skin. With its numerous benefits and natural ingredients, it’s a gentle and effective way to care for your skin.
Essential Tools and Ingredients

Tools Required
To make turmeric and ginger soap, there are some essential tools that are required. Some of these tools are:
- Soap molds: These are used to shape the soap into the desired shape.
- Digital scale: This is used to measure the weight of the ingredients accurately.
- Mixing bowls: These are used to mix the ingredients together.
- Hand mixer: This is used to blend the ingredients together.
- Heat source: This can be a stove or a microwave, depending on the method you choose to make the soap.
- Thermometer: This is used to monitor the temperature of the soap mixture.
- Safety gear: This includes gloves, goggles, and long sleeves to protect yourself from the lye.
Key Ingredients
The key ingredients required to make turmeric and ginger soap are:
- Sodium hydroxide: This is a caustic chemical that is used to make soap. It is also known as lye.
- Distilled water: This is used to dissolve the lye.
- Turmeric powder: This is a natural dye that gives the soap a yellow color.
- Ginger: This is a natural exfoliant that helps to remove dead skin cells.
- Fragrance or essential oil: This is used to add scent to the soap. It is optional but can enhance the experience of using the soap.
- Soap base: This is the foundation of the soap and can be made from a variety of materials such as shea butter or goat’s milk. It is used to create the soap’s texture and consistency.
It is important to note that making soap requires precision and caution. All of the tools and ingredients should be measured accurately, and safety gear should be worn at all times. With the right tools and ingredients, making turmeric and ginger soap can be a fun and rewarding experience.
Soap Making Basics

Understanding Soap Making Process
Soap making is a chemical process that involves the combination of oils or fats with an alkali, such as lye, to produce soap. The process is called saponification, which is the chemical reaction that occurs between the oils or fats and the lye.
To make soap, the oils or fats are heated and then mixed with lye. The mixture is then stirred until it thickens and reaches a consistency similar to that of pudding. At this point, any fragrances, colorants, or other additives can be added to the mixture.
The mixture is then poured into molds and left to cool and harden. After a few hours, the soap can be removed from the molds and cut into bars. The bars are then left to cure for several weeks to allow the excess water to evaporate and the soap to harden.
Lye Safety and Handling
Lye is an extremely caustic substance that can cause severe burns and damage to the skin and eyes. It is important to take proper precautions when handling lye to prevent injury.
When working with lye, always wear gloves, long sleeves, and eye protection. Lye should be added to water, not the other way around, to prevent the mixture from splashing and causing injury.
After mixing the lye and water, the mixture should be left to cool before adding it to the oils or fats. The mixture will release fumes that can be harmful if inhaled, so it is important to work in a well-ventilated area.
It is also important to label all containers of lye and keep them out of reach of children and pets. Lye should be stored in a cool, dry place away from other chemicals and flammable materials.
By following these safety guidelines, soap making can be a safe and enjoyable hobby that produces high-quality, handmade soap.
Preparing the Additives
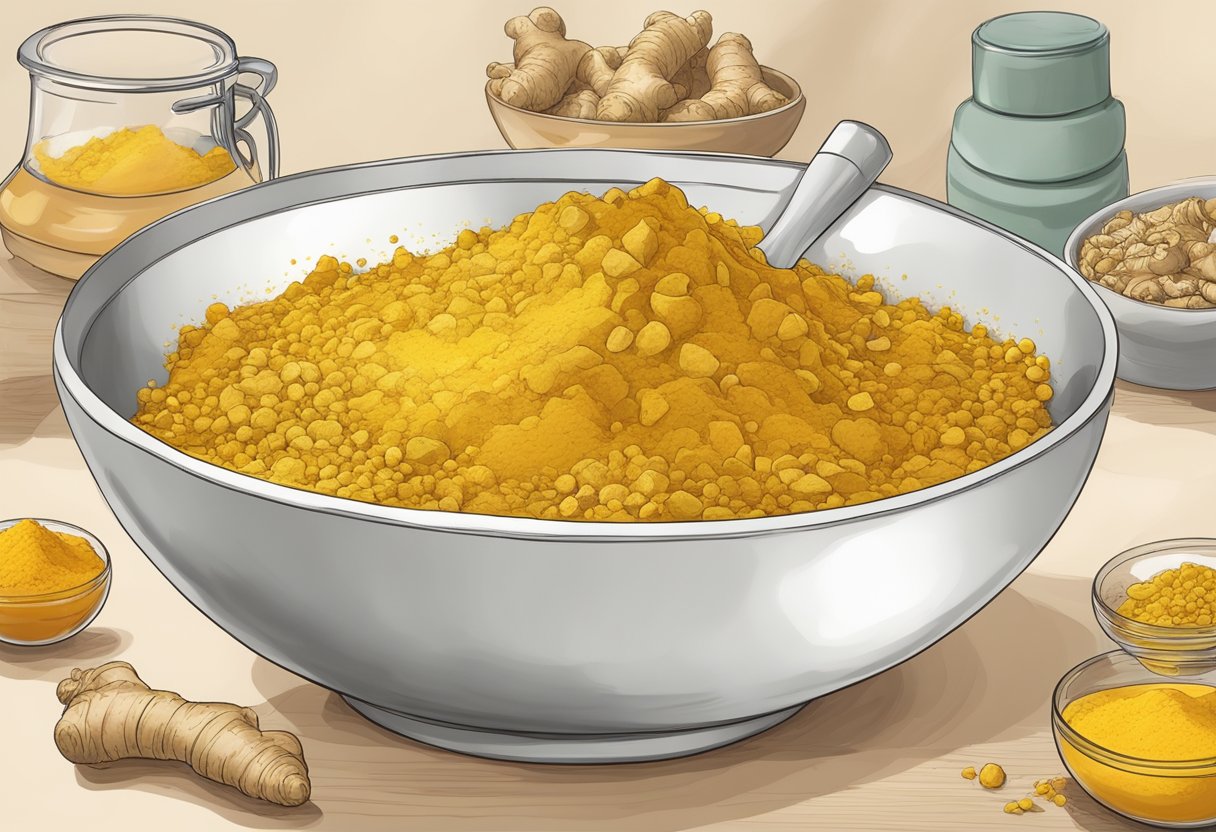
Turmeric Preparation
To prepare the turmeric for the soap, the first step is to grind it into a fine powder. This can be done using a mortar and pestle or a spice grinder. It is important to use high-quality turmeric to ensure that the soap has a vibrant yellow color and potent skin benefits.
Once the turmeric is ground, it can be added to the soap base during the melting process. It is recommended to use about 1 tablespoon of turmeric powder per pound of soap base. The turmeric should be added slowly and stirred well to ensure that it is evenly distributed throughout the soap.
Ginger Preparation
To prepare the ginger for the soap, it should be peeled and grated using a fine grater. It is important to use fresh ginger to ensure that the soap has a strong ginger scent and skin benefits.
Once the ginger is grated, it can be added to the soap base during the melting process. It is recommended to use about 1 tablespoon of grated ginger per pound of soap base. The ginger should be added slowly and stirred well to ensure that it is evenly distributed throughout the soap.
Both turmeric and ginger have anti-inflammatory and antioxidant properties that can benefit the skin. Turmeric is also known for its ability to brighten and even out skin tone, while ginger can help improve circulation and reduce the appearance of scars and blemishes. By adding these additives to the soap, it can provide a range of skin benefits while also adding a unique and refreshing scent.
Creating the Soap Base

To make turmeric and ginger soap, the first step is to create the soap base. There are different ways to create the soap base, but the most common method is the melt-and-pour method.
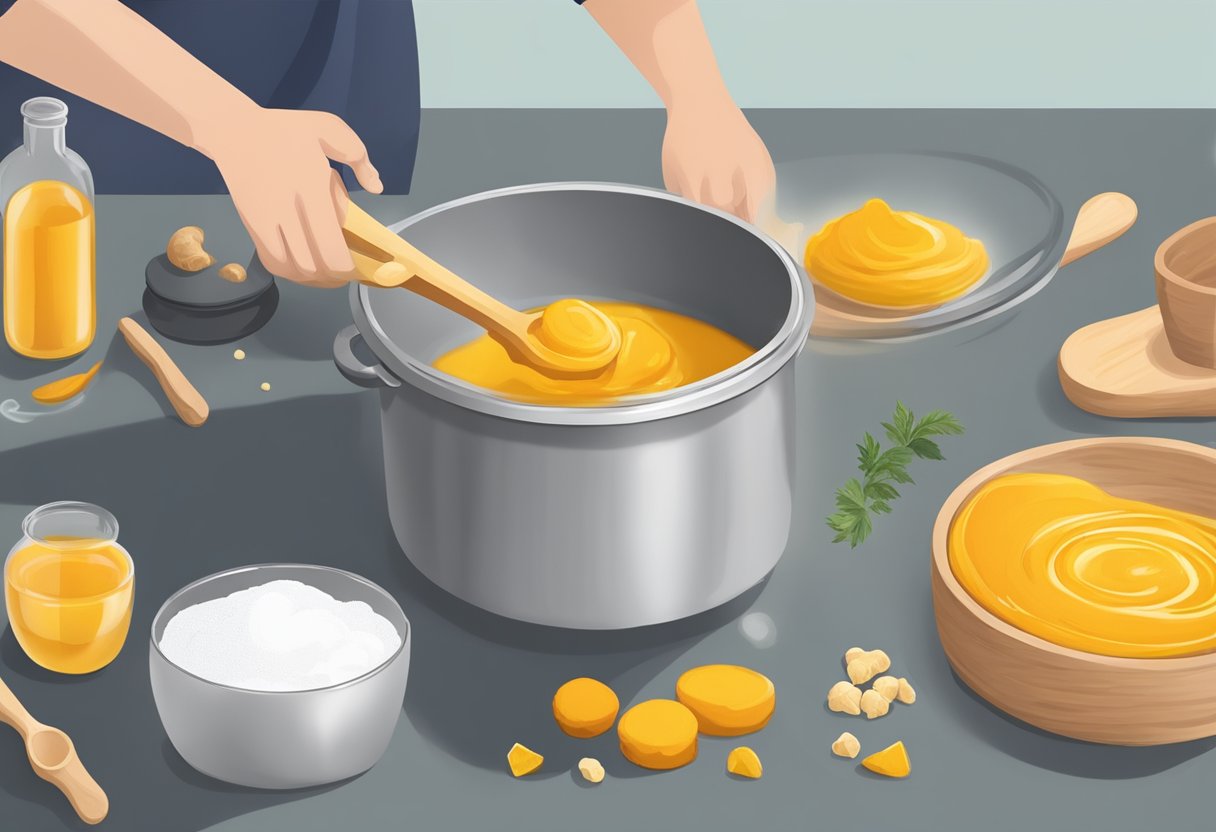
Melt-and-Pour Method
The melt-and-pour method involves melting a pre-made soap base and adding the desired ingredients to it. This method is easy, quick, and requires minimal equipment. To create the soap base using the melt-and-pour method, follow these steps:
- Cut the soap base into small pieces and put them in a microwave-safe container or a double boiler.
- Melt the soap base in the microwave or on the stove, stirring occasionally to prevent burning.
- Once the soap base is melted, add the desired ingredients such as turmeric and ginger powder, essential oils, and other additives.
- Stir the mixture well to ensure that the ingredients are evenly distributed.
- Pour the mixture into the soap molds and let it cool and harden for several hours.
Cold-Process Method
The cold-process method involves creating the soap base from scratch using lye and oils. This method requires more time, equipment, and expertise, but it allows for more creativity and customization. To create the soap base using the cold-process method, follow these steps:
- Weigh the oils and lye according to the recipe and safety guidelines.
- Mix the lye and water in a well-ventilated area, wearing protective gear.
- Heat the oils in a pot or crockpot until they reach the desired temperature.
- Slowly pour the lye mixture into the oils, stirring constantly.
- Use a stick blender to mix the soap until it reaches trace, which is a thick pudding-like consistency.
- Add the desired ingredients such as turmeric and ginger powder, essential oils, and other additives.
- Pour the mixture into the soap molds and let it cure for several weeks before using.
Both methods have their pros and cons, and it’s up to the soap maker to decide which method to use based on their preferences, skills, and resources. Regardless of the method used, creating the soap base is the foundation of making turmeric and ginger soap.
Mixing the Additives

Once the soap base has melted, it’s time to mix in the additives. For this turmeric and ginger soap recipe, the additives include turmeric powder, grated ginger, and fragrance or essential oil. Here are the steps to follow:
-
Add 2 tablespoons of turmeric powder to the melted soap base and stir well. Turmeric is known for its anti-inflammatory and antioxidant properties, and it also gives the soap a beautiful yellow color.
-
Grate 1 ounce of fresh ginger and add it to the soap base. Ginger has antibacterial and anti-inflammatory properties, and it also adds a lovely scent to the soap.
-
Add 1 ounce of fragrance or essential oil to the soap base. This is optional, but it can help to mask any unpleasant smells from the turmeric and ginger.
-
Stir the mixture well to ensure that all of the additives are evenly distributed throughout the soap base.
-
Pour the soap mixture into the soap mold and tap it gently on a flat surface to remove any air bubbles.
-
Let the soap cool and harden for at least 24 hours before removing it from the mold.
It’s important to note that turmeric can stain clothing and surfaces, so it’s best to wear gloves and work on a protected surface when making this soap. Additionally, some people may be allergic to ginger, so it’s important to test the soap on a small patch of skin before using it all over the body.
Pouring and Molding

Once the soap mixture has reached trace, it is time to pour it into the mold. A slab mold is recommended for making turmeric and ginger soap. It is important to line the mold with parchment paper or a silicone liner to prevent the soap from sticking.
Before pouring the soap into the mold, stir in any additional ingredients such as dried herbs or essential oils. Pour the soap mixture into the mold and spread it evenly using a spatula. Tap the mold gently on a flat surface to remove any air bubbles.
Cover the mold with a lid or plastic wrap and let it sit undisturbed for 24 hours. This allows the soap to harden and set completely. After 24 hours, remove the soap from the mold by gently pulling on the parchment paper or silicone liner.
Next, cut the soap into bars of desired size using a sharp knife or soap cutter. It is important to let the soap cure for at least 4-6 weeks before using it. This allows the soap to fully harden and the excess water to evaporate, resulting in a longer-lasting bar of soap.
Overall, pouring and molding is a crucial step in making turmeric and ginger soap. By following these simple steps, one can create a beautiful and nourishing bar of soap that is perfect for radiant and glowing skin.
Curing the Soap
Once the soap has been poured into its mold, it needs to cure before it can be used. Curing is a process that allows the soap to dry and harden, which makes it last longer and lather better. It also allows the water in the soap to evaporate, which makes it milder and less harsh on the skin.
The curing process typically takes around 4-6 weeks. During this time, the soap should be kept in a cool, dry place and allowed to air out. It’s important to turn the soap over every few days to ensure that it cures evenly.
Once the soap has cured, it can be cut into bars and used. It’s important to note that the longer the soap cures, the better it will be. So, if you have the time, it’s best to let it cure for as long as possible.
To store the soap, wrap it in wax paper or place it in a soap dish that allows it to dry out between uses. This will help to prevent it from getting mushy and will extend its shelf life.
Overall, curing the soap is an essential step in the soap-making process. It allows the soap to dry and harden, which makes it last longer and lather better. With a little patience and attention to detail, anyone can make high-quality, long-lasting soap at home.
Unmolding and Cutting
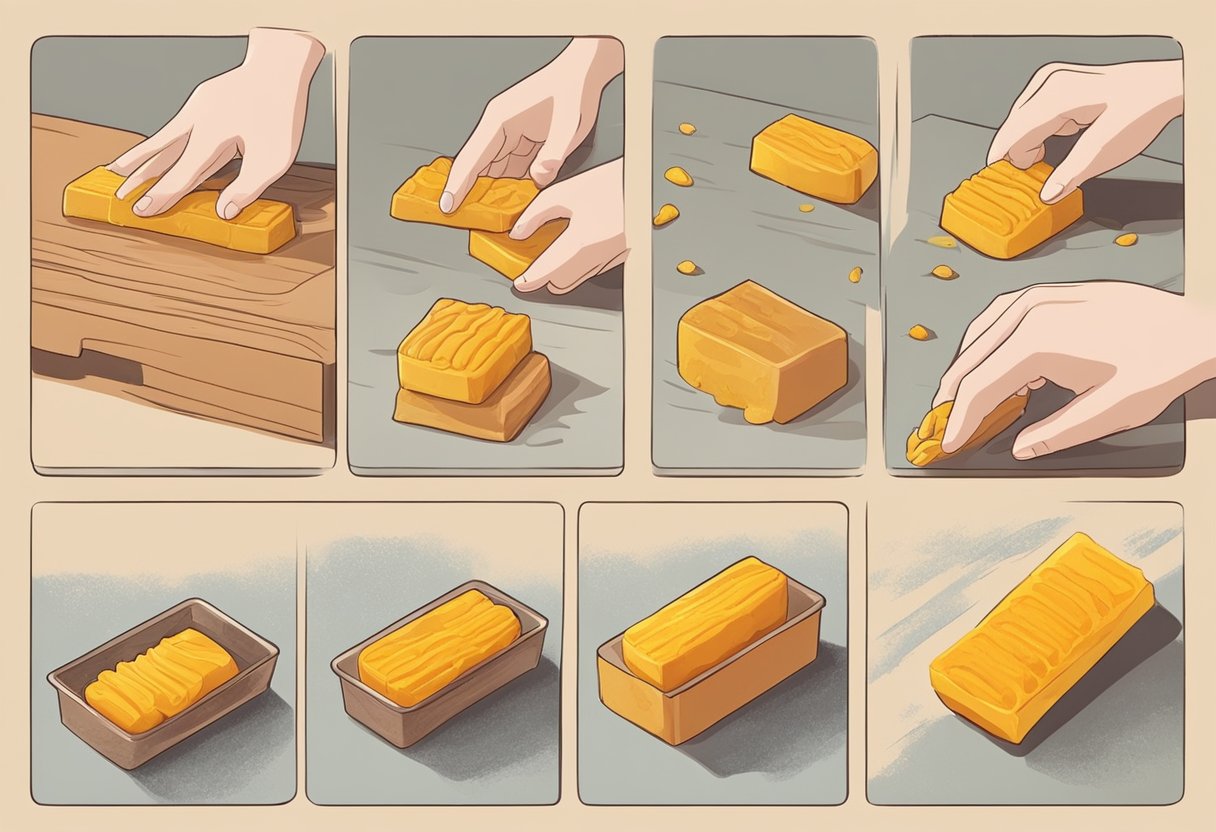
Once the soap has hardened in the mold, it is time to unmold and cut it. First, remove the mold from the freezer and let it sit for a few minutes to come to room temperature. Then, gently pull the sides of the mold away from the soap to release it.
Next, use a sharp knife to cut the soap into bars. It is important to use a sharp knife to ensure clean cuts and prevent the soap from crumbling. A ruler or straight edge can be helpful to ensure even cuts.
Once the soap is cut, it should be allowed to cure for at least 4-6 weeks. During this time, the soap will harden and the excess water will evaporate, resulting in a harder, longer-lasting bar of soap.
It is important to store the soap in a cool, dry place during the curing process. This will help prevent the soap from sweating or developing mold.
Overall, unmolding and cutting the soap is a simple process that requires a bit of patience and attention to detail. With the right tools and techniques, anyone can create beautiful, handmade bars of turmeric and ginger soap.
Packaging and Storage

Once the turmeric and ginger soap has been made, it is important to package and store it properly to ensure its longevity. Here are some tips on how to do so:
-
Allow the soap to cure: After making the soap, it is important to let it cure for at least 4-6 weeks. This allows excess water to evaporate and the soap to harden, resulting in a longer-lasting bar.
-
Wrap the soap: Once the soap has cured, it can be wrapped in wax paper, parchment paper, or plastic wrap to protect it from moisture and light. This will help preserve the color and scent of the soap.
-
Label the soap: It is important to label the soap with the ingredients, date it was made, and any other relevant information. This will help you keep track of the soap’s age and ingredients.
-
Store the soap: Store the soap in a cool, dry place away from direct sunlight. A linen closet or dresser drawer is a good option. Avoid storing the soap in the bathroom, as the humidity can cause it to soften and melt.
-
Shelf life: Properly stored, turmeric and ginger soap can last up to 1 year. However, it is best to use it within 6 months for optimal freshness and effectiveness.
By following these simple steps, you can ensure that your homemade turmeric and ginger soap lasts as long as possible and remains fresh and effective.
Safety Precautions

When making turmeric and ginger soap, it is important to take certain safety precautions to avoid any accidents or injuries. Here are some safety tips to keep in mind:
1. Wear Protective Gear
Always wear protective gear when making soap. This includes gloves, goggles, and a face mask. Gloves will protect your hands from the lye and other chemicals, while goggles will protect your eyes from any splashes. A face mask will help you avoid inhaling any fumes or dust.
2. Work in a Well-Ventilated Area
Make sure you work in a well-ventilated area when making soap. This will help you avoid inhaling any fumes or dust. If you are working indoors, open windows and doors to allow fresh air to circulate.
3. Use Caution When Handling Lye
Lye is a caustic substance that can cause chemical burns if it comes into contact with your skin. Always handle lye with caution and follow the manufacturer’s instructions carefully. Make sure you wear protective gear and work in a well-ventilated area.
4. Keep Children and Pets Away
Keep children and pets away from your soap-making area. Lye and other chemicals can be dangerous if ingested or inhaled. Make sure you store your ingredients and equipment in a safe place where children and pets cannot reach them.
5. Follow the Recipe Carefully
Follow the recipe carefully when making soap. This will help you avoid any mistakes that could result in a dangerous or ineffective product. Make sure you measure your ingredients accurately and follow the instructions in the correct order.
By following these safety precautions, you can make turmeric and ginger soap safely and effectively.
Frequently Asked Questions
What are the essential ingredients needed for making turmeric and ginger soap?
The essential ingredients needed for making turmeric and ginger soap include turmeric powder, ginger, a soap base, fragrance or essential oil, and distilled water. Additional ingredients such as shea butter, cocoa butter, and castor oil can also be used to enhance the moisturizing properties of the soap.
Can you explain the benefits of using turmeric and ginger in soap?
Turmeric and ginger are known for their anti-inflammatory and antioxidant properties, which can help to soothe and protect the skin. Turmeric is also known for its ability to brighten and even out skin tone, while ginger can help to stimulate circulation and promote healthy skin. When used in soap, turmeric and ginger can help to cleanse and nourish the skin, leaving it feeling soft and refreshed.
What is the recommended amount of turmeric to use in a soap recipe?
The recommended amount of turmeric to use in a soap recipe can vary depending on the desired color and strength of the soap. As a general guideline, a ratio of 1-2 teaspoons of turmeric powder per pound of soap base is recommended. It is important to note that turmeric can stain surfaces and clothing, so care should be taken when handling the powder.
How do you create turmeric and ginger soap specifically for facial skin?
To create turmeric and ginger soap specifically for facial skin, it is important to choose a gentle soap base that is suitable for sensitive skin. A shea butter or goat’s milk soap base is a good option, as these bases are moisturizing and non-irritating. To enhance the skin-nourishing properties of the soap, additional ingredients such as honey, oatmeal, or aloe vera can be added. It is also important to use a small amount of turmeric powder and ginger to avoid irritation, and to avoid getting the soap in the eyes or mouth.