Turmeric and honey soap is a popular skincare product that has been used for centuries due to its numerous benefits. Turmeric is known for its anti-inflammatory and antioxidant properties, which can help to improve skin health and reduce inflammation. Honey, on the other hand, is a natural humectant that can help to moisturize the skin and prevent dryness.
Making turmeric and honey soap at home is a simple and affordable way to enjoy the benefits of these two powerful ingredients. There are several methods for making this soap, including the melt and pour method, cold process method, and hot process method. Each method has its own advantages and disadvantages, so it’s important to choose the method that best suits your needs and preferences.
If you’re interested in making your own turmeric and honey soap, there are several things to keep in mind. First, it’s important to choose high-quality ingredients that are free from additives and preservatives. You’ll also need to follow a recipe carefully to ensure that your soap turns out correctly. With a little bit of practice and patience, however, you can create a luxurious and nourishing soap that will leave your skin feeling soft, smooth, and refreshed.
Benefits of Turmeric and Honey in Soap
Turmeric and honey have been used for centuries for their medicinal properties. They are also effective ingredients in soap making. Here are some benefits of turmeric and honey in soap:
Turmeric in Soap
Turmeric is a natural anti-inflammatory and antioxidant. It is also known for its skin-brightening properties. When used in soap, turmeric can help to:
- Reduce dark spots
- Even out skin tone
- Brighten the complexion
- Reduce the appearance of scars
- Calm inflamed skin
Turmeric also has antibacterial properties, which can help to prevent acne and other skin infections. It is important to note that turmeric can stain clothing and other surfaces, so care should be taken when using it in soap making.
Honey in Soap
Honey is a natural humectant, which means it helps to retain moisture in the skin. It is also antibacterial and anti-inflammatory, making it an effective ingredient in soap for acne-prone skin. Honey can help to:
- Soothe and hydrate dry skin
- Reduce inflammation and redness
- Prevent acne and other skin infections
- Promote a healthy, glowing complexion
Honey can also help to balance the natural oils in the skin, making it an ideal ingredient for both dry and oily skin types.
When used together in soap making, turmeric and honey can provide a range of benefits for the skin. Their natural properties can help to soothe, hydrate, and brighten the complexion, making them a popular choice for natural soap makers.
Essential Tools and Ingredients
List of Tools
To make turmeric and honey soap, you will need a few essential tools. These include a soap mold, a cutting board, a knife, a pouring jug, and measuring utensils. You will also need a bowl and utensils for mixing the ingredients. Gloves are recommended to protect your hands from the hot soap mixture.
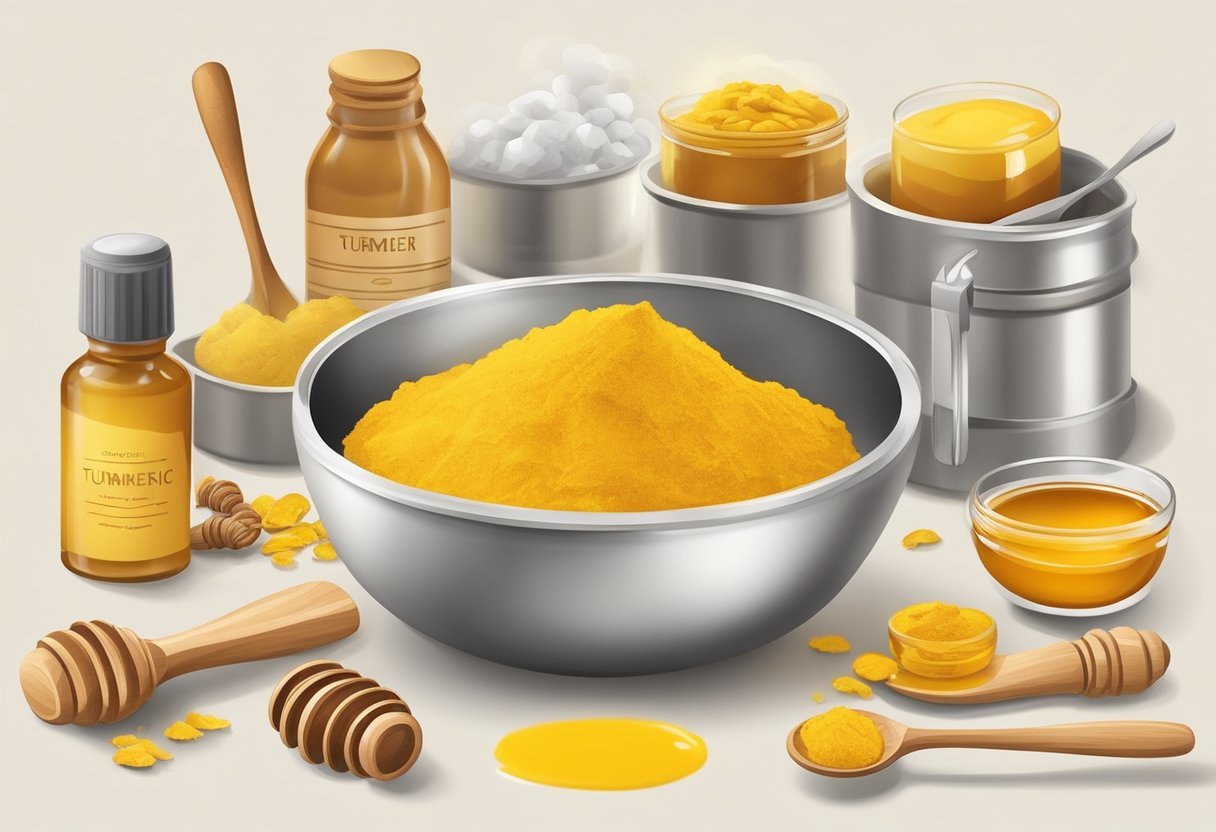
List of Ingredients
The ingredients for making turmeric and honey soap are readily available and easy to find. You will need a melt and pour soap base, organic turmeric powder, honey, rubbing alcohol in a spray bottle, jojoba oil, glycerin, and sweet almond oil.
Turmeric is a powerful antioxidant and has anti-inflammatory properties that help brighten the skin and improve overall elasticity. Honey is a natural humectant that helps hydrate and moisturize the skin. Jojoba oil and sweet almond oil are also great for moisturizing the skin.
It’s important to use high-quality ingredients to ensure the best results. When selecting your ingredients, look for organic and natural options whenever possible. Additionally, make sure to measure your ingredients accurately to ensure the soap sets properly.
By using the right tools and ingredients, you can create a luxurious and nourishing turmeric and honey soap that is perfect for pampering yourself or giving as a thoughtful gift.
Safety Precautions

When making turmeric and honey soap at home, it is important to take some safety precautions to avoid any accidents. Here are some tips to keep in mind:
-
Wear protective gear: When handling lye and other chemicals, it is important to wear gloves, goggles, and a mask to protect your skin, eyes, and lungs from any harmful substances.
-
Work in a well-ventilated area: Lye can produce fumes that are harmful to inhale, so it is important to work in a well-ventilated area to avoid any respiratory issues.
-
Keep children and pets away: Lye is a caustic substance that can cause burns, so it is important to keep children and pets away from your workspace to avoid any accidents.
-
Follow the recipe carefully: When making soap, it is important to follow the recipe carefully and measure the ingredients accurately to avoid any mishaps.
-
Keep a neutralizing agent nearby: In case of any accidental spills or splashes, it is important to have a neutralizing agent, such as vinegar or citric acid, nearby to neutralize the lye and prevent any further damage.
By following these safety precautions, you can ensure a safe and enjoyable soap-making experience.
Soap Making Process Overview

Making turmeric and honey soap is a simple and straightforward process that can be done at home. The following is an overview of the basic steps involved in making this soap.
Materials Needed
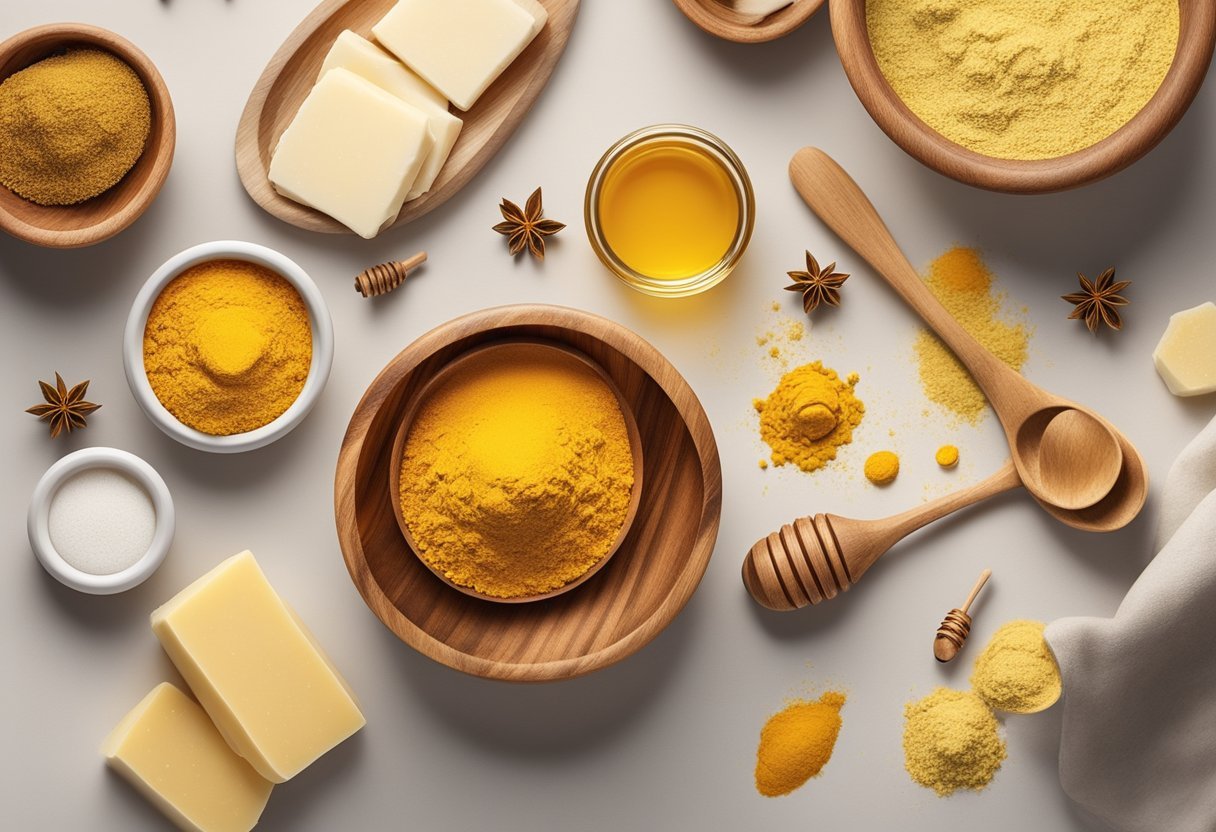
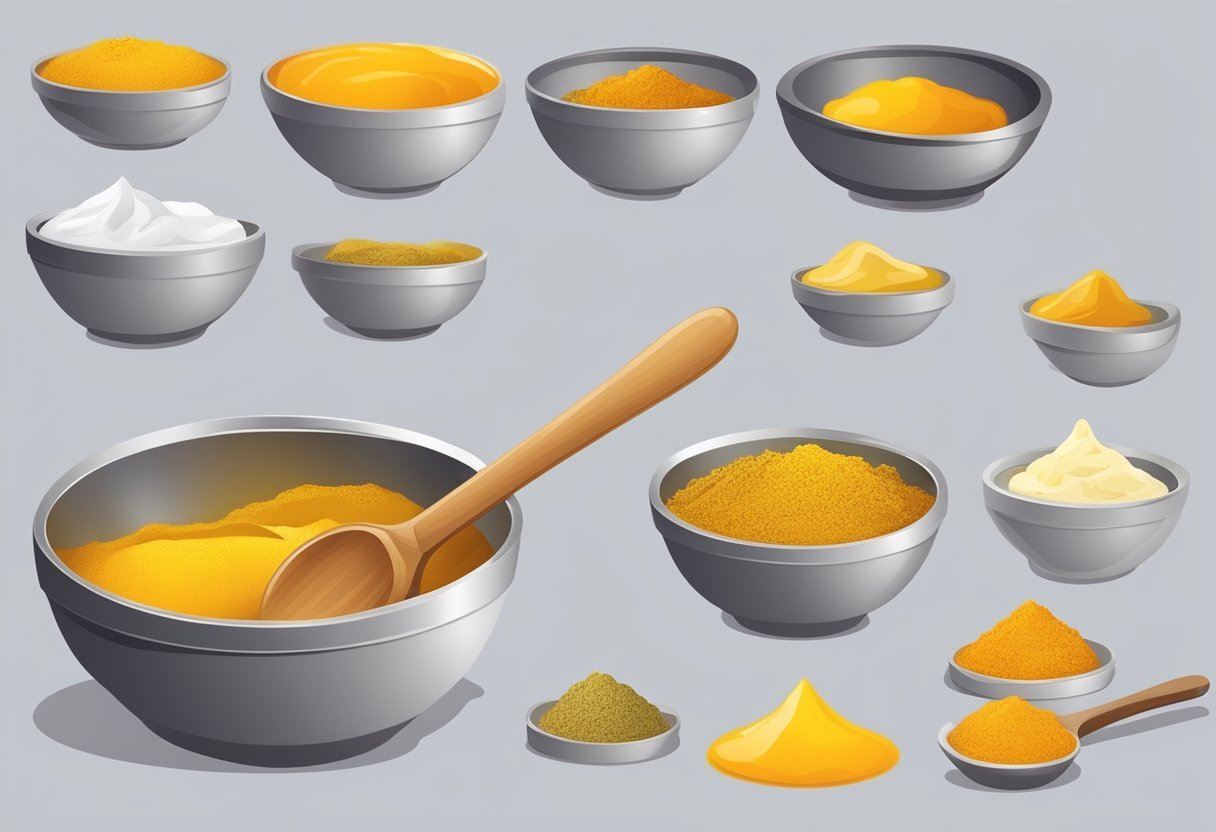
Before starting, gather all the necessary materials. These include:
- Melt and pour soap base
- Turmeric powder
- Honey
- Soap mold
- Mixing bowl
- Measuring spoons and cups
- Wooden spoon or spatula
- Microwave or double boiler
Steps Involved
- Cut the melt and pour soap base into small cubes and place them in a microwave-safe bowl or double boiler.
- Melt the soap base in the microwave or double boiler until it is fully melted.
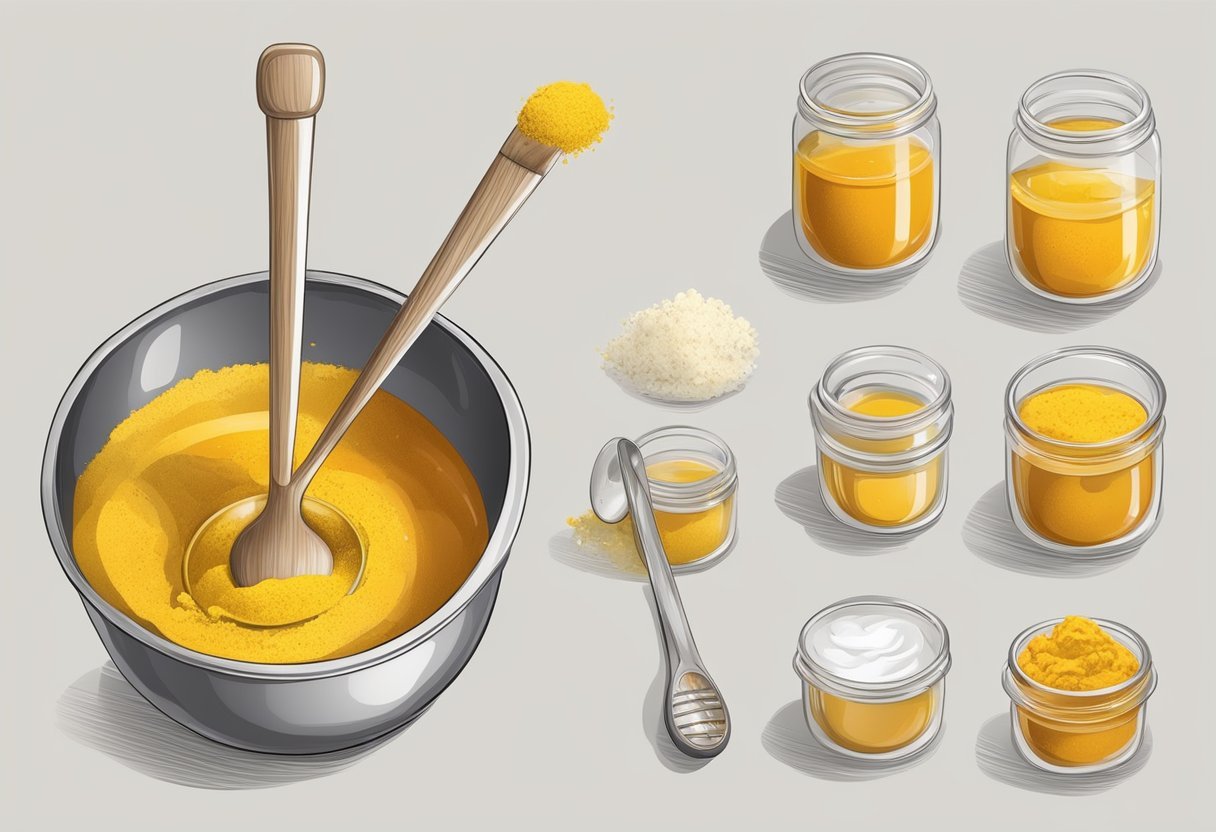
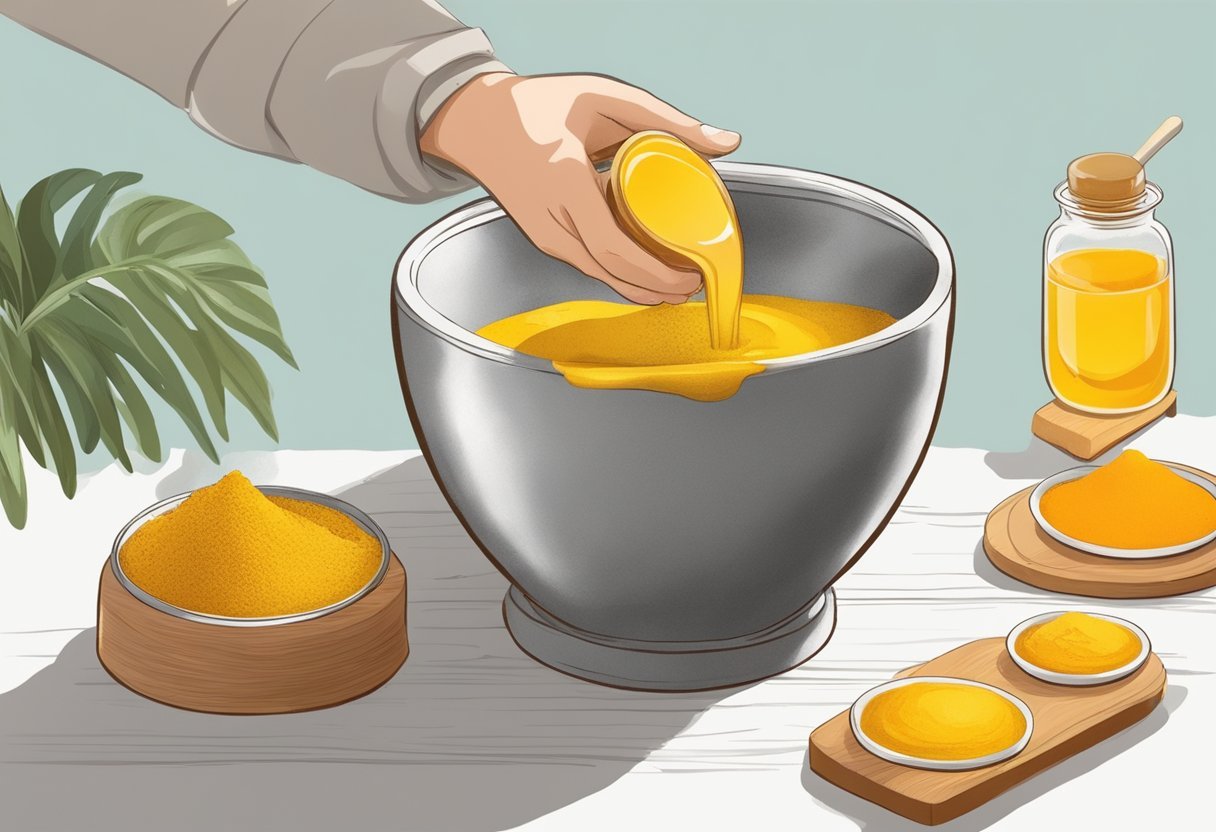
- Add turmeric powder and honey to the melted soap base and mix thoroughly with a wooden spoon or spatula.
- Pour the mixture into a soap mold and let it cool and harden for at least an hour.
- Once the soap has hardened, remove it from the mold and cut it into bars.
It is important to note that the amount of turmeric and honey used can be adjusted according to personal preference. Additionally, it is recommended to use high-quality ingredients to ensure the best possible results.
Overall, making turmeric and honey soap is a fun and easy DIY project that can result in a high-quality, natural soap with numerous skin benefits.
Preparing the Soap Base
Before adding turmeric and honey to the soap, it is important to prepare the soap base. There are several steps involved in this process, including melting the base, adding turmeric, and incorporating honey.
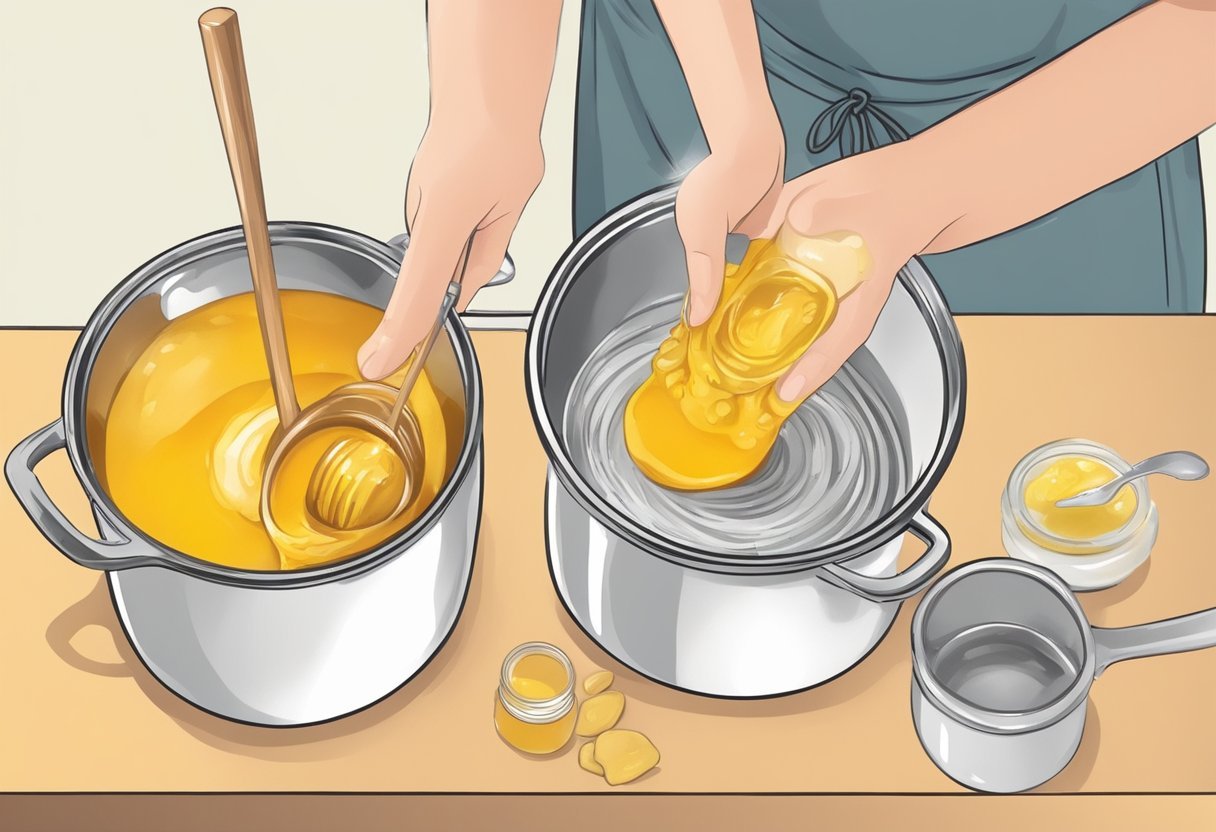
Melting the Base
The first step in preparing the soap base is to melt it down. This can be done using a double boiler or a microwave. If using a double boiler, fill the bottom pot with water and place the soap base in the top pot. Heat the water over medium heat until the soap base is completely melted. If using a microwave, place the soap base in a microwave-safe container and heat it in 30-second intervals until it is melted.
Adding Turmeric
Once the soap base is melted, it is time to add the turmeric. Turmeric is a natural dye that will give the soap a bright, golden color. To add turmeric to the soap, simply sprinkle a small amount of turmeric powder into the melted soap base and stir well. Be careful not to add too much turmeric, as it can stain the skin.
Incorporating Honey
The final step in preparing the soap base is to incorporate the honey. Honey is a natural moisturizer that will leave the skin feeling soft and smooth. To add honey to the soap, simply stir in a small amount of honey into the melted soap base and mix well. Be sure to use raw honey, as it contains all of the natural enzymes and nutrients that make it so beneficial for the skin.
By following these simple steps, it is easy to prepare the soap base for turmeric and honey soap. With a little bit of time and effort, anyone can create a luxurious, all-natural soap that is gentle on the skin and perfect for daily use.
Customizing Your Soap
When making turmeric and honey soap, there are a variety of ways to customize it to fit your preferences. Here are some ideas to get you started:
Essential Oils and Fragrances
Adding essential oils or fragrances can give your soap a unique scent and provide additional benefits for your skin. Some essential oils that pair well with turmeric and honey include lavender, peppermint, and tea tree oil. However, it’s important to note that some essential oils can be irritating to the skin, so it’s best to do some research before adding them to your soap.
When choosing a fragrance oil, make sure it’s safe for use in soap and won’t cause any skin irritation. Some fragrance oils can discolor your soap, so be sure to test a small amount before adding it to your entire batch.
Molds and Shaping
The shape of your soap can also be customized to fit your preferences. There are a variety of molds available, including silicone molds, plastic molds, and metal molds. You can choose a mold that fits the theme of your soap or simply one that you find aesthetically pleasing.
In addition to molds, you can also use cookie cutters or other shaping tools to create unique soap shapes. Just make sure the tool is clean and won’t cause any damage to your soap.
Overall, customizing your turmeric and honey soap can be a fun and creative process. With a little experimentation, you can create a soap that is uniquely yours.
Pouring and Setting the Soap

Once the soap base is melted and mixed with the turmeric and honey, it is time to pour it into the soap molds. Here are the steps to follow:
-
Prepare the soap molds: Before pouring the soap mixture, ensure that the soap molds are clean and dry. If you are using silicone molds, it is recommended to place them on a flat surface or on a baking sheet to prevent them from bending or spilling.
-
Pour the mixture into the molds: Carefully pour the soap mixture into the molds. To avoid air bubbles, pour the mixture slowly and steadily. Fill the molds to the top, but do not overfill them.
-
Tap the molds: After pouring the mixture, gently tap the molds on a flat surface to remove any air bubbles that may have formed.
-
Set the soap: Place the soap molds in a cool, dry place and let the soap set for at least 2-3 hours. If the soap is not set after this time, leave it for a few more hours until it is firm to the touch.
-
Remove the soap from the molds: Once the soap is set, gently remove it from the molds. If the soap is difficult to remove, gently push the sides of the mold to loosen it. Turn the mold over and gently tap it on a flat surface to release the soap.
By following these steps, you can easily pour and set your turmeric and honey soap. Allow the soap to dry completely before using it.
Curing and Storage

After the soap has been molded, it needs to be cured for at least four weeks. This allows the excess water to evaporate, making the soap harder and longer-lasting. During the curing process, the soap should be kept in a cool, dry place away from direct sunlight.
To store the soap, wrap it in wax paper or place it in a soap dish that allows for air circulation. Avoid storing the soap in plastic bags or containers as this can cause it to sweat and become soft.
It’s important to note that the longer the soap is cured, the milder and more luxurious it becomes. So, if you have the patience, it’s recommended to cure the soap for six to eight weeks for the best results.
Here are some tips for storing and curing turmeric and honey soap:
- Label the soap with the date it was made and the date it will be ready to use.
- Keep the soap away from humidity and moisture.
- Don’t stack the soap bars on top of each other as this can cause them to stick together.
- If the soap is not curing properly, try increasing the air circulation by placing a fan nearby.
- Check the soap periodically during the curing process to ensure that it’s not developing any cracks or other defects.
By following these tips, you can ensure that your turmeric and honey soap is properly cured and stored, resulting in a high-quality, long-lasting bar of soap.
Packaging and Labeling

Once the soap has cured for at least six weeks, it’s time to package and label it. Proper packaging and labeling not only make the soap look more professional, but it also provides important information to the customer.
Packaging
When packaging the soap, it’s important to choose a material that will protect it from moisture and light. It’s also important to choose a material that is eco-friendly and sustainable. Some options include:
- Recyclable paper or cardboard boxes
- Glass jars with metal lids
- Reusable fabric bags
Once you have chosen your packaging material, cut it to the appropriate size. If using a box, make sure it fits the soap snugly. If using a jar, make sure it has enough room for the soap and any additional decorations.
Labeling
Labeling the soap is important for both legal and marketing reasons. The label should include the following information:
- Name of the soap
- Weight of the soap
- Ingredients
- Manufacturer’s name and address
- Directions for use
- Any safety warnings
The label should also be visually appealing and reflect the branding of the soap. Consider using bold colors and fonts to make the label stand out.
In conclusion, proper packaging and labeling are important for making the soap look professional and providing important information to the customer. When choosing packaging and labeling materials, consider eco-friendly and sustainable options. When creating the label, include all necessary information and make it visually appealing.
Frequently Asked Questions
What are the benefits of using turmeric and honey in soap?
Turmeric and honey have been used for centuries for their numerous health benefits. The combination of these two ingredients in soap can help to soothe and hydrate the skin, as well as reduce inflammation and redness. Turmeric is also known for its antibacterial properties, which can help to fight acne-causing bacteria.
Can turmeric and honey soap help with skin whitening?
While turmeric is known to help brighten the skin and even out skin tone, it is not a skin whitening agent. Honey, on the other hand, can help to moisturize and hydrate the skin, giving it a healthy glow.
Are there any side effects associated with using turmeric and honey soap?
Turmeric and honey are generally considered safe for use on the skin. However, some people may be allergic to these ingredients and should avoid using them. It is always recommended to do a patch test before using any new skincare product.
How effective is turmeric soap in removing dark spots?
Turmeric has been shown to help reduce the appearance of dark spots and hyperpigmentation over time. However, it is important to note that results may vary depending on the individual and the severity of their dark spots.
What type of soap base is ideal for creating turmeric soap?
A melt and pour soap base is ideal for creating turmeric soap. Shea butter or goat’s milk soap base will result in a lighter-colored soap, while glycerin or aloe vera soap base will result in a darker-colored soap. It is important to choose a hypoallergenic soap base to avoid any potential skin irritation.