Turmeric and lemon soap is a natural soap that offers numerous benefits for the skin. Turmeric is known for its anti-inflammatory and antioxidant properties, making it an excellent ingredient for skin care products. Lemon, on the other hand, is rich in vitamin C and citric acid, which can help brighten the skin and even out skin tone.

Making turmeric and lemon soap is a simple process that can be done at home using natural ingredients. There are various methods for making this soap, including cold process and melt-and-pour methods. The cold process method involves mixing lye and oils to create soap from scratch, while the melt-and-pour method involves melting a pre-made soap base and adding ingredients to it.
When making turmeric and lemon soap, it is important to use high-quality ingredients to ensure the best results. Additionally, it is essential to follow proper safety procedures when handling lye, a caustic substance that can cause burns if not handled properly. By following the right steps and using the right ingredients, anyone can make their own turmeric and lemon soap at home and enjoy its numerous benefits for the skin.
Benefits of Turmeric and Lemon for Skin

Turmeric and lemon are two potent ingredients that have been used for centuries to enhance skin health. When combined, they create a powerful blend that can help to improve the appearance of your skin. Here are some of the benefits of using turmeric and lemon for your skin:
1. Reduces Dark Spots and Hyperpigmentation
Turmeric contains curcumin, a natural compound that has been shown to have skin-lightening properties. It can help to reduce the appearance of dark spots, blemishes, and hyperpigmentation. Lemon, on the other hand, contains vitamin C, which can also help to brighten and even out skin tone. When used together, turmeric and lemon can create a powerful blend that can help to reduce the appearance of dark spots and hyperpigmentation.
2. Soothes Inflammation and Redness
Turmeric is known for its anti-inflammatory properties. It can help to soothe inflammation and redness, making it an ideal ingredient for those with sensitive or acne-prone skin. Lemon also has anti-inflammatory properties, which can help to calm irritated skin. When used together, turmeric and lemon can help to soothe inflammation and redness, leaving your skin looking calm and refreshed.
3. Fights Acne and Breakouts
Turmeric and lemon both have antibacterial properties, which can help to fight acne and prevent breakouts. Turmeric can also help to reduce the production of sebum, which can contribute to the development of acne. Lemon contains citric acid, which can help to exfoliate the skin and unclog pores. When used together, turmeric and lemon can help to fight acne and prevent breakouts.
4. Provides Antioxidant Protection
Turmeric and lemon both contain antioxidants, which can help to protect your skin from damage caused by free radicals. Free radicals are unstable molecules that can damage your skin cells and contribute to the development of wrinkles and fine lines. By providing antioxidant protection, turmeric and lemon can help to keep your skin looking youthful and radiant.
Overall, turmeric and lemon are two powerful ingredients that can help to improve the appearance of your skin. By incorporating them into your skincare routine, you can enjoy the many benefits that they have to offer.
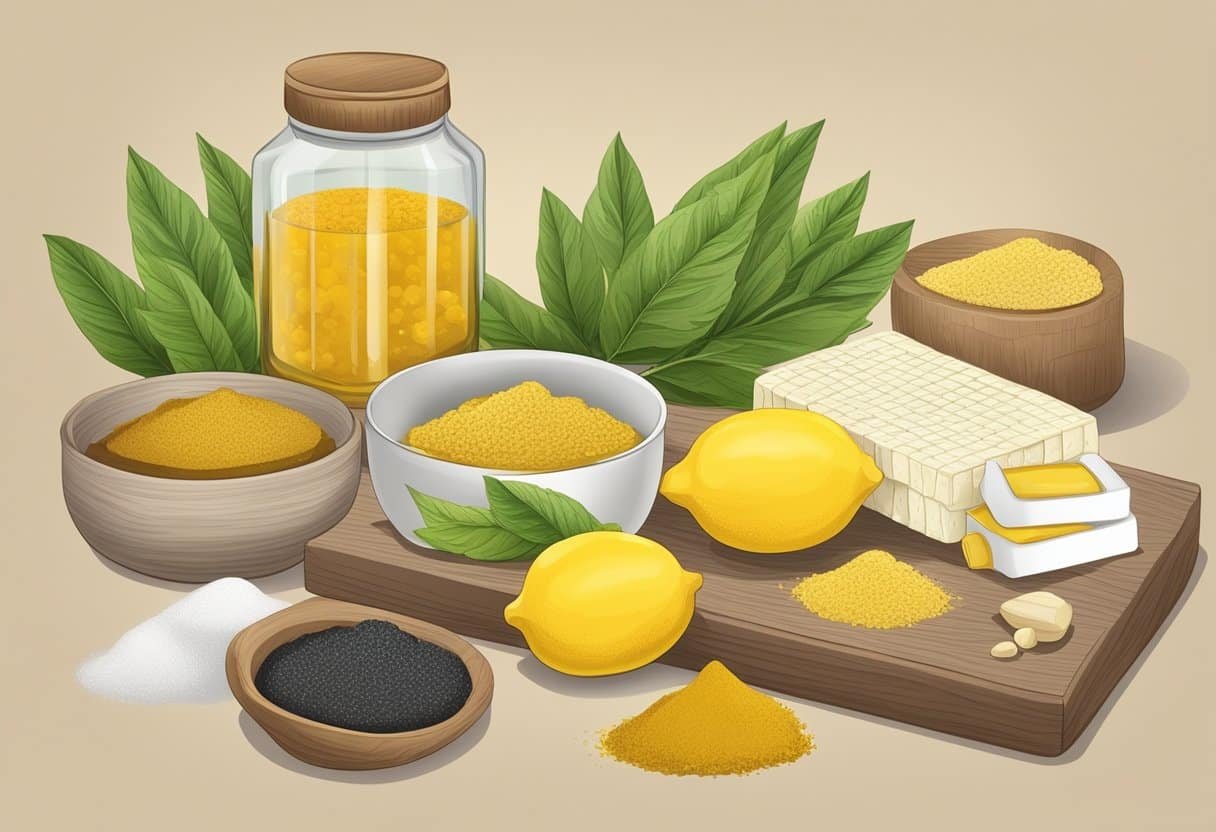
Tools and Materials Needed
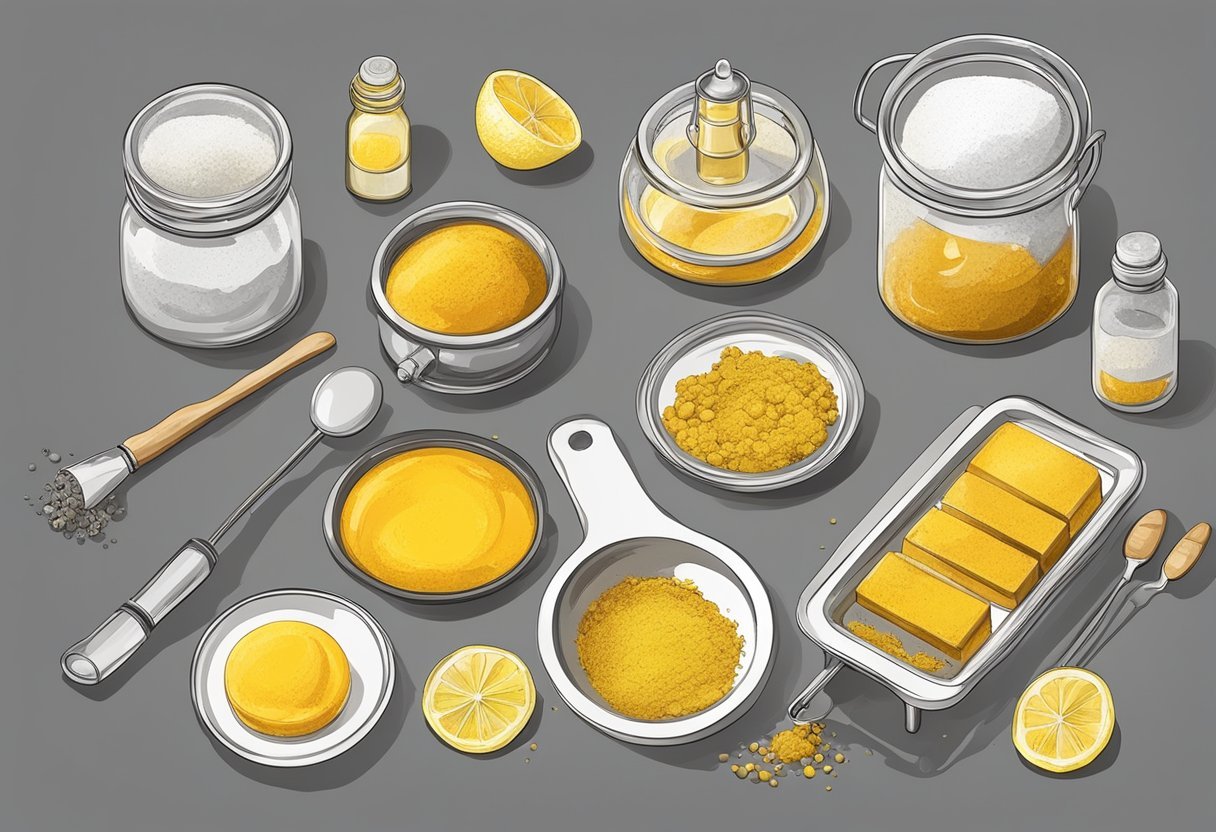
Making turmeric and lemon soap requires a few essential tools and materials. Some of these tools and materials can be found in your kitchen, while others may need to be purchased from a soap-making supply store. Here are some essential tools and materials needed to make turmeric and lemon soap:
Tools
- Double boiler or microwave-safe container
- Mixing bowl
- Whisk or spoon
- Soap molds
- Digital scale
- Thermometer
- Measuring cups and spoons
- Rubber gloves and safety goggles
Materials
- Melt-and-pour soap base
- Turmeric powder
- Lemon essential oil
- Distilled water
- Rubbing alcohol
- Soap colorant (optional)
It is important to use high-quality materials when making soap to ensure the best results. The melt-and-pour soap base is the foundation of your soap, and it is important to choose a high-quality base that is free from harmful chemicals. Turmeric powder is a natural colorant that gives the soap a bright yellow color, while lemon essential oil provides a refreshing scent and has skin-benefiting properties. Distilled water is used to dissolve the turmeric powder and to help the soap base melt evenly. Rubbing alcohol is used to prevent bubbles from forming on the surface of the soap.
By using the above tools and materials, you can make a high-quality turmeric and lemon soap that is both refreshing and beneficial for your skin.
Soap Base Selection

Choosing the right soap base is crucial when making turmeric and lemon soap. The soap base determines the color, texture, and moisturizing properties of the soap. The following are some of the things to consider when selecting a soap base:
-
Melt and Pour Soap Base: This is the easiest type of soap base to work with, especially for beginners. It comes in pre-made blocks that can be melted and poured into molds. The advantage of this type of base is that it is easy to customize with different colors, fragrances, and additives. When making turmeric and lemon soap, it is recommended to use a clear or white melt and pour base to avoid interfering with the color of the turmeric.
-
Cold Process Soap Base: This type of soap is made from scratch using lye and oils. It requires more skill and experience to make, but it offers more flexibility in terms of customization. When making turmeric and lemon soap, it is important to use a soap base that is gentle and moisturizing. Common oils used in cold process soap include olive oil, coconut oil, and shea butter.
-
Glycerin Soap Base: This type of soap base is transparent and has a high glycerin content, which makes it very moisturizing. It is a good option for making turmeric and lemon soap because it allows the color of the turmeric to show through. However, glycerin soap can be tricky to work with because it sets quickly and can be prone to air bubbles.
When selecting a soap base, it is important to read the ingredients carefully to ensure that they are safe and suitable for the skin. Avoid soap bases that contain harsh chemicals or artificial fragrances, as these can irritate the skin. Look for soap bases that are labeled as natural or organic, and check the reviews to see what other soap makers have to say about the quality and performance of the soap base.
Preparing the Ingredients

Before making turmeric and lemon soap, it is important to gather all the necessary ingredients and materials. Here is a list of the ingredients needed to make turmeric and lemon soap:
- Melt-and-pour soap base
- Turmeric powder
- Lemon essential oil
- Soap molds
- Measuring cups and spoons
- Mixing bowls
- Spatulas
- Rubbing alcohol
- Spray bottle
The melt-and-pour soap base can be purchased at most craft stores or online. It is important to choose a high-quality base that is free of harmful chemicals and additives. Turmeric powder can also be found at most grocery stores or online. It is important to choose a high-quality, organic turmeric powder for the best results.
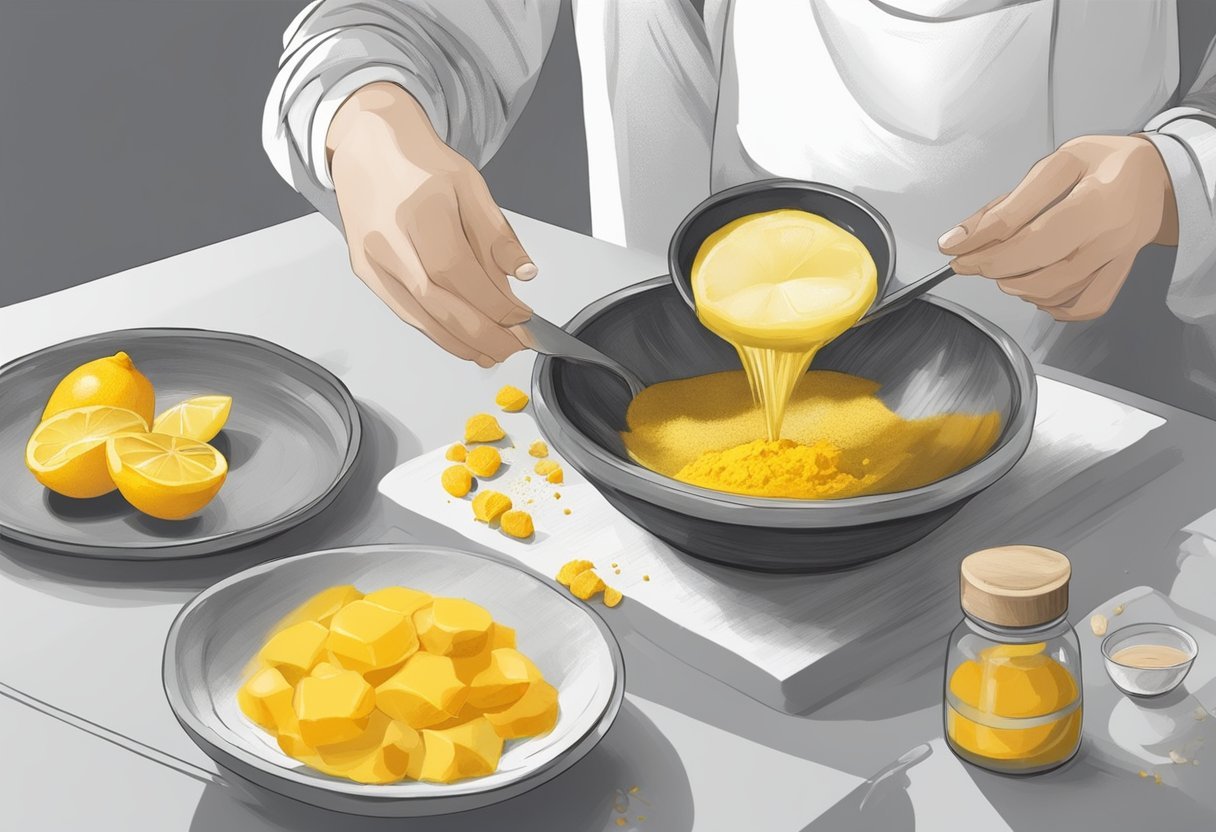
To prepare the ingredients, start by cutting the melt-and-pour soap base into small cubes. This will make it easier to melt the soap in the microwave or on the stove. Next, measure out the desired amount of turmeric powder and lemon essential oil. It is important to use the correct amount of each ingredient to ensure that the soap is effective and safe to use.
Once the ingredients are measured out, melt the soap base in the microwave or on the stove according to the package instructions. Be sure to stir the soap base frequently to prevent it from burning or overheating. Once the soap base is melted, add the turmeric powder and lemon essential oil and stir well to combine.
Before pouring the soap mixture into the molds, spray them with rubbing alcohol to prevent air bubbles from forming. Pour the soap mixture into the molds and let it cool and harden for several hours or overnight. Once the soap has hardened, remove it from the molds and store it in an airtight container.
By following these simple steps, anyone can make their own turmeric and lemon soap at home. Not only is it easy and fun to make, but it also has numerous benefits for the skin.
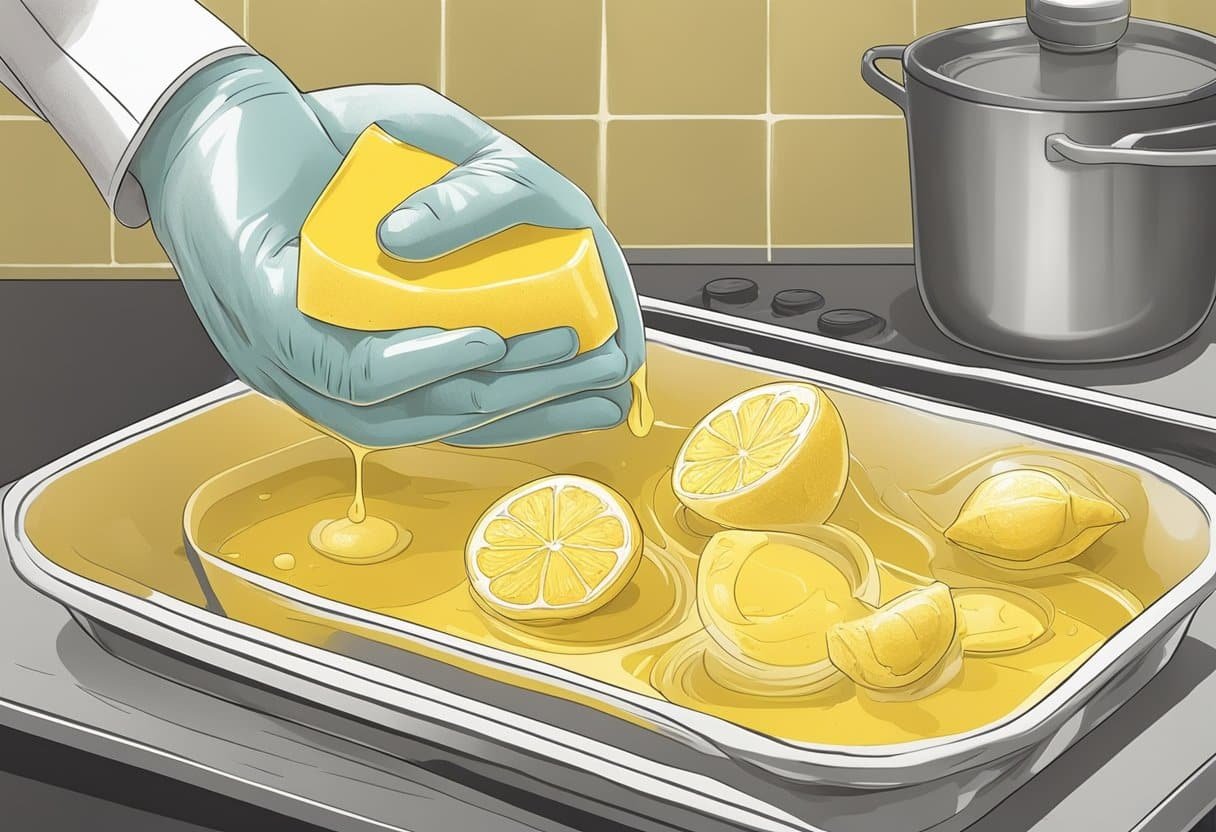
Melting the Soap Base

To begin making turmeric and lemon soap, the first step is to melt the soap base. This can be done using a double boiler or a microwave. Here are the steps to melt the soap base:
- Cut the melt-and-pour soap base into 1-inch (2.54-centimeter) chunks. This will make the soap easier to melt.
- Place the chunks of soap base into a heat-safe container.
- Melt the soap base in a double boiler or microwave. If using a double boiler, fill the bottom pot with water and heat it over medium heat. Place the heat-safe container with the soap base chunks on top of the pot and stir occasionally until the soap base is melted. If using a microwave, heat the soap base in 30-second intervals, stirring in between until the soap base is melted.
- Once the soap base is melted, add the turmeric powder and lemon essential oil. Stir well to ensure that the ingredients are evenly distributed.
It is important to note that different types of soap bases may require different melting times and temperatures. Always follow the instructions provided by the manufacturer to ensure that the soap base is melted correctly. Additionally, be sure to use a heat-safe container when melting the soap base to prevent it from melting or breaking.
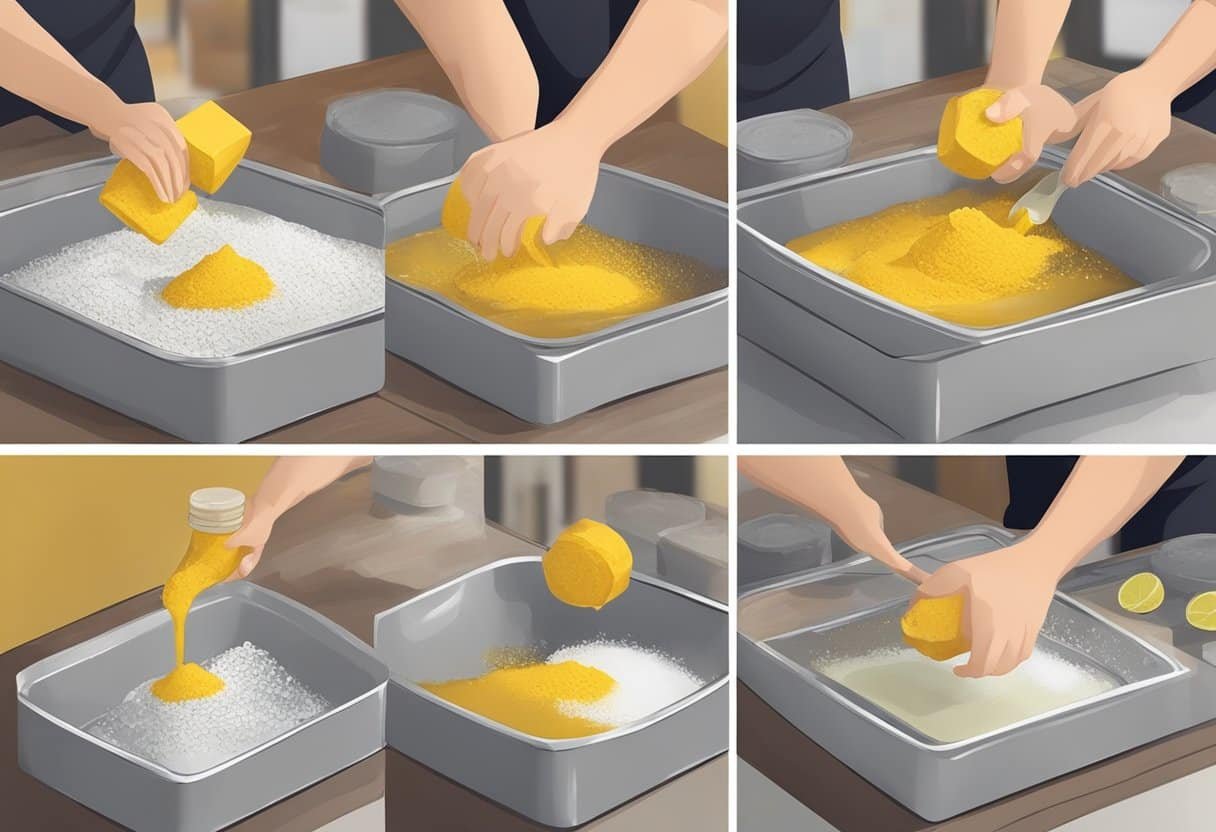
Mixing in Turmeric and Lemon

Once the soap base has melted, it’s time to add the turmeric and lemon ingredients. Here’s how to do it:
-
Measure out the desired amount of turmeric powder and add it to the melted soap base. The recommended amount is approximately one teaspoon per pound of soap base, but you can adjust the amount to your liking.
-
Next, add the lemon essential oil or lemon zest to the mixture. The amount will depend on the strength of the oil or zest, so start with a small amount and add more as needed.
-
Stir the mixture thoroughly to ensure the turmeric and lemon are evenly distributed throughout the soap base.
-
If you want to add any other ingredients, such as honey or shea butter, now is the time to do so.
-
Pour the mixture into the soap molds and allow it to cool and harden completely.
It’s important to note that turmeric can stain clothing and surfaces, so be sure to wear gloves and protect your work area.
Once the soap has hardened, remove it from the molds and wrap it in wax paper or plastic wrap to keep it fresh. The turmeric and lemon soap should be stored in a cool, dry place away from direct sunlight.
Overall, mixing in turmeric and lemon is a simple process that can add a variety of health benefits and a refreshing scent to your homemade soap.
Pouring the Soap Mixture
Once the turmeric and lemon soap mixture has been thoroughly combined, it’s time to pour it into the soap mold. The following steps can help ensure a successful pour:
- Make sure the soap mold is clean and dry before pouring the mixture. Any moisture or residue can affect the soap’s texture and appearance.
- Slowly and steadily pour the soap mixture into the mold, taking care not to spill or splash. If using a loaf mold, pour the mixture down the center to ensure even distribution.
- Gently tap the mold on a flat surface to remove any air bubbles that may have formed during pouring. This will help the soap to set evenly.
- If desired, add any decorative elements to the top of the soap before it sets. Lemon zest or turmeric powder can be sprinkled on top for a visually appealing finish.
- Cover the mold with a piece of cardboard or plastic wrap to keep it free from dust and debris. Allow the soap to set for at least 24 hours before unmolding.
By following these simple steps, anyone can create a beautiful and fragrant bar of turmeric and lemon soap. With its natural ingredients and invigorating scent, this soap is sure to become a favorite in any skincare routine.
Setting and Curing the Soap
After pouring the soap into the mold, it is important to let it set for at least 24 hours. During this time, the soap will go through a process called saponification, where the oils and lye combine to create soap. It is important to keep the soap in a cool, dry place during this time and cover it with a towel or lid to prevent any dust or debris from getting on it.
Once the soap has set, it can be removed from the mold and cut into bars. The bars should then be placed on a drying rack or a piece of parchment paper in a cool, dry place to cure for at least 4-6 weeks. This curing process allows the soap to fully harden and any excess water to evaporate, resulting in a longer-lasting bar of soap.
During the curing process, it is important to turn the bars over every few days to ensure even drying. The bars should also be stored in a cool, dry place away from direct sunlight and moisture.
Overall, setting and curing the soap is an important step in the soap-making process that requires patience and attention to detail. By following these simple steps, you can ensure that your turmeric and lemon soap is of the highest quality and will last for weeks to come.
Unmolding and Cutting the Soap

Once the soap has set, it’s time to unmold and cut it into bars. Here are the steps to follow:
-
Remove the soap from the mold: Gently pull the sides of the mold away from the soap to release it. If the soap doesn’t come out easily, try placing the mold in the freezer for a few minutes to loosen it up.
-
Cut the soap into bars: Use a sharp knife or soap cutter to cut the soap into bars of your desired size. Keep in mind that the soap will continue to harden over time, so cutting it into smaller bars may be easier.
-
Let the soap cure: Place the bars on a drying rack or a piece of parchment paper and let them cure for at least 4-6 weeks. This will allow the soap to harden and fully cure, making it last longer and lather better.
-
Store the soap: Once the soap is fully cured, store it in a cool, dry place away from direct sunlight. You can wrap the bars in wax paper or store them in an airtight container to keep them fresh.
By following these simple steps, you can easily unmold and cut your homemade turmeric and lemon soap into beautiful bars that are ready to use or give as gifts.
Packaging and Storing the Soap
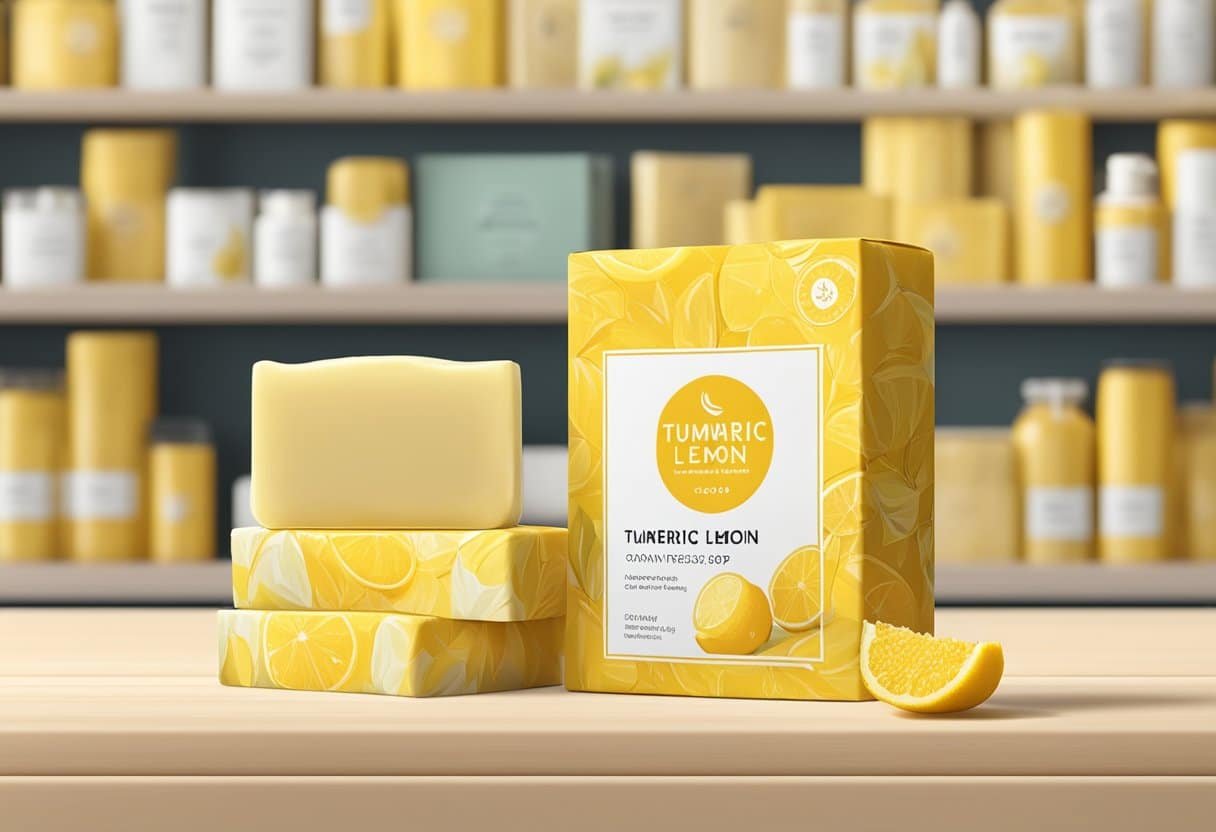
Once the turmeric and lemon soap has been made, it is important to properly package and store it to ensure its longevity and effectiveness. Here are some tips on how to do so:
Packaging
When it comes to packaging the soap, there are a few options to consider. One option is to wrap the soap in wax paper or parchment paper, which will help keep it fresh and prevent it from sticking to other items. Another option is to use a soap box or container, which will protect the soap from moisture and other external factors.
Regardless of which option is chosen, it is important to label the soap with the ingredients used and the date it was made. This will help keep track of the soap’s freshness and ensure that it is used within a reasonable timeframe.
Storing
When storing the soap, it is important to keep it in a cool, dry place that is away from direct sunlight. This will help prevent the soap from melting or becoming too soft, which can make it difficult to use.
It is also important to keep the soap away from any sources of moisture, such as a shower or sink. Moisture can cause the soap to break down more quickly, which can reduce its effectiveness.
By following these simple tips, it is possible to properly package and store turmeric and lemon soap, ensuring that it remains fresh and effective for as long as possible.
Tips for Using Turmeric and Lemon Soap

Turmeric and lemon soap is a natural and effective way to cleanse and nourish your skin. Here are some tips for using this soap to get the best results:
-
Start by wetting your skin with warm water. This will help to open up your pores and prepare your skin for cleansing.
-
Lather the soap in your hands or on a washcloth before applying it to your skin. This will help to create a rich lather that will cleanse your skin thoroughly.
-
Massage the soap gently onto your skin, using circular motions. Be careful not to scrub too hard, as this can irritate your skin.
-
Rinse your skin thoroughly with warm water, making sure to remove all of the soap. Follow up with a splash of cool water to help close your pores.
-
Pat your skin dry with a clean towel. Avoid rubbing your skin, as this can cause irritation.
-
For best results, use turmeric and lemon soap daily as part of your skincare routine. This will help to keep your skin clean, clear, and healthy.
Overall, turmeric and lemon soap is a great choice for anyone looking for a natural and effective way to cleanse and nourish their skin. By following these tips, you can get the most out of this amazing soap and enjoy healthy, glowing skin.
Safety Precautions and Allergy Advice
When making turmeric and lemon soap, it’s important to take safety precautions to protect yourself from potential harm. Here are some tips to keep in mind:
- Always wear protective gear such as gloves, goggles, and a mask when handling lye. Lye can cause serious burns and respiratory problems if inhaled.
- Work in a well-ventilated area to avoid inhaling fumes.
- Keep children and pets away from your soap-making area to prevent accidents.
- Use a scale to measure ingredients accurately. Inaccurate measurements can affect the quality and safety of your soap.
- Avoid using aluminum utensils or containers as they can react with lye and produce harmful gases.
In addition to safety precautions, it’s important to consider potential allergies when making soap. Here are some things to keep in mind:
- Some people may be allergic to certain essential oils. Always do a patch test before using a new essential oil in your soap.
- If you or someone you are making soap for has sensitive skin, it’s important to choose gentle ingredients and avoid harsh chemicals.
- If you have a known allergy to turmeric, lemon, or any other ingredient in the soap recipe, it’s best to avoid using them in your soap.
By following these safety precautions and considering potential allergies, you can create a safe and enjoyable soap-making experience.
Frequently Asked Questions
What are the benefits of using turmeric and lemon soap on the skin?
Turmeric and lemon soap is known for its skin brightening and cleansing properties. Turmeric is a natural antiseptic and anti-inflammatory agent that can help to reduce acne and other skin blemishes. Lemon is rich in vitamin C, which can help to brighten the skin and reduce hyperpigmentation. Together, these ingredients can help to leave the skin feeling clean, refreshed, and bright.
Can turmeric and lemon soap help lighten the skin, and if so, how long does it typically take?
Turmeric and lemon soap can help to reduce hyperpigmentation and brighten the skin. However, the amount of time it takes to see results can vary depending on the individual and the severity of their skin concerns. It is important to use the soap consistently over a period of time to see the best results.
What is the cold process method for making turmeric soap?
The cold process method for making turmeric soap involves mixing lye and water with oils and turmeric powder. The mixture is then left to cure for several weeks to allow the soap to harden and for the lye to fully react with the oils. This method requires careful measurement and attention to detail to ensure that the soap is safe and effective.
How can you create turmeric soap without using a pre-made soap base?
To create turmeric soap without using a pre-made soap base, you will need to use the cold process method. This involves mixing lye and water with oils and turmeric powder to create a soap mixture. The soap will then need to cure for several weeks to allow it to harden and for the lye to fully react with the oils. It is important to follow a trusted recipe and to take proper safety precautions when working with lye.
Is turmeric and lemon soap suitable for facial skin, and what are the specific considerations?
Turmeric and lemon soap can be suitable for facial skin, but it is important to consider the individual’s skin type and any potential allergies or sensitivities. It is also important to avoid getting the soap in the eyes or mouth, as lemon can be irritating to these areas. It is recommended to patch test the soap on a small area of the skin before using it on the face.
What are the steps to make turmeric and honey soap at home?
To make turmeric and honey soap at home, you will need to follow a trusted recipe that includes ingredients such as lye, water, oils, turmeric powder, and honey. The soap will need to be made using the cold process method and will need to cure for several weeks before it is ready to use. It is important to take proper safety precautions when working with lye and to carefully measure all ingredients to ensure that the soap is safe and effective.