Turmeric black soap is a type of soap that is made by combining turmeric powder with black soap. Turmeric is a spice that has been used for centuries in traditional medicine and cooking, and is known for its anti-inflammatory and antioxidant properties. Black soap, on the other hand, is a natural soap that is made from plantain skins, cocoa pods, and palm oil, and is known for its ability to cleanse and moisturize the skin.

Making turmeric black soap is a simple and easy process that can be done at home. The first step is to gather all the necessary ingredients and equipment, including black soap, turmeric powder, a double boiler or microwave, a bowl, measuring spoons, a whisk or fork, soap molds, and plastic wrap or biodegradable cellophane. Once all the ingredients are gathered, the soap base is melted and the turmeric powder is added to it. The mixture is then poured into the soap molds and left to cool and harden. The resulting soap is a beautiful golden color and has a range of benefits for the skin.
Benefits of Turmeric Black Soap
Turmeric black soap is a natural soap that is made from African black soap and turmeric powder. Turmeric is a spice that has been used for centuries in traditional medicine and cooking. It has many benefits for the skin, including reducing inflammation, fighting acne, and improving skin tone. Here are some of the benefits of using turmeric black soap:
1. Reduces Inflammation
Turmeric has anti-inflammatory properties that can help reduce inflammation in the skin. Inflammation can cause redness, swelling, and irritation, and it can be caused by a variety of factors, including acne, eczema, and psoriasis. Using turmeric black soap can help soothe the skin and reduce inflammation.
2. Fights Acne
Acne is a common skin condition that affects many people. It is caused by a buildup of oil and dead skin cells in the pores, which can lead to inflammation and the formation of pimples. Turmeric has antibacterial properties that can help fight the bacteria that cause acne. Using turmeric black soap can help keep the skin clean and prevent acne breakouts.
3. Improves Skin Tone
Turmeric has been used for centuries in traditional Indian beauty treatments to improve skin tone and brighten the complexion. It contains curcumin, which is a powerful antioxidant that can help reduce the appearance of dark spots and hyperpigmentation. Using turmeric black soap can help improve the overall appearance of the skin and give it a healthy glow.
In conclusion, turmeric black soap is a natural soap that has many benefits for the skin. It can help reduce inflammation, fight acne, and improve skin tone. If you are looking for a natural way to improve the health and appearance of your skin, turmeric black soap is definitely worth trying.
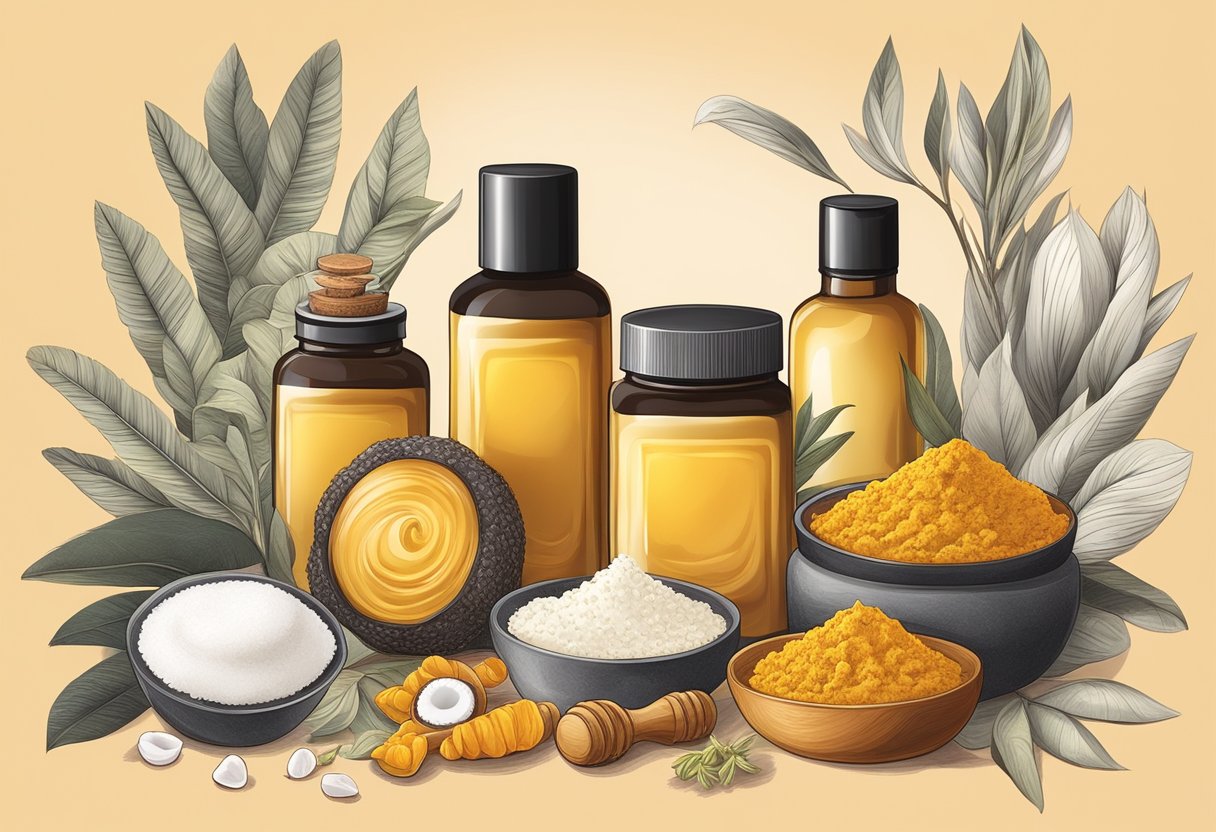
Essential Ingredients

To make turmeric black soap, there are a few essential ingredients that are required. These ingredients include:
- Activated Charcoal: This is a key ingredient that gives the soap its black color. Activated charcoal is known for its ability to draw out impurities from the skin, making it an excellent ingredient for cleansing and detoxifying the skin.
- Turmeric Powder: Turmeric is a natural ingredient that has been used for centuries for its healing properties. It is known for its anti-inflammatory and antioxidant properties, making it an excellent ingredient for improving skin health.
- Shea Butter: Shea butter is a natural ingredient that is rich in vitamins and minerals. It is known for its moisturizing properties, making it an excellent ingredient for keeping the skin hydrated and nourished.
- Coconut Oil: Coconut oil is another natural ingredient that is known for its moisturizing properties. It is rich in fatty acids, which help to nourish and protect the skin.
- Lye: Lye is an essential ingredient in soap making. It is used to create a chemical reaction with the other ingredients, resulting in the formation of soap.
When making turmeric black soap, it is important to use high-quality ingredients to ensure the best results. By using these essential ingredients, you can create a soap that is not only effective in cleansing and detoxifying the skin but also nourishing and moisturizing.
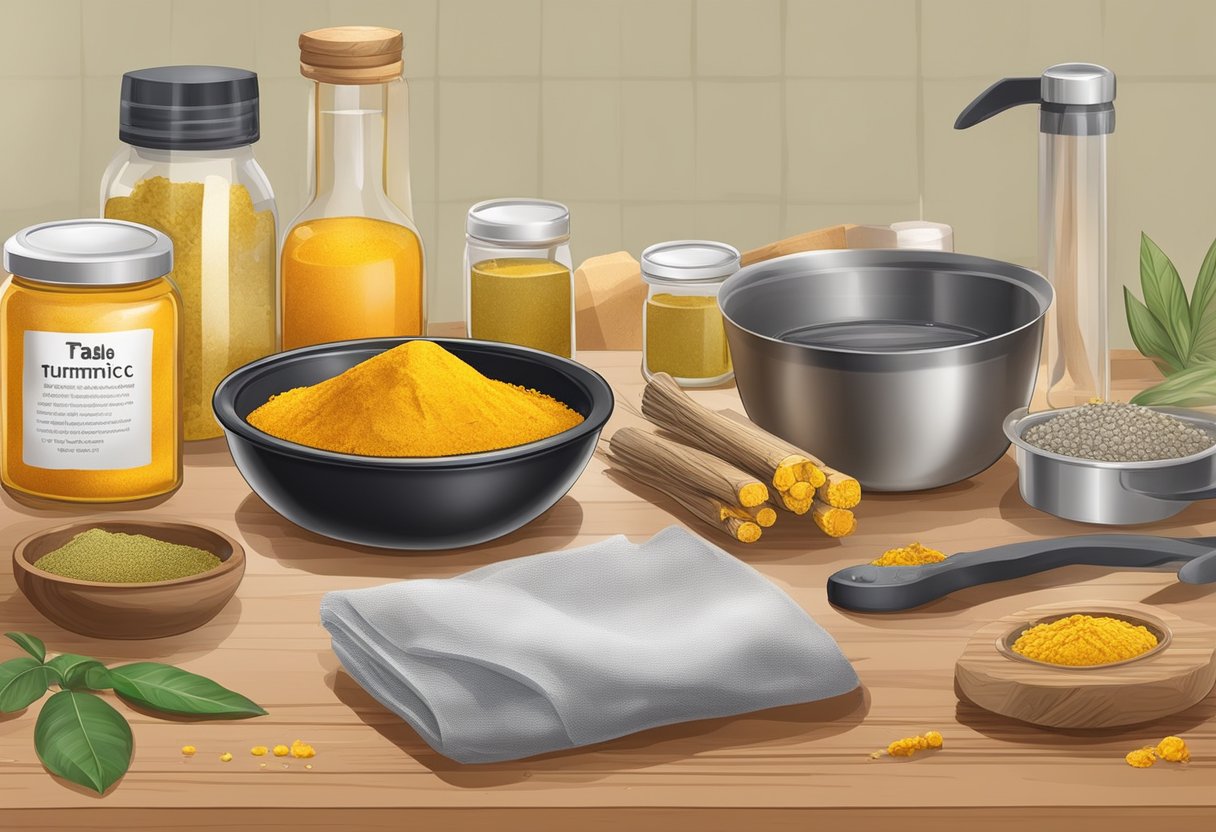
Tools and Equipment Needed
Making turmeric black soap requires a few essential tools and equipment. Here are some of the things you’ll need:
1. Soap Base
The first thing you need is a soap base. A melt and pour soap base is the easiest and most common type of soap base to use. You can choose from a variety of bases, including shea butter or goat’s milk soap base, depending on the color and texture you want your soap to have. Transparent soap bases like glycerin or aloe vera will result in a darker-colored turmeric soap.
2. Soap Mold
You will need a mold to shape your soap. Silicone molds are a great option because they are flexible and easy to remove the soap from. You can also use a plastic or glass container as a mold.
3. Mixing Bowls
You will need mixing bowls to mix your soap base and other ingredients. It is recommended to use glass or stainless steel mixing bowls because they are heat-resistant and won’t react with the soap ingredients.
4. Measuring Cups and Spoons
Measuring cups and spoons are essential for measuring the soap base, turmeric powder, and other ingredients accurately. It is best to use separate measuring cups and spoons for soap making to avoid contaminating your cooking utensils.
5. Whisk or Spoon
A whisk or spoon is needed to mix the soap base and other ingredients evenly. A whisk is useful for creating a smooth and creamy texture, while a spoon can be used to stir the soap base gently.
6. Microwave or Double Boiler
You will need a microwave or double boiler to melt the soap base. A microwave is the easiest and quickest way to melt the soap base. However, a double boiler is a safer option because it prevents the soap base from burning.
By having all the necessary tools and equipment, you can make your own turmeric black soap at home easily.
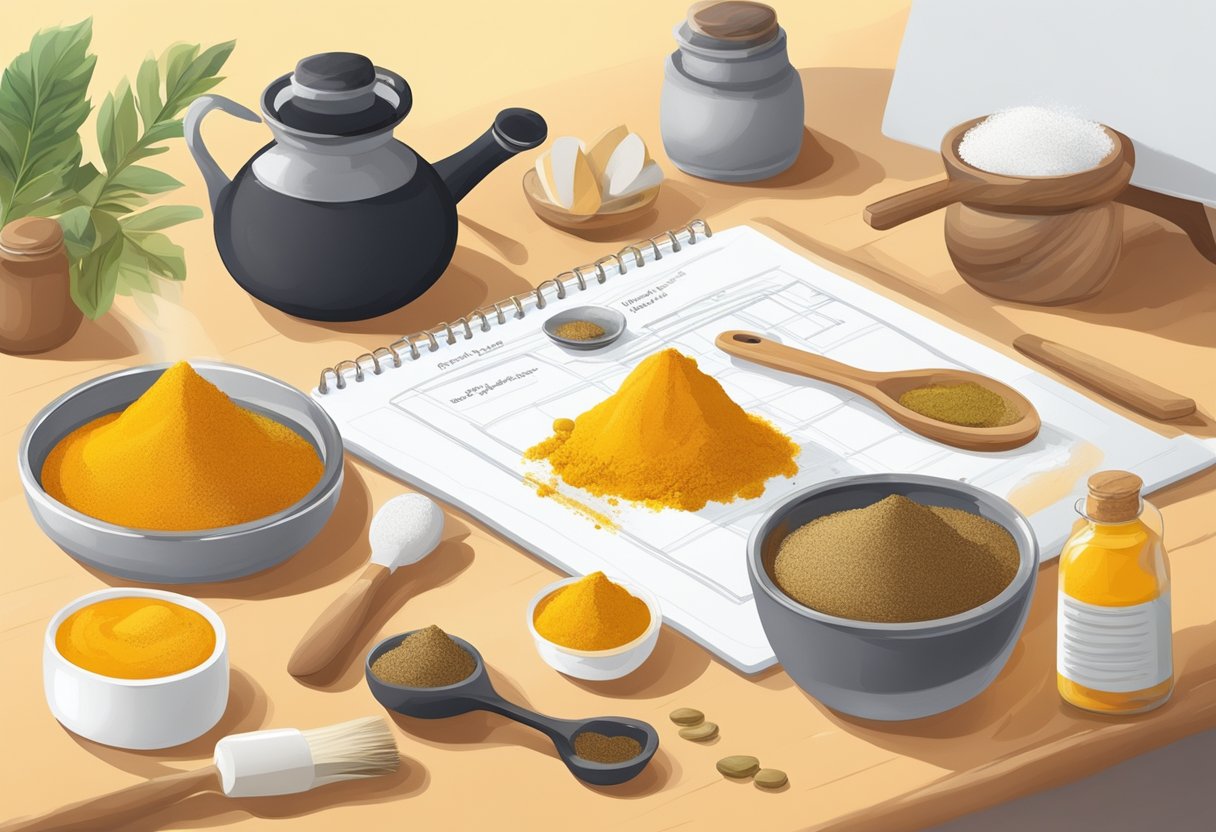
Preparing Your Workspace

Before starting to make turmeric black soap, it is important to prepare your workspace properly. This will help ensure that the soap-making process goes smoothly and that the final product is of high quality.
Here are some tips for preparing your workspace:
- Choose a well-ventilated area: Soap-making can produce strong odors and fumes, so it is important to choose a workspace that is well-ventilated. Consider opening windows or using a fan to help circulate air.
- Gather all necessary equipment: Before starting, make sure you have all the necessary equipment and ingredients. This may include a digital scale, a thermometer, a mixing bowl, a measuring cup, and a mold. Check the recipe you are using to ensure you have everything you need.
- Clean and sanitize your workspace: Before starting, clean and sanitize your workspace and equipment thoroughly. This will help prevent contamination and ensure that your soap is safe to use. Use hot, soapy water and a disinfectant to clean your workspace and equipment.
- Wear protective gear: Soap-making involves working with lye, which can be dangerous if it comes into contact with your skin. Wear protective gear such as gloves, goggles, and long sleeves to protect yourself.
- Follow safety guidelines: Always follow safety guidelines when making soap. This includes working in a well-ventilated area, wearing protective gear, and handling lye carefully. If you are new to soap-making, consider taking a class or reading a book on the subject to learn more about safety guidelines.
By following these tips, you can prepare your workspace properly and ensure that your soap-making process goes smoothly.
Creating the Base

When making turmeric black soap, it is important to start by creating a solid base that will serve as the foundation for the soap. This section will outline the steps involved in creating the base, including measuring ingredients, mixing the lye solution, and blending oils and lye.
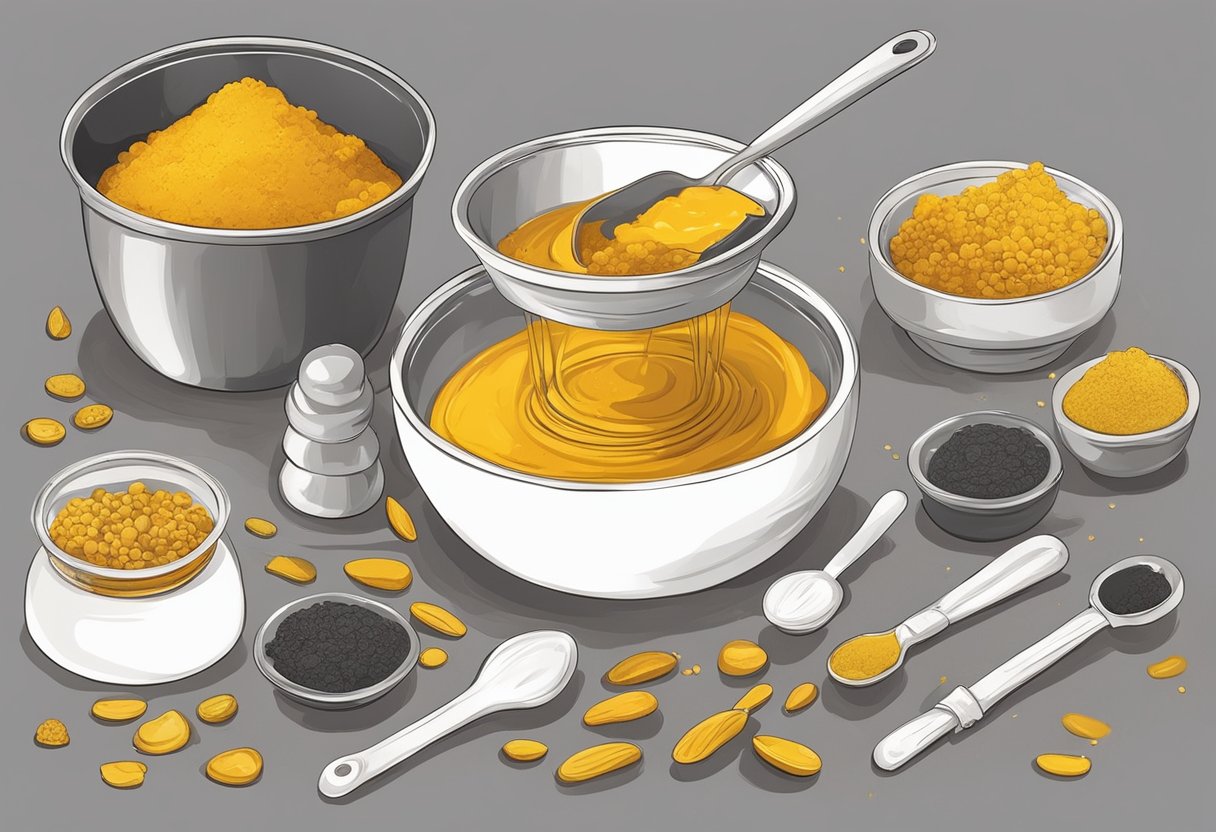
Measuring Ingredients
The first step in creating the base for turmeric black soap is to measure out all of the necessary ingredients. This includes the oils, lye, and water. It is important to measure these ingredients precisely in order to ensure that the soap turns out correctly.
Mixing Lye Solution
Once the ingredients have been measured out, the next step is to mix the lye solution. This involves dissolving the lye in water and allowing it to cool to the appropriate temperature. Once the lye solution has cooled, it can be added to the oils to begin the saponification process.
Blending Oils and Lye
The final step in creating the base for turmeric black soap is to blend the oils and lye together. This involves slowly adding the lye solution to the oils while stirring continuously. The mixture will begin to thicken and eventually reach a trace, which is when it will be ready to pour into molds.
By following these steps, it is possible to create a solid base for turmeric black soap that will serve as the foundation for a high-quality soap product. With careful attention to detail and precise measurements, anyone can create their own homemade soap that is both effective and luxurious.
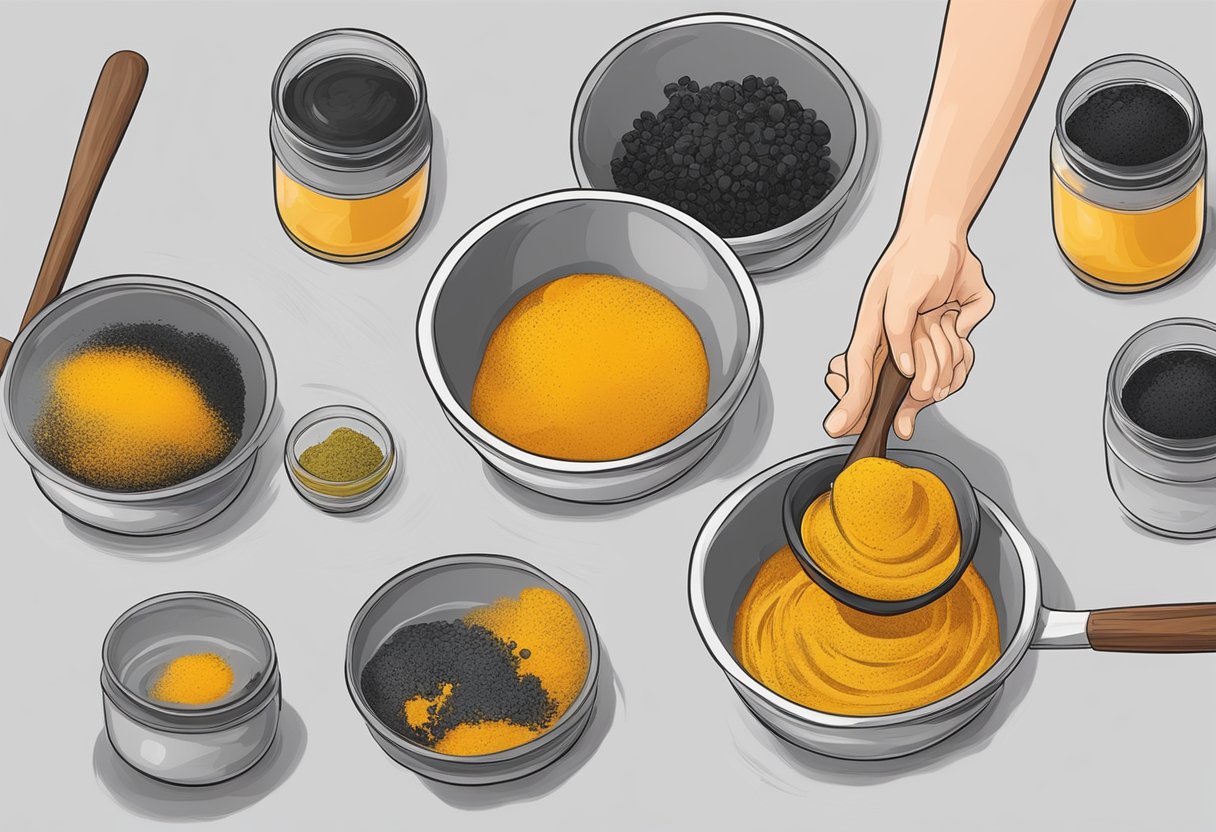
Adding Turmeric

Turmeric is a key ingredient in making turmeric black soap. It is known for its anti-inflammatory and antioxidant properties, which makes it a great addition to skin care products. Turmeric can help reduce dark spots and blemishes, leaving your skin with a glowing even tone.
To add turmeric to the black soap, you can follow these steps:
- Dissolve turmeric powder: While the soap is melting, you can add the turmeric powder and 1 to 2 tbsp high-proof alcohol into a small glass jar. Stir until the turmeric powder is fully dispersed in the alcohol. Pre-dispersing the spice in alcohol helps the turmeric better dissolve into the soap base.
- Melt the soap base: Place the cubes into a glass, microwave-safe bowl. Heat them in the microwave at 15 to 30-second intervals until the soap base melts. Stir the base between each interval.
- Add the turmeric mixture: Once the soap base has melted, add the turmeric mixture to the soap base. Stir until the turmeric is fully incorporated into the soap base.
- Pour the mixture into the mold: Pour the soap mixture into the mold and let it cool and harden for several hours.
It is important to note that turmeric can stain clothing and surfaces, so it is recommended to wear gloves and work on a protected surface when handling turmeric. Additionally, it is best to start with a small amount of turmeric and gradually increase the amount to achieve the desired color.
Trace and Texture

After adding the lye solution to the oils, the mixture will begin to thicken and become opaque. This is called trace. The amount of time it takes to reach trace depends on the temperature of the ingredients and the method used to mix them. A stick blender will speed up the process, while hand stirring will take longer.
Once trace is achieved, the turmeric powder can be added to the mixture. It is important to mix the turmeric powder well into the soap batter to avoid clumps. This can be done using a whisk or spatula.
The texture of the soap can be adjusted by varying the amount of liquid used in the recipe. More liquid will result in a softer, more moisturizing soap, while less liquid will create a harder, longer-lasting bar. Additionally, the amount of turmeric powder used can affect the texture of the soap. Using too much turmeric can make the soap gritty, while using too little may not provide the desired color.
Overall, achieving the right trace and texture is important for creating a high-quality turmeric black soap. With the right ingredients and techniques, it is possible to create a soap that is both nourishing for the skin and aesthetically pleasing.
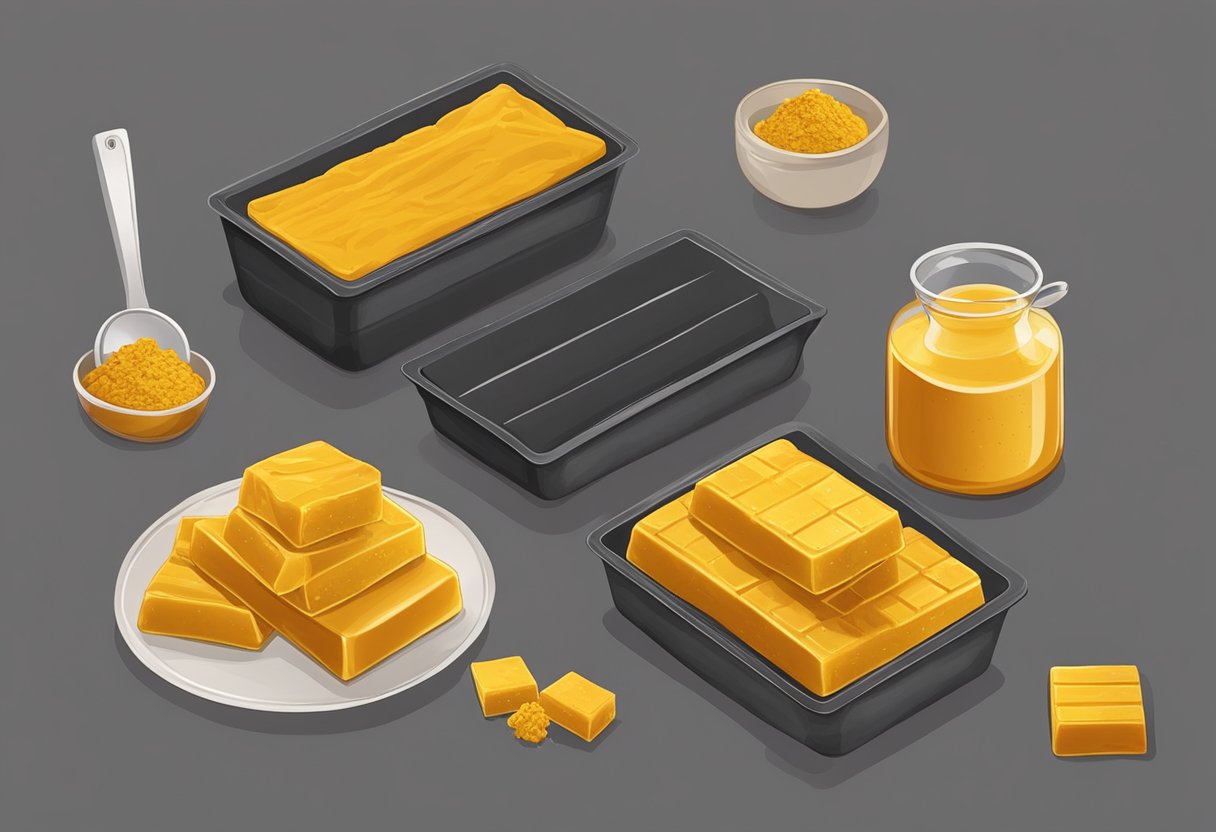
Molding the Soap
Once the soap mixture has reached trace, it is time to mold the soap. Here are the steps to follow:
- Prepare the molds: Get your soap molds ready. You can use any mold of your choice, but silicone molds work best. If you are using silicone molds, place them on a flat surface such as a baking sheet so that they are easy to move around.
- Pour the soap: Carefully pour the soap mixture into the molds. Fill the molds to the top, making sure that there are no air pockets.
- Tap the molds: Tap the molds gently on a flat surface to release any air bubbles that may have formed.
- Let the soap set: Allow the soap to set for at least 24 hours. The soap will become hard as it cools and sets.
- Remove the soap: Once the soap has set, gently remove it from the molds. If you are using silicone molds, you can simply push the soap out of the mold. If you are using other types of molds, you may need to use a knife to loosen the edges of the soap.
- Cut the soap: Use a sharp knife to cut the soap into bars of the desired size. You can also use a soap cutter to get evenly sized bars.
- Cure the soap: Place the bars of soap on a drying rack and allow them to cure for at least 4 weeks. This will allow the soap to harden and become milder on the skin.
By following these steps, you can successfully mold your turmeric black soap into beautiful bars that are ready to use.
Curing Process

After the soap has been poured into the mold, it needs to cure for approximately 4 weeks. During this time, the soap will harden and dry out, allowing it to last longer when used. Here are the steps to properly cure turmeric black soap:
- Remove the soap from the mold and place it on a drying rack or clean surface.
- Cover the soap with a towel or plastic wrap to insulate it from dust and debris.
- Allow the soap to cure for approximately 4 weeks. This will ensure that the soap is fully dried out and hardened.
- After the curing process is complete, the soap is ready to use.
It’s important to note that if the soap is not allowed to cure properly, it may not last as long when used. This is because the water content in the soap will not have fully evaporated, making the soap more prone to melting and dissolving when used. Therefore, it’s crucial to be patient during the curing process to ensure that the soap is fully dried out and hardened before use.
Overall, the curing process is a crucial step in making turmeric black soap. By allowing the soap to cure properly, it will last longer and be more effective when used.
Unmolding and Cutting
After the soap has set for 24 hours, it’s time to unmold and cut the bars. To do this, gently pull the edges of the mold away from the soap until it starts to release. Once the soap is free from the mold, use a sharp knife to cut it into bars of your desired size.
It’s important to note that turmeric can stain surfaces, so it’s recommended to work on a protected surface and wear gloves to avoid staining your hands. Additionally, the bars may still be soft and need additional curing time before use.
To speed up the curing process, place the bars on a wire rack in a cool, dry place with good ventilation. Allow them to cure for at least 4-6 weeks before using for best results.
Overall, unmolding and cutting your turmeric black soap is a simple process that requires patience and care to avoid damaging the bars. With proper curing time, you can enjoy the benefits of this natural and nourishing soap for weeks to come.
Packaging and Storage

Once the turmeric black soap has been made, it is important to package and store it properly to ensure its longevity and effectiveness. Here are some tips on how to do so:
Packaging
When packaging turmeric black soap, it is important to use airtight containers to prevent the soap from drying out or losing its fragrance. You can use plastic wrap or a ziplock bag to wrap the soap, or you can use airtight containers made of glass or plastic.
If you are giving the soap as a gift or selling it, you may want to consider using decorative packaging to make it more appealing. However, be sure to choose packaging that is functional and will protect the soap from air and moisture.
Storage
Turmeric black soap should be stored in a cool, dry place away from direct sunlight. Exposing the soap to heat and light can cause it to melt or lose its fragrance.
It is also important to keep the soap away from moisture, as this can cause it to become soft and mushy. To prevent moisture from accumulating, you can place the soap in a container with a lid or wrap it in plastic wrap.
If you are storing multiple bars of soap, be sure to separate them with a barrier to prevent them from sticking together. You can use wax paper or plastic wrap to create a barrier between the bars.
By following these simple packaging and storage tips, you can ensure that your turmeric black soap stays fresh and effective for as long as possible.
Tips for Best Results

When making turmeric black soap, there are a few tips you can follow to ensure the best results. Here are some of the most important things to keep in mind:
Use high-quality ingredients
The quality of your ingredients can make a big difference in the final product. When making turmeric black soap, be sure to use high-quality oils, butters, and other ingredients. Look for organic and unrefined options whenever possible.
Measure carefully
Soap making is a precise process, and accurate measurements are crucial for success. Use a digital scale to weigh your ingredients, and be sure to follow the recipe closely.
Work in a well-ventilated area
When making soap, you’ll be working with lye, which can be dangerous if inhaled. Be sure to work in a well-ventilated area and wear gloves and goggles to protect yourself.
Experiment with additives
Turmeric black soap can be customized with a variety of additives, such as essential oils, herbs, and clays. Experiment with different combinations to find the perfect blend for your skin type.
Allow the soap to cure
After making your turmeric black soap, be sure to allow it to cure for at least four weeks before using it. This will give the soap time to harden and the pH to stabilize, resulting in a longer-lasting and more effective product.
By following these tips, you can create a high-quality turmeric black soap that will leave your skin feeling soft, smooth, and rejuvenated.
Safety Precautions
When working with lye, it is important to take proper safety precautions to avoid any accidents or injuries. Here are some tips to keep in mind:
- Always wear protective gear, including gloves, goggles, and a mask.
- Work in a well-ventilated area to avoid inhaling any fumes.
- Keep a bottle of vinegar nearby in case of any accidental spills or splashes. Vinegar can help neutralize the lye.
- Never add water to lye. Always add lye to water slowly and carefully, stirring constantly.
- Keep children and pets away from your workspace.
- Label all containers and ingredients clearly to avoid any confusion.
By following these safety precautions, you can ensure a safe and successful soap-making experience.
Frequently Asked Questions
What are the steps to create homemade turmeric black soap for enhancing skin glow?
The process of making homemade turmeric black soap is relatively simple. First, you need to gather all the necessary ingredients, including melt and pour soap base, activated charcoal, turmeric powder, and essential oils. Then, melt the soap base in a double boiler and add the activated charcoal and turmeric powder. Mix well and add the essential oils. Pour the mixture into soap molds and let it cool for a few hours until it hardens. Once the soap has hardened, remove it from the molds and let it cure for a few days before using it.
Which ingredients are essential for making an effective turmeric black soap?
The essential ingredients for making an effective turmeric black soap include melt and pour soap base, activated charcoal, turmeric powder, and essential oils. These ingredients work together to create a soap that is beneficial for the skin.
Can turmeric powder be incorporated into black soap, and if so, how?
Yes, turmeric powder can be incorporated into black soap. To do this, simply add the turmeric powder to the melted soap base along with the activated charcoal. Mix well and add the essential oils before pouring the mixture into soap molds.
What are the potential skin benefits of using turmeric black soap regularly?
Turmeric black soap has several potential skin benefits, including reducing inflammation, improving skin tone, and reducing the appearance of dark spots and blemishes. Additionally, the activated charcoal in the soap can help to draw impurities out of the skin, leaving it feeling clean and refreshed.
How can you combine turmeric and charcoal in a melt and pour soap recipe?
To combine turmeric and charcoal in a melt and pour soap recipe, simply melt the soap base in a double boiler and add the turmeric powder and activated charcoal. Mix well and add the essential oils before pouring the mixture into soap molds.
What additional natural ingredients can be mixed with black soap to promote glowing skin?
Several natural ingredients can be mixed with black soap to promote glowing skin, including honey, aloe vera, and coconut oil. These ingredients work together to moisturize and nourish the skin, leaving it looking healthy and radiant.