Turmeric is a spice that has been used for centuries in traditional medicine and cooking. It has anti-inflammatory and antioxidant properties that make it a popular ingredient in skincare products. One way to incorporate turmeric into your skincare routine is by making your own turmeric soap.
Making turmeric soap is a simple and fun DIY project that can be done at home. There are different recipes and methods to make turmeric soap, but most involve using a melt-and-pour soap base, turmeric powder, and other natural ingredients such as essential oils or honey. The soap can be customized to suit different skin types and preferences.
Turmeric soap is said to have numerous benefits for the skin, such as reducing inflammation, brightening the complexion, and improving skin texture. However, it is important to note that the effectiveness of turmeric soap may vary depending on the individual’s skin type and other factors. It is also important to follow proper safety precautions when handling soap-making ingredients and equipment.
Benefits of Turmeric Soap
Turmeric soap has become increasingly popular in recent years due to its numerous benefits for the skin. Here are some of the benefits of turmeric soap:
1. Anti-inflammatory Properties
Turmeric contains curcumin, a compound known for its anti-inflammatory properties. When used in soap, it can help to soothe and reduce inflammation in the skin. This makes it an excellent choice for those with sensitive or acne-prone skin.
2. Skin Brightening
Turmeric soap can help to brighten the skin and reduce the appearance of dark spots and hyperpigmentation. This is due to the presence of curcumin, which has been shown to inhibit the production of melanin, the pigment responsible for dark spots.
3. Antioxidant Properties
Turmeric also has antioxidant properties, which can help to protect the skin from damage caused by free radicals. This can help to prevent premature aging and keep the skin looking youthful and radiant.
4. Acne-fighting Properties
Turmeric soap can also be effective in fighting acne. Its anti-inflammatory and antibacterial properties can help to reduce inflammation and kill acne-causing bacteria. Additionally, it can help to regulate oil production, which can help to prevent future breakouts.
Overall, turmeric soap is a great choice for those looking to improve the health and appearance of their skin. Its natural properties make it a gentle yet effective option for a variety of skin types.
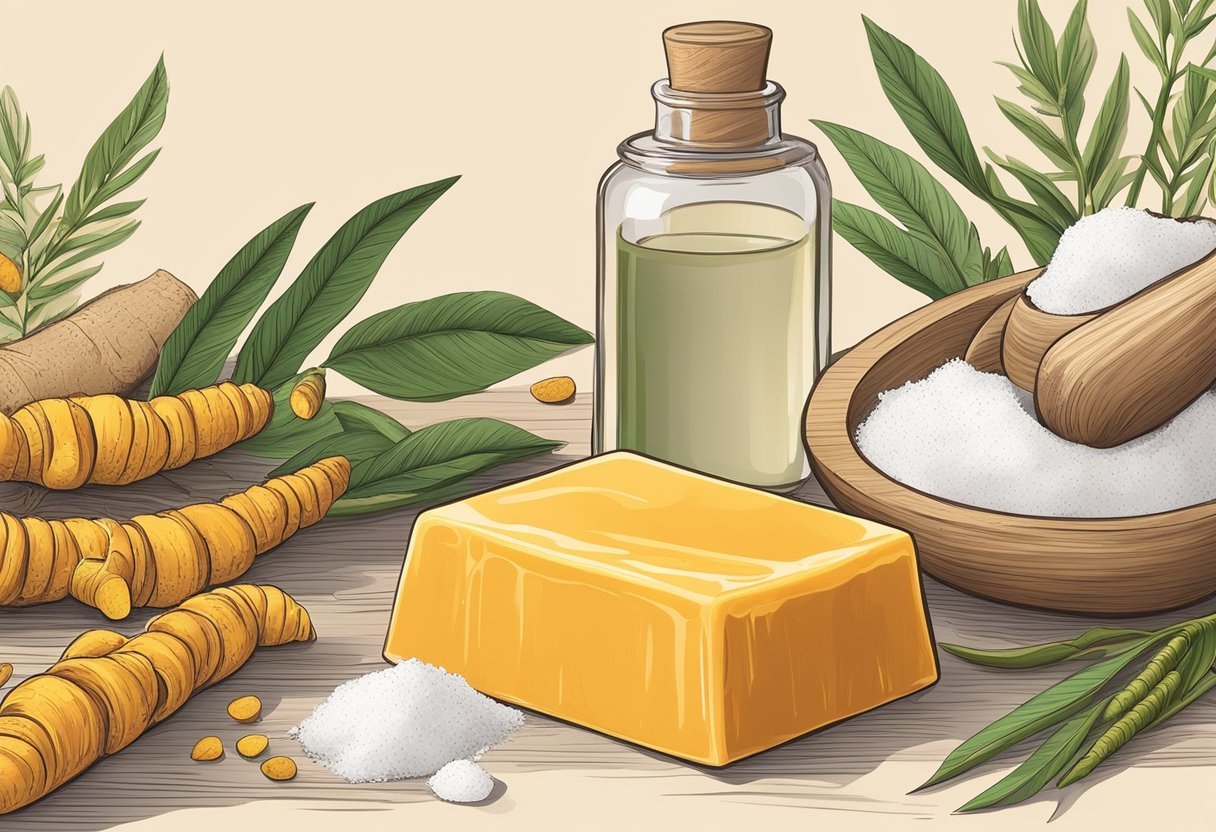
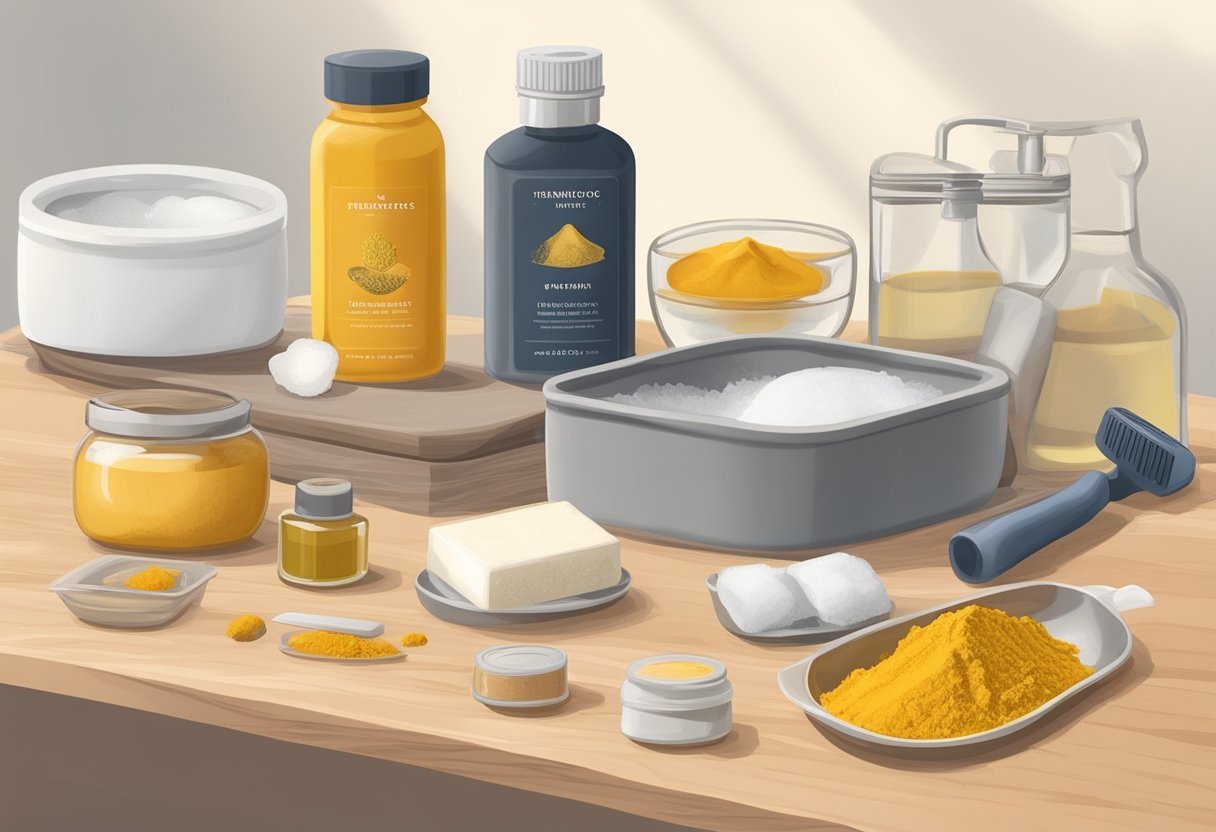
Essential Ingredients
Making turmeric soap requires a few essential ingredients that can be easily obtained from any local store or online. Here are the main ingredients you will need:
1. Melt-and-Pour Soap Base
The first ingredient you will need is a melt-and-pour soap base. This type of soap base is perfect for beginners as it is easy to work with and does not require any special equipment. You can choose from a variety of bases such as goat milk, shea butter, or glycerin. It is recommended to use a white or clear base to avoid affecting the color of the turmeric.
2. Turmeric Powder
The main ingredient that gives the soap its color and benefits is turmeric powder. Turmeric is known for its anti-inflammatory and antioxidant properties that help in reducing blemishes, eczema, and dark spots. It is also suitable for every skin type and keeps the skin tone even.
3. Essential Oils
Adding essential oils to the soap can enhance its fragrance and provide additional benefits to the skin. Lavender, tea tree, and peppermint oils are popular choices for their soothing and calming effects on the skin.
4. Other Optional Ingredients
Other optional ingredients that can be added to the soap include honey, oatmeal, and coconut oil. These ingredients provide additional moisturizing and exfoliating properties to the soap.
Overall, these essential ingredients are all you need to make your own turmeric soap at home. With a few simple steps, you can create a natural and beneficial soap that is perfect for your skin.
Tools and Equipment Needed
Making turmeric soap requires a few essential tools and equipment. Here’s a list of what you’ll need:
1. Soap Base
The first thing you’ll need is a soap base. You can choose from a variety of soap bases, including glycerin, shea butter, or goat milk. Transparent soap bases like glycerin or aloe vera will result in a darker-colored turmeric soap, while shea butter or goat’s milk soap base will create a light-colored turmeric soap.
2. Turmeric Powder
Turmeric powder is the key ingredient in turmeric soap. It is what gives the soap its bright yellow color and provides many benefits for the skin. You can find turmeric powder at your local grocery store or online.
3. Molds
You’ll need molds to shape your soap. You can use silicone molds, plastic molds, or even empty milk cartons. Make sure your molds are clean and dry before using them.
4. Cutting Board and Knife
You’ll need a cutting board and knife to cut your soap base into small pieces. This will make it easier to melt and mix with the other ingredients.
5. Double Boiler or Microwave
You’ll need a double boiler or microwave to melt your soap base. A double boiler is a pot with a smaller pot inside it. The smaller pot is filled with your soap base and placed over the larger pot, which is filled with water. The water is heated, and the steam melts the soap base. If you don’t have a double boiler, you can also melt your soap base in the microwave.
6. Mixing Bowl and Spoon
You’ll need a mixing bowl and spoon to mix your ingredients together. Make sure your mixing bowl is heat-resistant if you’re using a double boiler.
With these tools and equipment, you’ll be able to make your own turmeric soap at home.
Preparing the Workspace

Before starting to make turmeric soap, it is essential to prepare the workspace properly. This preparation ensures that the process goes smoothly and safely. Here are some steps to follow to prepare the workspace:
-
Clean the workspace: Clean the workspace thoroughly to ensure that there is no dust or debris. It is essential to clean all surfaces, tools, and equipment to avoid contamination.
-
Ventilation: Ensure that the workspace is well-ventilated. The fumes emitted during the soap-making process can be harmful if inhaled. It is recommended to open windows or use a fan to increase airflow.
-
Gather the necessary materials: Gather all the necessary materials before starting the soap-making process. These materials include a soap base, turmeric powder, a scale, a double boiler, a thermometer, a mold, and any additional ingredients you may want to add.
-
Set up the double boiler: A double boiler is necessary to melt the soap base properly. Fill the bottom pot with water and place the top pot on it. Turn on the heat to low and wait for the water to boil.
-
Measure the ingredients: Accurate measurements are essential to ensure the best results. Use a scale to measure the ingredients precisely.
-
Wear protective equipment: Wear protective equipment such as gloves, goggles, and an apron to protect yourself from hot soap, fumes, and spills.
By following these steps, the workspace will be ready for making turmeric soap. It is important to ensure that the workspace is clean, well-ventilated, and that all necessary materials are gathered before starting the soap-making process.
Safety Precautions
Turmeric soap is generally safe to use, but it is important to take some precautions to avoid any potential harm. Here are some safety tips to keep in mind when making and using turmeric soap:
- Always wear gloves and protective eyewear when handling lye. Lye is a caustic substance that can cause chemical burns if it comes into contact with your skin or eyes. Make sure to handle it with care and keep it out of reach of children and pets.
- Use a well-ventilated area when making soap. The fumes from lye and other chemicals used in soap making can be harmful if inhaled. Make sure to work in a well-ventilated area or wear a mask to protect your lungs.
- Avoid using too much turmeric powder. While turmeric has many health benefits, using too much of it in your soap can cause skin irritation and staining. Use only the recommended amount of turmeric powder in your soap recipe.
- Patch test the soap before using it. Turmeric soap may not be suitable for everyone. To avoid any allergic reactions or skin irritation, it is recommended to perform a patch test on a small area of your skin before using the soap all over your body.
- Store the soap in a dry, cool place. Moisture can cause the soap to break down and lose its effectiveness. Keep the soap in a dry, cool place to extend its shelf life and prevent it from melting or becoming too soft.
By following these safety precautions, you can ensure that your turmeric soap is safe and effective to use. Remember to always handle lye and other chemicals with care, and to test the soap on a small area of your skin before using it all over your body.
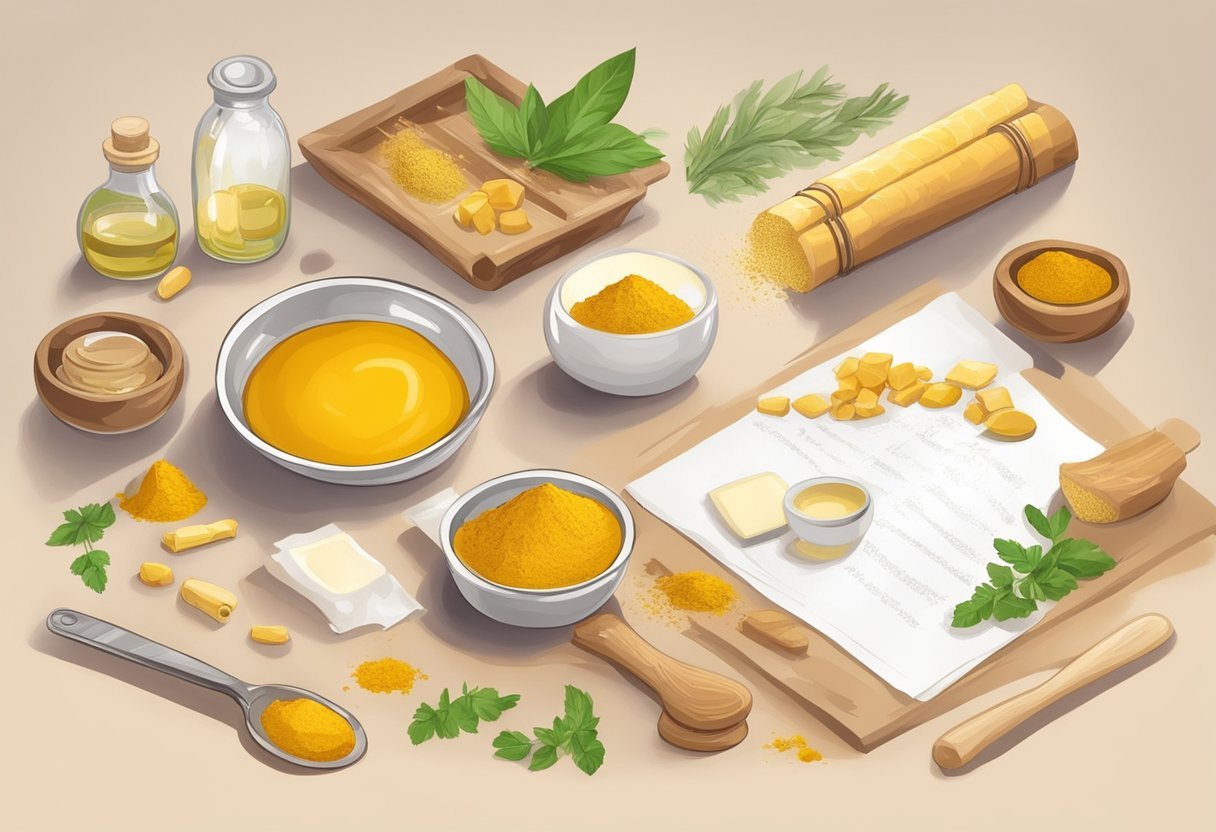
Recipe Formulation

To make turmeric soap, you will need a few basic ingredients and equipment. The ingredients include a soap base, turmeric powder, and optional ingredients such as essential oils, honey, or high-proof alcohol. The equipment needed includes a microwave-safe bowl, a stirring tool, a soap mold, and a scale to measure ingredients.
The first step in formulating a turmeric soap recipe is to choose a suitable soap base. A melt-and-pour soap base is the easiest to work with, as it does not require the use of lye or other potentially hazardous chemicals. A glycerin soap base is a good choice, as it is mild, moisturizing, and transparent. Other options include shea butter, goat milk, or olive oil soap bases.
Once you have selected your soap base, you can begin to add the other ingredients. For a basic turmeric soap recipe, you will need to add about one teaspoon of turmeric powder per pound of soap base. You can add more or less depending on the desired color and intensity of the soap. To help the turmeric powder dissolve more easily, you can pre-disperse it in high-proof alcohol before adding it to the soap base.
In addition to turmeric powder, you can add other ingredients to your turmeric soap recipe to enhance its properties and fragrance. For example, you can add honey for its moisturizing and antibacterial properties, or essential oils such as lavender or tea tree for their soothing and healing effects. Be sure to use only high-quality, pure essential oils and follow recommended usage rates.
Overall, making turmeric soap is a simple and rewarding DIY project that can yield a unique and beneficial product. By following a basic recipe formulation and using high-quality ingredients, you can create a soap that is gentle, nourishing, and beautiful.
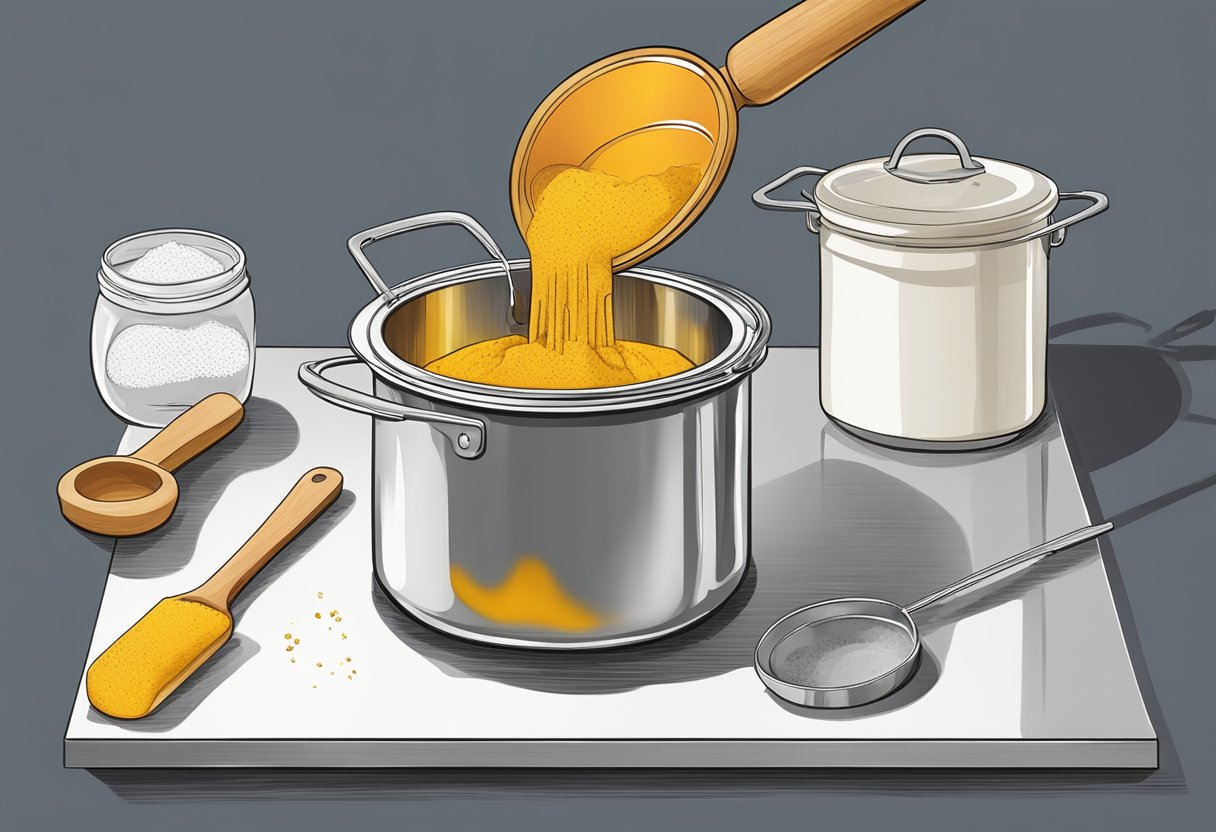
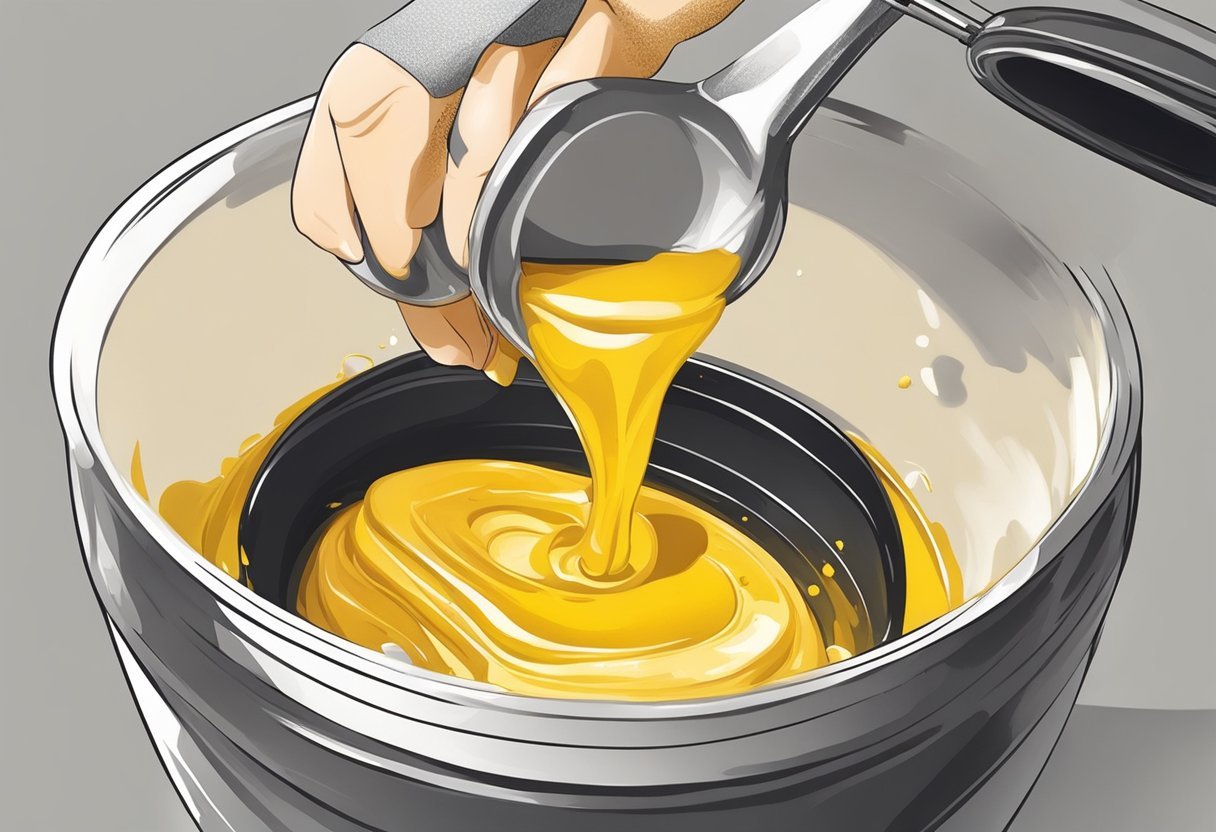
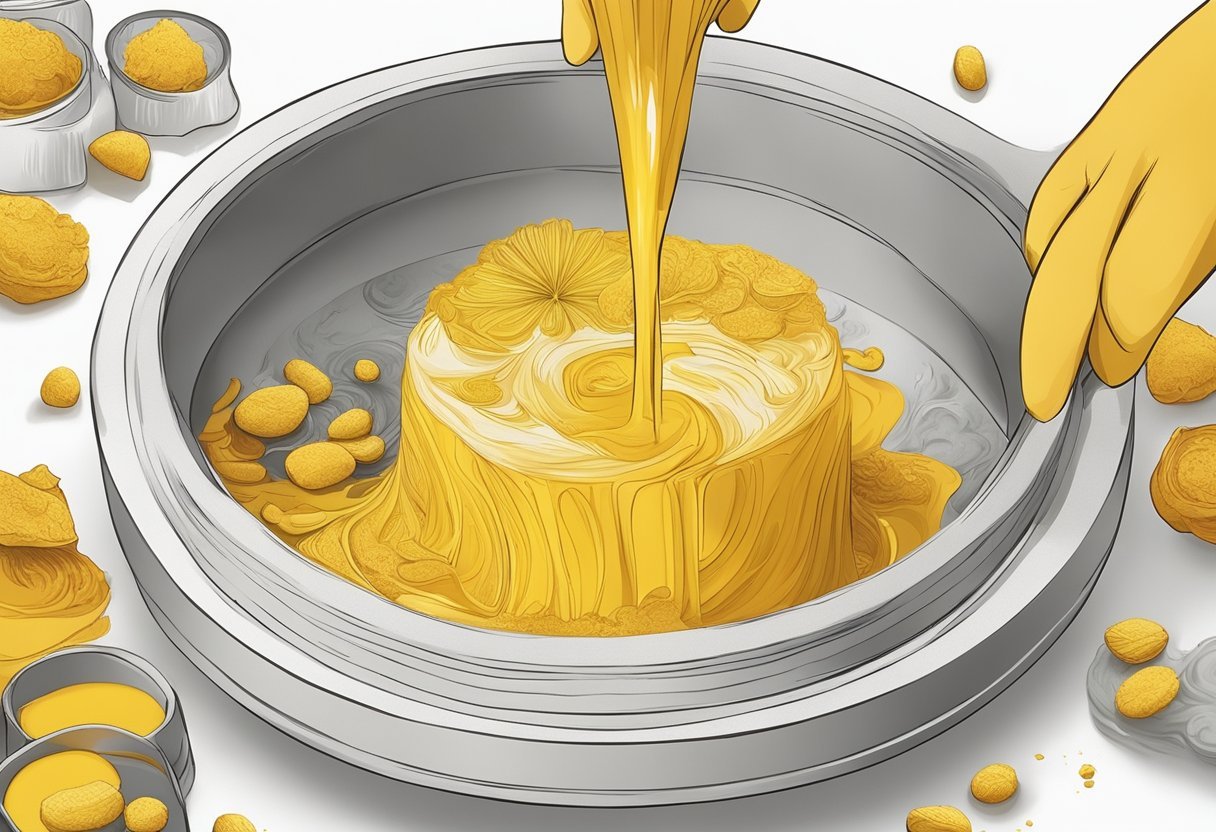
Melting the Soap Base
Choosing the Right Base
Before melting the soap base, it’s essential to choose the right one. There are various types of soap bases available in the market, including white glycerin, shea butter, and goat milk. Each base has its unique properties, so it’s crucial to choose the one that suits your needs.
For a light-colored turmeric soap, it’s recommended to use a shea butter or goat milk soap base. On the other hand, if you prefer a darker-colored soap, you can opt for transparent soap bases like glycerin or aloe vera.
Melting Process
Once you have chosen the soap base, the next step is to melt it. Follow these simple steps to melt the soap base:
-
Cut the soap base into small chunks of around 1 inch each. This will make it easier to melt.
-
Place the soap chunks into a double boiler or a heat-safe bowl.
-
Heat the soap base on low heat until it melts completely. Stir the soap base occasionally to ensure it melts evenly.
-
Alternatively, you can also melt the soap base in a microwave. Place the soap chunks in a microwave-safe bowl and heat it for 30 seconds at a time, stirring in between until it melts completely.
-
Once the soap base has melted, you can add the turmeric powder and other ingredients to it.
By following these simple steps, you can melt the soap base and create your own turmeric soap.
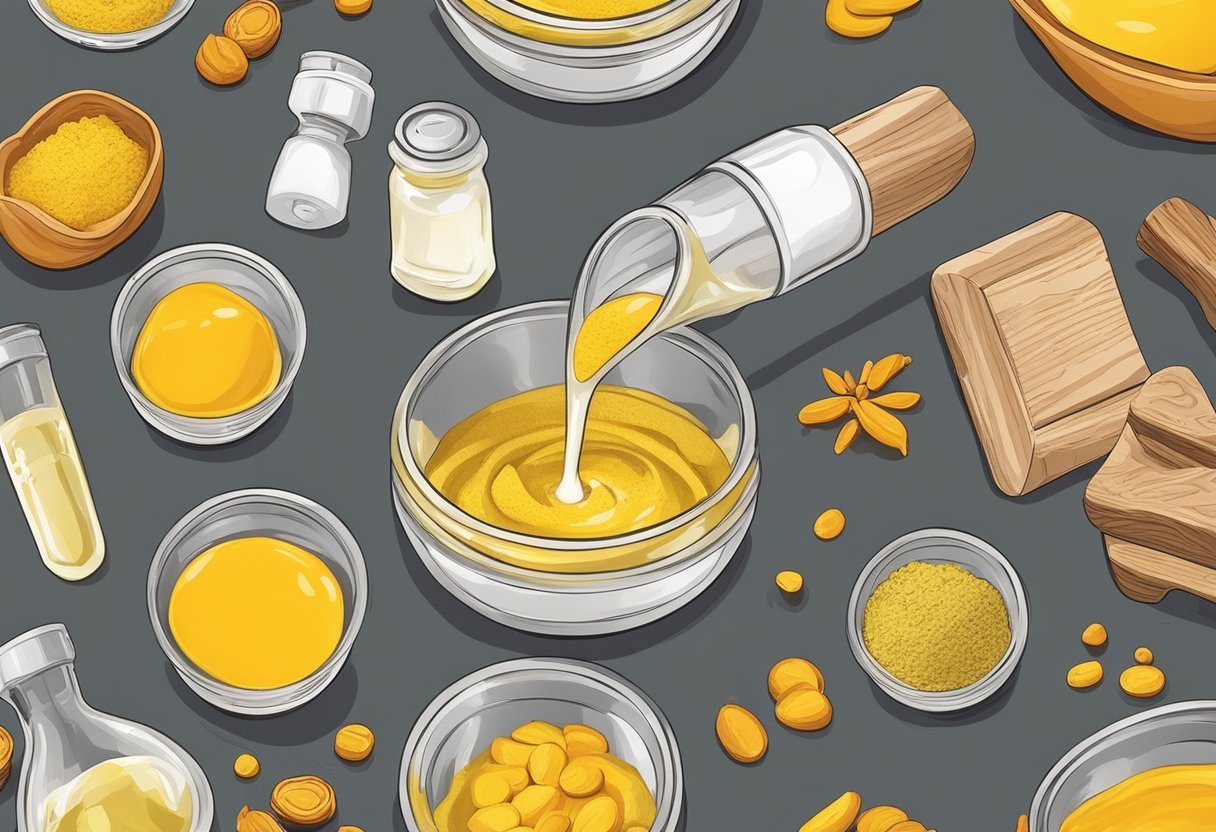
Incorporating Turmeric
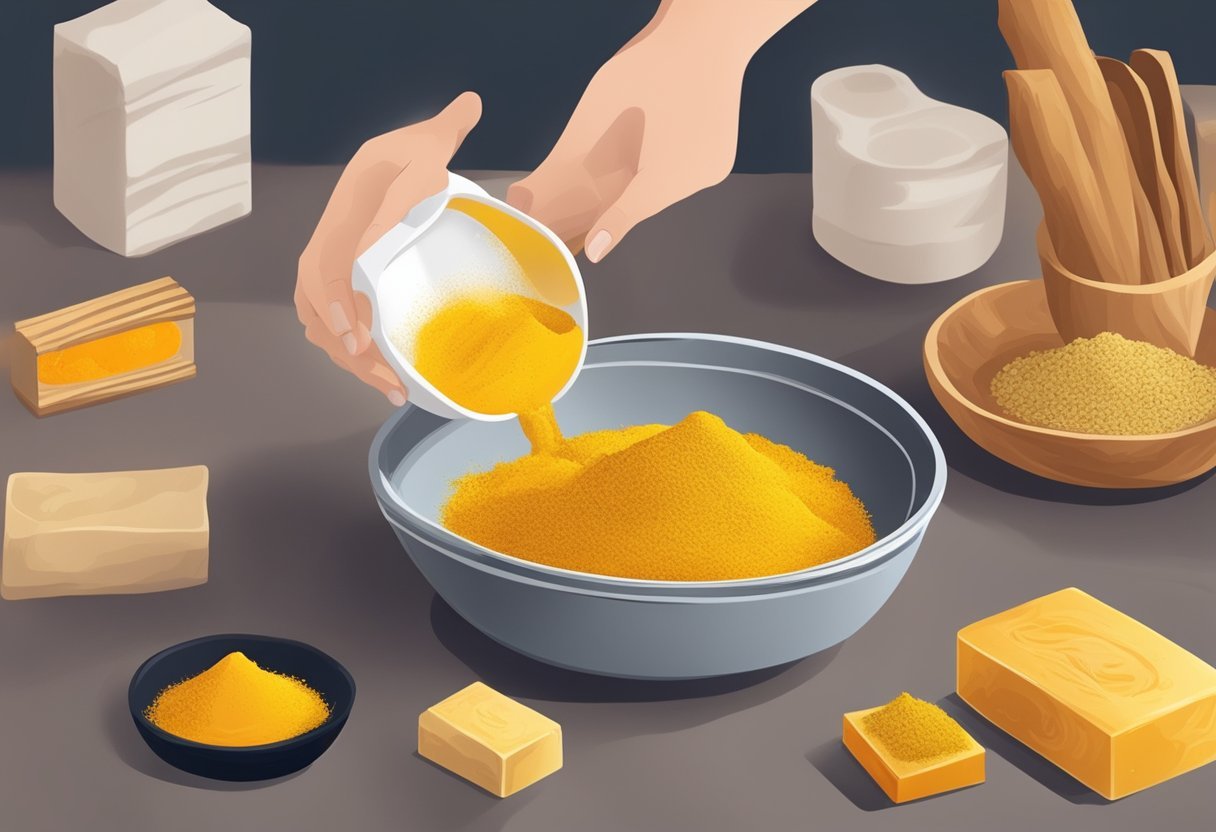
Turmeric is a natural ingredient that has many benefits for the skin. It helps to even out skin tone, reduce acne, and combat signs of aging. Adding turmeric to your soap-making routine is a great way to take advantage of these benefits.
When incorporating turmeric into your soap, it is important to keep a few things in mind. First, turmeric can stain both your skin and your clothing, so it is important to take precautions to avoid this. One way to do this is to wear gloves and an apron while working with turmeric.
Second, it is important to use the right amount of turmeric. Too much turmeric can cause irritation to the skin, while too little may not provide the desired benefits. A good rule of thumb is to use about 1 teaspoon of ground turmeric per pound of soap base.
To incorporate turmeric into your soap, you can follow these steps:
- Melt the soap base in the microwave or on the stovetop.
- While the soap is melting, dissolve the turmeric powder in a small amount of high-proof alcohol.
- Once the soap base is melted, stir in the turmeric-alcohol mixture.
- Pour the soap into molds and let it cool and harden.
By following these steps, you can create a turmeric soap that is both effective and safe to use. Remember to always test new skincare products on a small patch of skin before using them all over your body.
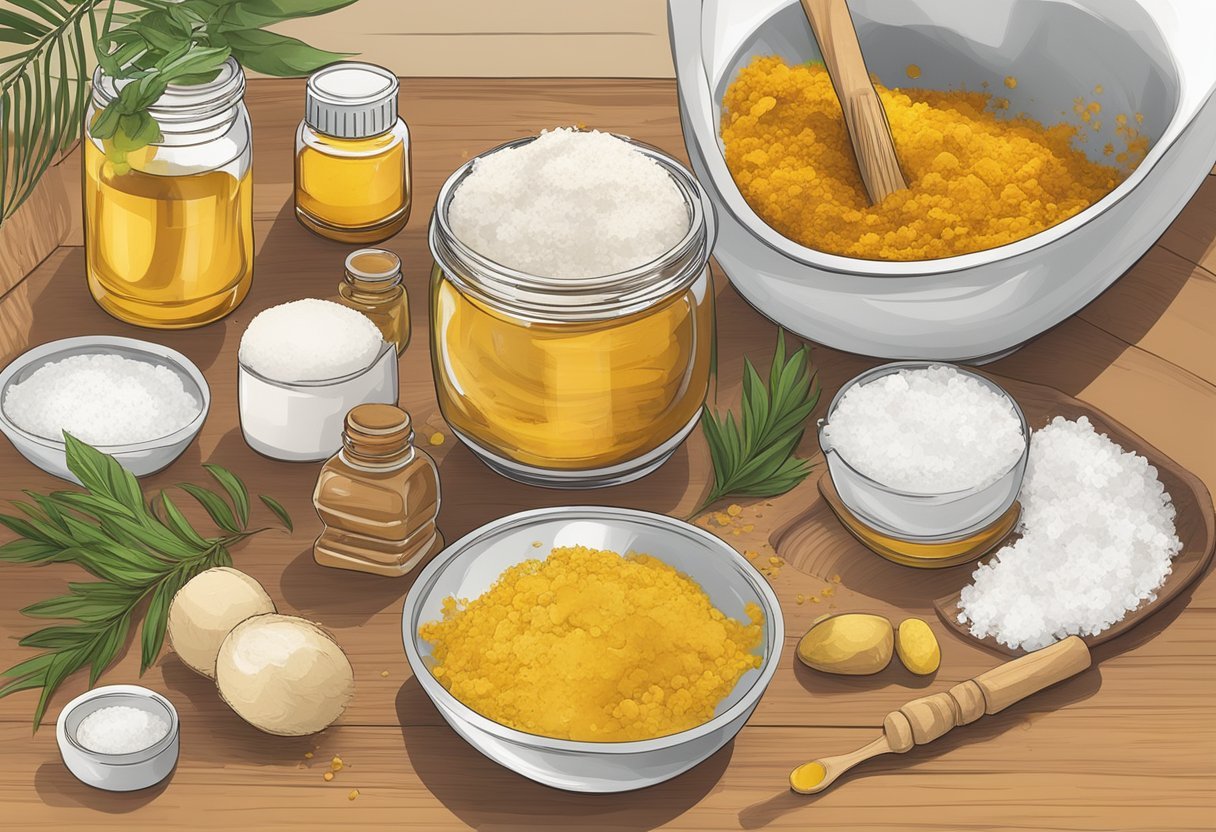
Adding Fragrances and Extras
When it comes to adding fragrances and extras to your turmeric soap, the possibilities are endless. Here are some tips to help you create a unique and personalized soap.
Selecting Fragrances
Adding fragrances to your turmeric soap can enhance the overall experience of using it. Essential oils are a great way to add fragrance to your soap. Some popular essential oils that pair well with turmeric include:
- Lavender
- Lemon
- Peppermint
- Eucalyptus
- Tea Tree
It’s important to note that essential oils should be used sparingly, as they can be irritating to the skin if used in large quantities. A good rule of thumb is to use no more than 1-2% of the total weight of your soap base.
Inclusions and Additives
In addition to fragrances, you can also add inclusions and additives to your turmeric soap to give it extra benefits and texture. Here are some ideas:
- Honey: adds moisture and antibacterial properties
- Oatmeal: exfoliates and soothes the skin
- Activated charcoal: detoxifies and clarifies the skin
- Aloe vera: soothes and hydrates the skin
When adding inclusions and additives to your soap, it’s important to consider the amount you’re adding. Too much can affect the texture and consistency of the soap, and may even cause it to break down over time. Aim for no more than 1-2 tablespoons per pound of soap base.
Overall, adding fragrances and extras to your turmeric soap can take it to the next level. Be creative and experiment with different combinations to find what works best for you.
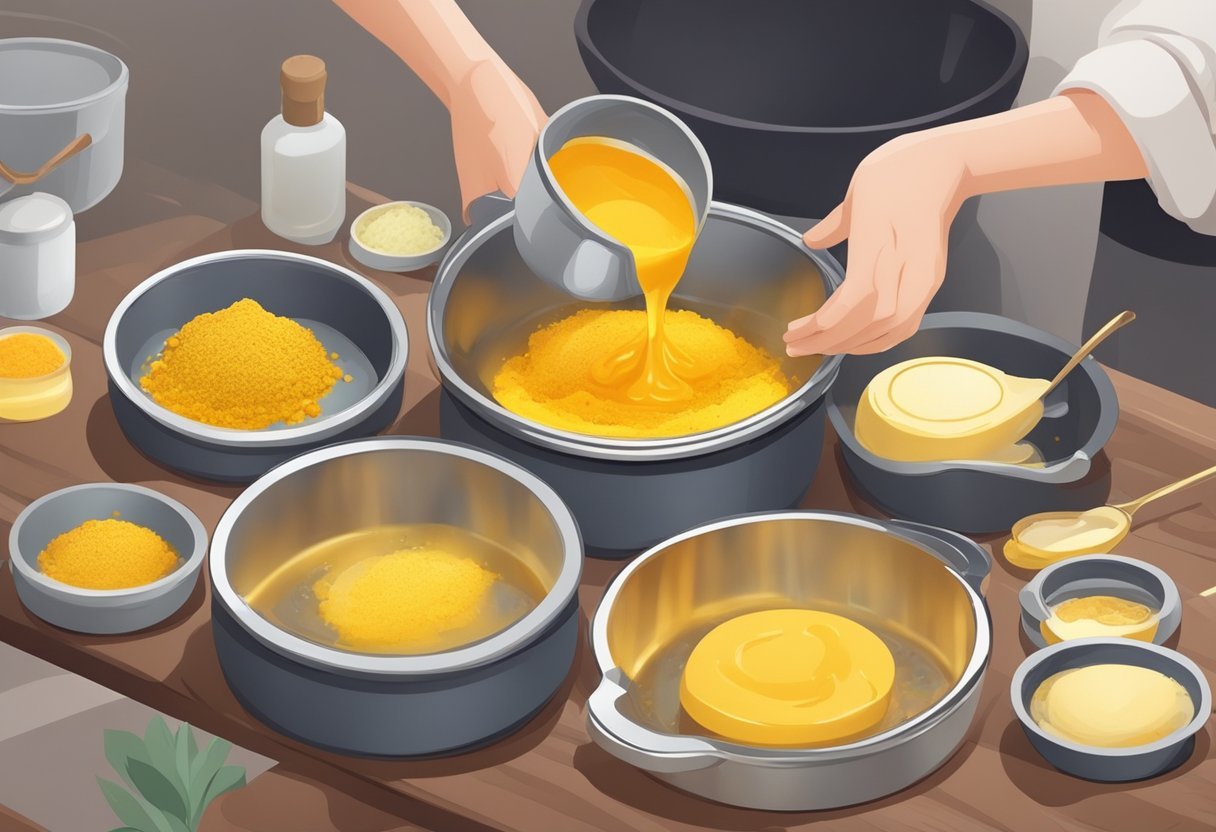
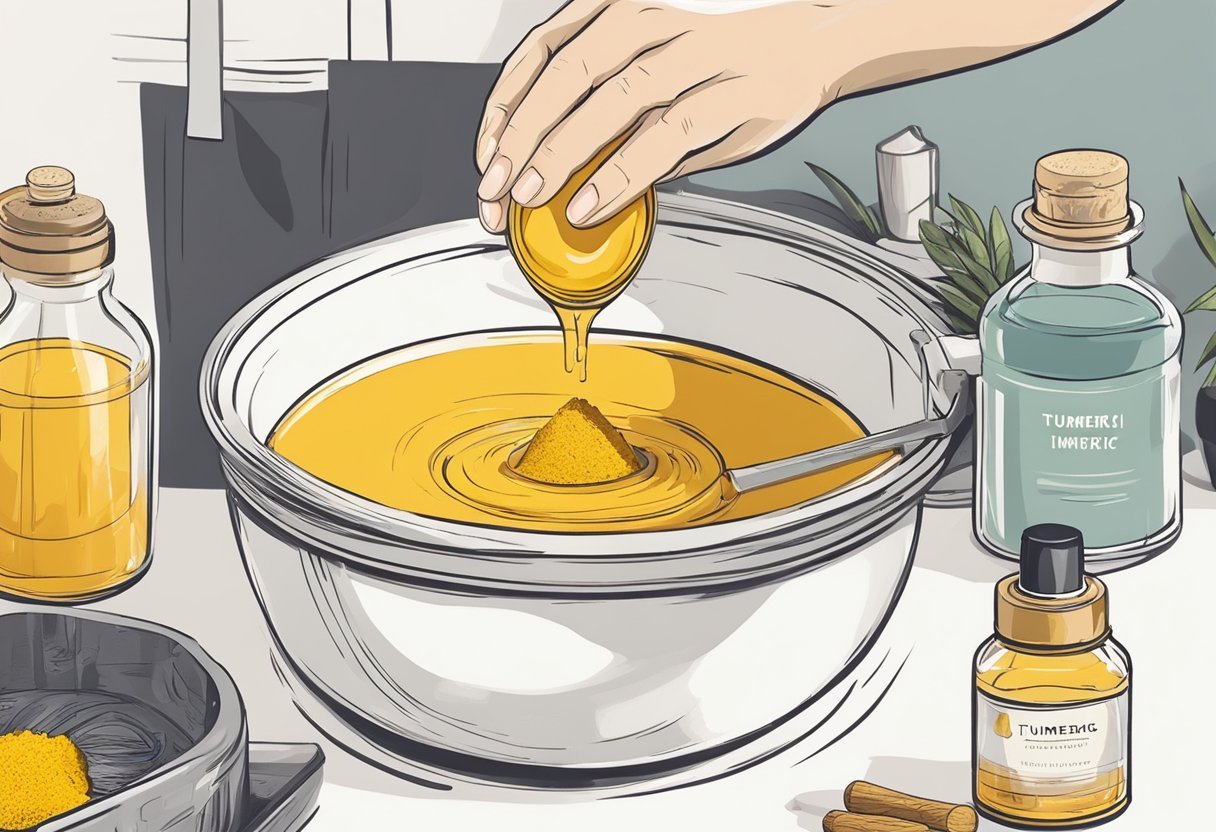
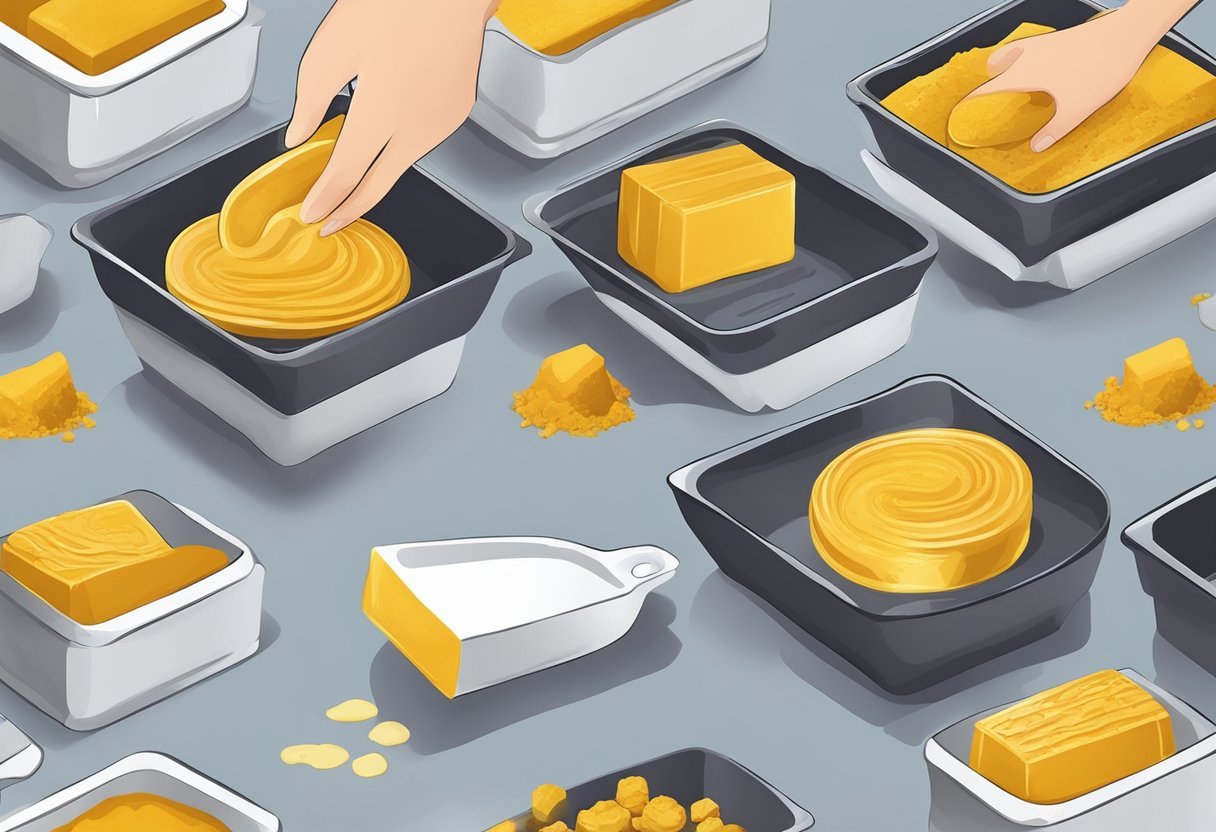
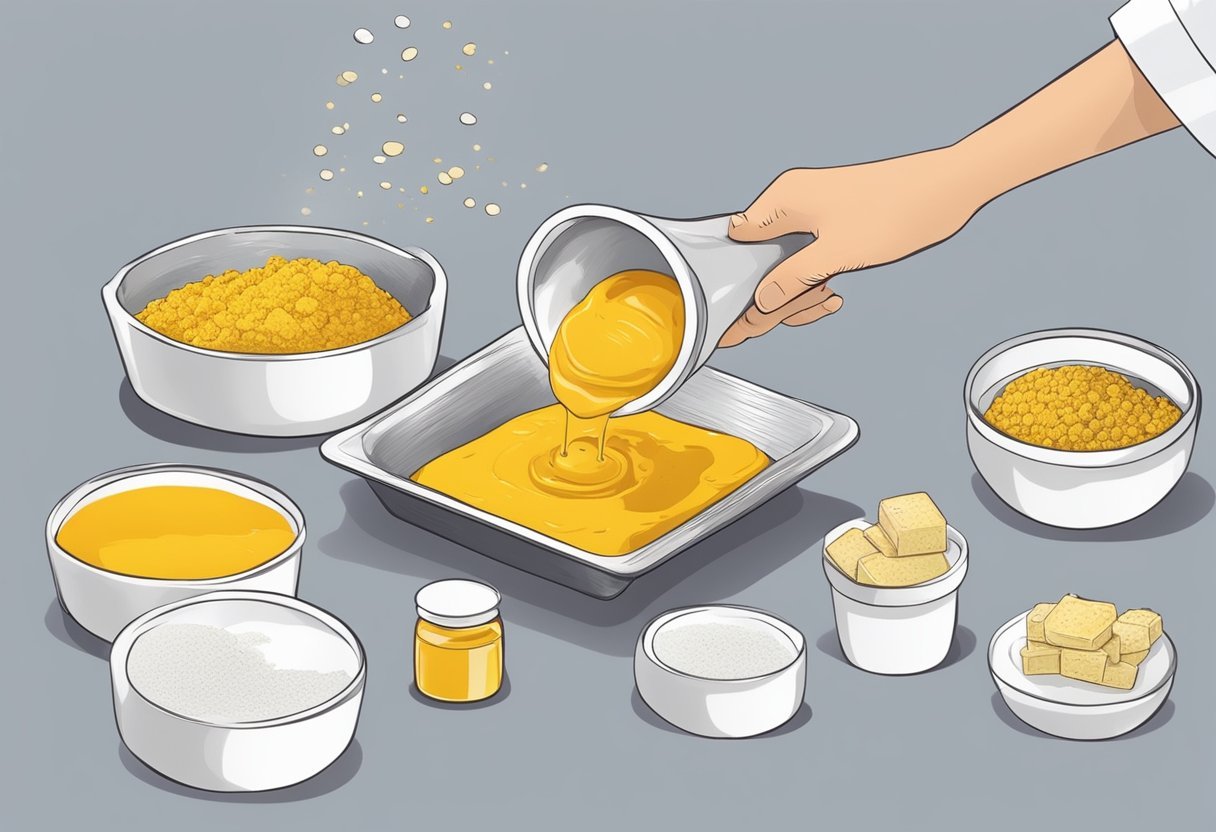
Pouring and Molding
Once the turmeric soap mixture is ready, it’s time to pour it into the mold. Here are the steps to follow:
-
Prepare the mold: Grease the soap mold with a thin layer of oil or line it with parchment paper. This will make it easier to remove the soap from the mold once it has hardened.
-
Pour the soap mixture: Slowly pour the soap mixture into the mold. Try to pour it as evenly as possible to avoid any air pockets or uneven surfaces. Fill the mold up to the top, but not overflowing.
-
Tap out any air bubbles: Gently tap the mold on a flat surface to release any air bubbles that may have formed.
-
Let it cool: Leave the soap to cool and harden in the mold for at least 24 hours. The longer you leave it, the harder it will become.
-
Remove the soap from the mold: Once the soap has hardened, remove it from the mold. If you used parchment paper, simply lift the soap out of the mold by pulling on the edges of the paper. If you greased the mold, gently push the soap out from the bottom.
-
Cut the soap into bars: Use a sharp knife to cut the soap into bars of your desired size. Be careful not to cut yourself or damage the soap.
-
Let the soap cure: Place the soap bars on a rack or a piece of paper towel and let them cure for at least two weeks. This will allow the soap to harden further and become milder on the skin.
By following these simple steps, anyone can make their own turmeric soap at home. It’s a fun and creative way to take care of your skin while enjoying the benefits of this natural ingredient.
Curing and Unmolding
Once the soap is poured into the mold, it needs to cure for several weeks. During this time, the soap will harden and become milder. The longer the soap cures, the harder and milder it will become.
To cure the soap, place it in a cool, dry place out of direct sunlight. Cover it with a cloth or plastic wrap to protect it from dust and debris. After 24 hours, remove the soap from the mold and cut it into bars. The bars should be left to cure for at least two weeks before use.
When unmolding the soap, be gentle to avoid breaking or damaging it. If the soap is difficult to remove from the mold, place it in the freezer for a few minutes to loosen it. Then, gently push the soap out of the mold.
It’s important to note that the color of the soap may change over time. Turmeric can cause the soap to darken, but this is normal and doesn’t affect the quality of the soap.
In summary, curing and unmolding are important steps in making turmeric soap. Curing allows the soap to harden and become milder, while unmolding should be done gently to avoid damaging the soap. With proper curing and unmolding, your turmeric soap will be ready to use in no time.
Packaging and Storage
Once the turmeric soap has hardened and is ready to use, it’s important to package and store it properly to ensure its longevity. Here are some tips for packaging and storing your homemade turmeric soap:
- Wrap the soap in plastic wrap or wax paper to protect it from moisture and dust. This will also help to preserve the scent of the soap.
- Store the soap in a cool, dry place away from direct sunlight. Heat and humidity can cause the soap to soften and lose its shape.
- Consider using a soap dish or soap saver to extend the life of your soap. These products allow the soap to dry out between uses, which can prevent it from becoming mushy or disintegrating.
- Label your soap with the date it was made, as well as the ingredients used. This can be helpful if you make multiple batches of soap and want to keep track of which one is which.
- If you plan to give the soap as a gift or sell it, consider packaging it in an attractive box or bag. This can make your soap look more professional and appealing to customers.
By following these tips, you can ensure that your homemade turmeric soap stays fresh and usable for as long as possible.
Troubleshooting Tips
Making turmeric soap is a simple process, but sometimes things can go wrong. Here are some troubleshooting tips to help you avoid common problems and ensure that your soap turns out perfectly every time.
Soap Separates or Has Lumps
If your soap separates or has lumps, it means that the turmeric powder was not mixed in properly. To avoid this problem, make sure to mix the turmeric powder with a small amount of oil or glycerin before adding it to the melted soap base. This will help to distribute the turmeric evenly throughout the soap and prevent lumps from forming.
Soap is Too Soft or Sticky
If your soap is too soft or sticky, it means that you may have added too much turmeric powder or not enough soap base. To fix this problem, try reducing the amount of turmeric powder in your recipe or increasing the amount of soap base. You can also try adding a bit of extra coconut oil or shea butter to help firm up the soap.
Soap is Too Hard or Crumbly
If your soap is too hard or crumbly, it means that you may have added too much lye or not enough liquid to your recipe. To fix this problem, try reducing the amount of lye or increasing the amount of liquid. You can also try adding a bit of extra oil or glycerin to help soften the soap.
By following these troubleshooting tips, you can avoid common problems and create beautiful, luxurious turmeric soap every time. Remember to always wear gloves and eye protection when working with lye, and to follow all safety guidelines carefully.
Frequently Asked Questions
What are the benefits of adding turmeric to soap for the skin?
Turmeric is a natural anti-inflammatory and antioxidant, which makes it an excellent ingredient to add to soap. It can help reduce inflammation, fight bacteria, and soothe the skin. Turmeric is also known to help even out skin tone, reduce the appearance of dark spots, and brighten the skin.
What is the ideal quantity of turmeric to use when making soap?
The ideal quantity of turmeric to use when making soap depends on the recipe and the desired effect. A general rule of thumb is to use about one teaspoon of turmeric powder per pound of soap. However, it is important to note that turmeric can stain the skin, so it is best to start with a small amount and gradually increase the quantity as needed.
What is the process for creating turmeric soap using a melt and pour base?
To make turmeric soap using a melt and pour base, start by cutting the base into small chunks and melting it in a double boiler. Once the base is melted, add turmeric powder and any other desired ingredients, such as essential oils or honey. Mix well and pour the mixture into soap molds. Allow the soap to cool and harden before removing it from the molds.
How do you formulate turmeric soap with lye?
Formulating turmeric soap with lye requires careful measurement and safety precautions. It is important to follow a trusted recipe and use protective gear, such as gloves and goggles. A basic recipe for turmeric soap with lye would involve mixing lye with water, adding oils and turmeric powder, and allowing the mixture to saponify. The soap would then be poured into molds and allowed to cure for several weeks.
What are the steps to make turmeric and honey soap at home?
To make turmeric and honey soap at home, start by melting a melt and pour soap base in a double boiler. Add turmeric powder, honey, and any other desired ingredients, such as essential oils or oatmeal. Mix well and pour the mixture into soap molds. Allow the soap to cool and harden before removing it from the molds. The finished soap can be stored in a cool, dry place for up to six months.