Turmeric is a natural ingredient that is commonly used in skincare products due to its numerous benefits. It is known for its anti-inflammatory, antimicrobial, and antiseptic properties, which make it an excellent ingredient for soap making. When combined with shea butter, turmeric can help soothe and moisturize the skin, leaving it feeling soft and smooth.
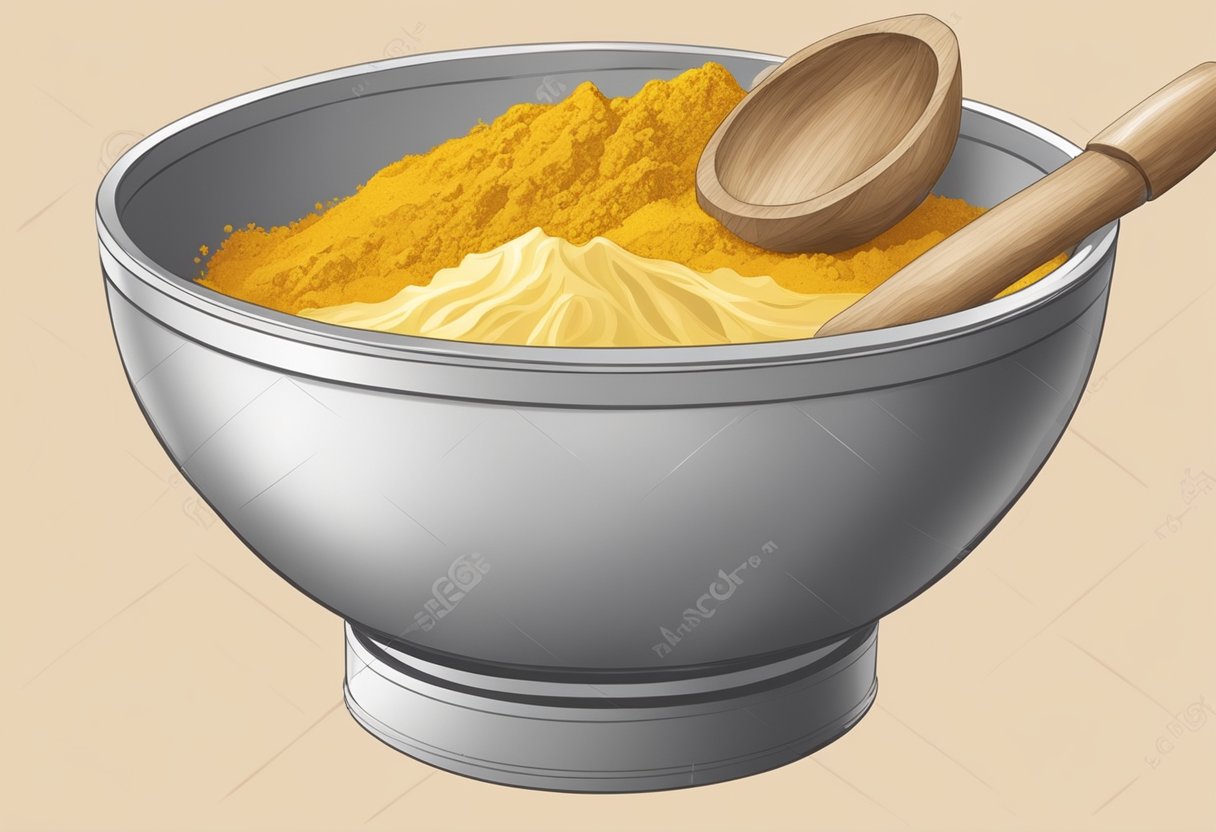
Making turmeric soap with shea butter is a relatively simple process that can be done at home. The first step is to gather all the necessary ingredients, including a premade soap base, turmeric powder, shea butter, and essential oils. Once you have all the ingredients, you can start by melting the soap base in a double boiler or microwave. Then, add the turmeric powder and shea butter to the melted soap base and stir until everything is well combined. Finally, add your preferred essential oils and pour the mixture into soap molds.
Turmeric soap with shea butter has numerous benefits for the skin. It can help reduce inflammation, soothe dry and irritated skin, and improve skin elasticity. Additionally, turmeric soap can help brighten the skin and reduce the appearance of dark spots and blemishes. By following a simple recipe, you can make your own turmeric soap with shea butter at home and enjoy all the benefits it has to offer.
Benefits of Turmeric and Shea Butter in Soap

Turmeric and shea butter are two powerful ingredients that can provide numerous benefits to the skin when used in soap. Here are some of the benefits of using turmeric and shea butter in soap:
Turmeric
Turmeric is a spice that has been used in traditional medicine for centuries due to its anti-inflammatory and antioxidant properties. When used in soap, turmeric can provide the following benefits:
- Reduces dark spots: Turmeric contains curcumin, which can help reduce the appearance of dark spots on the skin.
- Evens out skin tone: Turmeric can help even out the skin tone and make it appear brighter.
- Calms inflamed skin: Turmeric has anti-inflammatory properties that can help calm inflamed skin.
- Fights acne: Turmeric has antibacterial properties that can help fight acne-causing bacteria.
Shea Butter
Shea butter is a natural fat extracted from the nuts of the shea tree. It is rich in vitamins and fatty acids that can nourish and moisturize the skin. When used in soap, shea butter can provide the following benefits:
- Moisturizes the skin: Shea butter is an excellent moisturizer that can help hydrate the skin and prevent dryness.
- Reduces inflammation: Shea butter has anti-inflammatory properties that can help reduce inflammation and redness on the skin.
- Soothes irritated skin: Shea butter can help soothe irritated skin and provide relief from itching and burning.
- Improves skin elasticity: Shea butter can help improve the elasticity of the skin and make it appear more youthful.
By combining the benefits of turmeric and shea butter in soap, you can create a powerful skincare product that can help improve the overall health and appearance of your skin.
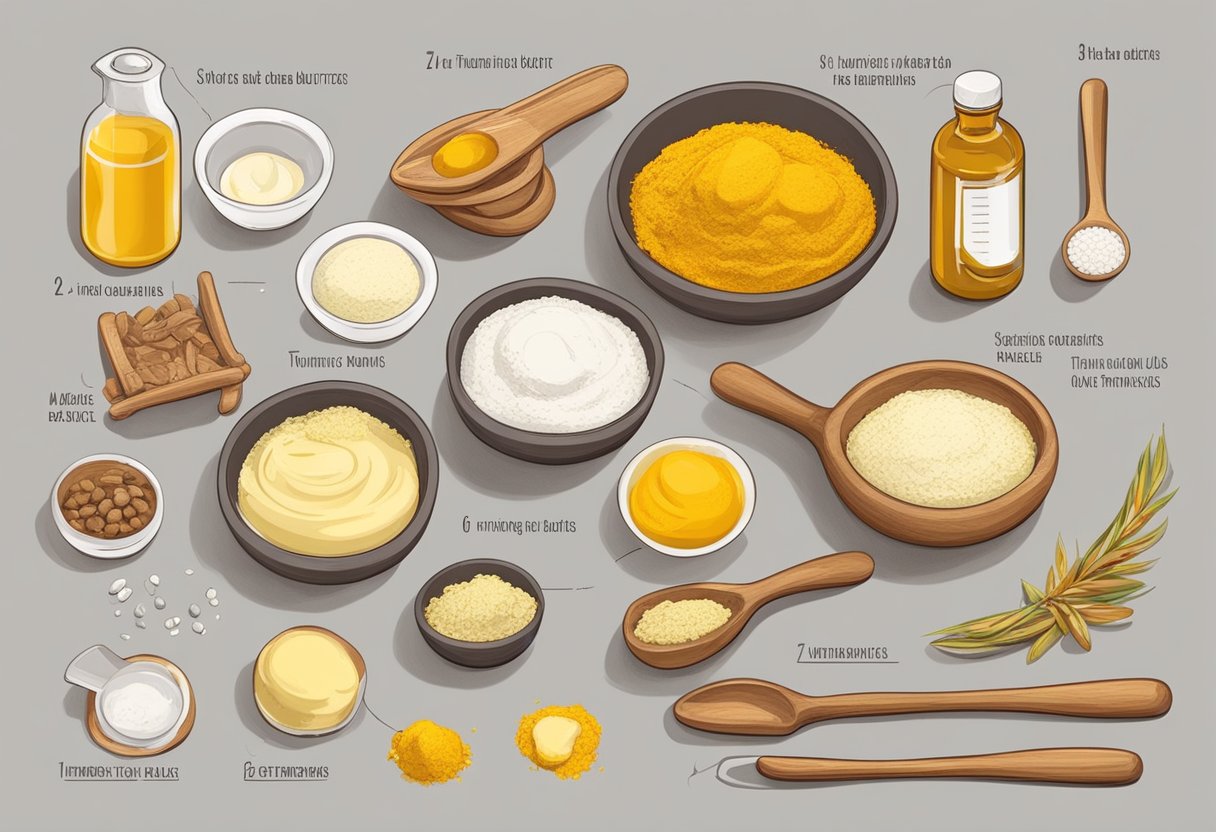
Essential Tools and Ingredients

Tools Required
To create turmeric soap with shea butter, certain tools are essential. These tools include:
- Double boiler or microwave-safe bowl
- Soap molds
- Measuring cups and spoons
- Mixing bowls
- Whisk or spatula
- Thermometer
- Spray bottle filled with rubbing alcohol
Key Ingredients
The key ingredients for making turmeric soap with shea butter are as follows:
- Shea butter soap base
- Turmeric powder
- Shea butter
- Essential oils (optional)
Safety Equipment
It is important to take necessary safety precautions when making soap. The following safety equipment is recommended:
- Gloves
- Safety goggles
- Long-sleeved shirt and pants
- Closed-toe shoes
Overall, these tools and ingredients will provide the necessary foundation for creating turmeric soap with shea butter.
Preparation Before Making Soap
Workspace Setup
Before making turmeric soap with shea butter, it is essential to set up a clean and organized workspace. Ensure that all the equipment and ingredients are within reach. The following items are necessary for making soap:
- A double boiler or microwave-safe container
- Soap molds
- A digital scale
- A thermometer
- A mixing bowl
- A spatula
- Safety goggles and gloves
The workspace should be well-ventilated, and the soap molds should be lined with parchment paper or plastic wrap to prevent sticking.
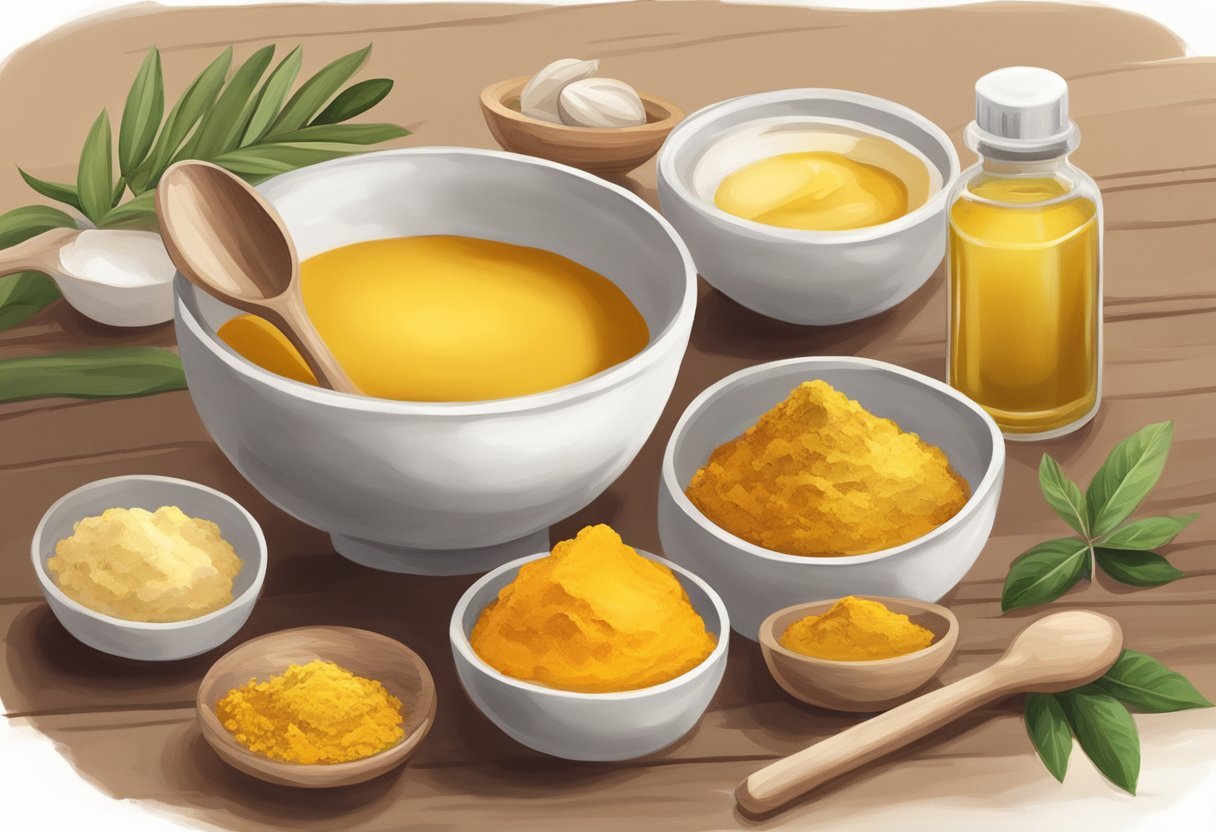
Measuring Ingredients
Accurate measurement of ingredients is crucial in soap making. The recipe for turmeric soap with shea butter requires the following ingredients:
- 1 pound of shea butter melt-and-pour soap base
- 1 tablespoon of turmeric powder
- 1 tablespoon of honey
- 1 teaspoon of sweet almond oil
- 10-15 drops of essential oil (optional)
Using a digital scale, weigh the shea butter melt-and-pour soap base and cut it into small chunks for easy melting. Measure the turmeric powder, honey, sweet almond oil, and essential oil (if using) accurately and set them aside.
By following these preparation steps, making turmeric soap with shea butter will be a breeze.
Making the Turmeric Shea Butter Soap

Melting the Base
To make turmeric shea butter soap, start by melting a melt-and-pour soap base. Cut the base into small chunks, which will make it easier to melt. Place the soap chunks in a microwave-safe container and microwave in 30-second intervals until the soap is completely melted. Alternatively, you can melt the soap base in a double boiler on the stove. Be sure to stir the soap base frequently to prevent scorching or burning.
Mixing in Turmeric and Shea Butter
Once the soap base is melted, add in ground turmeric and shea butter. For every pound of soap base, use 1-2 tablespoons of turmeric and 1-2 tablespoons of shea butter. Mix the ingredients together until they are well combined. The shea butter will add moisturizing properties to the soap, while the turmeric will provide a beautiful yellow color and skin benefits.
Adding Fragrances and Extras
If desired, you can add essential oils or other fragrances to the soap mixture. Popular essential oils for soap making include lavender, peppermint, and tea tree oil. You can also add in other ingredients such as dried flowers, oatmeal, or honey. Be sure to mix well to ensure that the fragrances and extras are evenly distributed throughout the soap mixture.
Pouring and Molding
Once the soap mixture is well combined, pour it into soap molds. You can use silicone molds, plastic molds, or even muffin tins. Allow the soap to cool and harden completely before removing it from the molds. This can take several hours or overnight. Once the soap is removed from the molds, it is ready to use or give as a gift.
Making turmeric shea butter soap is a fun and easy DIY project that can provide many benefits for your skin. With just a few simple ingredients and some creativity, you can create a beautiful and moisturizing soap that is perfect for everyday use.
Curing and Unmolding the Soap

After pouring the soap into the mold, it is time to allow it to cure. Curing allows the soap to harden and the excess water to evaporate, resulting in a longer-lasting bar. The curing period for cold process soap can range from four to six weeks. On the other hand, melt and pour soap only needs to set until solid, which can take a few hours.
To cure the soap, it should be left in a well-ventilated area away from direct sunlight. It is best to place the soap on a drying rack or a clean surface and let it cure for about four weeks. During this time, the soap will harden and its color may change as it dries.
Once the soap has cured, it is ready to be unmolded. Gently remove the soap from the mold and place it on a clean surface. If the soap is difficult to remove from the mold, try placing it in the freezer for a few minutes to loosen it.
After unmolding, the soap can be cut into bars using a sharp knife or soap cutter. It is important to let the soap cure for a few more days before using it to allow it to fully harden. Once the curing process is complete, the soap is ready to be used and enjoyed.
Overall, curing and unmolding the soap is an important step in the soap-making process. By allowing the soap to cure and harden, it will last longer and provide a better experience for those who use it.
Packaging and Storage

Once the turmeric soap has hardened, it can be removed from the mold and packaged. It is recommended to wrap the soap in a breathable material such as wax paper or parchment paper to prevent moisture buildup. This will help maintain the soap’s integrity and prevent it from becoming too soft or mushy.
It is important to store the soap in a cool, dry place away from direct sunlight. Exposure to heat and moisture can cause the soap to melt or become discolored. A cool, dry place such as a linen closet or bathroom cabinet is ideal for storing turmeric soap.
To extend the shelf life of the soap, it is recommended to use a soap dish that allows for proper drainage. This will help prevent the soap from sitting in water and becoming soft or mushy. A soap dish with a raised surface or drainage holes is ideal for this purpose.
In addition, it is important to label the soap with the date it was made and the ingredients used. This will help ensure that the soap is used within a reasonable timeframe and that any potential allergies or sensitivities are known. A simple label with the name of the soap, date of creation, and ingredients used can be created using a label maker or printed on a computer and attached to the soap using a piece of twine or ribbon.
Overall, proper packaging and storage of turmeric soap is essential for maintaining its quality and effectiveness. By following these simple guidelines, the soap can be enjoyed for weeks or even months to come.
Tips for Best Results

When making turmeric soap with shea butter, there are a few tips to keep in mind to ensure the best possible results.
Use High-Quality Ingredients
Using high-quality ingredients is essential when making any soap, and turmeric soap is no exception. Look for pure, organic shea butter and high-quality turmeric powder to ensure that your soap is as effective and nourishing as possible.
Measure Carefully
When making soap, precision is key. Be sure to measure out all of your ingredients carefully, using a digital kitchen scale if possible. This will help ensure that your soap is well-balanced and effective.
Add Essential Oils for Fragrance
While turmeric soap has many benefits on its own, adding essential oils can help enhance its fragrance and therapeutic properties. Consider adding lavender, tea tree, or peppermint essential oil to your soap for an extra boost of scent and skin-nourishing benefits.
Allow Soap to Cure
After making your turmeric soap with shea butter, it’s important to allow it to cure for at least 4-6 weeks before using it. This will help ensure that the soap is fully hardened and that any excess water has evaporated, resulting in a longer-lasting and more effective bar of soap.
Store Soap Properly
To ensure that your turmeric soap with shea butter stays fresh and effective for as long as possible, store it in a cool, dry place away from direct sunlight. Consider wrapping each bar in wax paper or plastic wrap to help protect it from moisture and other environmental factors.
Frequently Asked Questions
What are the steps to create turmeric soap using shea butter and lemon?
To create turmeric soap using shea butter and lemon, follow these steps:
- Cut melt-and-pour soap base into 1-inch chunks.
- Melt the soap base in a double boiler or microwave.
- Add shea butter, turmeric powder, and lemon essential oil to the melted soap base.
- Mix the ingredients thoroughly.
- Pour the mixture into soap molds and let it cool for a few hours.
- Remove the soap from the molds and let it dry for a few days before use.
Can honey be incorporated into turmeric shea butter soap, and if so, how?
Yes, honey can be incorporated into turmeric shea butter soap. To add honey to the soap, follow these steps:
- Melt the soap base in a double boiler or microwave.
- Add shea butter, turmeric powder, and honey to the melted soap base.
- Mix the ingredients thoroughly.
- Pour the mixture into soap molds and let it cool for a few hours.
- Remove the soap from the molds and let it dry for a few days before use.
What are the benefits of using turmeric and shea butter soap for the face?
Turmeric and shea butter soap has several benefits for the face. Turmeric has anti-inflammatory and antioxidant properties that can help reduce inflammation and fight free radicals. Shea butter is deeply hydrating and nourishing for the skin. Together, these ingredients can help improve skin texture, reduce blemishes, and promote a healthy glow.
How can turmeric soap with shea butter contribute to skin whitening?
Turmeric soap with shea butter can help contribute to skin whitening by reducing the appearance of dark spots and hyperpigmentation. Turmeric has been shown to inhibit the production of melanin, which can help even out skin tone and lighten dark spots. Shea butter is also deeply moisturizing, which can help improve skin texture and promote a healthy glow. However, it is important to note that the effects of turmeric soap on skin whitening may vary depending on individual skin type and other factors.