This Vanilla Coconut Sugar Scrub is a simple DIY project made with three familiar ingredients: sugar, coconut oil, and vanilla. It’s quick to mix, easy to customise, and works well as a small-batch homemade creation for your DIY collection or for gifting in jars.
This guide walks through ingredient options, mixing steps, jar sizing, and storage tips so you can make a consistent scrub texture every time. You can keep it classic or adjust it with small changes to create different looks and scents.
If you enjoy making homemade DIY blends, this recipe is a great starting point because it’s flexible and doesn’t require special tools—just a bowl, spoon, and a clean jar.
Essential Ingredients
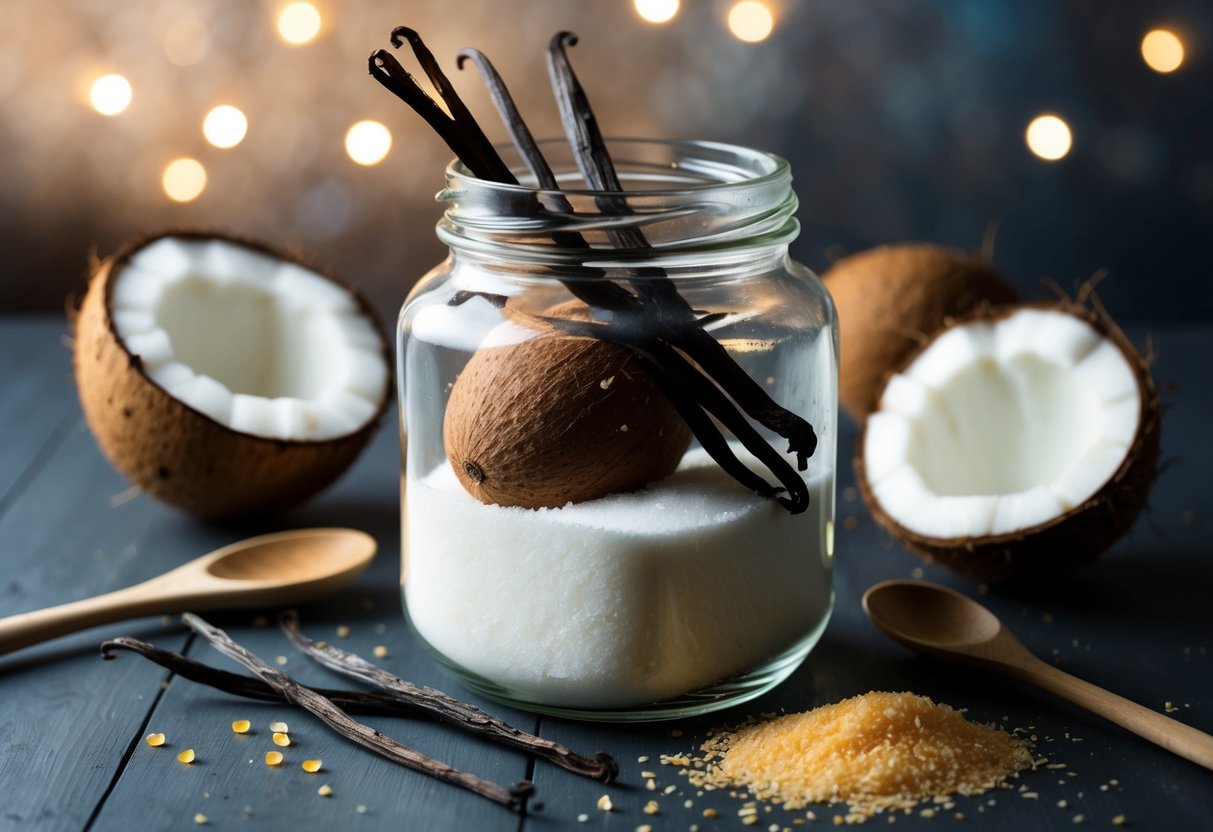
To make a Vanilla Coconut Sugar Scrub, you’ll need a sugar base, a blending oil, and vanilla for scent. Each ingredient affects the final texture, colour, and overall feel of the mixture.
Coconut Oil
Coconut oil is commonly used in sugar scrub projects because it mixes easily and creates a smooth, cohesive blend when combined with sugar. Depending on room temperature, coconut oil may be solid or liquid, which can slightly change the consistency while mixing.
If your coconut oil is solid, you can let it sit at room temperature briefly so it becomes easier to stir. If it is already liquid, simply pour it in gradually and mix until the sugar is evenly coated.
Vanilla
Vanilla adds a warm, familiar scent that pairs well with coconut. You can use vanilla extract for a classic fragrance, or adjust the amount slightly depending on how strong you want the scent to be.
If you’re making gift jars, vanilla also works well as a “base scent” that can be combined with other simple fragrance ideas (for example, pairing vanilla with a hint of citrus or a bakery-style aroma). Keep additions minimal so the mixture remains consistent.
Choosing the Right Sugar
The type of sugar you choose mainly affects texture and appearance. Granulated white sugar gives a classic look and a uniform grain. Brown sugar creates a softer-looking, slightly darker mixture. Raw or coarse sugars create a more textured, rustic appearance.
If you want a smoother-looking jar, choose a finer sugar. If you want a more textured look, use a coarser sugar or mix two types together. The goal is simply to create a blend that feels and looks the way you prefer.
Step-by-Step Mixing and Storage

This recipe uses simple measurements and a straightforward mixing method. You can make it thicker or looser by adjusting the oil slightly, but keeping the sugar-to-oil ratio consistent makes it easier to reproduce later.
Mixing Technique
Start by adding 2 cups of sugar to a clean mixing bowl. Slowly add ½ to 1 cup coconut oil, stirring after each addition. Using less oil creates a firmer mixture, while using more creates a smoother, more pliable texture.
Next, add ½ to 1 teaspoon vanilla extract and mix until the scent is evenly distributed. Continue stirring until the sugar crystals are evenly coated and the mixture looks consistent throughout.
If the mixture feels too dry to stir comfortably, add a small spoonful of coconut oil and mix again. If it feels too loose, add a small amount of sugar and stir until it thickens.
Jar Sizes and Filling Tips
This scrub can be portioned into different jar sizes depending on your goal:
- Small jars (¼ pint): great for DIY gift sets or sample batches
- Medium jars (½ pint): ideal for a single larger batch
- Large jars (1 pint): convenient for storing one big mix
For a neat finish, press the scrub gently into the jar with the back of a spoon. If you want a layered “pretty jar” look, you can add the sugar first, then coconut oil, then vanilla, and stir lightly once it’s in the jar—but mixing fully in a bowl is the most consistent method.
Storage Solutions
Store the scrub in a clean, airtight jar with a tight-fitting lid. A cool, dry cupboard works well. If your room is warm, coconut oil may soften and the mixture can look looser; a quick stir will bring the texture back to normal once it cools.
If you’re making multiple DIY projects, labeling the jar with the date and the ingredients used can help keep batches organised—especially if you experiment with different sugars or vanilla levels.
Customisation Ideas
This Vanilla Coconut Sugar Scrub is easy to customise without changing the basic recipe. Here are a few simple ideas:
- Swap brown sugar for white sugar for a different look
- Mix two sugars together for a blended texture
- Use a tiny pinch of cinnamon for a bakery-style scent (optional)
- Add a small amount of citrus zest for a fresh note (optional)
When adding extras, keep quantities small so the mixture remains consistent and easy to stir.
This Vanilla Coconut Sugar Scrub is a simple, flexible DIY project that fits nicely into a homemade routine. Whether you’re making a single jar for your DIY shelf or assembling a few jars as gifts, it’s an easy recipe to repeat and customise.