Whipped body butter is a rich, nourishing skincare product that can be easily made at home using simple, cosmetic-friendly ingredients. Unlike many commercial body lotions, homemade whipped body butter allows you to control exactly what goes into your skincare routine, making it ideal for anyone who enjoys creating personalised, natural beauty products.
This lightweight yet creamy moisturiser is made by blending plant-based butters and oils, then whipping them into a soft, airy texture that melts into the skin. Whipped body butter is designed for everyday skin conditioning and moisture support, especially for areas prone to dryness such as hands, elbows, legs, and feet.
In this guide, you’ll learn how whipped body butter works, which ingredients are commonly used, and how to create your own customised version at home. With a little practice, you can make a beautifully textured body butter that feels luxurious and suits your personal preferences.

Understanding Body Butter
Body butter is a thicker alternative to traditional lotion, formulated using plant butters and oils rather than water. Because it does not contain added water, body butter has a concentrated texture that helps soften and condition the skin.
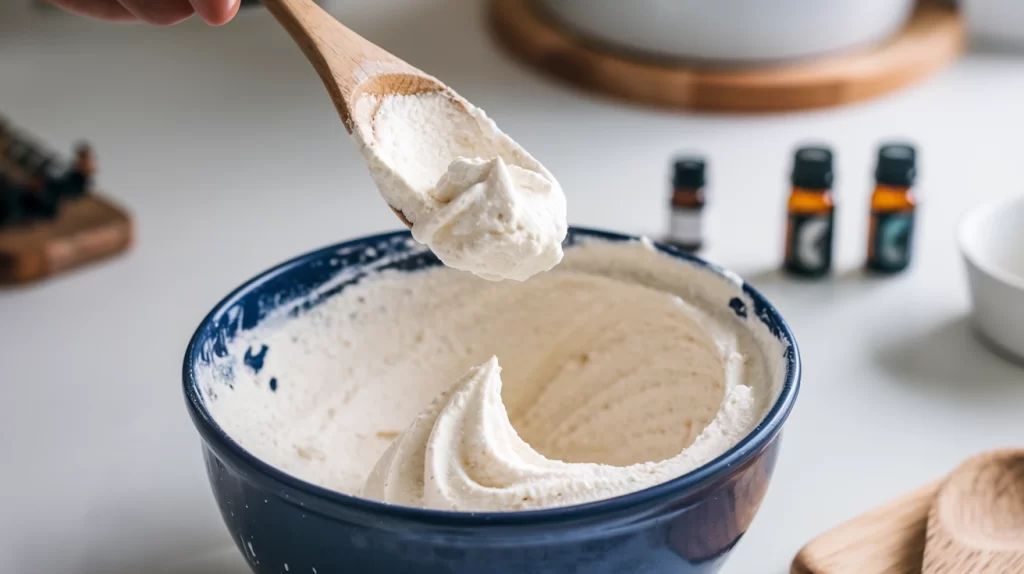
Whipped body butter differs from traditional body butter because air is incorporated during mixing. This creates a lighter consistency that spreads easily while still providing a rich, moisturising feel.
Benefits of Whipped Body Butter
- Intensive moisture: Helps keep skin feeling soft and comfortable, especially in dry conditions.
- Smooth texture: Whipping creates a light, fluffy consistency that absorbs more easily.
- Customisable: Ingredients, scents, and textures can be adjusted to suit personal preferences.
- Protective feel: Forms a gentle barrier that helps reduce moisture loss.
Key Ingredients Explained
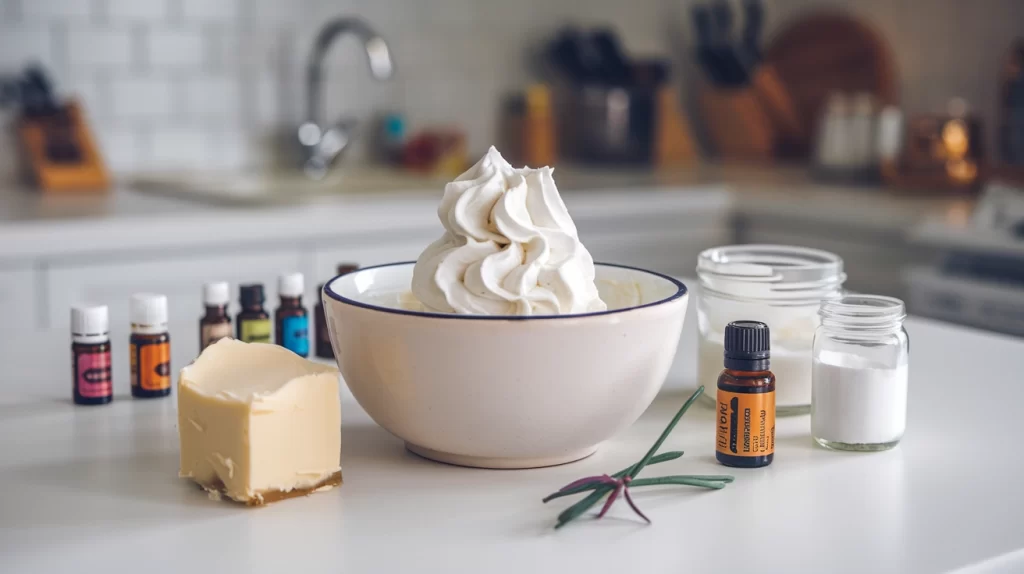
- Natural butters: Shea, mango, and cocoa butter provide structure and richness.
- Carrier oils: Oils such as coconut, almond, or jojoba help soften the butter and improve spreadability.
- Essential oils (optional): Used only for fragrance and sensory appeal.
- Arrowroot or cornstarch: Helps reduce a greasy feel and improves texture.
Gathering Your Materials

Tools and Equipment
- Double boiler or heat-safe bowl and saucepan
- Hand mixer or stand mixer
- Measuring cups and spoons
- Spatula
- Clean, airtight storage containers
Choosing Your Butters and Oils
Selecting quality ingredients helps create a smooth, stable whipped body butter.
- Shea butter: Popular for its creamy texture and conditioning feel.
- Cocoa butter: Adds firmness and a naturally rich scent.
- Coconut oil: Softens the mixture and improves spreadability.
- Jojoba oil: Lightweight and easily absorbed.
The Basic Recipe
Ingredient Ratios
A common starting ratio is:
- 1 part solid butter
- 1 part liquid oil
Essential oils should remain within cosmetic-safe limits, typically 1–2% of the total mixture.
Step-by-Step Instructions
- Melt the solid butter and liquid oil using a double boiler.
- Remove from heat and allow the mixture to cool until slightly opaque.
- Add optional essential oils and mix gently.
- Place in the refrigerator for 15–20 minutes until partially firm.
- Whip using a mixer until light and fluffy.
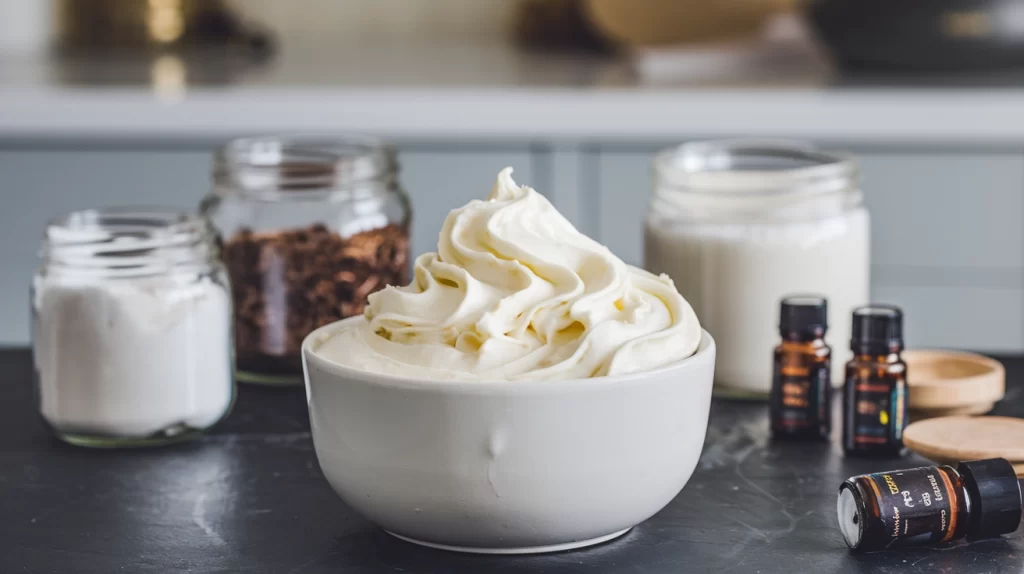
- Transfer to clean containers and store properly.
Customising Your Body Butter
Adding Scents
Essential oils may be added purely for fragrance. Always start with small amounts and follow cosmetic dilution guidelines.
Incorporating Colours
Natural powders such as cocoa or beetroot can be used sparingly for colour.
Adjusting Texture
Use more oil for a lighter texture or more butter for a firmer consistency. Arrowroot powder can help reduce greasiness.
Preservation and Storage

Extending Shelf Life
Vitamin E oil may be added to help slow oxidation. Homemade whipped body butter is best used within 3–6 months.
Proper Storage Methods
Store in a cool, dry place away from heat and direct sunlight. Always use clean hands or tools to avoid contamination.
Application Tips

Best Practices for Use
Apply a small amount to clean, dry skin and massage gently until absorbed. A little goes a long way.
Skin Types and Application Methods
Whipped body butter can be used on most skin types. Adjust the amount used based on how your skin feels.
This recipe is intended for cosmetic use only and should be tested on a small patch of skin before regular use.