Whipped sugar scrub is an easy and inexpensive way to pamper your skin at home. This luxurious scrub is made from natural ingredients, such as coconut oil, sugar, and essential oils, and it can help exfoliate and moisturize your skin. Whether you are looking to treat yourself or create a thoughtful gift for a friend, making whipped sugar scrub is a fun and rewarding DIY project.

To make whipped sugar scrub, you will need a few simple ingredients and some basic kitchen tools. The process involves whipping coconut oil with a hand mixer until it is smooth and fluffy, then adding sugar and essential oils to create a fragrant and effective scrub. With a little bit of practice, you can customize the recipe to suit your skin type and preferences, and enjoy the benefits of this luxurious treatment in the comfort of your own home.
Understanding Sugar Scrubs

Sugar scrubs are a popular type of body scrub that can help exfoliate and moisturize the skin. They are made by mixing sugar with various oils and other ingredients to create a paste-like consistency. This paste is then massaged onto the skin, helping to remove dead skin cells and leave the skin feeling soft and smooth.
Benefits of Sugar Scrubs
There are several benefits to using sugar scrubs on the skin. Some of these benefits include:
-
Exfoliation: Sugar scrubs are great at removing dead skin cells from the surface of the skin, which can help unclog pores and prevent acne.
-
Moisturization: The oils and other ingredients in sugar scrubs help to moisturize the skin, leaving it feeling soft and smooth.
-
Improved circulation: Massaging the sugar scrub onto the skin can help improve blood flow to the area, which can help improve the overall health of the skin.
Types of Sugar for Scrubs
There are several types of sugar that can be used in sugar scrubs. Some of the most popular types include:
-
White sugar: This is the most common type of sugar used in sugar scrubs. It is gentle on the skin and works well for most skin types.
-
Brown sugar: Brown sugar is a bit coarser than white sugar, which makes it great for more intense exfoliation.
-
Turbinado sugar: This type of sugar is a bit rougher than white sugar, which makes it great for use on rougher areas of the skin, such as the feet or elbows.
Overall, sugar scrubs are a great way to exfoliate and moisturize the skin. By understanding the benefits of sugar scrubs and the different types of sugar that can be used, you can create a customized sugar scrub that is perfect for your skin type.
Essential Ingredients
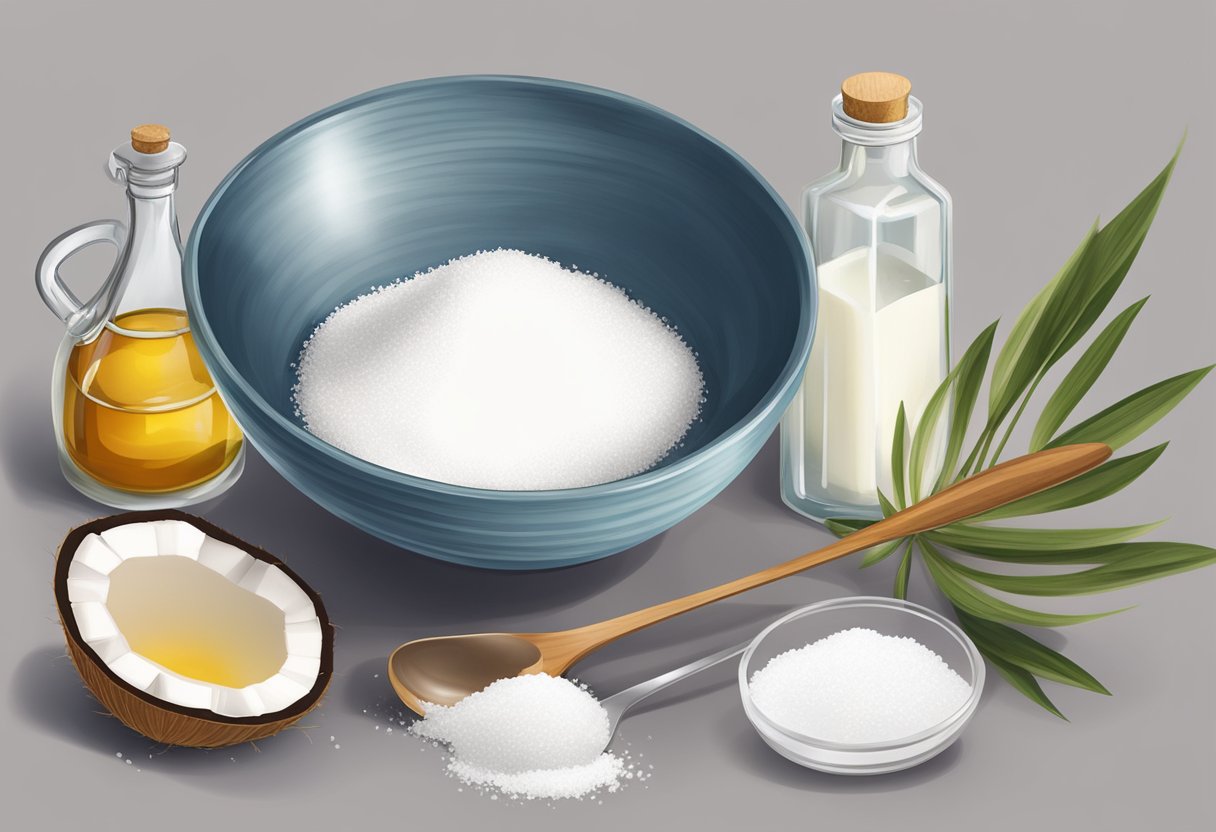
When making whipped sugar scrub, there are three essential ingredients that you need to have on hand: carrier oils, sugar choices, and fragrances or essential oils. Each of these ingredients plays a crucial role in creating a luxurious, effective scrub that will leave your skin feeling soft and smooth.
Carrier Oils
Carrier oils are the base of the whipped sugar scrub and are responsible for moisturizing and nourishing the skin. Some popular carrier oils include olive oil, coconut oil, sweet almond oil, and jojoba oil. These oils are rich in vitamins and antioxidants, making them perfect for hydrating and rejuvenating the skin.
Sugar Choices
The sugar in the scrub is what provides the exfoliating action. There are several types of sugar that can be used in whipped sugar scrub, including granulated sugar, brown sugar, and even raw sugar. Each type of sugar has a slightly different texture and level of exfoliation, so it’s important to choose the right one for your skin type.
Fragrances and Essential Oils
Fragrances and essential oils are what give whipped sugar scrub its signature scent. Some popular fragrances include vanilla, lavender, and peppermint, while essential oils like tea tree and eucalyptus are known for their skin-healing properties. When selecting a fragrance or essential oil, it’s important to choose one that complements your skin type and personal preferences.
By combining these essential ingredients in just the right way, you can create a whipped sugar scrub that is perfect for your skin type and leaves you feeling pampered and refreshed.
Creating Your Whipped Sugar Scrub
Before starting to make your whipped sugar scrub, it is important to prepare your workspace. This will ensure that you have everything you need within easy reach and that you can work without interruption.
Preparing Your Workspace
- Clean your workspace. Make sure that all surfaces are clean and free of debris. This will help prevent contamination of your whipped sugar scrub.
- Gather your ingredients. Make sure that you have all the ingredients you need before you start making your whipped sugar scrub. This will help you work more efficiently.
- Set up your equipment. Make sure that all the equipment you need is clean and ready to use. This includes measuring cups, mixing bowls, and a hand mixer.
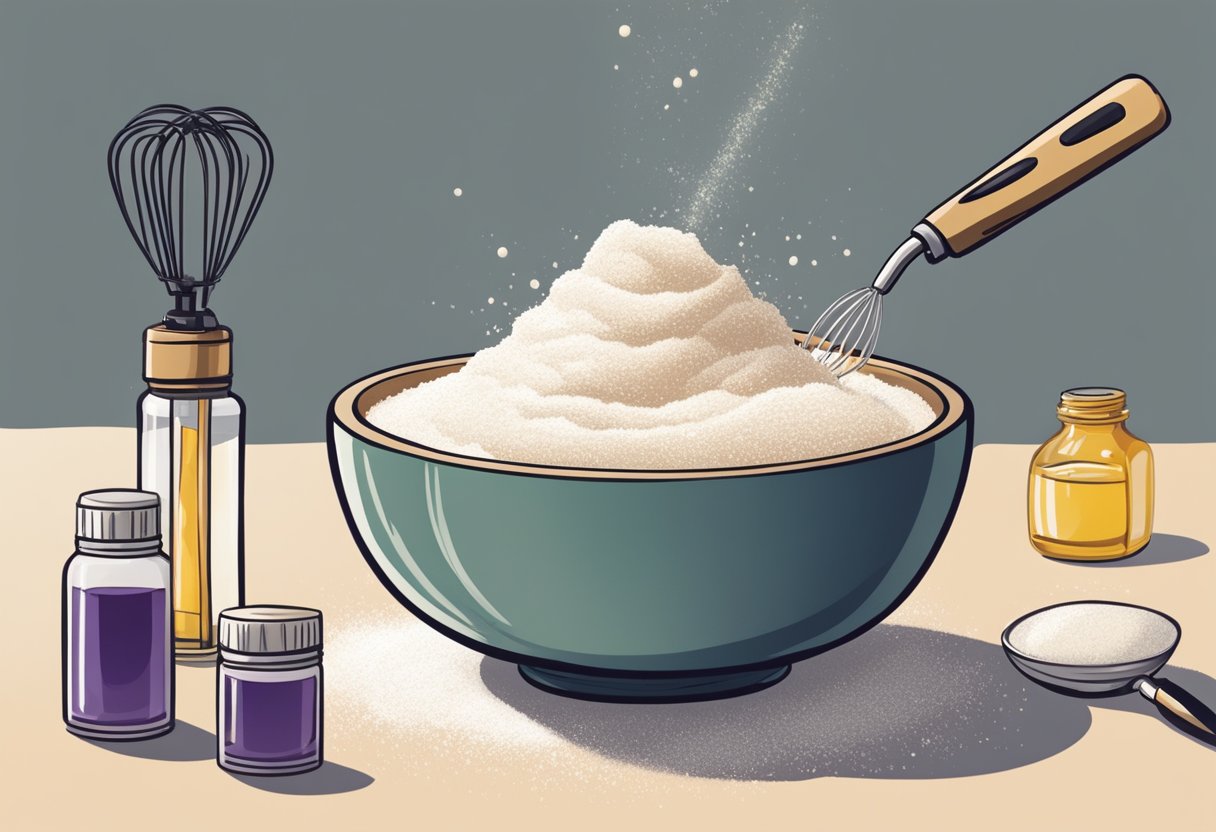
Mixing the Ingredients
- Measure out your ingredients. Measure out all your ingredients using measuring cups and spoons. It is important to be precise when measuring your ingredients to ensure that your whipped sugar scrub turns out as expected.
- Combine the sugar and oils. In a small mixing bowl, combine the sugar, coconut oil, and any other oils you are using. Mix the ingredients together until they are well combined.
- Melt the coconut oil. If your coconut oil is solid, you will need to melt it before mixing it with the other ingredients. You can do this by placing the coconut oil in a heatproof bowl and placing it over a pot of simmering water. Alternatively, you can microwave the coconut oil in 10-second intervals until it is melted.
- Add any additional ingredients. If you are using essential oils or other additives, add them to the mixture and stir well.
Whipping the Mixture
- Whip the mixture. Using a hand mixer, whip the mixture until it becomes light and fluffy. This should take around 2-3 minutes.
- Check the consistency. Check the consistency of your whipped sugar scrub. It should be light and fluffy, with a texture similar to whipped cream.
- Store your whipped sugar scrub. Transfer your whipped sugar scrub to a clean, airtight container and store it in a cool, dry place. Your whipped sugar scrub should last for several weeks if stored properly.
By following these simple steps, you can create your own whipped sugar scrub at home. With a little practice, you can experiment with different oils and additives to create a customized whipped sugar scrub that meets your specific needs.
Customizing Your Scrub
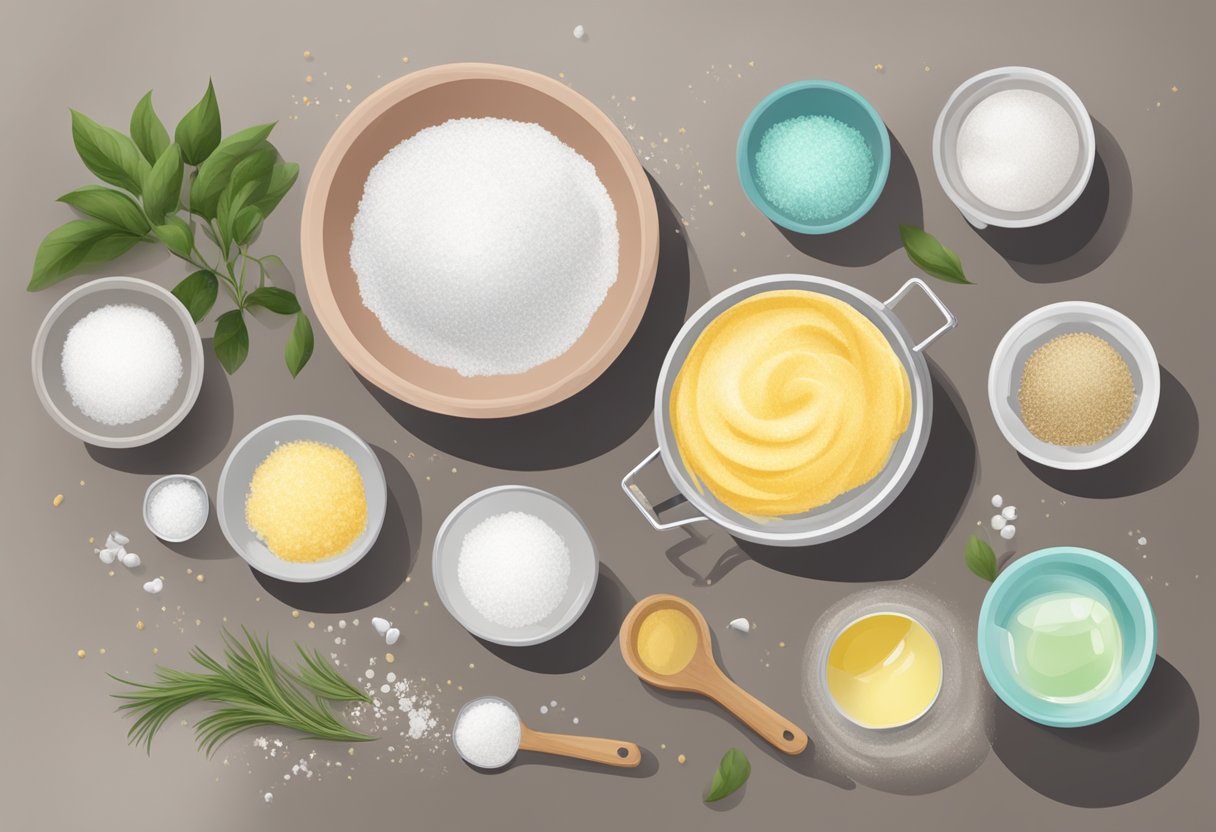
Making a whipped sugar scrub is a fun and easy DIY project that allows you to customize the ingredients to meet your skin’s specific needs. Here are some ways to customize your scrub:
Adding Color
Adding a few drops of food coloring to your whipped sugar scrub can make it more visually appealing. However, keep in mind that food coloring can stain your skin, so it’s best to use it sparingly. If you want to add color to your scrub, consider using natural ingredients like beet juice or turmeric powder.
Incorporating Exfoliants
While sugar is an excellent exfoliant, you can also add other ingredients to your whipped sugar scrub to enhance its exfoliating power. For instance, you can add ground coffee, salt, or oatmeal to your scrub. These ingredients can help remove dead skin cells and leave your skin feeling soft and smooth.
Adjusting Texture
The texture of your whipped sugar scrub is entirely up to you. If you prefer a more abrasive scrub, use granulated sugar. If you have sensitive skin, use brown or caster sugar instead. You can also adjust the texture of your scrub by adding more or less oil. If you want a creamier scrub, add more oil. If you want a drier scrub, use less oil.
In summary, customizing your whipped sugar scrub is easy and fun. By adding color, incorporating exfoliants, and adjusting the texture, you can create a scrub that meets your skin’s specific needs.
Packaging and Storage
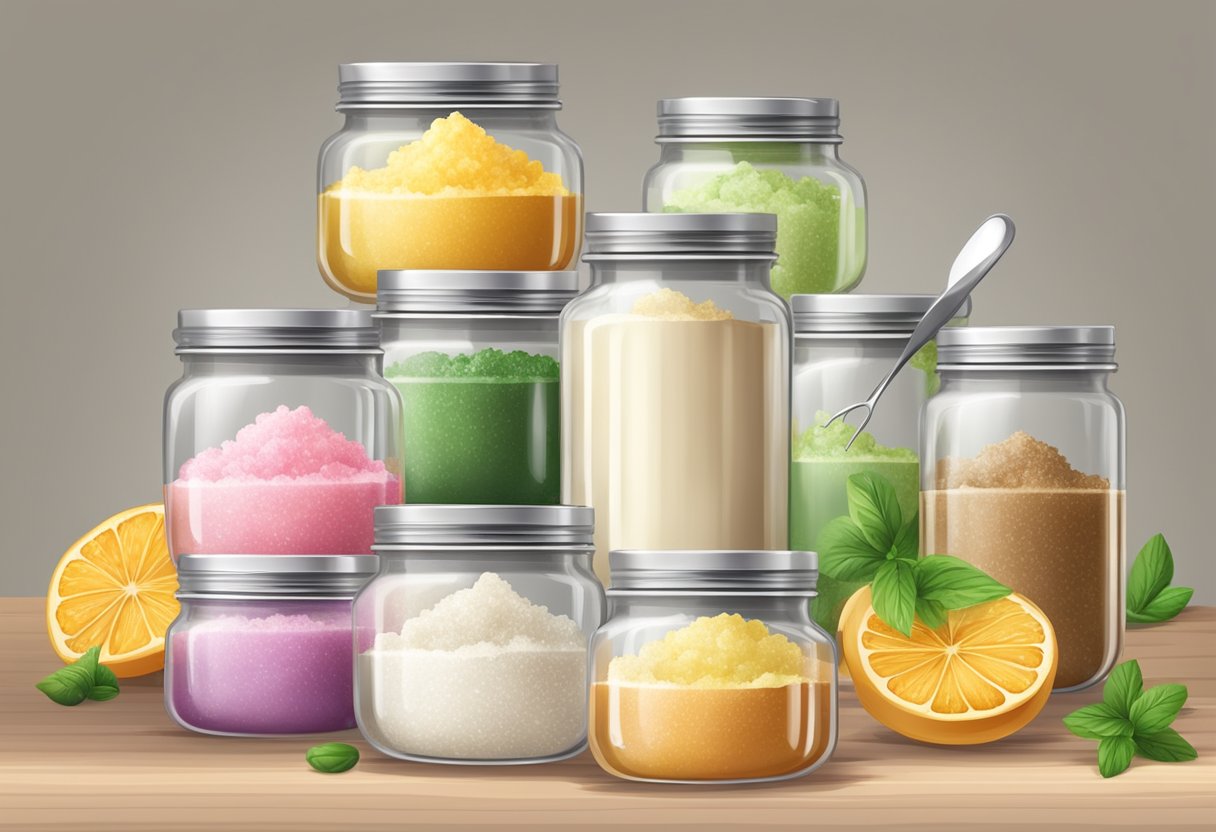
Choosing Containers
When it comes to packaging whipped sugar scrub, it is important to choose the right container that is both functional and aesthetically pleasing. The container should be able to hold the scrub securely and prevent any moisture or air from entering.
Glass jars with tight-fitting lids are a popular choice for packaging whipped sugar scrub. They are durable, reusable, and come in a variety of sizes and shapes. Plastic containers can also be used, but make sure they are made of high-quality plastic that will not react with the scrub.
It is important to label the containers with the name of the scrub, ingredients, and date of production. This will help the recipient know what they are using and when it was made.
Shelf Life and Preservation
Whipped sugar scrub has a shelf life of approximately 6 months when stored properly. To ensure the scrub lasts as long as possible, it is important to store it in a cool, dry place away from direct sunlight. Exposure to heat and light can cause the oils in the scrub to go rancid and reduce its effectiveness.
To preserve the scrub, it is important to keep it free from moisture and contamination. Always use a clean, dry spoon or scoop to remove the scrub from the container. Avoid using wet hands or fingers, as this can introduce bacteria into the scrub and cause it to spoil.
In summary, choosing the right container and storing the whipped sugar scrub properly can help extend its shelf life and preserve its effectiveness. By following these simple tips, you can ensure that your whipped sugar scrub remains fresh and effective for as long as possible.
Using Your Whipped Sugar Scrub

Application Techniques
To use your whipped sugar scrub, start by wetting your skin in the shower or bath. Take a small amount of the scrub and gently massage it onto your skin in circular motions. Pay extra attention to rough areas like elbows, knees, and heels. Avoid using the scrub on any open wounds or sensitive areas.
Rinse off the scrub with warm water and pat your skin dry with a towel. You can follow up with your favorite moisturizer or body oil to lock in moisture.
Frequency of Use
It is recommended to use whipped sugar scrub 1-2 times per week for best results. Overuse of the scrub can cause skin irritation and dryness. If you have sensitive skin, start with once a week and gradually increase frequency if your skin tolerates it well.
Remember to store your whipped sugar scrub in a cool, dry place to prevent the oils from melting and the sugar from clumping together. Use within 1-2 months for best results.
By following these simple tips, you can enjoy the benefits of a luxurious and exfoliating whipped sugar scrub in the comfort of your own home.
Frequently Asked Questions

What are the essential ingredients for a basic whipped sugar scrub?
The essential ingredients for a basic whipped sugar scrub include sugar, carrier oil, and essential oils. Sugar is the exfoliating agent that removes dead skin cells, while the carrier oil provides moisture to the skin. Essential oils are added for their aroma and therapeutic properties.
How can you create a whipped sugar scrub with shea butter?
To create a whipped sugar scrub with shea butter, you will need to melt the shea butter and carrier oil together before adding the sugar and essential oils. Once the mixture has cooled, it can be whipped to create a light and fluffy texture.
What steps are involved in making a whipped sugar scrub without coconut oil?
To make a whipped sugar scrub without coconut oil, you can use other carrier oils such as almond oil, jojoba oil, or avocado oil. The steps involved are similar to making a whipped sugar scrub with coconut oil. Melt the carrier oil and shea butter together, add the sugar and essential oils, and then whip the mixture to create a fluffy texture.
Can you explain the difference between traditional sugar scrub and whipped sugar scrub?
Traditional sugar scrub is a mixture of sugar and oil that is used to exfoliate the skin. Whipped sugar scrub, on the other hand, is a light and fluffy mixture of sugar, carrier oil, and essential oils that is whipped to create a creamy texture. The whipped texture makes it easier to apply and rinse off, and it provides a more luxurious experience.
What is the process for making a whipped foaming body scrub?
To make a whipped foaming body scrub, you will need to add a foaming agent such as liquid castile soap or SLSA (sodium lauryl sulfoacetate) to the mixture. The foaming agent creates a lather that helps to cleanse the skin. The process for making a whipped foaming body scrub is similar to making a whipped sugar scrub, but with the addition of the foaming agent.