Looking for a natural way to support your feminine self-care routine? This DIY herbal body oil—often referred to as yoni oil—is crafted with soothing ingredients like coconut oil, jojoba, and calming essential oils. It’s designed for external use to help moisturise, freshen, and comfort delicate skin.
Whether you’re new to natural skincare or already enjoy making your own beauty products at home, this simple recipe is a gentle, aromatic blend you can personalise to suit your preferences. With just a few nourishing oils and botanicals, you can create a relaxing addition to your daily self-care ritual.
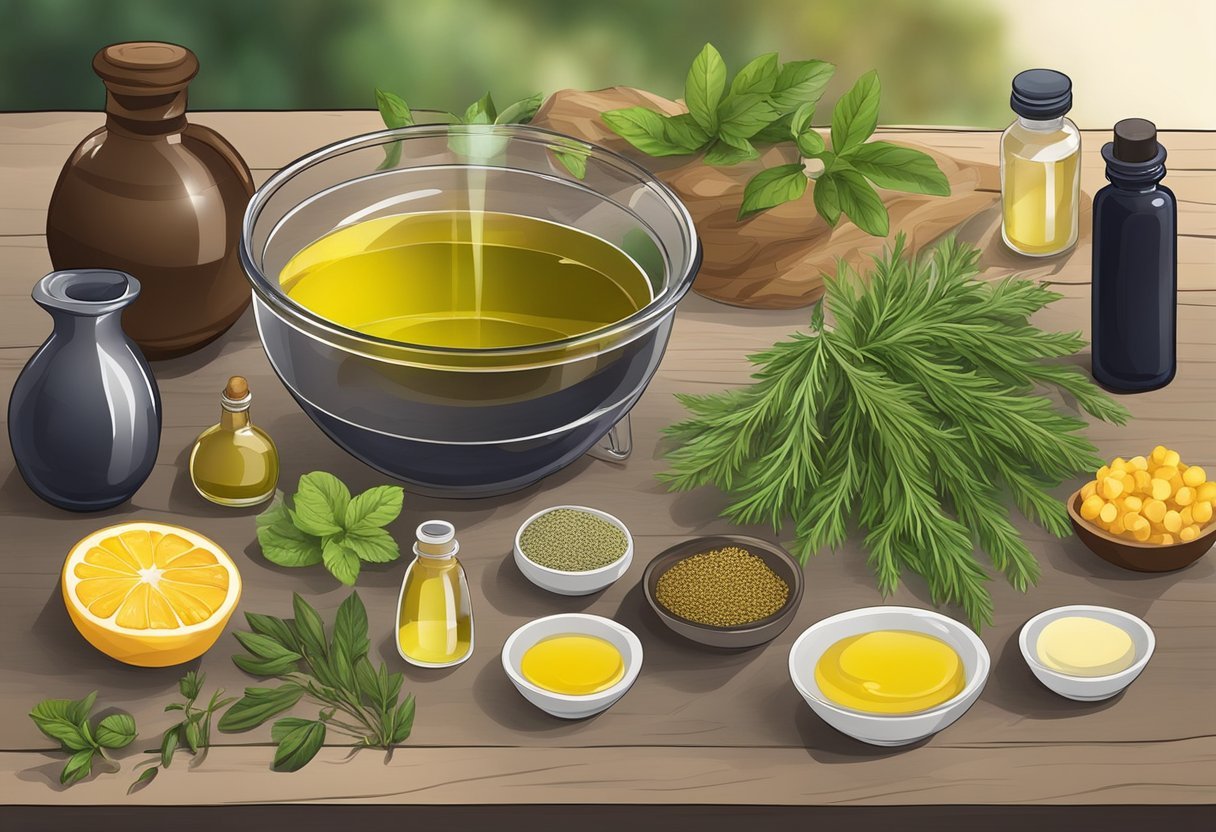
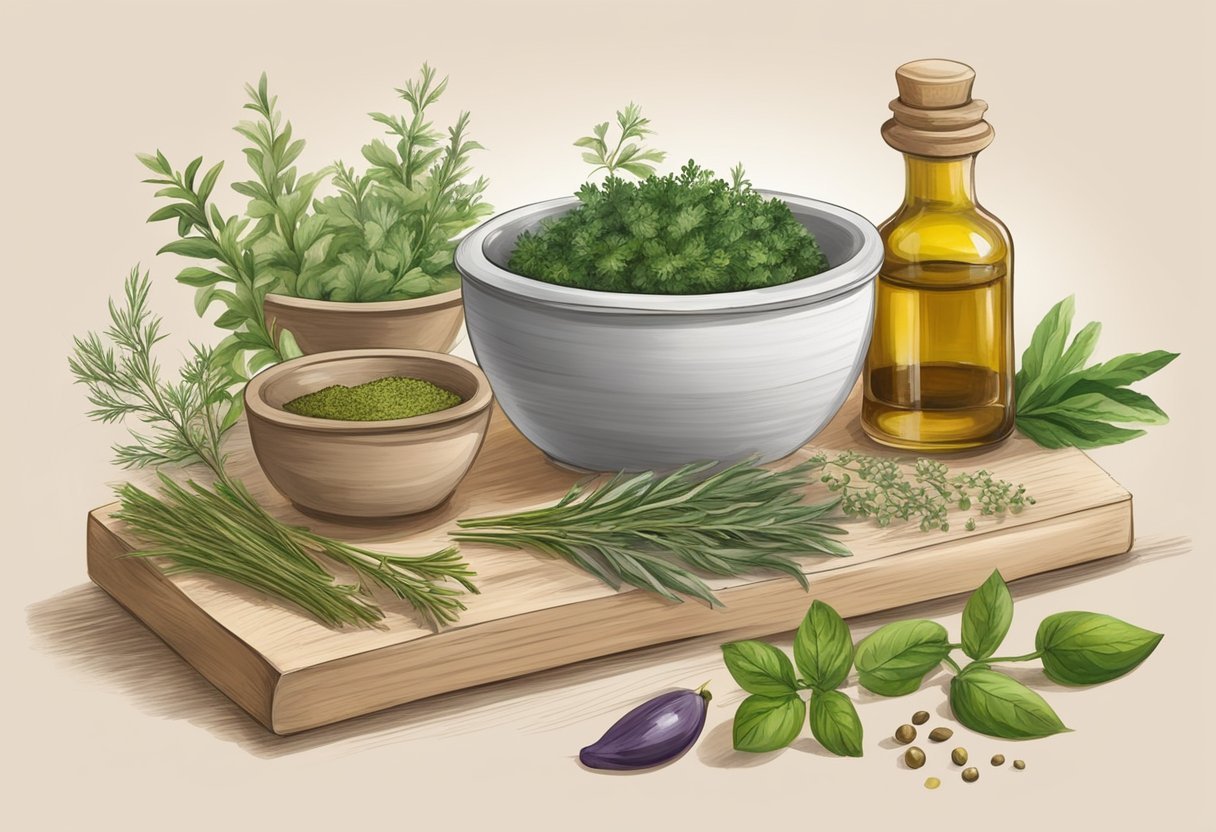
The ingredients for yoni oil recipe are simple and easy to find. They include essential oils such as tea tree oil, neroli, and sweet orange oil, which provide a pleasant fragrance and have antimicrobial properties. Other ingredients include liquid cold-pressed coconut oil, organic jojoba oil, organic sunflower oil, and neem oil. These ingredients work together to moisturize and soothe the vaginal area, reducing dryness, itching, and discomfort.
Making yoni oil at home is not only cost-effective but also allows you to tailor the recipe to your specific needs. By using natural, organic ingredients, you can avoid harsh chemicals and artificial fragrances that can irritate the delicate skin in the vaginal area. With this step-by-step guide, you can create your own yoni oil recipe and enjoy the benefits of this natural, herbal oil.
Understanding Yoni Oil

Yoni oil is a natural oil specifically formulated for the intimate area. It is made with a blend of essential oils and carrier oils that help to moisturize and rejuvenate the skin. Yoni oil is also known to have several benefits for vaginal health.
Benefits of Yoni Oil
Yoni oil has several benefits for vaginal health. Some of the benefits of using yoni oil include:
-
Reducing dryness and discomfort: Yoni oil is a moisturizing oil that helps to soothe dryness and itching caused by various factors such as parched skin, razor bumps, hair regrowth, and friction with clothing. It helps to increase the elasticity of the skin and reduce discomfort.
-
Supporting cycle comfort: Some individuals include yoni oil in their self-care routines during their monthly cycle to promote relaxation and skin hydration. While not a treatment for cycle-related concerns, soothing oils like lavender or rose may help promote a calming atmosphere.
-
Improving odor: Yoni oil is formulated to combat odor with the use of tea tree oil, a natural antimicrobial agent that helps to curb the growth of bacteria and yeast that can lead to unpleasant smells. Additionally, it contains neroli and sweet orange essential oils which provide a pleasant and feminine fragrance.
Essential Ingredients
Yoni oil is made with a blend of essential oils and carrier oils that help to moisturize and rejuvenate the skin. Some of the essential ingredients that are commonly used in yoni oil include:
-
Tea Tree Oil: Tea tree oil is a natural antimicrobial agent that helps to combat odor and prevent the growth of bacteria and yeast.
-
Neroli Essential Oil: Neroli essential oil is known for its calming and relaxing properties. It helps to soothe and balance the skin.
-
Sweet Orange Essential Oil: Sweet orange essential oil is known for its uplifting and energizing properties. It helps to provide a pleasant and feminine fragrance.
-
Carrier Oils: Carrier oils such as coconut oil, jojoba oil, and almond oil are used to dilute the essential oils and provide a moisturizing effect on the skin.
Overall, yoni oil is a natural and effective tool for maintaining vaginal health. By understanding the benefits and essential ingredients of yoni oil, individuals can make informed decisions about incorporating it into their feminine self-care routine.
Safety and Precautions
When making yoni oil at home, it is important to take safety and precautions seriously. Here are some key things to keep in mind:
Allergy Testing
Before using any new oil or ingredient, it is important to do a patch test to ensure that you are not allergic to it. To do this, simply apply a small amount of the oil to a small area of skin and wait for 24 hours to see if any allergic reaction occurs. If you experience redness, itching, or swelling, discontinue use immediately.
Understanding Carrier Oils
Carrier oils are used to dilute essential oils and other ingredients in yoni oil. It is important to choose high-quality carrier oils that are safe for use on the skin. Some popular carrier oils include coconut oil, jojoba oil, sunflower oil, and olive oil. When selecting a carrier oil, be sure to consider its texture, scent, and potential for irritation.
It is also important to keep in mind that some carrier oils may interact with certain medications or medical conditions. For example, women who are pregnant or breastfeeding should avoid using certain essential oils and carrier oils. It is always a good idea to consult with a healthcare professional before using any new product on the skin.
By taking these safety precautions, you can ensure that your yoni oil is safe and effective for use.
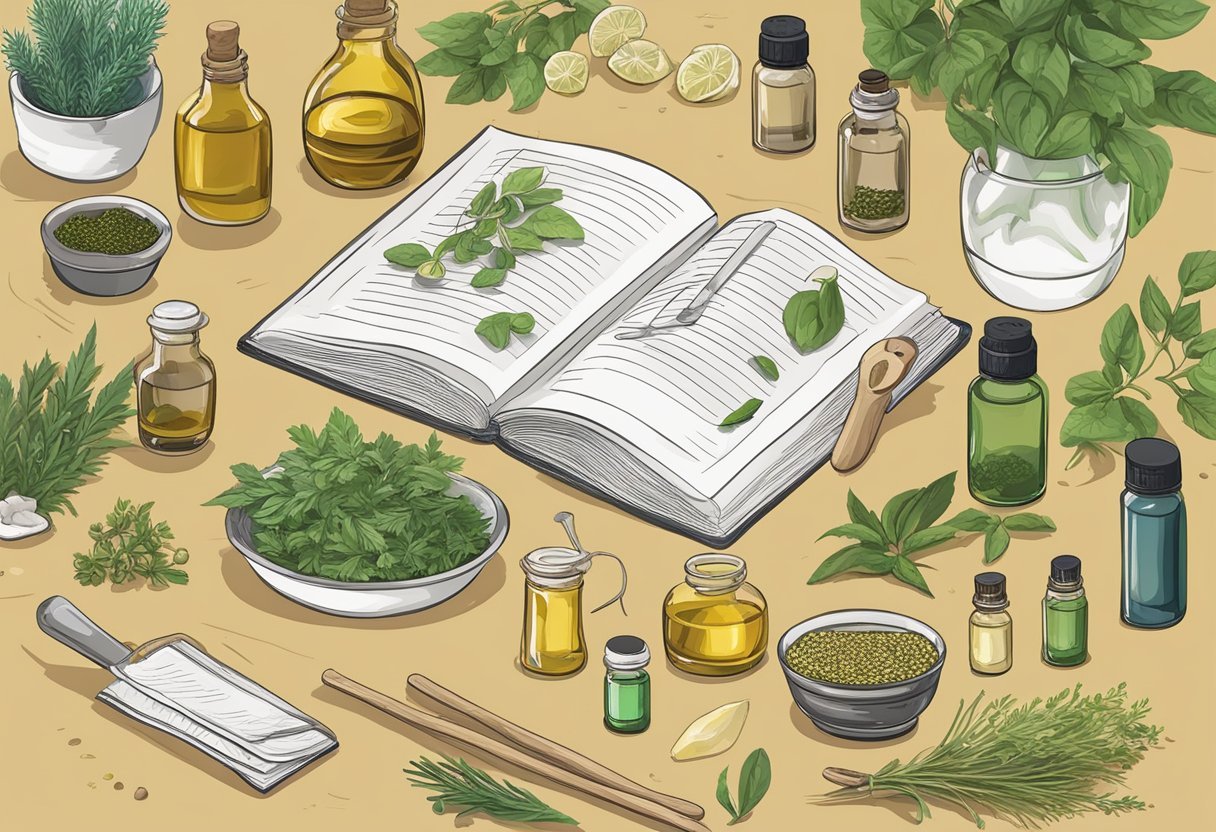
Creating Your Recipe
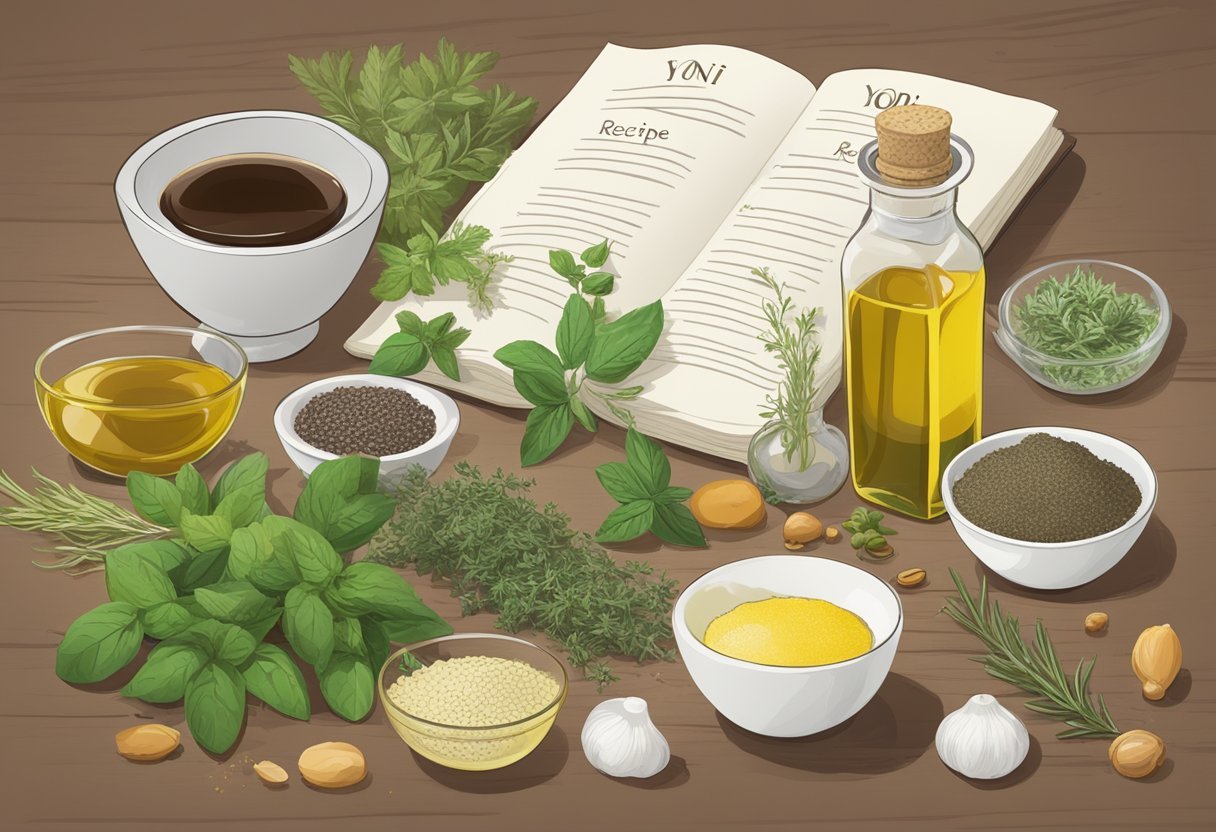
When it comes to creating your own yoni oil recipe, there are two main factors to consider: selecting essential oils and determining ratios.
Selecting Essential Oils
Essential oils are the backbone of any yoni oil recipe. They provide the fragrance and therapeutic benefits that make yoni oil so effective. Some of the most popular essential oils for yoni oil include:
- Tea tree oil: A natural antimicrobial agent that helps to curb the growth of bacteria and yeast that can lead to unpleasant smells.
- Neroli oil: Known for its light floral scent, neroli oil is often used in aromatherapy to encourage relaxation and calm.
- Lavender oil: A calming scent that helps to soothe irritation and inflammation.
- Rose oil: A romantic and sensual fragrance that helps to balance hormones and reduce stress.
Of course, these are just a few examples. There are many other essential oils that can be used in yoni oil, depending on your preferences and needs.
Determining Ratios
Once you have selected your essential oils, it’s time to determine the ratios. This is where things can get a little tricky, as there is no one-size-fits-all approach.
A good rule of thumb is to start with a carrier oil, such as coconut oil or jojoba oil, and add a few drops of each essential oil. You can then adjust the ratios based on your preferences and needs.
For example, if you are looking to combat odor, you may want to use more tea tree oil. If you are looking to reduce stress, you may want to use more neroli oil.
It’s also important to keep in mind that essential oils are highly concentrated, so a little goes a long way. Always start with small amounts and test the oil on a small patch of skin before wider use, especially on delicate areas.
Overall, creating your own yoni oil recipe can be a fun and rewarding experience. By selecting the right essential oils and determining the right ratios, you can create a personalized yoni oil that is tailored to your unique needs and preferences.
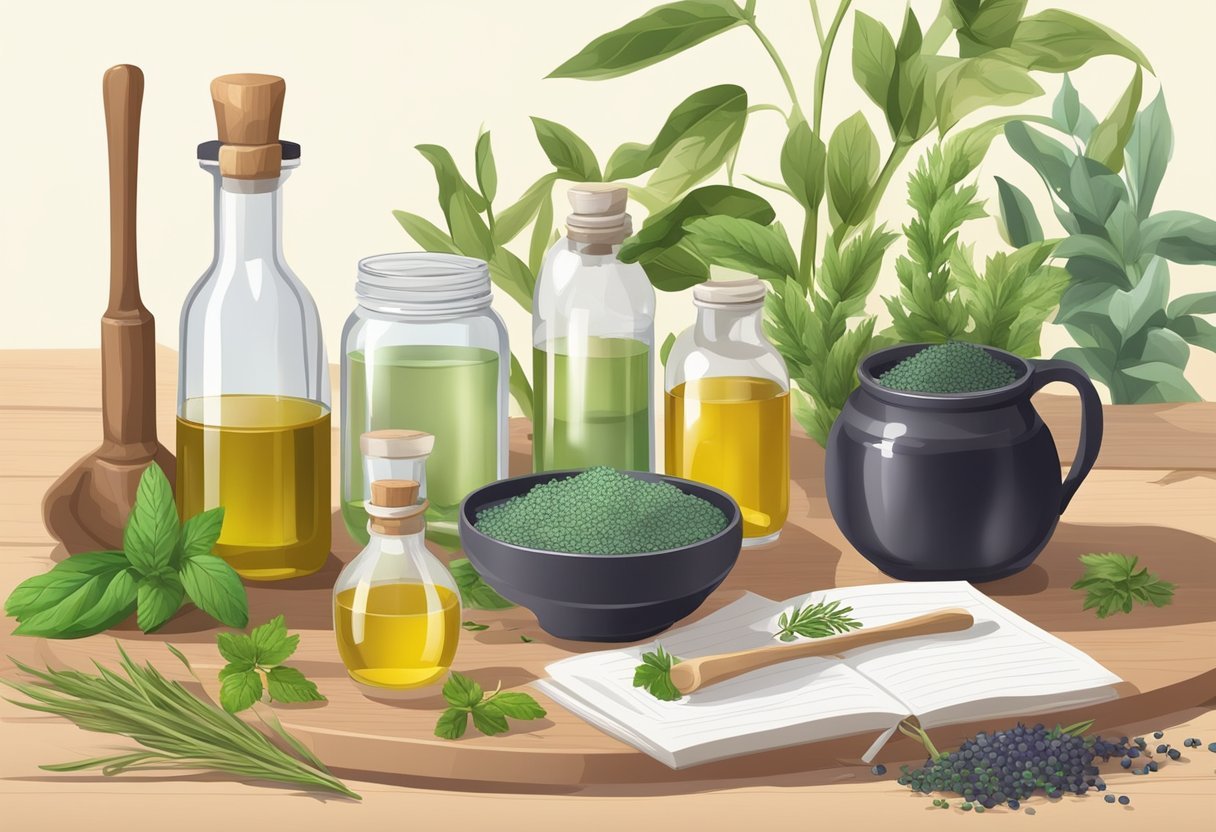
Preparation Steps

Sterilizing Equipment
Before making yoni oil, it is important to ensure that all equipment is properly sterilized to prevent the growth of harmful bacteria. To do this, the following steps should be followed:
- Wash all equipment with soap and water and rinse thoroughly.
- Soak all equipment in a solution of 1 part white vinegar to 3 parts water for at least 10 minutes.
- Rinse all equipment with boiling water and allow to air dry.
Mixing the Ingredients
Once all equipment is properly sterilized, the ingredients can be mixed to create yoni oil. The following recipe can be used:
- 1/2 cup of carrier oil (such as sweet almond oil, coconut oil, or jojoba oil)
- 10-15 drops of essential oils (such as tea tree oil, lavender oil, or peppermint oil)
To make yoni oil, follow these steps:
- In a clean and sterilized bowl, combine the carrier oil and essential oils.
- Mix the ingredients thoroughly until they are well combined.
- Pour the mixture into a sterilized bottle or jar with a tight-fitting lid.
- Store the yoni oil in a cool, dark place away from direct sunlight.
It is important to note that yoni oil should not be used internally and should only be applied externally to the vulva area. Additionally, it is recommended to perform a patch test on a small area of skin before using yoni oil to ensure that there is no adverse reaction.
Usage Guidelines
Application Methods
To use the yoni oil, apply a few drops of the oil around the female genitalia using a cotton ball or your fingers. It is recommended to use this oil daily for optimum results. The natural oils in this blend may help hydrate external skin and promote overall comfort. Some ingredients like tea tree oil are commonly used in skincare for their refreshing scent and natural cleansing properties. Additionally, it contains neroli and sweet orange essential oils which provide a pleasant and feminine fragrance.
Storage and Shelf Life
Yoni oil should be stored in a cool, dry place away from direct sunlight. It is recommended to use the oil within six months of making it. The shelf life of yoni oil can be extended by adding vitamin E oil, which acts as a natural preservative. To do this, add one teaspoon of vitamin E oil to the recipe when making the yoni oil.
It is important to note that yoni oil should not be used as a substitute for medical treatment. If you experience any discomfort or abnormal symptoms, it is recommended to consult a healthcare professional.
By following these usage guidelines, you can incorporate yoni oil into your feminine self-care routine and potentially experience benefits such as improved elasticity, skin health, and odor control.
Customization Tips
Yoni oil can be customized to suit individual preferences and needs. Here are some tips to help you customize your yoni oil recipe:
For Relaxation
If you want to use yoni oil for relaxation, you can add lavender essential oil to your recipe. Lavender oil is known for its calming properties and can help to reduce stress and anxiety. You can also add chamomile essential oil to your recipe, which can help to soothe and calm the mind and body.
For Sensual Experience
If you want to use yoni oil for a sensual experience, you can add ylang-ylang essential oil to your recipe. Ylang-ylang oil is known for its aphrodisiac properties and can help to enhance sexual desire and pleasure. You can also add patchouli essential oil to your recipe, which has a musky and earthy scent that is known to be an aphrodisiac.
When customizing your yoni oil recipe, be sure to use high-quality essential oils that are safe for topical use. You can also experiment with different carrier oils to find the one that works best for you. Some popular carrier oils for yoni oil include coconut oil, jojoba oil, and sweet almond oil.
Remember that everyone’s body is different, so it may take some experimentation to find the perfect yoni oil recipe for you. Start with a small batch and adjust the recipe as needed to achieve the desired results.
Frequently Asked Questions
What are the essential ingredients needed to create Yoni oil?
The essential ingredients for making Yoni oil are base oils, herbs, and essential oils. The base oils nourish and moisturize the skin, while the herbs and essential oils provide various benefits such as anti-inflammatory, antibacterial, and antifungal properties. The most commonly used base oils include sweet almond oil, coconut oil, and jojoba oil.
Which essential oils are recommended for adding to a Yoni oil blend?
Some of the recommended essential oils for adding to a Yoni oil blend include lavender, tea tree, geranium, and chamomile. These oils have antibacterial, antifungal, and anti-inflammatory properties that can help soothe and heal the vaginal area.
How can Yoni oil be formulated to address feminine odor concerns?
To address feminine odor concerns, Yoni oil can be formulated with essential oils such as tea tree, lavender, and lemon. These oils have antibacterial properties that can help eliminate odor-causing bacteria. Additionally, adding herbs such as rosemary and thyme can help neutralize odor.
What are the top herbs to include in a Yoni oil mixture?
Some of the top herbs to include in a Yoni oil mixture include calendula, chamomile, rose petals, and yarrow. These herbs have anti-inflammatory, antibacterial, and antifungal properties that can help soothe and heal the vaginal area.
Are there any considerations or sensitivities to be aware of with Yoni oil?
Everyone’s skin is different, and sensitivities to essential oils or carrier oils can occur. Always perform a patch test before wider use, and discontinue if you experience redness or irritation. For ongoing concerns, consult a qualified professional.