Lemon and salt are two natural ingredients that are commonly used to remove blackheads. Blackheads are a type of acne that occurs when the pores on the skin become clogged with oil, dead skin cells, and other impurities. They are most commonly found on the nose, forehead, and chin, and can be difficult to remove without causing damage to the skin.

Lemon contains citric acid, which is a natural exfoliant that helps to remove dead skin cells and unclog pores. Salt, on the other hand, is a natural antibacterial agent that helps to kill bacteria and prevent infection. When combined, lemon and salt create a powerful natural remedy that can help to remove blackheads and improve the overall appearance of the skin.
In this article, we will discuss how to remove blackheads with lemon and salt. We will provide step-by-step instructions on how to prepare and apply this natural remedy, as well as tips on how to prevent blackheads from forming in the first place. Whether you have just a few blackheads or a more severe case of acne, lemon and salt can be an effective and affordable way to improve the health and appearance of your skin.
Understanding Blackheads

What Are Blackheads?
Blackheads are a type of acne that occurs when hair follicles become clogged with excess oil, dead skin cells, and bacteria. They are called blackheads because the surface of the clogged pore appears black or dark. Blackheads are a common skin problem and can occur on any part of the body, but they are most commonly found on the face, nose, and chin.
Causes of Blackheads
Blackheads are caused by a variety of factors, including genetics, hormonal changes, and lifestyle habits. Some of the most common causes of blackheads include:
- Excess oil production: When the body produces too much oil, it can clog hair follicles and lead to blackheads.
- Dead skin cells: As skin cells die, they can accumulate on the surface of the skin and clog pores.
- Bacteria: Bacteria on the skin can contribute to the formation of blackheads.
- Hormonal changes: Hormonal changes during puberty, menstruation, and pregnancy can cause an increase in oil production and lead to blackheads.
- Diet: A diet high in sugar and refined carbohydrates can contribute to the development of blackheads.
To prevent and treat blackheads, it is important to maintain a regular skincare routine that includes cleansing, exfoliating, and moisturizing. In addition, avoiding pore-clogging products and maintaining a healthy diet can help keep blackheads at bay.
Benefits of Lemon and Salt for Skin
Lemon and salt are two ingredients that are widely used in skincare routines due to their numerous benefits. When combined, they can help remove blackheads and leave the skin looking brighter and smoother. Here are some of the benefits of using lemon and salt for the skin:
Lemon’s Skin Benefits
Lemon is a citrus fruit that is rich in vitamin C, which is a powerful antioxidant that helps protect the skin from damage caused by free radicals. It also has astringent properties that help tighten the pores and reduce excess oil on the skin. Lemon juice is also a natural exfoliant that can help remove dead skin cells and unclog pores, which can help prevent blackheads from forming.
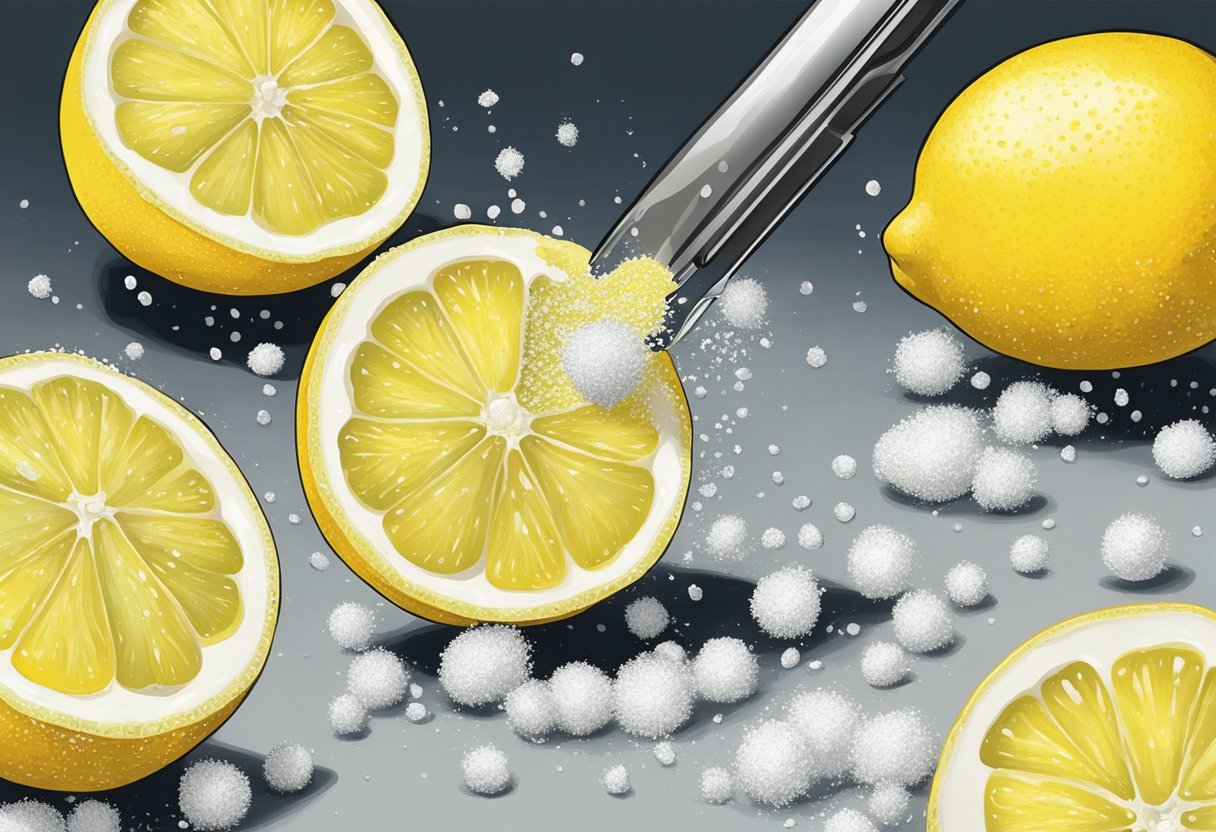
Salt’s Exfoliating Properties
Salt is a natural exfoliant that can help remove dead skin cells and unclog pores. It also has antibacterial properties that can help kill bacteria that can cause acne and blackheads. When used in combination with lemon juice, salt can help remove blackheads and leave the skin looking brighter and smoother.
To use lemon and salt to remove blackheads, mix equal parts of lemon juice and salt to form a paste. Gently massage the paste onto the affected area for a few minutes, then rinse off with warm water. Be careful not to overdo it, as the salt can be abrasive and cause irritation if used too often or too vigorously.
Overall, lemon and salt are two natural ingredients that can help remove blackheads and leave the skin looking brighter and smoother. When used in moderation and with care, they can be a great addition to any skincare routine.
Preparing the Lemon and Salt Mixture
Required Ingredients
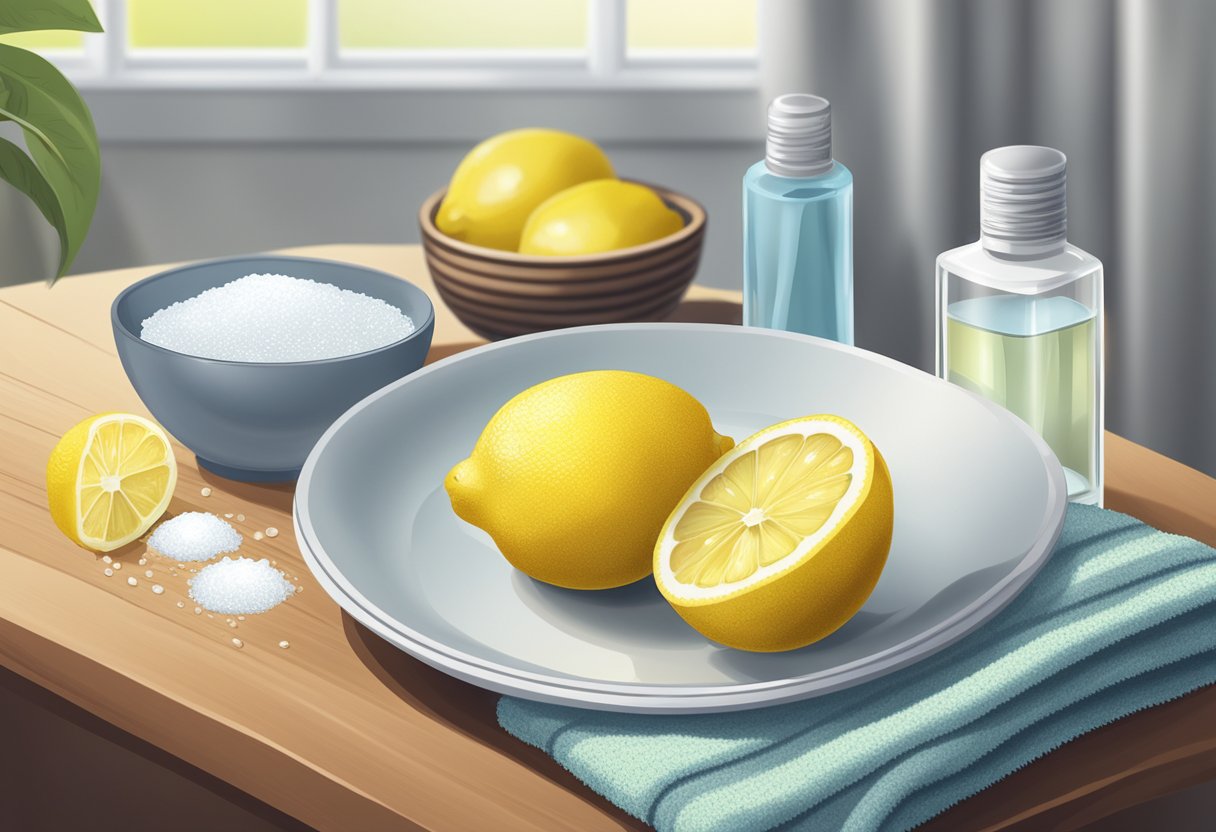
To prepare the lemon and salt mixture for removing blackheads, you will need the following ingredients:
- 1 tablespoon of sea salt
- 1 tablespoon of lemon juice
- 1 small bowl
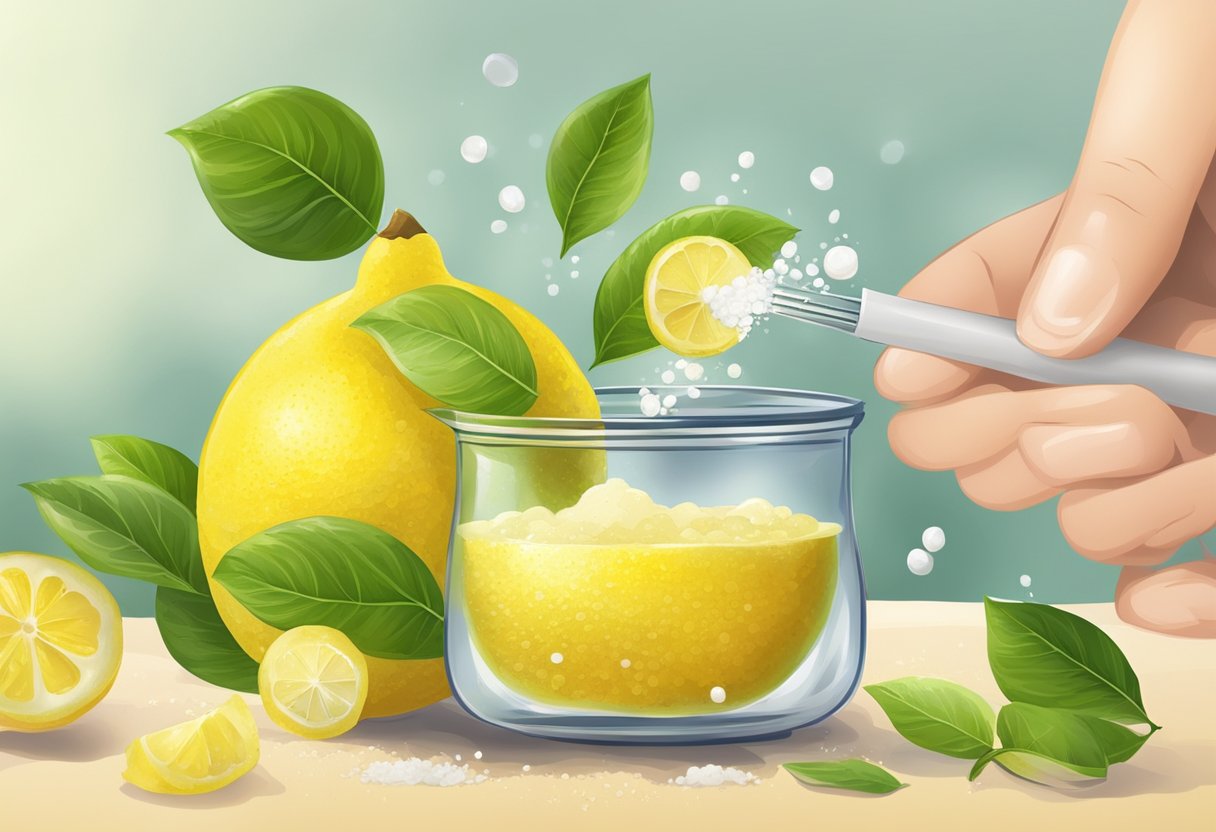
Sea salt is an excellent natural exfoliant that helps to remove dead skin cells and unclog pores. Lemon juice contains citric acid, which helps to dissolve blackheads and other impurities. When combined, these two ingredients make an effective blackhead removal solution.
Mixing Instructions
To mix the lemon and salt solution, follow these steps:
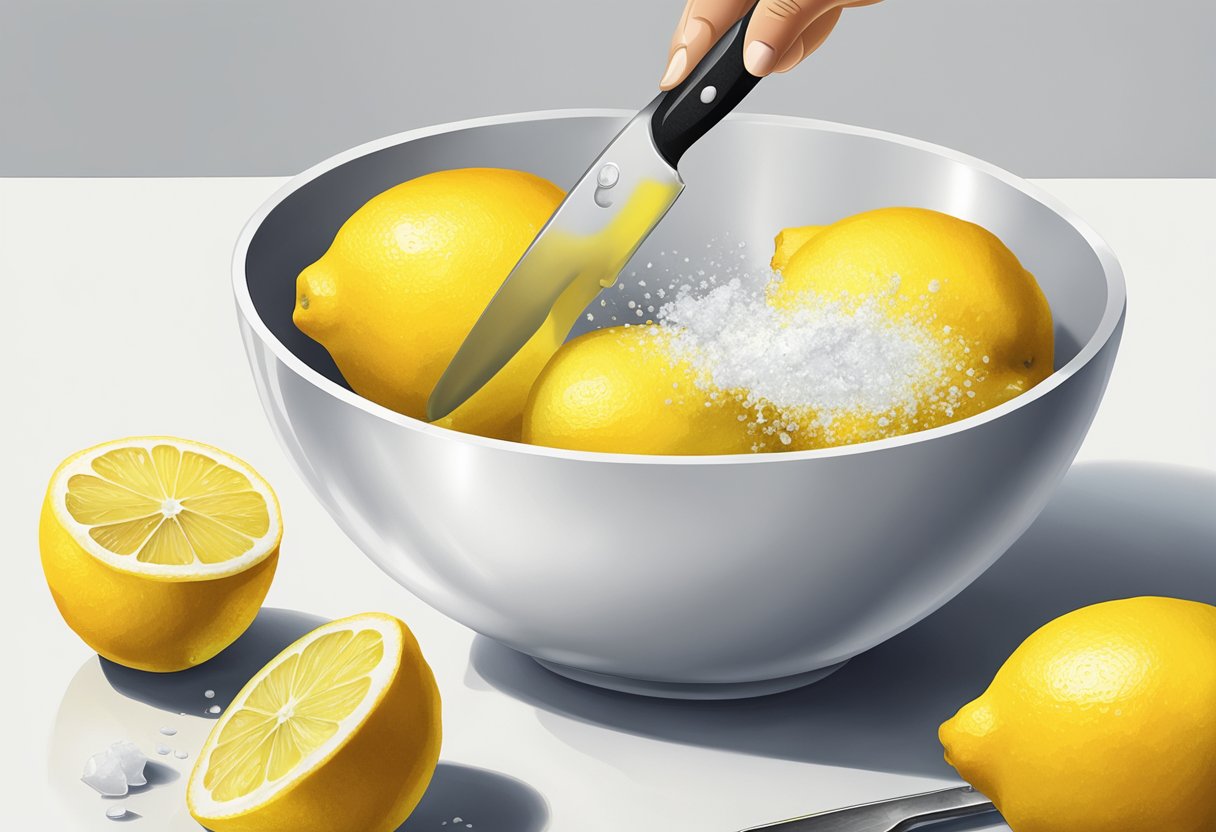
- Pour 1 tablespoon of sea salt into a small bowl.
- Add 1 tablespoon of freshly squeezed lemon juice to the bowl.
- Mix the ingredients together until they form a paste.
- If the mixture is too thick, add a few drops of water to thin it out.
Once you have prepared the lemon and salt mixture, you are ready to apply it to your skin. But before you do, make sure to cleanse your face thoroughly to remove any dirt and oil buildup. This will help to ensure that the mixture can penetrate your pores and effectively remove blackheads.
Note: If you have sensitive skin, you may want to test the lemon and salt mixture on a small area of your skin first to make sure that it doesn’t cause any irritation or redness.
Application Process

Skin Cleansing
Before applying the mixture of lemon and salt to remove blackheads, it is important to properly cleanse the skin. This will help to remove any dirt, oil, or makeup that may be clogging the pores and preventing the mixture from working effectively. Use a gentle cleanser and warm water to wash the face and pat it dry with a clean towel.
Applying the Mixture
To prepare the mixture, combine 1 tablespoon of lemon juice with 1 teaspoon of salt in a small bowl. Mix them well to form a paste. Apply the mixture directly to the affected areas of the skin using clean fingertips or a cotton swab. Be gentle and avoid scrubbing too hard, as this can cause irritation and redness. Leave the mixture on the skin for about 5-10 minutes.
Duration and Frequency
After 5-10 minutes, rinse the mixture off with warm water and pat the skin dry. It is recommended to use this mixture once or twice a week. Overuse of this mixture can cause irritation and dryness, so it is important to use it in moderation. Additionally, it is important to apply a moisturizer after using this mixture to prevent the skin from becoming too dry.
In conclusion, using a mixture of lemon and salt can be an effective way to remove blackheads from the skin. However, it is important to follow the correct application process and use it in moderation to avoid any negative side effects. Proper skin cleansing, gentle application of the mixture, and using it once or twice a week are key to achieving the desired results.
Post-Application Care
After using the lemon and salt mixture to remove blackheads, it is essential to take care of the skin to avoid any adverse effects. Here are some post-application care tips that can help:
Rinsing the Skin
After applying the lemon and salt mixture, rinse the skin thoroughly with lukewarm water. This will help remove any residue left on the skin and prevent irritation. Avoid using hot water as it can strip the skin of its natural oils, leading to dryness and irritation.
Moisturizing
After rinsing the skin, it is important to moisturize it with a non-comedogenic moisturizer. This will help keep the skin hydrated and prevent dryness. Look for a moisturizer that contains ingredients such as hyaluronic acid, glycerin, and ceramides. These ingredients help to lock in moisture and protect the skin’s natural barrier.
It is also important to avoid using any harsh products on the skin, such as scrubs or exfoliants, for at least 24 hours after using the lemon and salt mixture. This will give the skin time to heal and prevent any further irritation.
Overall, taking care of the skin after using the lemon and salt mixture is crucial to maintaining healthy, clear skin. By following these simple post-application care tips, one can avoid any adverse effects and keep their skin looking its best.
Precautions and Considerations

Skin Sensitivity
Before using any home remedies for blackhead removal, it is important to consider your skin sensitivity. Lemon juice and salt can be harsh on the skin, especially for those with sensitive skin. If you have sensitive skin, it is recommended to dilute the lemon juice with water before applying it to your face.
It is also important to note that lemon juice can make your skin more sensitive to sunlight. Therefore, it is recommended to apply sunscreen after using lemon juice on your face.
Allergy Test
Before using any new skincare product or home remedy, it is recommended to perform a patch test to check for any allergies or adverse reactions. To perform a patch test, apply a small amount of the mixture on your inner arm and wait for 24 hours to see if there is any reaction. If there is no reaction, you can safely use the mixture on your face.
It is important to note that if you experience any redness, itching, or swelling after using the mixture, you should stop using it immediately and consult a dermatologist.
Alternative Blackhead Removal Methods
While lemon and salt can be effective in removing blackheads, there are other methods that can also be used. Here are some alternative blackhead removal methods:
1. Baking Soda
Baking soda is a common household item that can be used to remove blackheads. It works as an exfoliant, removing dirt, oil, and dead skin cells. To use baking soda, mix it with water to form a paste. Apply the paste to the affected area and massage it gently for a few minutes. Rinse it off with warm water.
2. Honey
Honey has antibacterial properties that can help to remove blackheads. It also helps to soothe and moisturize the skin. To use honey, apply a thin layer of it to the affected area. Leave it on for 10-15 minutes, then rinse it off with warm water.
3. Egg Whites
Egg whites can help to tighten pores and remove blackheads. To use egg whites, separate the egg white from the yolk and beat it until it is frothy. Apply the egg white to the affected area and leave it on for 10-15 minutes, or until it dries. Rinse it off with warm water.
4. Charcoal
Activated charcoal has become a popular ingredient in skincare products due to its ability to absorb impurities and toxins. It can also be used to remove blackheads. To use charcoal, mix it with water to form a paste. Apply the paste to the affected area and leave it on for 10-15 minutes. Rinse it off with warm water.
5. Tea Tree Oil
Tea tree oil has antibacterial properties that can help to remove blackheads. To use tea tree oil, mix a few drops of it with water. Apply the mixture to the affected area and leave it on for 10-15 minutes. Rinse it off with warm water.
Overall, there are many alternative methods for removing blackheads. It’s important to find the method that works best for your skin type and to use it consistently for best results.
Frequently Asked Questions
What is the effectiveness of lemon and salt for blackhead removal?
Lemon and salt are both natural ingredients that have been known to help remove blackheads. Lemon contains citric acid which has drying effects on the skin and controls overproduction of sebum in the skin’s sebaceous glands, thus keeping blackheads at bay. Salt acts as a natural exfoliant, helping to remove dead skin cells and dirt clogging your pores.
What are the steps for using lemon and salt to treat blackheads?
To use lemon and salt to treat blackheads, mix equal parts of lemon juice and salt to form a paste. Apply the paste onto the affected areas of the skin and gently massage for a few minutes. Leave the paste on the skin for about 15 minutes before washing it off with lukewarm water. It is recommended to use this treatment once or twice a week.
How does the combination of lemon juice and salt work against blackheads?
The combination of lemon juice and salt works against blackheads by removing dead skin cells and dirt clogging the pores. Lemon juice helps to shrink the pores on the skin faster which in turn prevents blackheads. Salt acts as a natural exfoliant that helps to remove dirt and impurities from the skin.
Are there any quick home remedies for blackhead removal?
Apart from using lemon and salt, there are several other quick home remedies for blackhead removal. Some of these include using baking soda, honey, egg whites, and apple cider vinegar. However, it is important to note that some of these remedies may not work for everyone and it is always best to consult a dermatologist if you have persistent blackheads.
What precautions should be taken when using lemon and salt on the skin?
When using lemon and salt on the skin, it is important to avoid using too much salt as it can cause irritation and redness. Also, lemon juice can make the skin more sensitive to the sun, so it is important to use sunscreen if you plan to go outside after using this treatment. It is also important to avoid using this treatment if you have any open wounds or cuts on your skin.