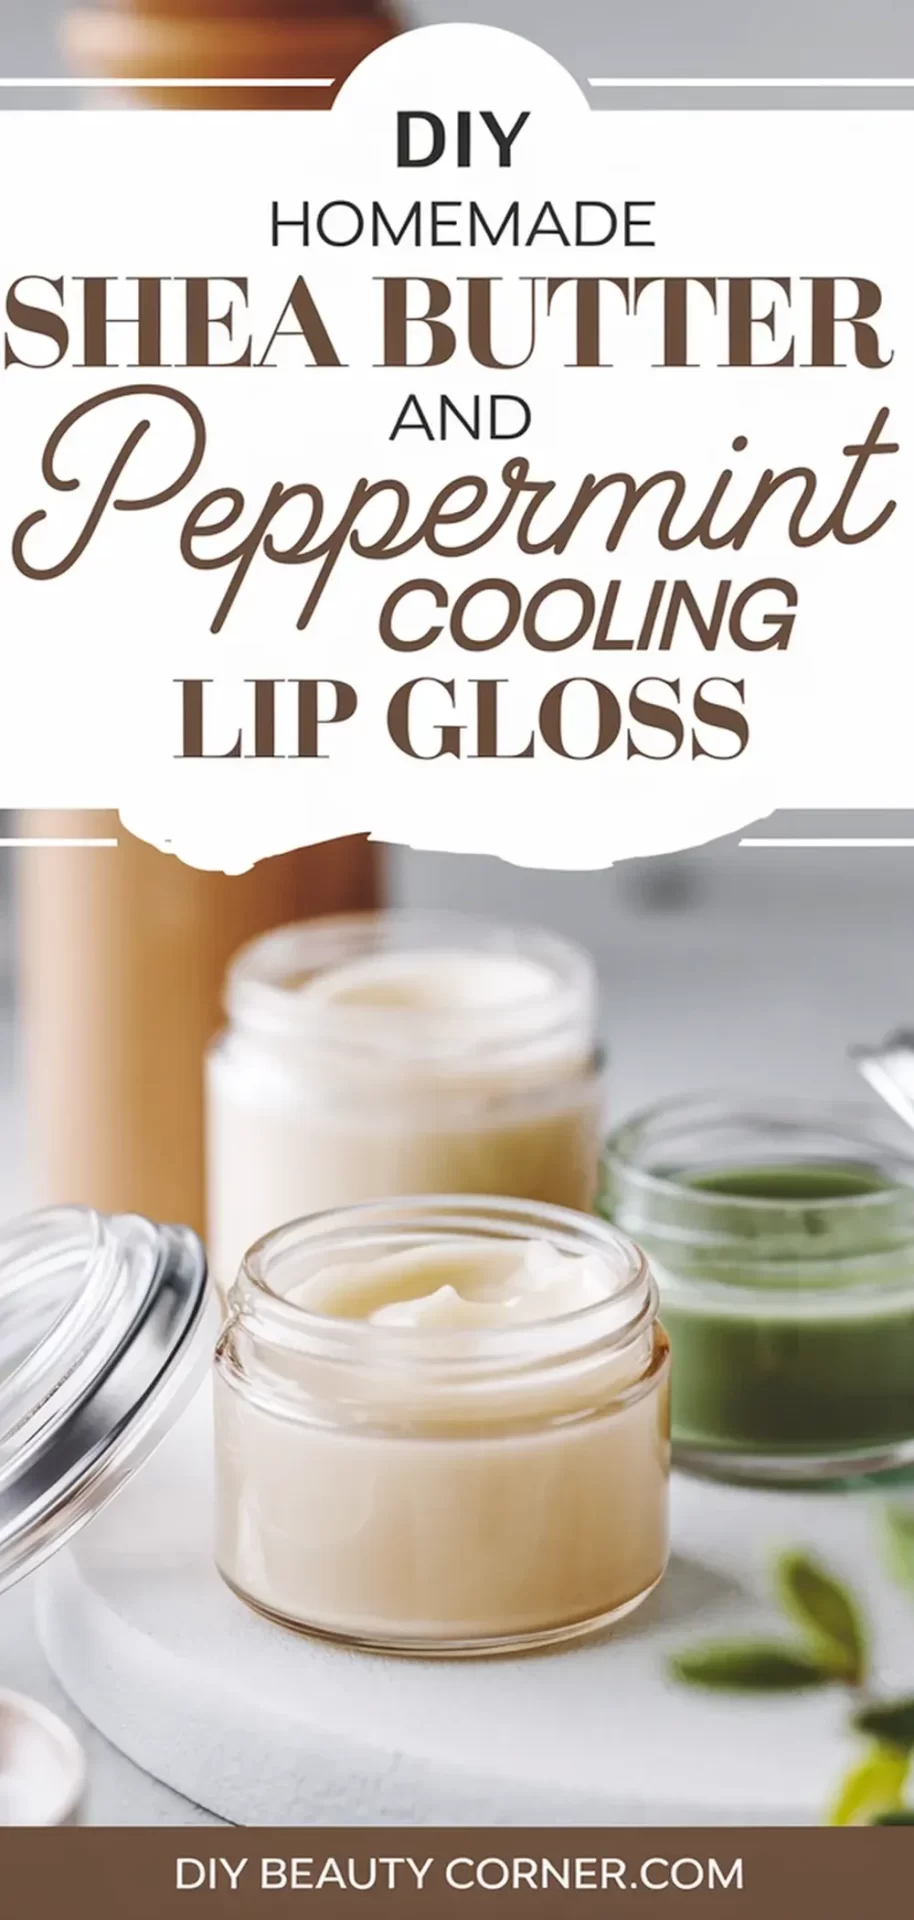
Creating your own beauty products can be a rewarding experience, especially when it comes to lip care. I found that a simple shea butter and peppermint cooling lip gloss recipe not only nourishes my lips but also provides a refreshing sensation. The combination of shea butter and peppermint oil offers hydration along with a delightful cooling effect, making it perfect for daily use.
In this blog post, I’ll share my straightforward step-by-step process for making this luscious lip gloss at home. You’ll discover the key ingredients and how to blend them to achieve the best texture and flavor. Whether you’re a seasoned DIY enthusiast or a beginner looking to try something new, this recipe is easy to follow and results in a product that’s both effective and enjoyable to use.
Get ready to impress yourself with the simplicity and effectiveness of crafting your own lip gloss. With just a few ingredients and some simple steps, you can have your own moisturizing and refreshing lip care ready in no time.
Ingredients and Benefits
This lip gloss recipe features a few key ingredients, each offering unique benefits for your lips. Understanding these ingredients will help me appreciate their roles in creating a nourishing and soothing lip product.
Raw Shea Butter
I use one tablespoon of raw shea butter for its rich, moisturizing properties. This natural fat is packed with vitamins A and E, which support skin health and provide hydration. Shea butter forms a protective barrier on the lips, preventing moisture loss. Its anti-inflammatory properties also help soothe irritated skin, making it particularly beneficial for chapped lips.
Additionally, the creamy texture of shea butter contributes to the gloss’s smooth application. I recommend sourcing unrefined shea butter for the best quality, as it retains more of its natural nutrients. This ingredient is a remarkable choice for maintaining soft and supple lips.
Peppermint Oil
Incorporating 10-15 drops of peppermint essential oil offers a refreshing cooling sensation to the lip gloss. Beyond its pleasant aroma, peppermint oil stimulates blood circulation, which can naturally enhance the color of my lips. This oil also has antimicrobial properties, helping to keep the lips clean and protected.
Moreover, the invigorating scent and taste of peppermint create an uplifting experience whenever I apply the lip gloss. It’s vital to use high-quality, 100% pure peppermint oil to ensure safety and effectiveness. This ingredient not only enhances the balm’s sensory appeal but also promotes overall lip health.
Other Essential Ingredients
To complement shea butter and peppermint oil, I include one tablespoon each of coconut oil and beeswax. Coconut oil is renowned for its deep moisturizing abilities and can penetrate the skin effectively. It helps to soften the lips and protects against dryness, making it an ideal companion for shea butter.
Beeswax serves as a natural emulsifier, providing structure and stability to my lip gloss. It helps lock in moisture while delivering a smooth consistency that’s easy to apply. Together, these ingredients work synergistically to nourish and protect my lips, creating an effective and enjoyable lip gloss that I can rely on.
Step-by-Step Creation Process
To create a Shea Butter and Peppermint Cooling Lip Gloss, I gather the following ingredients:
- 2 tablespoons shea butter
- 1 tablespoon coconut oil
- 1 tablespoon beeswax
- 5-10 drops peppermint essential oil
- Optional: 1 teaspoon honey for added moisture
Here’s how I make it:
-
Combine Ingredients
I place the shea butter, coconut oil, and beeswax in a glass bowl. -
Melt Ingredients
Using a double boiler method, I heat the bowl over simmering water. I stir occasionally to ensure everything melts evenly. -
Add Essential Oil
Once melted, I remove the bowl from heat and add peppermint essential oil. This gives the gloss a refreshing scent and cooling effect. -
Incorporate Honey
If I opt for moisture, I mix in honey at this stage and stir well. -
Pour into Containers
I quickly pour the mixture into small lip gloss containers before it cools. -
Cool and Set
I allow the gloss to sit at room temperature until it solidifies completely. -
Label and Store
After cooling, I label the containers and store them in a cool, dry place.
This simple process results in a nourishing and refreshing lip gloss ready for use.