Close Menu
Homemade Skincare Recipes and Beauty Tips
    Pinterest
    Trending
    • DIY Rosemary Water Hair Rinse
    • Brown Sugar & Coconut Oil Scrub
    • Oatmeal & Yogurt Soothing Scrub
    • Turmeric & Rice Flour Scrub for Dark Spots
    • Coffee & Sugar Scrub Recipe at Home
    • DIY Lemon & Honey Body Scrub for Bright Skin
    • How to Do a Skincare Patch Test
    • How to Make Rice Water Rinse for Hair Growth
    • About Us
    • Contact Us
    • Disclaimer
    • Privacy Policy
    • Terms
    Homemade Skincare Recipes and Beauty Tips
    • Home
    • DIY Body Scrub Recipes
    • DIY Face Mask Recipes
    • DIY Body Butter Recipes
    • DIY Hair Growth Recipes
    • DIY Lip Balm Recipes
    Homemade Skincare Recipes and Beauty Tips
    Home»Homemade Skin Care Recipes»The Best DIY Salt Scrub Recipe: Unwind with Himalayan Salt, Lavender, and Vanilla Essential Oils
    Homemade Skin Care Recipes

    The Best DIY Salt Scrub Recipe: Unwind with Himalayan Salt, Lavender, and Vanilla Essential Oils

    HersheyBy HersheyMarch 2, 2022Updated:July 2, 2025No Comments5 Mins Read
    Facebook Twitter Pinterest LinkedIn Tumblr Email
    Share
    Facebook Twitter LinkedIn Pinterest Email
    The Best DIY Salt Scrub Recipe: Unwind with Himalayan Salt, Lavender, and Vanilla Essential Oils

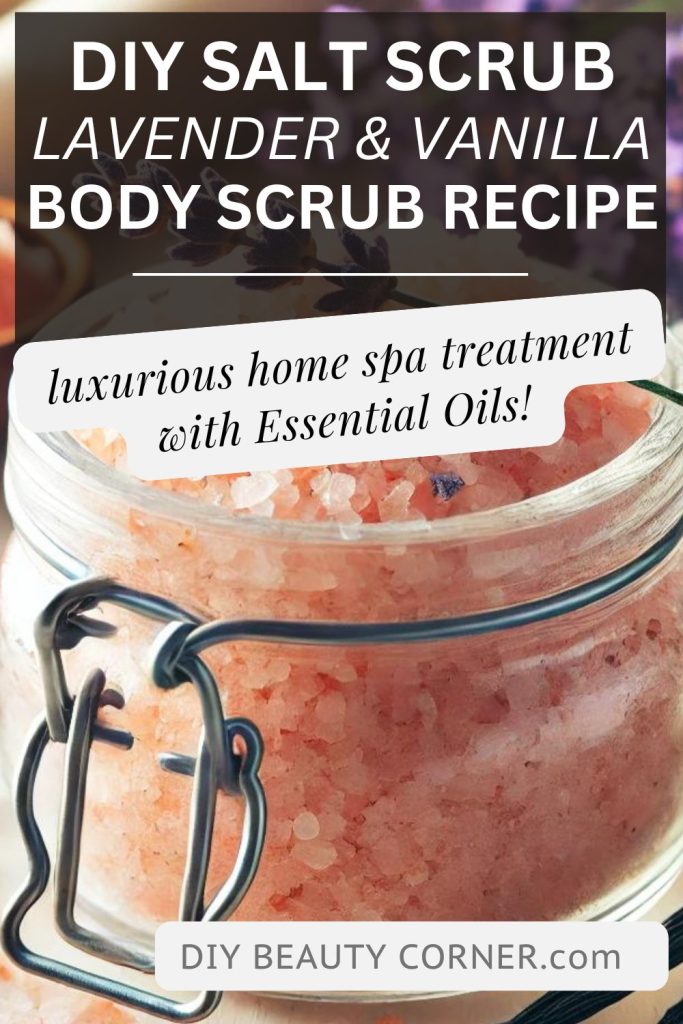
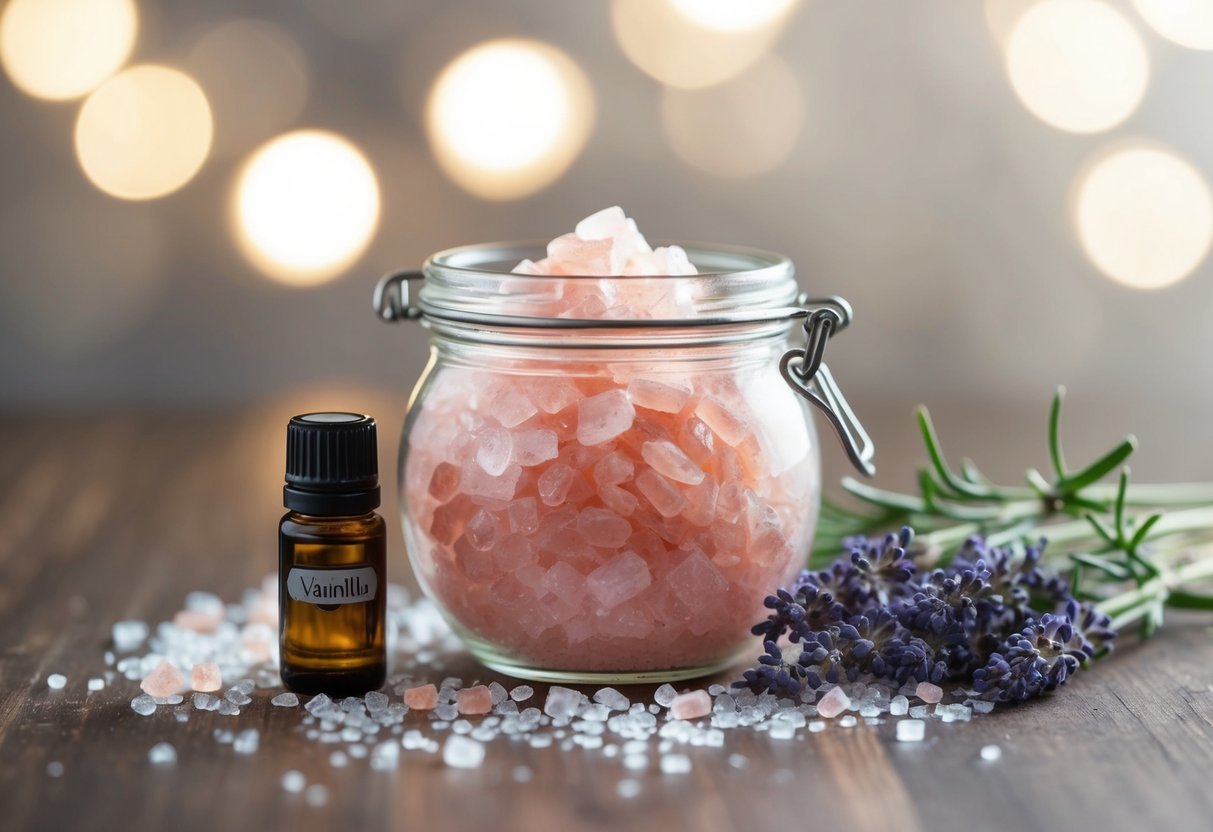
    DIY salt scrubs are a fantastic way to indulge in self-care while nourishing the skin. The combination of Himalayan salt with essential oils like lavender and vanilla creates a soothing experience that leaves the skin not only polished but also fragrant. This recipe is straightforward and requires just a few natural ingredients to achieve a luxurious home spa treatment.

    A glass jar filled with pink Himalayan salt, surrounded by sprigs of lavender and vanilla pods, on a wooden table

    To create the perfect Himalayan salt scrub, one can start with essential ingredients such as finely ground pink Himalayan salt and a mix of nourishing oils. Lavender essential oil adds a calming scent, while vanilla offers a warm, sweet fragrance that enhances the overall experience. These ingredients work together to exfoliate the skin and provide hydration, making it an excellent addition to any skincare routine.

    This article will guide readers through a simple recipe that combines these elements, ensuring a delightful and effective DIY project. By following these steps, anyone can create their own homemade scrub that transforms the skin and uplifts the senses.

    Crafting Your DIY Salt Scrub

    A glass jar filled with pink Himalayan salt, surrounded by sprigs of lavender and vanilla beans, ready to be mixed into a luxurious DIY salt scrub

    Creating a DIY salt scrub is simple and rewarding. Selecting the right ingredients will enhance the scrub’s texture and aroma, while the blending process ensures an effective exfoliating product.

    Gathering the Ingredients

    To make the salt scrub, the following ingredients are essential:

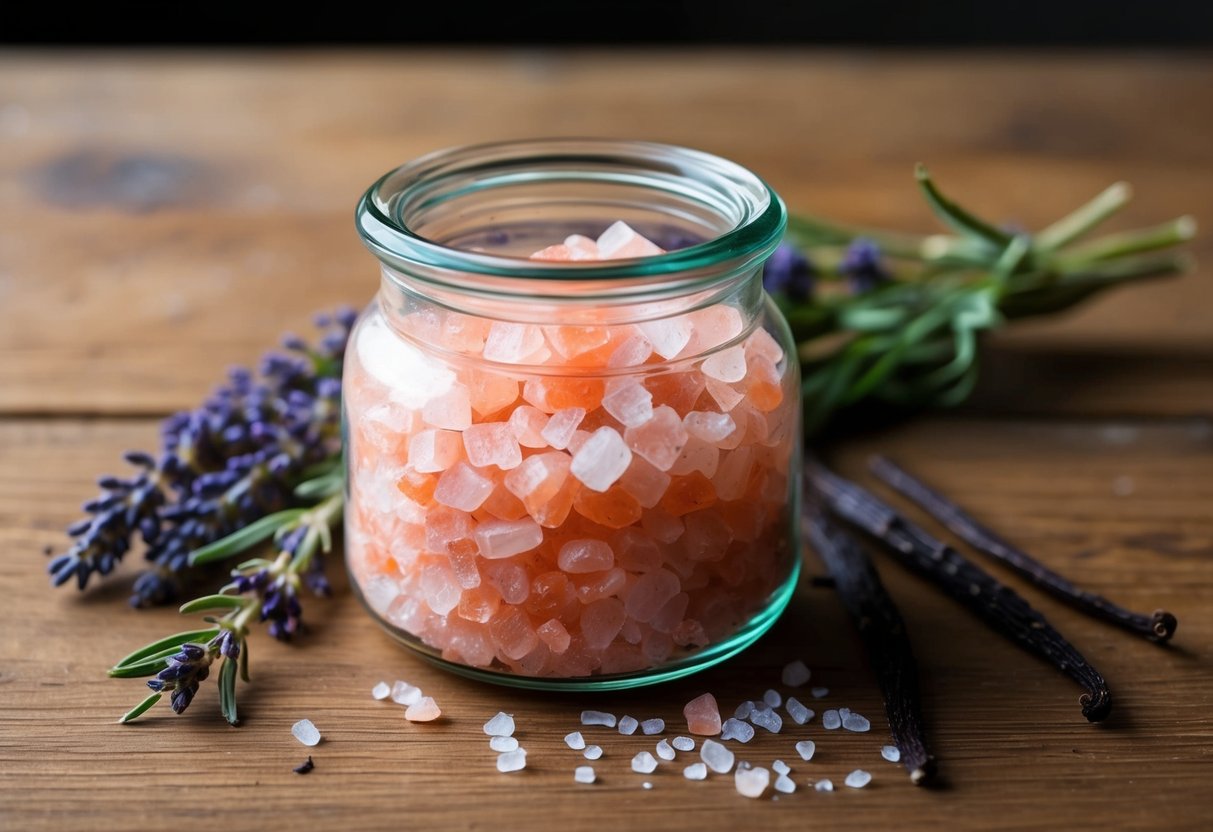
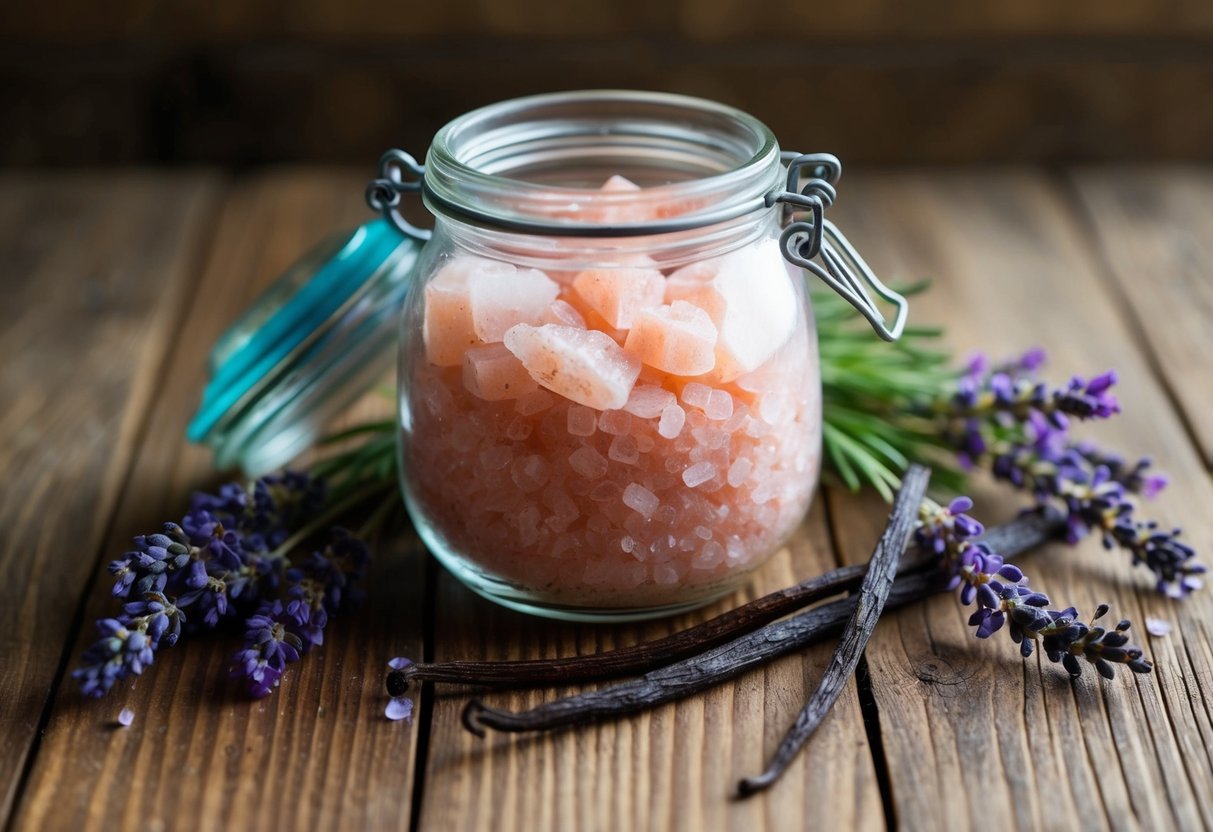
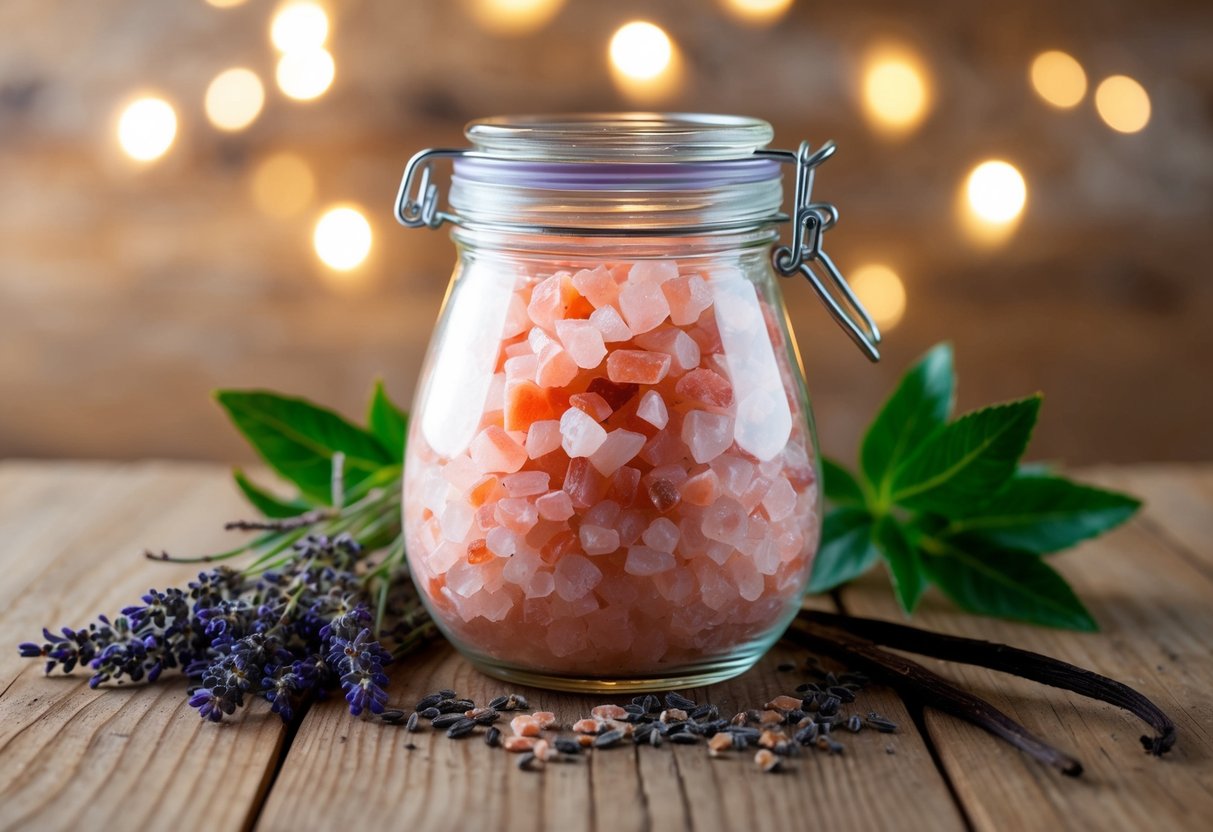
    • 1 cup Himalayan pink salt: This salt not only offers exfoliation but also provides minerals beneficial for the skin.
    • ½ cup coconut oil: Opt for fractionated coconut oil for a lighter texture; it moisturizes and binds the scrub.
    • 10-15 drops of lavender essential oil: Known for its calming properties, it adds a soothing scent.
    • 5-10 drops of vanilla essential oil: This adds warmth and sweetness to the fragrance.

    Measure the ingredients accurately to achieve the desired consistency. Adjust the amount of coconut oil if a wetter texture is preferred. A balance is key for effective scrubbing while ensuring skin hydration.

    Blending the Essential Oils

    Blending essential oils enhances the scrub’s benefits and fragrance. Start by measuring the essential oils precisely.

    1. In a mixing bowl, combine the selected essential oils with the coconut oil.
    2. Use a wooden stick or spoon for blending, ensuring even distribution throughout the oil.

    For added customization, consider experimenting with different essential oil ratios until reaching a preferred scent profile. Mixing the oils thoroughly will help them infuse into the scrub, maximizing their aromatic and therapeutic properties. Once blended, integrate the oils into the salt before packaging or using the scrub.

    Application and Usage Tips

    A glass jar filled with pink Himalayan salt, surrounded by sprigs of lavender and vanilla beans on a wooden table

    Understanding how to properly apply and store a Himalayan salt scrub enhances its effectiveness and longevity. Following these guidelines ensures optimal results while maintaining your homemade scrub’s quality.

    How to Use Your Salt Scrub

    To use the salt scrub, begin by wetting the skin in the shower or bath. This softens the skin and prepares it for exfoliation. Take a generous amount of the scrub in the palm and gently rub it over the body in circular motions.

    Focus on areas that tend to be rough, such as elbows and knees. Avoid delicate skin, especially on the face. Massaging for 5-10 minutes helps to improve circulation and exfoliate dead skin cells. After scrubbing, rinse thoroughly with warm water to remove any residue. For best results, use the scrub once or twice a week, ensuring the skin stays moisturized afterward.

    Storing Your Homemade Scrub

    Proper storage prolongs the lifespan of the salt scrub. Use an airtight container to keep moisture out and prevent clumping. Glass jars with tight-fitting lids work well for this purpose.

    Store the scrub in a cool, dry place, away from direct sunlight. If the texture changes or the scrub begins to smell off, it is best to discard it. For maximum freshness, try to use it within three to six months. Labeling the container with the date of preparation can help track its usage.

    Frequently Asked Questions

    A glass jar filled with pink Himalayan salt, lavender and vanilla essential oils, surrounded by scattered salt crystals and sprigs of lavender

    This section addresses common inquiries regarding the use of Himalayan salt and essential oils in DIY salt scrubs. It provides insights into the benefits of the ingredients, their compatibility, and recommended ratios for effective formulations.

    What are the benefits of using Himalayan salt in a DIY scrub?

    Himalayan salt is known for its mineral content, which can enhance skin health. It helps exfoliate dead skin cells, promoting smoother skin.

    Additionally, its natural properties can aid in improving circulation and drawing out impurities. This makes it a popular choice for DIY scrubs.

    Can lavender and vanilla essential oils be combined in a homemade salt scrub?

    Yes, lavender and vanilla essential oils can be combined effectively in a salt scrub. Lavender offers calming properties, while vanilla adds a warm, comforting scent.

    This combination not only enhances the scrubbing experience but also provides aromatherapy benefits that can improve mood and relaxation.

    What is the ideal ratio of Himalayan salt to carrier oil in a salt scrub recipe?

    A common ratio is 1 cup of Himalayan salt to about ½ cup of carrier oil. This balance ensures effective exfoliation without being overly abrasive on the skin.

    Adjustments can be made based on personal preference for texture or desired moisturizing effects, allowing for customization of the scrub.

    We are on YouTube
    How to Make Your Skin GLOW with 3 Ingredients

✨ DIY Carrot Glow Cream Recipe
This recipe is designed to infuse your skin with the antioxidant power of carrots (beta-carotene) using just three core ingredients, as seen in your video.

🥕 Ingredients
Fresh Carrots (Grated)
Coconut Oil (For the oil infusion)
Aloe Vera Gel (For the cream base)

👩‍🍳 Step-by-Step Instructions
Roast the Carrots (Maximize Potency): Gently roast or dry the grated fresh carrots. This step helps to intensify and make the beta-carotene more accessible for extraction.

Infuse the Oil (Extract the Goodness): Place the roasted/dried carrots into a clean jar and cover them completely with coconut oil. Seal the jar and allow it to infuse, ideally overnight or longer, to extract the powerful antioxidants into the oil.

Strain the Oil (The Foundation): Carefully strain the oil mixture into a clean jar, separating the liquid (carrot oil) from the solids. This golden liquid is the foundation of your cream.

Create the Cream Base (Mix the Magic): Start with a dollop of pure aloe vera gel in a bowl.

Whisk and Transform: Slowly add the precise amount of your homemade carrot-infused oil to the aloe vera gel. Whisk the two ingredients together until they instantly transform into a smooth, vibrant orange cream.

🌟 Benefits
Vitamin A/Beta-Carotene: Carrots are rich in beta-carotene, a precursor to Vitamin A, which is known for promoting skin renewal and a healthy glow.

Moisture Lock: The combination of coconut oil and aloe vera helps to deeply hydrate and lock in moisture.

*Disclaimer: Always do a patch test before applying new products, especially DIY recipes, to your skin.*


Watch as we make a luxurious DIY carrot cream for a healthy, radiant complexion! This skincare diy uses natural ingredients to create a homemade skincare solution that's perfect for face care. We'll show you how to get glowing skin with this simple homemade recipes for a carrot body butter.
    I Made a Carrot Cream and My Skin Glows Now #skincare #natural #diy
    Watch how she transforms an empty Tree Hut Sugar Scrub jar into a viral DIY! 🤯 She didn't throw out her old jar—she refilled it from scratch with a homemade body scrub that looks even better than the original.

This DIY Tree Hut Scrub dupe is perfect for anyone looking for a skincare hack to save money and customize their exfoliation.

Ingredients used in the video:

Sugar
Ground Coffee
Body Wash (for a creamy base!)
Honey
Coconut Oil

Have you ever tried making your own body scrub? Let us know your favorite DIY skincare recipes in the comments!

#TreeHut #BodyScrub #DIYSkincare #SkincareHacks #TreeHutDupe #HomemadeScrub #BeautyHacks #Exfoliation #SelfCare #SugarScrub #YouTubeShorts #DIYBeauty

Watch as she creates a luxurious "homemade sugar scrub" right from her kitchen, reusing an old container. This "diy body scrub" combines simple ingredients for a fraction of the cost of store-bought versions, making it an ideal "body scrub at home". With this easy "sugar scrub for body", you can achieve incredibly smooth skin. It's a fantastic "diy projects" that shows you "how to make your skin smooth" naturally.
    Homemade Body Scrub That Looks Even Better Than Tree Hut #skincare
    DIY Moong Dal & Aloe Vera Face Mask for INSTANT GLOW! ✨

You won't believe the secret ingredient for **glowing skin**—it's **LENTILS** (specifically moong dal)! 🤯 Watch this quick DIY to see how she transformed simple kitchen ingredients into a powerful **natural face mask** for instant brightness.

In this short, she blended fine moong dal (split yellow lentils) into a powder, mixed it with soothing aloe vera gel, and a splash of water to create a creamy, natural beauty paste. This is your new go-to homemade glow mask!

**How to Use for Best Results:**
* Apply the mask evenly to your face.
* Leave it on for just **20 minutes**.
* Rinse thoroughly with **cold water** to close pores and lock in the brightness.

This quick DIY skincare hack uses traditional Indian beauty secrets (Ayurveda-inspired) to give you soft, bright, and glowing skin without harsh chemicals. Perfect for those looking for natural skincare routines and affordable beauty tips.

What do you think of this amazing hack? Let me know in the comments if you’ve tried a lentil mask before! 👇
👉 Like this video if you love natural beauty tips!
🔔 Subscribe for more easy DIYs and skincare hacks!

#diybeauty #skincarehacks #naturalbeauty #glowingskin #indianbeauty #moongdal #facepack #homemadefacemask #skincaretips #selfcare
    I Tried a DIY Lentil Face Mask and WOW! #skincare
    The #1 Natural Face Mask For Glowing Skin! ❤️ DIY Anti-Aging Recipe

Want brighter, younger-looking skin without expensive serums? This viral DIY face mask uses a surprisingly powerful ingredient: banana peels!

Watch the full short to learn how to make this simple, all-natural anti-aging remedy that also brightens and adds a gorgeous glow to your skin.

The 7-Day Challenge: Apply this mask every day for one week to see amazing results. It's packed with vitamins and antioxidants to help reduce the appearance of fine lines, wrinkles, and dark spots.

DIY Banana Peel Face Mask Recipe
What You'll Need:

1 Banana peel
2 tablespoons rice
200 ml of water
1 tablespoon milk powder
1 tablespoon cornstarch
1 tablespoon lemon juice

Instructions & Storage:

Boil the banana peel and rice in water until soft.

Blend the mixture until smooth.

Stir in the milk powder, cornstarch, and lemon juice.

Store in an airtight container in the refrigerator for up to 7 days.

👍 If you loved this natural skincare hack, hit the LIKE button and SUBSCRIBE for more easy DIY beauty recipes!

#DIYfaceMask #BananaPeelMask #AntiAgingMask #GlowingSkinHack #NaturalSkincare #RiceMask #DIYBeauty #YouTubeShorts #SkincareRoutine #WrinkleTreatment
    The #1 Natural Face Mask for Glowing Skin! ❤️ DIY Anti-Aging Recipe #skincare
    How to Make DIY Korean Flaxseed Mask for Skin Whitening (Natural Botox Effect!) 

Get the viral **"Natural Botox"** effect at home with this simple **DIY Korean flaxseed mask** recipe! This homemade treatment is famous for making skin look tighter, brighter, and deeply hydrated.

This short video shows you exactly how to make the best flaxseed gel mask using a simple addition—rice flour—for a powerful skin whitening and glass skin effect.

### ✨ Why this Mask Works:
* **Flaxseed Gel:** Rich in Omega-3s and antioxidants, it provides incredible hydration and creates a visible, temporary lift/tightening effect as it dries.
* **Rice Flour:** A key ingredient in Korean and Japanese skincare, known for its gentle brightening and skin-softening properties.

### 📋 Full Recipe Ingredients:
* 1 Cup Water
* 3 Tablespoons Whole Flaxseeds (Linseeds)
* 1 Tablespoon Rice Flour (or Cornstarch)

### 🌿 Quick Instructions:
1.  Boil water, flaxseeds, and rice flour.
2.  Stir continuously until it forms a thick, gelatinous paste (consistency shown in video).
3.  Cool completely. Apply thickly to face.
4.  Rinse off after 20-30 minutes for glowing, firm skin!

**➡️ Did you try this DIY face mask? Drop a comment below!**
👍 **Like and Subscribe for more easy natural skincare recipes and beauty hacks!**

#skincare #DIYMask #FlaxseedMask #NaturalBotox #KoreanSkincare #KBeauty #SkinWhitening #SkinFirming #AntiAgingTips #HomemadeSkincare #GlassSkin #RiceMask
    How to Make DIY Korean Flaxseed Mask for Skin Whitening (Natural Botox Effect!) #skincare
    Ultimate Blackhead Removal Hack! DIY Gelatin & Coffee Peel-Off Mask ☕️

Watch this satisfying mask detox your skin and remove blackheads, dead skin, and dirt! Get super smooth and fresh skin with this simple home remedy.

**✨ How to Make It:**
1. Scoop 1 part Gelatin, 1 part Coffee grounds, and a splash of Hot Water into a bowl.
2. Mix well until the gelatin dissolves and you have a thick, smooth paste.
3. Apply to your nose/t-zone and let it completely dry (about 15-20 minutes).
4. Slowly peel off the mask and see the results!

**⚠️ Note:** Always do a small patch test first. Do not use if you have sensitive or broken skin.

#shorts #blackheads #blackheadremoval #skincare #diyskincare #peeloffmask #satisfying #coffeemask #homeremedy #beautyhacks #skinroutine
    Ultimate Blackhead Removal Hack! DIY Gelatin & Coffee Peel Off Mask #skincare
    Load More... Subscribe
    Share. Facebook Twitter Pinterest LinkedIn Tumblr Email
    Hershey

    Hi, I’m Hershey — a lifelong natural skincare enthusiast with a love for creating simple, homemade beauty solutions that actually work. Inspired by my grandmother’s herbal remedies and my own sensitive skin journey, I started DIY Beauty Corner to share effective, affordable skincare recipes made from ingredients you already have at home.

    Related Posts

    DIY Vanilla and Brown Sugar Body Scrub Recipe

    August 6, 2025

    How to Make a DIY Yoni Oil for External Use

    July 30, 2025

    10 Easy Ways to Make Rosemary Water for Hair Growth (Benefits + How to Use)

    December 13, 2024

    Hi, I'm Hershey. I'm a skin care and beauty blogger who's NOT a morning person. (Seriously, who is?) I love making DIY skin care remedies from natural ingredients, and sharing my recipes and tips that can be used at home. Whether you're looking for ways to save money on your beauty routine, or just want to know how to take better care of your skin, you'll find something useful on my blog. So why not stick around for a while?

    Grandmas Homemade Face Mask Recipe

    Continue Reading
    DIY Beauty Corner

    Popular This Month

    • Sugar & Honey Body Scrub
    • Organic Body Butter
    • Korean Glass Skin Rice Mask
    • Turmeric Glow Body Scrub
    • Rosemary Hair Growth Oil
    • Quick Coffee Sugar Scrub
    • Vanilla & Brown Sugar Scrub
    • Pink Whipped Sugar Scrub
    • Non-Greasy Body Butter
    • Lemon Sugar Scrub

    Browse by DIY Recipe Type

    Body Scrub Recipes
    Face Mask Recipes
    Body Butter Recipes
    Hair Growth Recipes
    Lip Balm Recipes
    Perfume Recipes
    ⚠️ Please note: I’m not a licensed dermatologist or medical professional. All recipes shared are based on personal experience and research. Always perform a patch test before trying new skincare, and consult a healthcare provider for specific concerns.
    Pinterest YouTube
    • About
    • Contact
    • Disclaimer
    • Privacy Policy
    • Terms and Conditions
    © 2025 DIYBeautyCorner.com.

    Type above and press Enter to search. Press Esc to cancel.