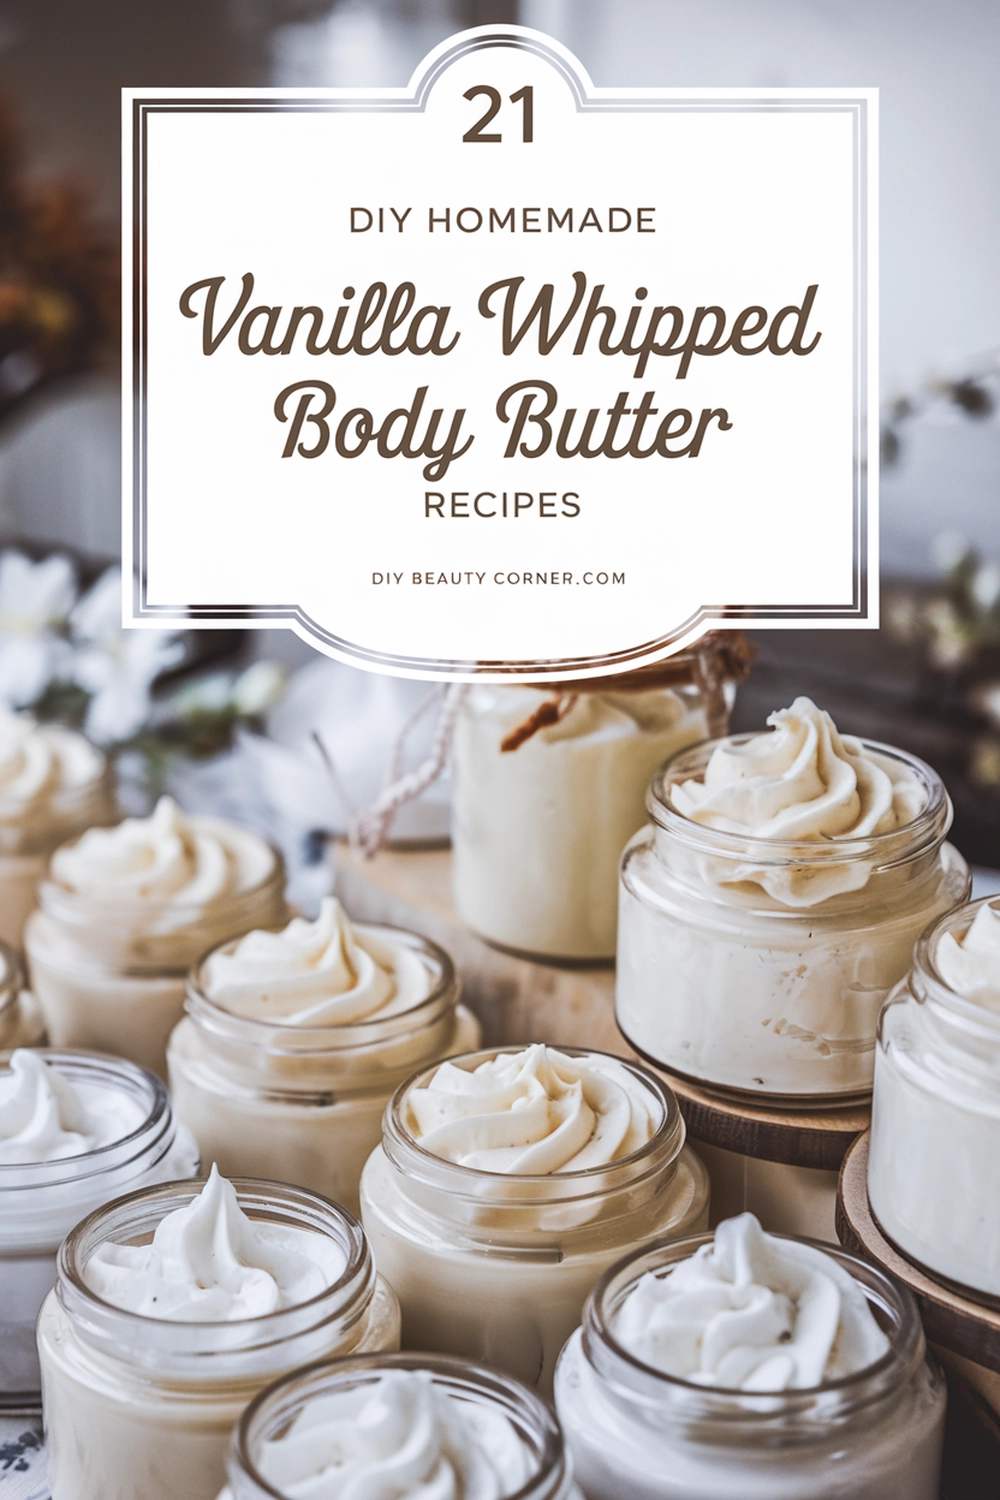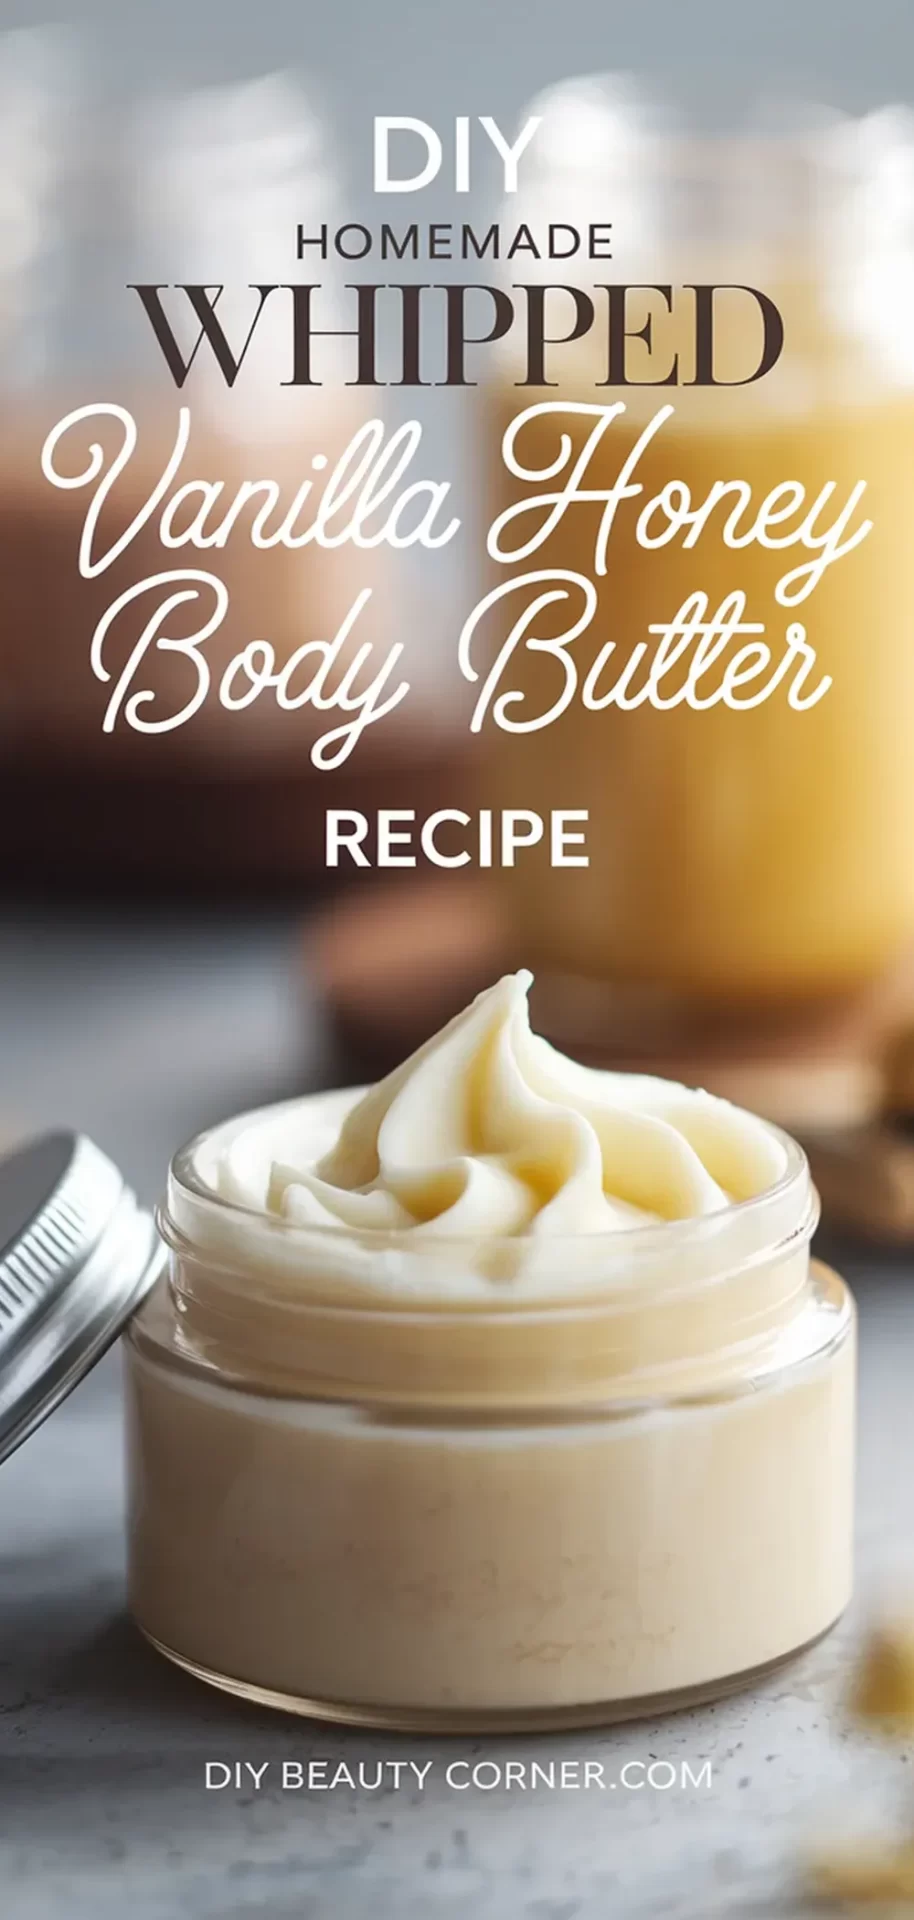
Homemade body butters are not only luxurious but also customizable, allowing me to create a unique blend that meets my skin’s needs. In this step-by-step guide, I will share the best homemade whipped vanilla honey body butter recipe, which combines nourishing ingredients to hydrate and soften the skin. Using vanilla and honey provides a delightful scent while enhancing the skin’s moisture retention.
To start, I gather the key ingredients needed for this recipe. This includes a mix of shea butter, cocoa butter, and raw honey, each chosen for its beneficial properties. With simple steps, I will demonstrate how to melt, whip, and store this body butter, ensuring it maintains its creamy texture.
As I embark on this DIY journey, I look forward to sharing tips on tailoring the consistency to suit different climates. Whether you prefer it lighter or denser, this guide will help you achieve the perfect body butter for your needs.
Gathering Quality Ingredients
When creating a whipped vanilla honey body butter, selecting the right ingredients is crucial for achieving the perfect consistency and benefits for your skin. I will focus on three key areas: honey, oils, and vanilla extract. Each plays a significant role in the final product.
Selecting Organic Honey
I prefer using organic honey for my body butter as it offers numerous skin benefits. Organic honey is free from pesticides and synthetic additives, ensuring purity. Look for honey labeled as raw, which retains beneficial properties such as antioxidants and antibacterial qualities.
When choosing honey, consider local sources; they often yield higher freshness and better flavor. A light, floral honey blends well without overpowering other scents. I usually opt for about 2 tablespoons of honey in my recipe, allowing it to sweeten and nourish the butter effectively.
Choosing High-Grade Oils
Next, I focus on selecting high-grade oils to enhance both the texture and moisturizing effects of my body butter. I often use shea butter, coconut oil, and sweet almond oil in my recipe.
- Shea Butter: This oil is known for its rich, creamy consistency and high levels of vitamins A and E. It’s excellent for hydration and promotes skin elasticity.
- Coconut Oil: It adds a lightweight texture and contains fatty acids that help retain moisture.
- Sweet Almond Oil: This oil is ideal for sensitive skin, easily absorbed, and provides nourishing benefits.
For a great balance, I use ½ cup shea butter, ¼ cup coconut oil, and ¼ cup sweet almond oil.
Benefits of Natural Vanilla Extract
Incorporating natural vanilla extract is another essential step. I find that using vanilla essential oil not only adds a pleasant fragrance but also brings skin-soothing properties. Natural vanilla has antioxidant qualities that can benefit the skin while providing a calming aroma.
When selecting vanilla extract, it’s important to choose a pure version over synthetic alternatives. Pure vanilla extract ensures that I am not introducing unwanted chemicals. About 10 drops of vanilla essential oil is my go-to measurement, as it provides just the right touch of warmth to my body butter’s scent.
Step-by-Step Whipping Process
Creating the ideal whipped body butter involves careful preparation and precise execution. The process includes setting up your workspace, mixing the ingredients, achieving the right consistency, and storing your finished product properly.
Preparing Your Workspace
Before starting, I ensure my workspace is organized and clean. This minimizes the risk of contamination and makes the process smoother. I gather all my ingredients and tools: shea butter, coconut oil, sweet almond oil, honey, vanilla essential oil, a double boiler, a mixing bowl, and an electric mixer.
I prefer a double boiler to gently melt the shea butter and coconut oil, as this method prevents overheating and preserves their properties. It’s essential to measure each ingredient carefully using measuring cups or spoons, ensuring accuracy. Having everything set up in advance reduces the chance of mess and confusion as I proceed.
Mixing the Base Ingredients
Next, I focus on melting the solid fats. In the double boiler, I combine ½ cup of shea butter and ¼ cup of coconut oil. I heat them gently until melted, stirring occasionally. Once both ingredients are liquid, I remove them from the heat and let them cool for a few minutes.
In a separate bowl, I mix the oils. I add ¼ cup of sweet almond oil, 2 tablespoons of honey, and 10 drops of vanilla essential oil to the melted mixture. Using a whisk, I blend them until well combined. This step is crucial for the flavor and texture of the body butter.
Achieving the Perfect Consistency
With the base mixture ready, I whip it to achieve a light, airy consistency. Using an electric mixer on high speed, I blend the mixture for about 5 to 10 minutes. I watch closely for soft peaks to form, similar to whipping cream.
If the mixture appears too warm or runny, I let it cool slightly before continuing to whip. The goal is to create a fluffy texture that is not too greasy yet rich enough to moisturize effectively. If necessary, this step can be adjusted by chilling the bowl briefly or re-whipping.
Storing Your Body Butter
Once I achieve the desired consistency, I transfer the whipped body butter into clean, airtight containers. Glass jars are my preference, as they preserve the properties of the butter better than plastic. I ensure the containers are dry and free from any moisture.
Labeling each container with the date and contents helps me keep track of freshness. I store the body butter in a cool, dry place. Proper storage extends its shelf life, making sure my luxurious product remains effective and aromatic for months.