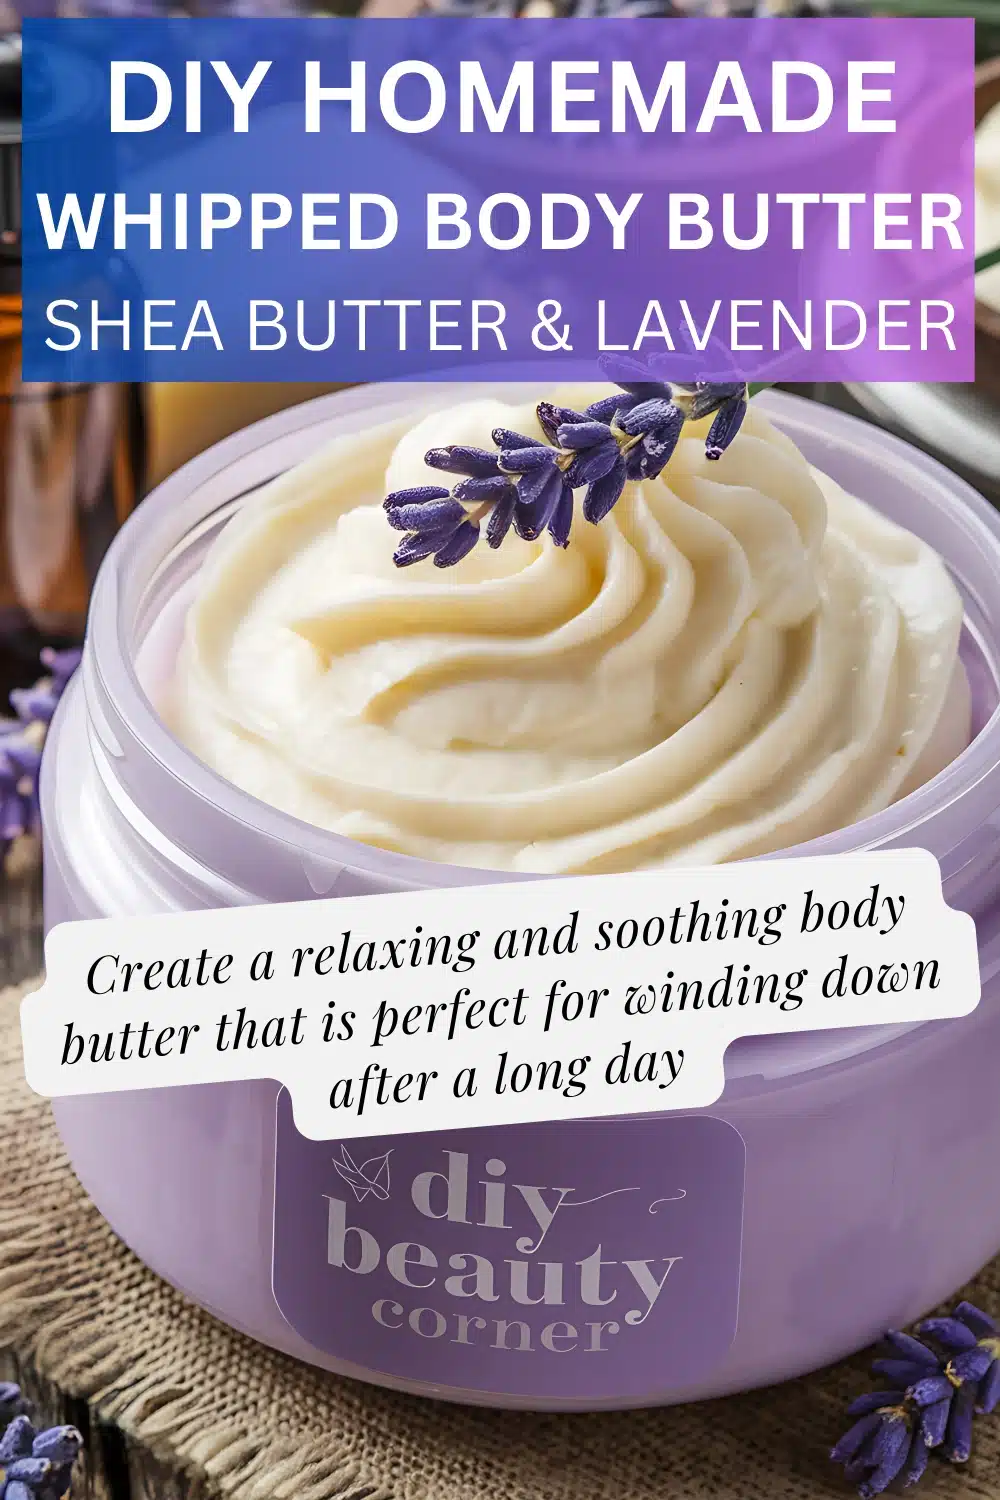
If you’re looking for a way to pamper yourself while nourishing your skin, a whipped lavender body butter blend is an excellent choice. This DIY recipe combines the soothing properties of shea butter with the calming scent of lavender essential oil, making it perfect for relaxation and skincare. Creating your own body butter allows you to customize the ingredients and avoid artificial additives often found in store-bought products.
In my experience, this whipped lavender body butter not only feels luxurious on the skin but also provides lasting hydration without feeling greasy. By using high-quality oils such as coconut and jojoba, I ensure that my blend is effective in moisturizing and protecting my skin. The process is straightforward, requiring just a few simple steps to achieve a creamy consistency that you’ll want to use every day.
With just a handful of ingredients and minimal time investment, you can create a delightful body butter that enhances your self-care routine. Whether you’re treating yourself after a long day or making a thoughtful gift for someone special, this recipe delivers both charm and efficacy. Let’s get started on making your own soothing lavender body butter!
Benefits of Lavender and Shea Butter
Incorporating lavender and shea butter into a DIY body butter offers numerous benefits. Lavender provides soothing aromatherapy, while shea butter excels in moisturizing the skin, making this blend both calming and nourishing.
Soothing Aromatherapy of Lavender
Lavender essential oil is renowned for its calming effects. It promotes relaxation and can help reduce anxiety and stress levels. The aroma of lavender stimulates the olfactory system, which is directly linked to the brain’s emotional center.
In addition to promoting mental well-being, lavender has anti-inflammatory properties. When applied topically, it can soothe irritated skin, reducing the appearance of redness and swelling. Furthermore, it may aid in wound healing and skin repair, making it valuable for those with sensitive skin.
Moisturizing Properties of Shea Butter
Shea butter is highly celebrated for its moisturizing qualities. Rich in vitamins A and E, it deeply hydrates the skin while providing a protective barrier that locks in moisture. This thick cream nourishes even the driest skin, leaving it feeling soft and supple.
Additionally, shea butter contains essential fatty acids that support skin elasticity. These elements help prevent dryness and promote a youthful, radiant appearance. Its anti-inflammatory and healing properties make it an ideal choice for soothing various skin conditions, such as eczema or psoriasis.
Together, lavender and shea butter create a blend that not only rejuvenates the skin but also enhances mental tranquility.
Gathering Your Ingredients
To make a delightful whipped lavender body butter, it’s essential to carefully select your ingredients. Each component plays a vital role in the effectiveness and aroma of the final product. Below are the key ingredients you’ll need and tips for selecting the best options.
Choosing High-Quality Shea Butter
When selecting shea butter, I look for 100% pure and unrefined varieties. This ensures that the beneficial nutrients remain intact. Unrefined shea butter retains its natural vitamins, minerals, and fatty acids, providing superior nourishment to the skin.
Check for a creamy texture and a subtle, nutty scent. I prefer ethically sourced shea butter, which often comes in a tub or jar. Brands that support local communities typically provide high-quality products. Reading reviews can also help in determining the best shea butter for my body butter recipe.
Picking the Best Lavender Oil
Choosing the right lavender oil is crucial for achieving the desired calming aroma. I opt for 100% pure lavender essential oil, preferably from reputable sources. Look for lavender oil that lists “Lavandula angustifolia” as the botanical name. This type is known for its soothing properties.
I check the label for any additives or synthetic ingredients. To enhance its quality, I consider organic options. I usually rely on dark glass bottles for storage, as they protect the oil from light, prolonging its shelf life.
Additional Essential Oils and Materials
While lavender is the star, I sometimes add other essential oils for extra benefits and fragrance. For example, chamomile or frankincense can enhance relaxation. I typically use a few drops of these oils, as they can overpower the lavender if used excessively.
Materials needed for the process include a double boiler for melting the butters, a stand mixer or hand mixer for whipping, and storage containers like glass or metal jars. It’s important to keep everything clean to avoid contamination and maintain product quality.
Step-by-Step Preparation

To create a soothing whipped lavender body butter, I focus on three essential steps: melting and mixing the base oils, incorporating the desired essential oils, and whipping the mixture until it achieves a light, airy texture.
Melting and Mixing
I start by measuring out the base ingredients, including ¼ cup shea butter, ¼ cup coconut oil, and ¼ cup cocoa butter. In a double boiler or a heat-safe bowl over low heat, I gently melt these ingredients until they become a homogeneous liquid. This process takes about 10-12 minutes.
After everything is melted, I remove the mixture from heat and let it cool slightly. Next, I add 2 tablespoons of jojoba oil for extra moisture and blend to combine. This step ensures my body butter has a rich and creamy consistency.
Incorporating Essential Oils
Once my base mixture has cooled to a comfortable temperature, I proceed to enhance its calming properties by adding lavender essential oil. I typically use about 20-30 drops to achieve a fragrant aroma.
It’s essential to mix the essential oil properly into the blend to ensure an even distribution. I gently stir with a spatula or a whisk, ensuring that the oil is fully incorporated. This step not only adds fragrance but also boosts the skin-benefiting qualities of my body butter.
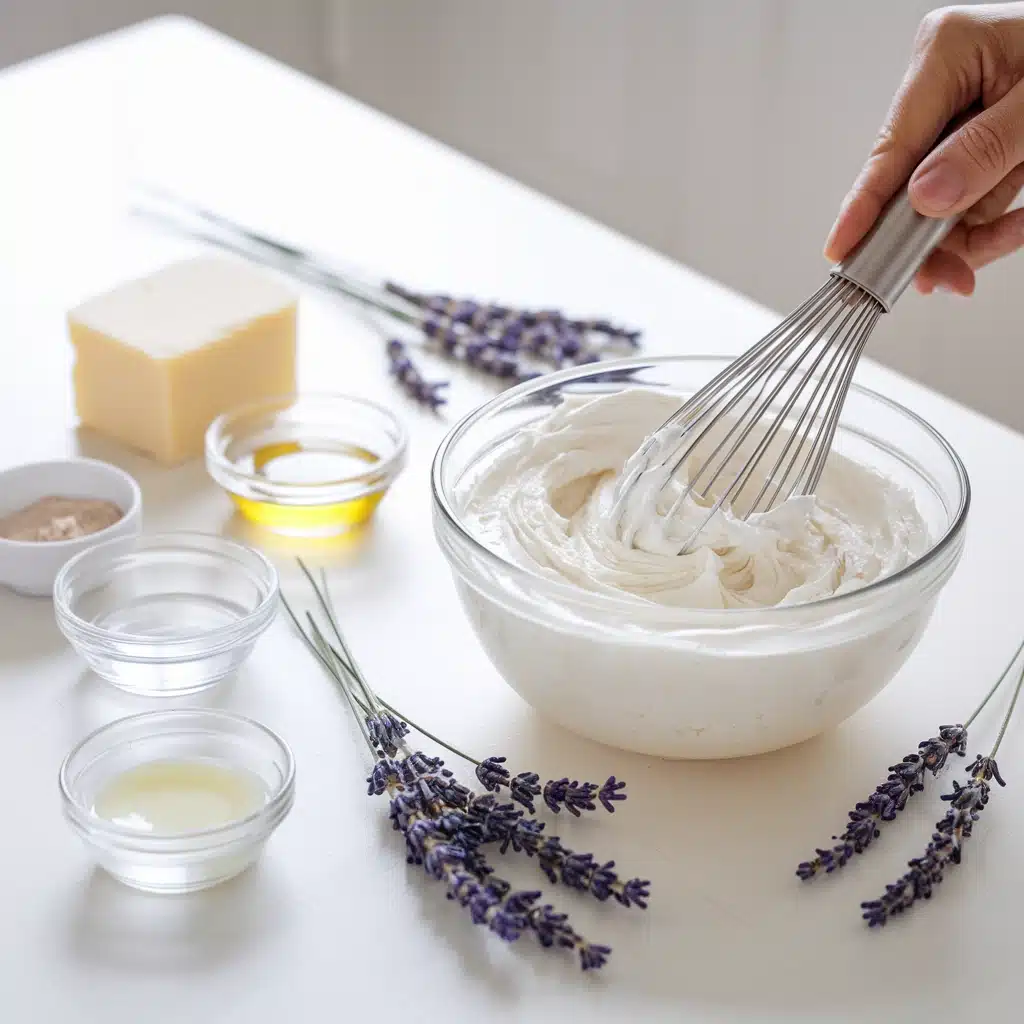
Whipping to Perfection
With my base and essential oils combined, it’s time for the fun part: whipping! I pour the mixture into the bowl of my stand mixer or a large mixing bowl if I’m using a hand mixer. Using the whisk attachment, I whip the mixture on medium speed for about 5-8 minutes.
As I whip, I notice the mixture expanding and becoming fluffy. If I want a firmer texture, I can place the bowl in the refrigerator for about 10-15 minutes before whipping again. The result should be a light and airy body butter that feels luxurious on the skin.
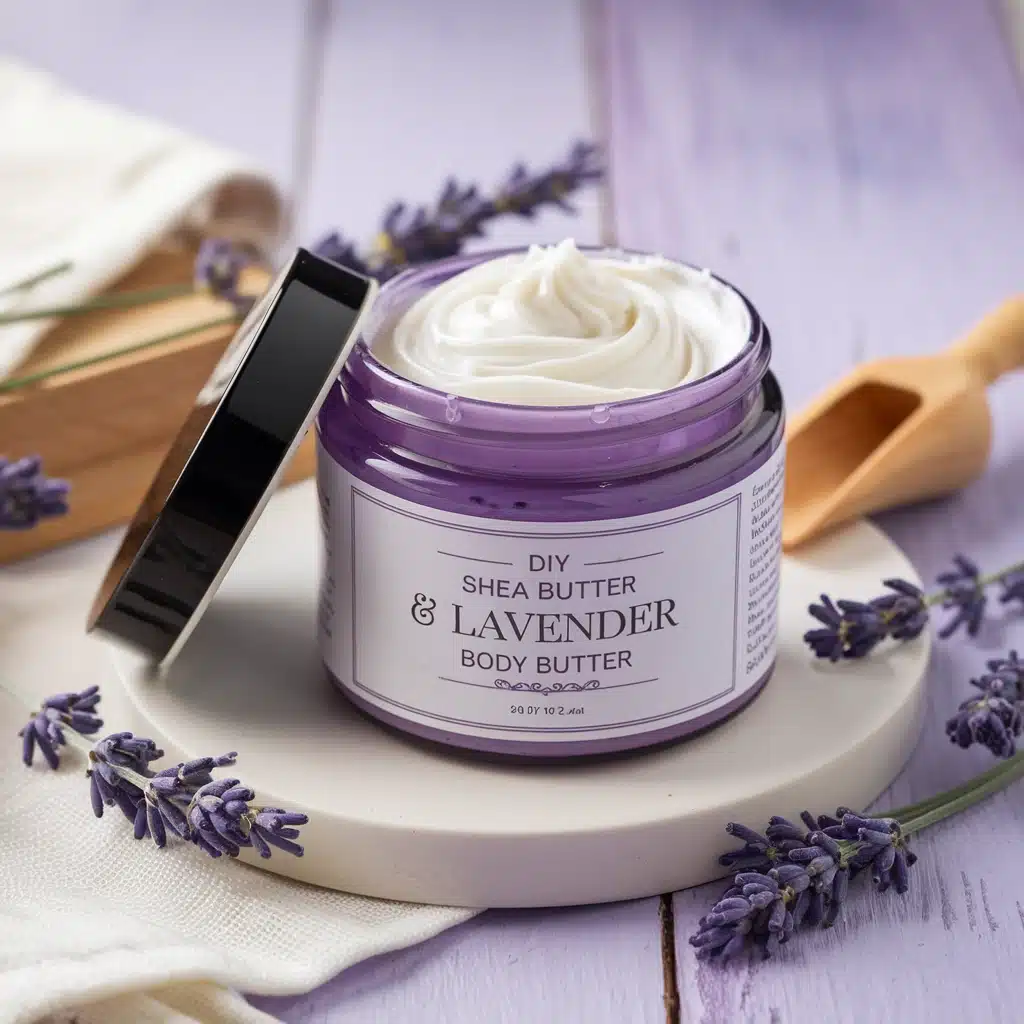
Storing and Using Your Body Butter
It’s essential to store your whipped lavender body butter correctly to maintain its texture and beneficial properties. I’ll also share how to apply it effectively to unlock its moisturizing potential.
Proper Storage Methods
To keep your body butter fresh, I recommend using an airtight container. Glass jars or plastic containers work well, as they prevent moisture and air from degrading the product.
Storage Conditions:
- Temperature: Store in a cool, dry place away from direct sunlight. Ideal temperatures are between 60°F and 75°F (15°C to 24°C).
- Refrigeration: If your body butter contains oils that can melt easily, consider refrigerating it. This can extend its shelf life while maintaining a solid consistency.
Make sure to label the container with the date you made it. Under proper conditions, your body butter can last for about 3 to 6 months.
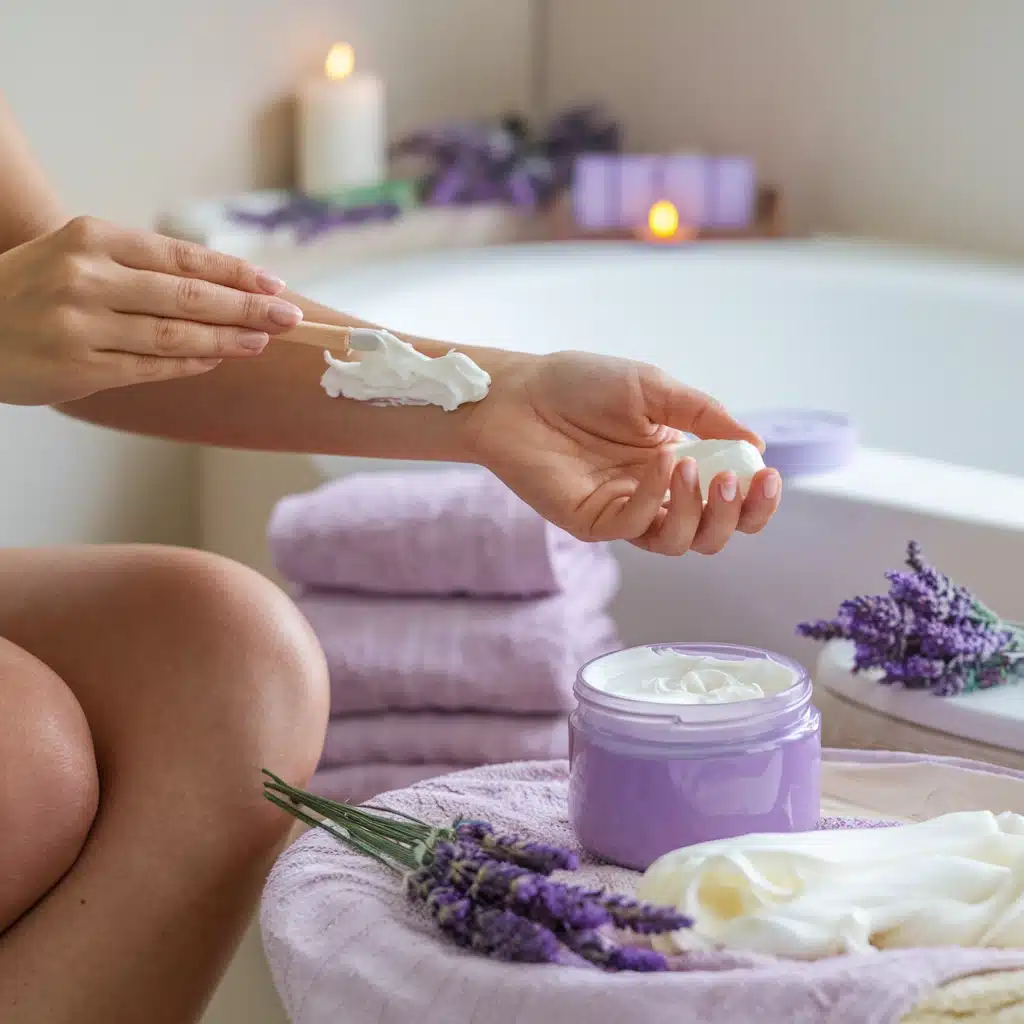
Application Tips for Best Results
When applying my whipped lavender body butter, a little goes a long way. Start with a small amount and warm it between your palms to soften it before application.
Application Steps:
- Target Areas: Focus on dry areas like hands, feet, elbows, and knees for maximum hydration.
- Massage Technique: Use gentle, circular motions to massage the butter into the skin. This increases absorption and promotes circulation.
- Timing: For best results, apply after a shower when your skin is slightly damp. This helps lock in moisture.
Make sure to store body butter in a convenient spot, so you’re more likely to use it regularly. Consistent application leads to noticeable skin benefits.