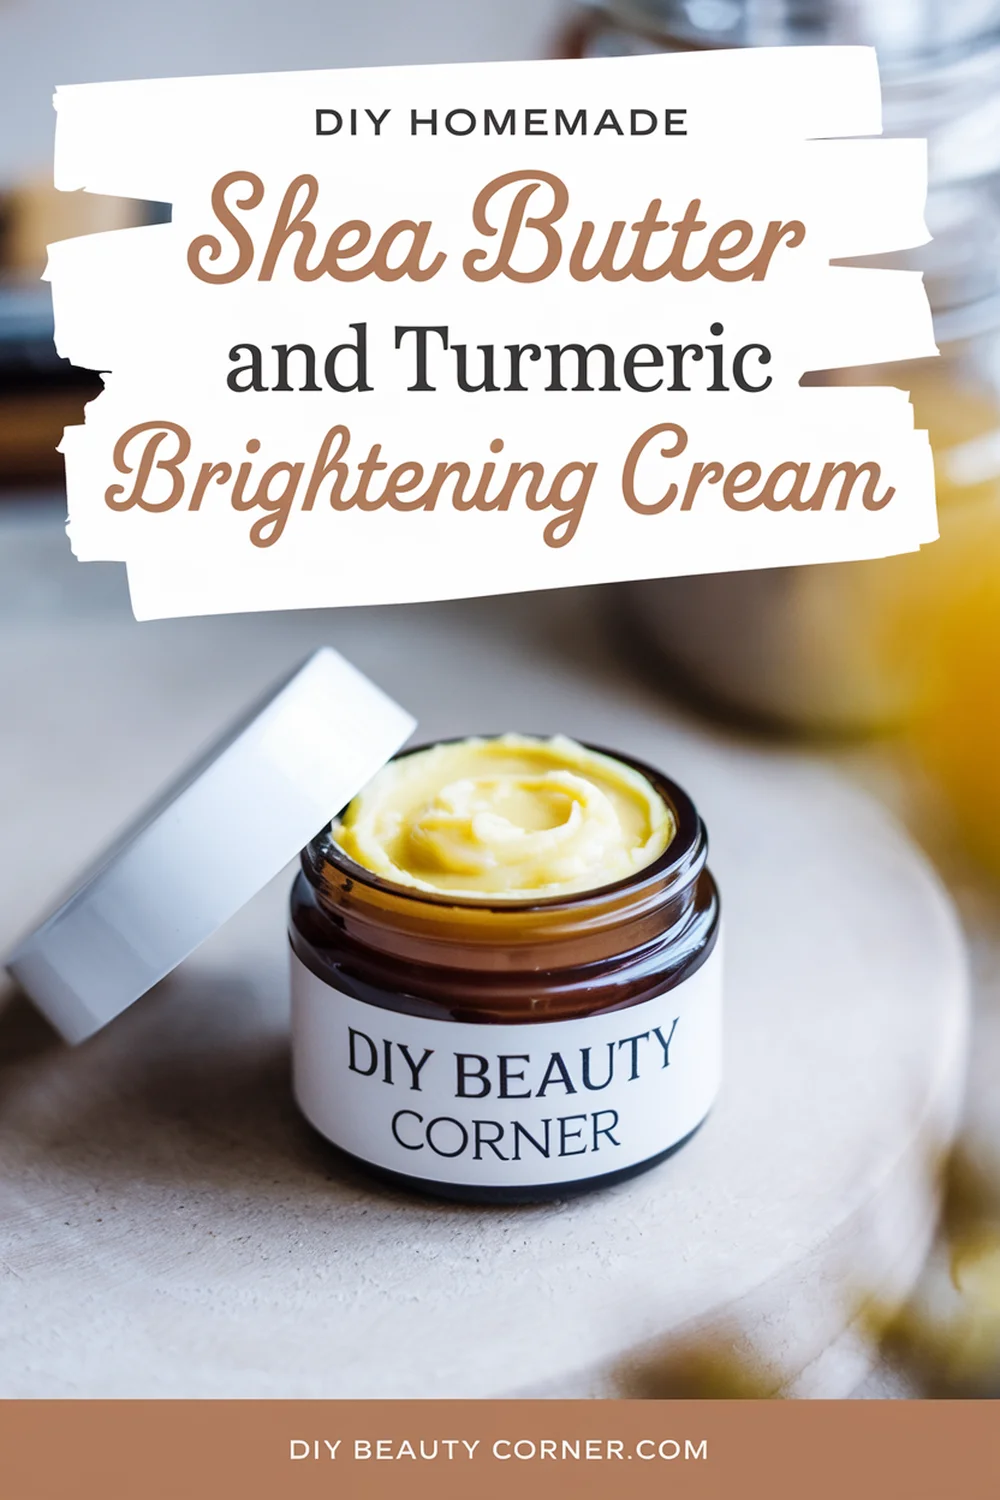
Creating an effective brightening cream at home can be a rewarding way to address dark spots and promote an even skin tone. I have found that blending the rich moisturizing properties of shea butter with the skin-brightening benefits of turmeric creates a powerful remedy. This simple homemade shea butter and turmeric cream not only targets dark spots but also nourishes the skin, leaving it radiant and healthy.
In this blog post, I will share my favorite recipe, which harnesses the natural goodness of these ingredients. Both shea butter and turmeric have been used for centuries in skincare for their numerous benefits. By incorporating them into a DIY cream, I can achieve a personalized solution that is both effective and free from harsh chemicals.
I am excited to guide you through the ingredient list and the step-by-step process for making this easy brightening cream. Get ready to enhance your skincare routine with a natural, homemade solution that truly works.
Formulating Your Brightening Cream
Creating a homemade shea butter and turmeric brightening cream provides a natural solution for addressing dark spots on the skin. The following sections detail the benefits of the ingredients, the essential components for formulation, and the necessary equipment to achieve a smooth consistency.
Benefits of Shea Butter and Turmeric
Shea butter is renowned for its moisturizing properties. Rich in vitamins A and E, it nourishes the skin and helps improve elasticity. This emollient promotes healing and can diminish the appearance of dark spots over time.
Turmeric is celebrated for its anti-inflammatory and antioxidant properties. It helps brighten the skin and may assist in reducing hyperpigmentation. The combination of shea butter and turmeric creates a powerful duo that not only hydrates but also enhances the overall complexion.
Understanding the Ingredients
- Shea Butter (1/2 cup): This is the base for the cream, providing deep moisture and nourishment.
- Turmeric Powder (1 tablespoon): Known for its brightening benefits, it works to even out skin tone.
- Honey (1 tablespoon): This natural humectant helps retain moisture and adds additional healing properties.
- Jojoba Oil (1 tablespoon): Mimicking the skin’s natural sebum, this oil helps balance oil production and enhances hydration.
- Lemon Juice (1 teaspoon): This ingredient can help brighten the skin but should be used cautiously to avoid irritation.
Essential Equipment
To formulate this brightening cream effectively, you will need a few essential tools:
- Double Boiler or Microwave-Safe Bowl: For melting the shea butter without destroying its beneficial properties.
- Mixing Spoon: A sturdy spoon is essential for combining the ingredients thoroughly.
- Storage Container: Choose an airtight container to store your cream, ensuring it remains fresh.
- Measuring Tools: Accurate measurements are crucial; use measuring spoons and cups for precise quantities.
With these ingredients and equipment, I can create a nourishing cream that caters specifically to my skincare needs.
Step-by-Step Creation Process
In this section, I will guide you through creating a simple homemade shea butter and turmeric cream specifically designed for brightening dark spots. Each step is essential to ensure the final product is effective and gentle on the skin.
Preparing the Base
To start, I gather my base ingredients. I measure out 1/2 cup of shea butter and place it in a medium-sized bowl. Next, I melt the shea butter gently using a double boiler or microwave. If using a microwave, I heat it in 30-second intervals, stirring in between to avoid overheating.
Once melted, I let the butter cool slightly before mixing in 1 tablespoon of jojoba oil. This oil is beneficial for hydration and absorbs easily into the skin. I also add 1 tablespoon of honey for its natural moisturizing properties. The mixture should be creamy and smooth at this stage, providing an ideal texture for the cream.
Incorporating Turmeric
Next, I focus on adding the key brightening ingredient: turmeric. I carefully measure 1 tablespoon of turmeric powder and gradually mix it into the shea butter blend. It’s crucial to stir thoroughly to ensure an even distribution, as turmeric can leave stains if not mixed well.
In addition to turmeric, I add 1 teaspoon of lemon juice. This ingredient enhances the brightening effect and adds a fresh scent. I continue to blend the mixture until it is uniform in color. The final consistency should be smooth, with no lumps from the turmeric. If you prefer a finer texture, I recommend sifting the turmeric before adding it.
Finalizing Your Cream
With all the ingredients combined, I now focus on finalizing the cream. I transfer the mixture into a smaller, clean container, leaving space at the top for expansion. It’s important to note the cream may thicken as it cools, achieving the desired creamy consistency.
After sealing the container, I allow it to cool at room temperature for about an hour. Alternatively, I can place it in the refrigerator for faster cooling. Once it has set, I give it a quick stir to ensure the ingredients remain well-mixed. This step is vital for maintaining uniformity.
Storage and Usage Recommendations
To preserve the quality of my cream, I store it in a cool, dark place. A glass jar with an airtight lid works best to prevent contamination. It’s recommended to use this cream within 3 months for optimal effectiveness.
When applying, I take a small amount and gently massage it onto the dark spots. I recommend using it both morning and evening for best results. To enhance its effectiveness, I apply sunscreen during the day to protect my skin from sun exposure.


