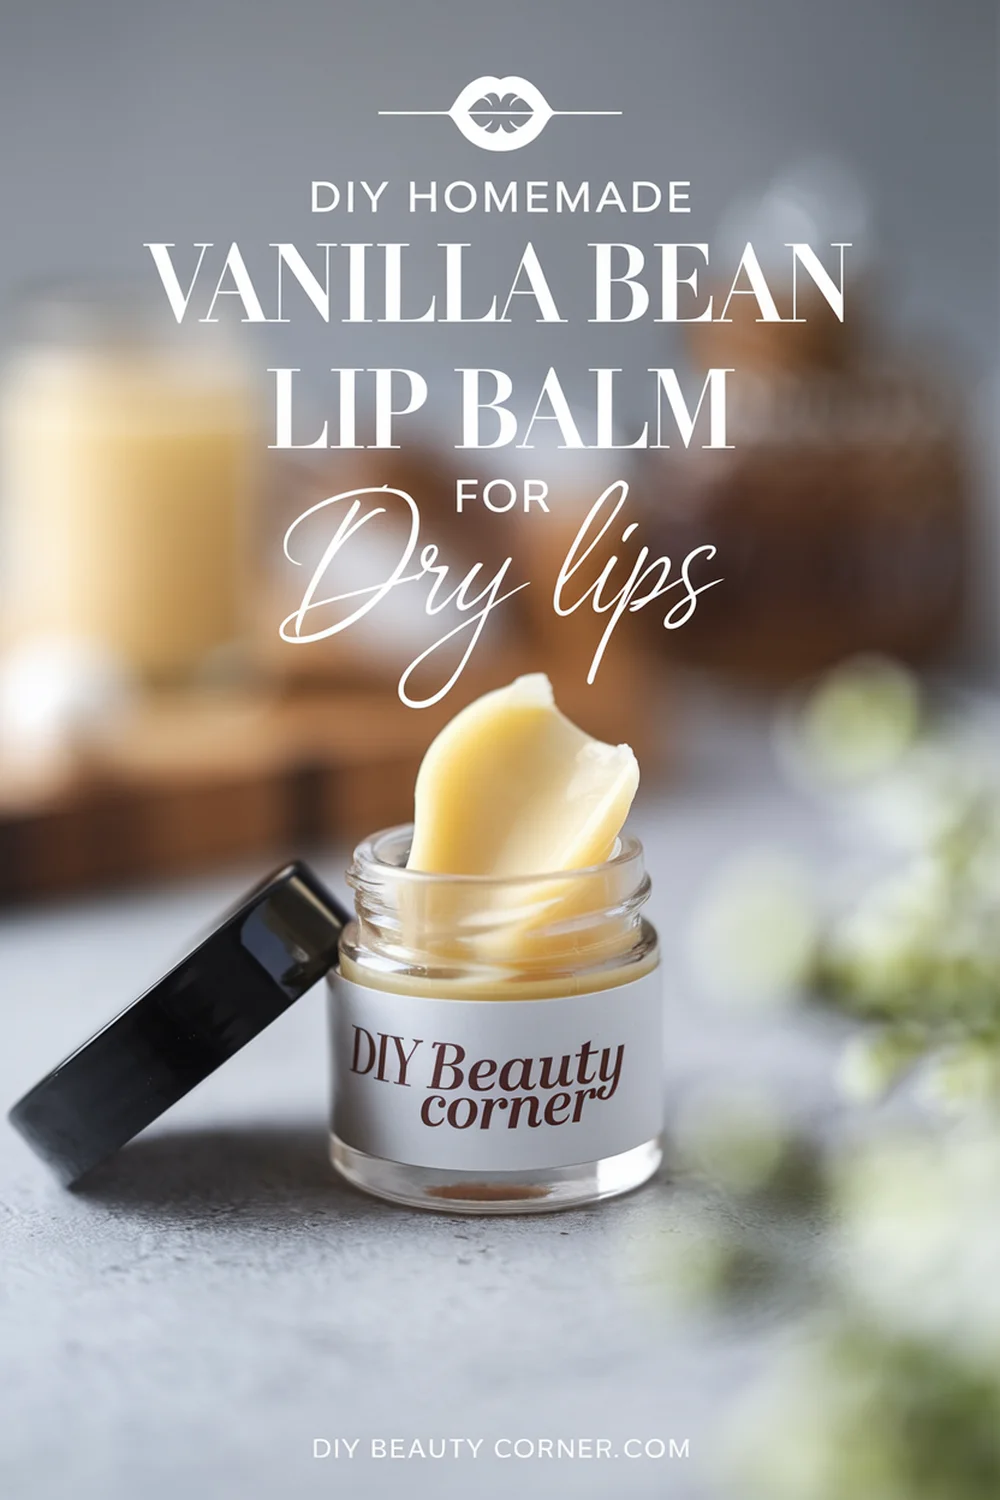
Making a vanilla bean lip balm at home is a simple DIY project that uses a small number of basic ingredients and minimal equipment. This guide focuses on the process of creating a smooth, lightly scented lip balm that can be poured into tubes or tins for personal use or gifting.
Homemade lip balm projects are popular because they allow you to control texture, scent, and batch size. This vanilla bean version has a classic, understated aroma and a firm but glideable consistency that works well in both tins and standard lip balm tubes.
This tutorial walks through ingredient selection, melting and mixing, pouring, and storage so you can confidently make your own batch from start to finish.
Ingredients Overview
This recipe relies on three core components: wax, oils/butters, and scent. Each ingredient contributes to the final texture and appearance of the balm.
Vanilla Bean or Vanilla Extract
Vanilla is used purely for scent and flavour. You can use either whole vanilla beans or a high-quality vanilla extract.
If using whole beans, slice the pod lengthwise and scrape out the seeds. These can be infused into oil ahead of time or added directly during melting for a speckled appearance. Vanilla extract is a convenient alternative and blends evenly without visible flecks.
Choose pure vanilla extract rather than synthetic flavouring for a cleaner scent profile.
Wax Options
Wax gives lip balm its structure. Beeswax pellets are commonly used because they melt evenly and set firmly.
If you prefer a plant-based alternative, candelilla or carnauba wax can also be used, though these will produce a slightly firmer balm. When substituting waxes, small ratio adjustments may be needed.
Oils and Butters
Carrier oils and butters determine how the balm feels when applied.
- Coconut oil creates a smooth glide and melts easily
- Shea butter adds body and creaminess
- Optional oils such as sweet almond oil can be added for a lighter finish
Using refined oils keeps the vanilla scent clean and prevents competing aromas.
Basic Ingredient Ratios
This balanced ratio works well for standard tubes and tins:
- 1 tablespoon beeswax pellets
- 1 tablespoon coconut oil
- 1 tablespoon shea butter
- 1 teaspoon vanilla extract
You can double or triple the quantities easily if making multiple tubes.
Preparing Your Workspace
Before melting anything, set up your workspace so the pouring stage goes smoothly.
- Clean your containers (tubes or tins)
- Prepare a heat-safe bowl
- Set up a double boiler or water bath
- Have a spoon or spatula ready for stirring
Once melted, the mixture cools quickly, so having everything prepared in advance is important.
Melting and Mixing the Balm
Step 1: Melt the Base
Add the beeswax, coconut oil, and shea butter to your heat-safe bowl. Place it over gently simmering water and allow the ingredients to melt slowly.
Stir occasionally to ensure even melting and prevent sticking.
Step 2: Add Vanilla
Once fully melted, remove the bowl from heat and stir in the vanilla extract. Mixing after removing from heat helps preserve the scent.
Stir thoroughly so the vanilla distributes evenly throughout the mixture.
Pouring Into Containers
Carefully pour the liquid balm into prepared containers.
- For tubes: pour slowly to avoid overflow
- For tins: fill just below the rim
If the mixture begins to thicken while pouring, return it briefly to the warm water bath.
Allow the containers to sit undisturbed at room temperature until fully set. This usually takes 1–2 hours.
Checking Texture and Adjustments
Once set, test the balm by gently pressing the surface.
- If too soft: remelt and add a small amount of wax
- If too firm: remelt and add a small amount of oil
Small adjustments make a noticeable difference, so change ratios gradually.
Storage and Shelf Life
Store finished lip balms in a cool, dry place away from direct sunlight.
Labeling the containers with the date and scent is helpful, especially if you make multiple variations.
Because this recipe contains no water, it works well for long-term storage when kept sealed.
Customisation Ideas
This vanilla base can be customised easily:
- Add cocoa butter for a firmer balm
- Use vanilla-infused oil for visible bean specks
- Blend vanilla with citrus or mint for layered scent
Keeping add-ins minimal helps maintain a smooth texture.
If you enjoy making lip balm, you may also like this collection of additional DIY lip balm ideas:
