Nail art has become an increasingly popular form of self-expression and creativity in recent years. From bold and bright designs to subtle and sophisticated looks, there are endless possibilities when it comes to decorating your nails. With so many tutorials available online, it can be overwhelming to choose which ones to try. That’s why we’ve rounded up 10 pretty designed nail art tutorials to help inspire your next manicure.

Whether you’re a beginner or a seasoned pro, these tutorials offer step-by-step instructions and helpful tips to achieve stunning nail art designs. From floral patterns to geometric shapes, there’s something for everyone. Plus, many of these tutorials use affordable and easily accessible materials, so you don’t have to break the bank to achieve a stylish look. So, grab your nail polish and let’s get started on creating some beautiful nail art!
Essential Tools and Materials
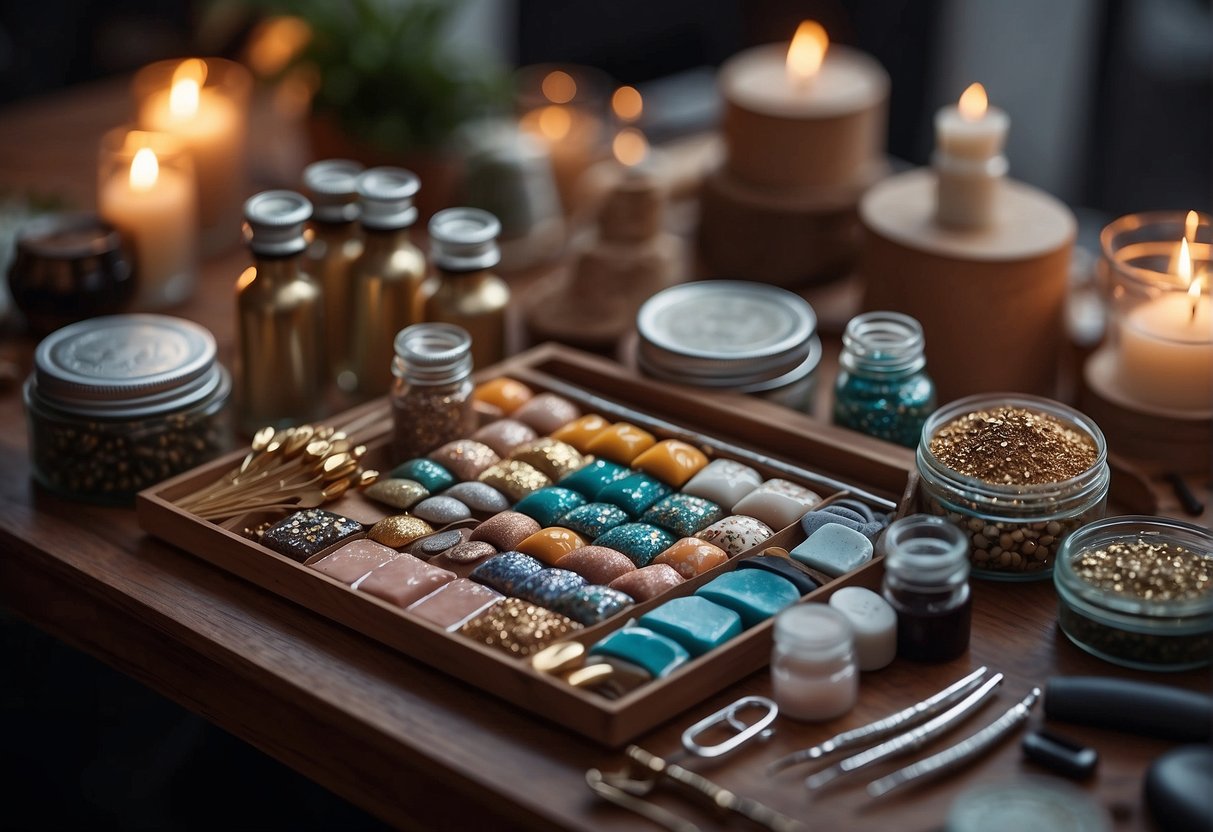
Nail Polish Selection
Choosing the right nail polish is essential for achieving beautiful nail art designs. It is recommended to use high-quality nail polish that is long-lasting and provides good coverage. Look for brands that offer a wide range of colors and finishes such as matte, glossy, and metallic. It is also important to choose nail polish that is free of harmful chemicals such as formaldehyde, toluene, and phthalates.
Nail Art Brushes and Dotting Tools
Nail art brushes and dotting tools are essential for creating intricate designs. A good set of brushes should include a variety of sizes and shapes such as flat, angled, and detail brushes. Dotting tools are perfect for creating dots, flowers, and other small details. It is important to clean the brushes and dotting tools after each use to ensure they last longer.
Protective Base and Top Coats
To ensure your nail art lasts longer, it is important to use a protective base and top coat. A base coat will help the nail polish adhere better to your nails and prevent staining. A top coat will protect your nail art from chipping and fading. Look for base and top coats that are quick-drying and provide a glossy finish. It is also recommended to use a top coat every few days to keep your nail art looking fresh.
In summary, choosing the right nail polish, having a good set of brushes and dotting tools, and using a protective base and top coat are essential tools and materials for creating beautiful nail art designs.
Basic Nail Art Techniques

Nail art is a creative way to enhance the beauty of your nails. It is a fun and easy way to express your personality and style. There are many different techniques that you can use to create beautiful nail art designs. In this section, we will discuss some of the basic nail art techniques that you can use to create stunning nail art designs.
Dotting Technique
The dotting technique is one of the easiest and most popular nail art techniques. It involves using a dotting tool or toothpick to create small dots on the nails. You can create different designs by varying the size and placement of the dots. For example, you can create a polka dot design by placing small dots all over the nails. You can also create a flower design by placing larger dots in a circular pattern and adding smaller dots in the center.
Striping Technique
The striping technique involves using a striping brush or tape to create straight lines on the nails. You can create different designs by varying the thickness and placement of the lines. For example, you can create a simple striped design by painting two parallel lines on the nails. You can also create a more complex design by painting multiple lines in different colors and directions.
Marbling Technique
The marbling technique involves creating a swirl pattern on the nails. It involves dropping different colors of nail polish onto the nails and using a toothpick or needle to create a swirl pattern. You can create different designs by varying the colors and patterns. For example, you can create a simple marbled design by using two colors of nail polish. You can also create a more complex design by using multiple colors and creating intricate patterns.
In conclusion, these basic nail art techniques are easy to learn and can be used to create stunning nail art designs. With a little practice and creativity, you can create beautiful nail art designs that will make your nails stand out.
Step-by-Step Tutorials

If you want to try out some pretty nail art designs, here are some step-by-step tutorials that you can follow. These tutorials will guide you through the process of creating beautiful floral patterns, geometric designs, glitter gradients, and animal prints.
Floral Patterns
To create a floral pattern on your nails, you will need a few different colors of nail polish, a small brush, and a dotting tool. Start by painting your nails with a base color and letting it dry completely. Then, use the small brush to paint small flowers on your nails, using different colors for each flower. You can also use the dotting tool to create the center of the flowers. Finish off with a clear top coat to protect your design.
Geometric Designs
For a modern and stylish look, try creating geometric designs on your nails. You will need some tape, a few different colors of nail polish, and a top coat. Start by painting your nails with a base color and letting it dry completely. Then, use the tape to create geometric shapes on your nails, and fill in the shapes with different colors of nail polish. Once the polish has dried, carefully remove the tape and finish off with a clear top coat.
Glitter Gradient
To create a glitter gradient on your nails, you will need a glitter nail polish and a makeup sponge. Start by painting your nails with a base color and letting it dry completely. Then, apply the glitter nail polish to the makeup sponge and dab it onto the tips of your nails. Keep dabbing until you achieve the desired gradient effect. Finish off with a clear top coat to seal in the glitter.
Animal Print
For a fun and wild look, try creating an animal print on your nails. You will need a few different colors of nail polish, a small brush, and a dotting tool. Start by painting your nails with a base color and letting it dry completely. Then, use the small brush to paint animal print patterns on your nails, using different colors for each pattern. You can also use the dotting tool to create the spots. Finish off with a clear top coat to protect your design.
These step-by-step tutorials will help you create beautiful and unique nail art designs. With a little bit of patience and practice, you can master these techniques and create your own custom designs.
Advanced Nail Art Designs

For those who are looking to take their nail art skills to the next level, there are a variety of advanced techniques to try. Here are three popular methods for creating intricate and eye-catching designs:
3D Nail Art
3D nail art involves adding embellishments to the nail surface to create a three-dimensional effect. This can include anything from rhinestones and studs to pearls and flowers. To create a 3D design, one can use a variety of tools such as a dotting tool, toothpick, or brush to apply the embellishments onto the nail. It is important to use a strong adhesive to ensure that the decorations stay in place.
Freehand Painting
Freehand painting is a technique that requires a steady hand and a lot of practice. It involves painting intricate designs directly onto the nail using a small brush and nail polish. This technique allows for complete creative freedom and can result in stunning and unique designs. It is important to use a high-quality nail polish and to work slowly and carefully to avoid mistakes.
Using Nail Stickers and Decals
Nail stickers and decals are pre-made designs that can be applied to the nail surface. They come in a variety of shapes, sizes, and colors, and can be easily applied using a pair of tweezers. This method is perfect for those who want to create intricate designs without the need for freehand painting skills. It is important to ensure that the sticker or decal is completely dry before applying a topcoat to avoid smudging.
By using these advanced techniques, anyone can create stunning and intricate nail art designs. With practice and patience, one can master these techniques and create unique and beautiful designs that are sure to impress.
Tips for Long-Lasting Nail Art

To make your nail art last longer, there are a few tips that you can follow. By following these tips, you can keep your pretty nail designs looking fresh and vibrant for longer periods of time. Here are some tips:
1. Clean Your Nails
Before applying any nail polish or nail art, make sure your nails are clean. Wash your hands with warm water and soap to remove any dirt or oil from your nails. Dry your nails completely before applying any nail polish.
2. Use a Base Coat
Using a base coat is essential for long-lasting nail art. A base coat creates a smooth surface for the nail polish to adhere to, and it also prevents staining of the nails. Apply a thin layer of base coat and wait for it to dry before applying any nail polish.
3. Apply Thin Layers of Nail Polish
It’s better to apply thin layers of nail polish rather than thick layers. Thick layers of nail polish take longer to dry and are more likely to chip. Apply two thin coats of nail polish and wait for each coat to dry before applying the next one.
4. Seal with a Top Coat
A top coat is the final step in creating long-lasting nail art. A top coat seals the nail polish and adds a glossy finish to the nails. Apply a thin layer of top coat and wait for it to dry completely.
5. Avoid Harsh Chemicals
Harsh chemicals, such as cleaning products, can damage your nails and cause your nail art to chip or peel. Wear gloves when cleaning or doing dishes to protect your nails.
By following these tips, you can ensure that your nail art lasts longer and looks beautiful for days.
Troubleshooting Common Issues

Smudging and Bleeding
One of the most common issues with nail art is smudging and bleeding. This can happen due to a variety of reasons, including using too much polish, not letting the polish dry completely between layers, or not using a topcoat.
To avoid smudging and bleeding, it is important to use thin layers of polish and let each layer dry completely before adding another. It is also recommended to use a quick-drying topcoat to seal in the design and prevent smudging.
If smudging or bleeding does occur, it is best to wait until the polish is completely dry and then use a clean brush dipped in nail polish remover to carefully clean up any mistakes.
Quick Drying and Retouching
Another common issue with nail art is not being able to retouch or fix mistakes once the polish has dried. This can be frustrating, especially if you have spent a lot of time on a design.
To avoid this issue, it is recommended to use a quick-drying topcoat and to work quickly when applying the polish. If you do make a mistake, you can try using a small brush dipped in nail polish remover to carefully remove the mistake and then quickly touch up the area with fresh polish.
It is also important to make sure that your nails are completely dry before adding any additional layers or designs. This will help prevent smudging and bleeding and ensure that your nail art looks its best.
Nail Art Maintenance and Care

Maintaining and caring for your nail art is essential to ensure that it lasts longer and looks beautiful. Here are some tips to help you keep your nail art in top condition:
-
Avoid using your nails as tools: Using your nails to open cans, bottles, or packages can damage your nail art and weaken your nails. Always use the appropriate tools to avoid chipping or breaking your nails.
-
Apply a topcoat: Applying a clear topcoat to your nail art can help protect it from chipping and fading. It also adds shine and gives your nails a polished look.
-
Moisturize your nails: Keeping your nails moisturized is important to prevent them from becoming dry and brittle. Apply cuticle oil or hand cream to your nails and cuticles regularly to keep them hydrated.
-
Protect your nails: Wear gloves when doing household chores or activities that may damage your nail art. This can help prevent chips and scratches.
-
Avoid harsh chemicals: Exposure to harsh chemicals such as cleaning products, acetone, and nail polish remover can damage your nail art. Try to limit your exposure to these chemicals and always wash your hands thoroughly after using them.
By following these simple tips, you can help prolong the life of your nail art and keep your nails looking beautiful.
Frequently Asked Questions

What essential tools are needed for a beginner’s nail art kit?
A beginner’s nail art kit should include a base coat, top coat, nail polish remover, nail file, cuticle pusher, and a set of nail art brushes. It is also recommended to have a dotting tool, striping tape, and rhinestones for added decoration.
How can one create simple nail art designs at home without professional tools?
Simple nail art designs can be achieved at home without professional tools by using everyday items such as toothpicks, bobby pins, and tape. These items can be used to create dots, stripes, and geometric shapes.
What are the fundamental steps to follow when learning nail art as a beginner?
The fundamental steps to follow when learning nail art as a beginner include practicing basic techniques, experimenting with different colors and designs, and taking care of your nails by keeping them clean and moisturized.
Can you provide a beginner-friendly nail art tutorial that doesn’t require specialized equipment?
A beginner-friendly nail art tutorial that doesn’t require specialized equipment is the classic French manicure. This design only requires a base coat, white nail polish, and a top coat. Simply paint the tips of your nails with the white polish and finish with a top coat for a clean and elegant look.
What are the top five basic nail art designs that every beginner should master?
The top five basic nail art designs that every beginner should master include the French manicure, polka dots, stripes, ombre, and floral designs. These designs are simple yet stylish and can be easily customized to fit any occasion.
Which nail art design is considered the most popular and sought after?
The most popular and sought after nail art design is currently the “negative space” design, which involves leaving portions of the nail unpainted to create a unique and eye-catching look. This design can be achieved with various colors and shapes, making it a versatile and trendy choice.