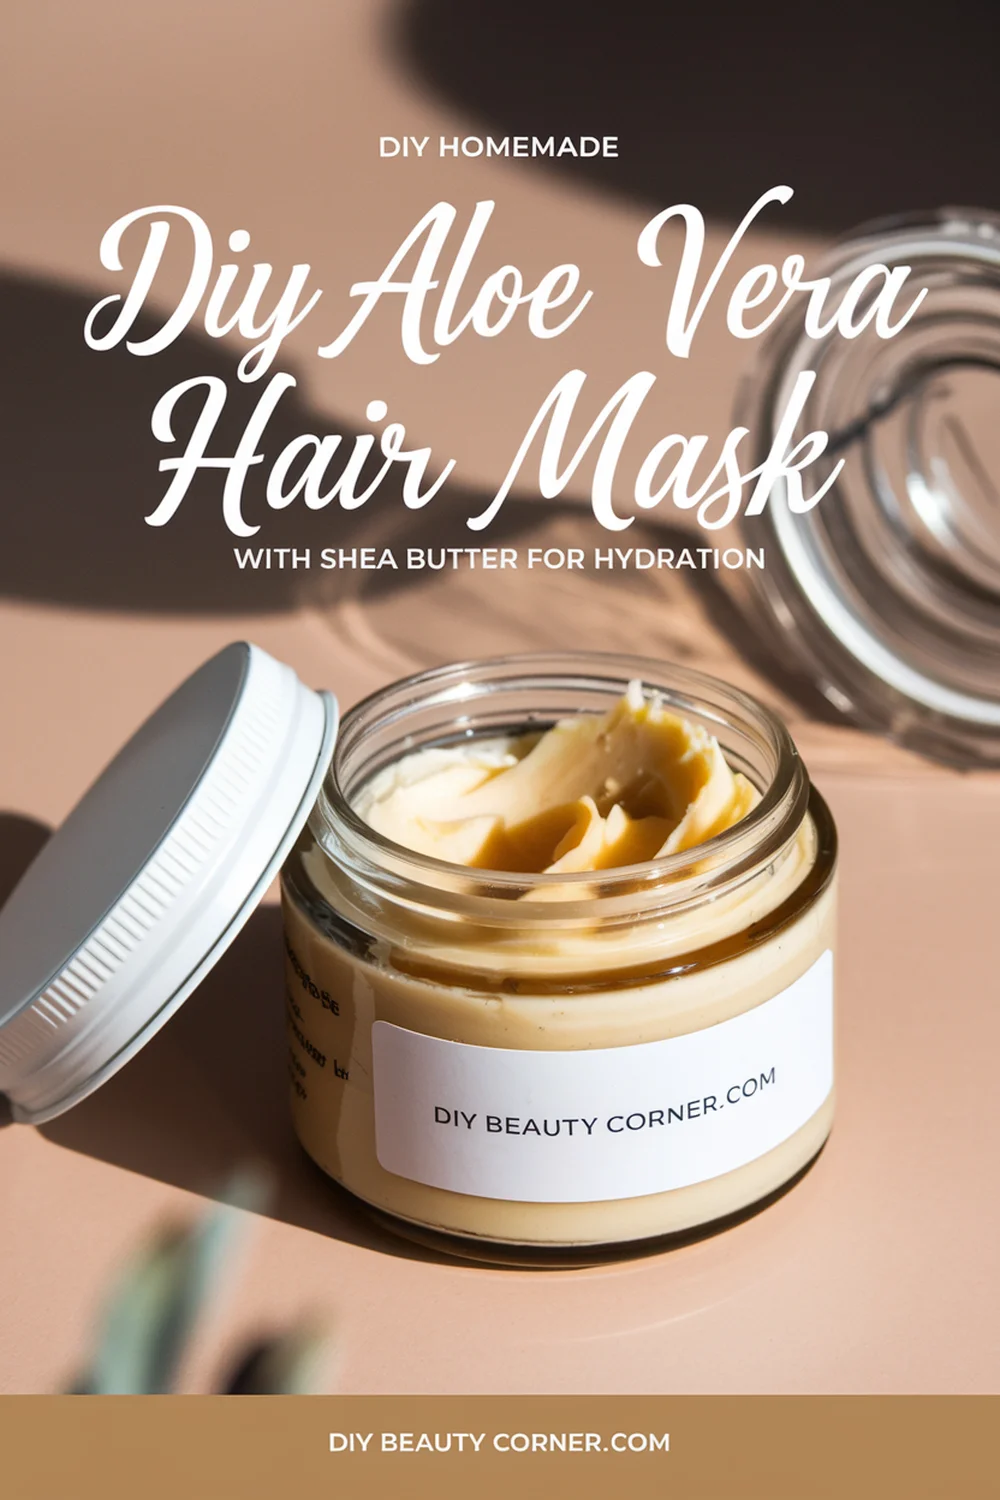
As I explore the world of natural hair care, I’ve discovered the incredible benefits of using aloe vera and shea butter together. These two ingredients are not just popular in beauty circles; they offer exceptional hydration and nourishment for dry, damaged hair. Creating a DIY Aloe Vera Hair Mask with Shea Butter is an effective way to restore moisture and vitality to your locks.
In my experience, mixing these components results in a rich, creamy mask that deeply penetrates the hair shaft. Aloe vera is known for its soothing properties, while shea butter is celebrated for its moisture-retaining abilities. This combination can significantly enhance the overall health of your hair, making it softer and more manageable.
I will guide you through a straightforward recipe to harness these natural ingredients effectively. With just a few simple steps, you can whip up a hair mask that rejuvenates your hair and leaves it feeling luxurious. Let’s dive into the details of making this hydrating treatment and see how it can transform your hair care routine.
Ingredients
For my DIY Aloe Vera Hair Mask with Shea Butter, I focus on a few key ingredients known for their hydrating properties. Here’s what I use:
-
Aloe Vera Gel: 3 tablespoons
This provides moisture and nourishment to the hair. -
Shea Butter: 1/2 cup
Known for its deep hydration, it helps to soften and condition the hair.
Optional Additions
I sometimes include additional ingredients for enhanced benefits:
-
Essential Oils: 10 to 15 drops
Lavender or rosemary oils can be added for a soothing scent and potential hair growth support. -
Additional Carrier Oils: 1-2 tablespoons
Oils like olive or coconut oil can also boost the mask’s moisturizing effect.
How to Prepare
To make the mask, I melt the shea butter and mix in the aloe vera gel until smooth. This combination ensures that both ingredients are well incorporated.
I apply this mixture to damp hair, covering from roots to ends, leaving it on for about 30 minutes before rinsing. This step allows my hair to absorb all the nourishing properties effectively.
Recipe
Creating a DIY aloe vera hair mask with shea butter is straightforward and rewarding. The following steps will guide you through melting the shea butter, combining the ingredients, and effectively applying the mask for maximum hydration.
Melt the Shea Butter
I start by measuring out 1/2 cup of shea butter. It’s best to use raw, unrefined shea butter for its rich nutrients. To melt it, I place the shea butter in a double boiler. If I don’t have one, I use a heatproof bowl set over a pot of simmering water.
I avoid using direct heat, as it can degrade the beneficial properties of shea butter. Once melted, I remove it from heat and let it cool slightly before proceeding. This is important, as using hot shea butter can affect the other ingredients when combined.
Combine Ingredients
Once the shea butter has cooled a bit, I add 3 tablespoons of pure aloe vera gel to the bowl. Using fresh aloe vera gel enhances the mask’s effectiveness, but store-bought gel can also be used.
Next, I incorporate optional ingredients like essential oils for added benefits. For instance, adding 10 drops of lavender or rosemary oil can promote hair health. After adding these, I gently stir to combine all components, ensuring an even distribution.
Mix Well
With the ingredients in the bowl, I use a whisk or electric mixer to blend everything together. It’s important to achieve a smooth, consistent texture without clumps. I continue mixing until the shea butter and aloe vera gel are fully incorporated.
This step ensures that the mask’s moisturizing properties are evenly spread throughout. If the mixture feels too thick, I can add a teaspoon of water until I reach my desired consistency. A well-mixed mask enhances the application process and effectiveness.
Application
Before applying the mask, I make sure my hair is clean and slightly damp. This helps the mask penetrate better. I portion my hair into sections to ensure an even application.
Using my fingers, I scoop some of the mask and work it into my hair, starting from the roots and moving toward the tips. It’s essential to focus on the ends, which tend to be drier. I massage the mask into my scalp, as this promotes circulation and encourages healthy growth.
Leave On
After applying, I gather my hair into a loose bun or twist and secure it with a hair tie or clip. I usually cover my hair with a shower cap to retain moisture and warmth.
I’m careful to leave the mask on for at least 30 minutes. For deeper hydration, leaving it on for up to 2 hours is beneficial. This allows the natural ingredients to penetrate effectively, providing maximum moisture to my hair.
Rinse
Once the time is up, I rinse my hair thoroughly with lukewarm water. I find that using a gentle shampoo helps to remove any residue from the mask effectively.
After rinsing, I often condition my hair as usual for added softness. It’s important to dry my hair gently using a towel without rubbing, to minimize breakage. Following this routine regularly helps maintain healthy, hydrated hair.
