Creating your own eyebrow gel at home is an easy and rewarding way to achieve perfectly styled brows while ensuring that they stay nourished. The combination of jojoba oil and cocoa butter not only holds your eyebrows in place but also works to moisturize them, promoting healthier growth. I enjoy experimenting with natural ingredients, and this DIY recipe offers an effective solution without the harsh chemicals found in many commercial products.
In this blog post, I’ll guide you through the simple steps to make your own moisturizing eyebrow gel using just a few ingredients. The blend of jojoba oil and cocoa butter protects your brows from becoming brittle, while also providing a light hold that doesn’t feel stiff. With this easy recipe, you can customize the tint to match your natural brow color or keep it clear for a more understated look.
Join me as I share my favorite recipe and insights into the benefits of each ingredient. With just a bit of time and effort, you’ll have a personalized eyebrow gel that works beautifully and keeps your brows looking their best.
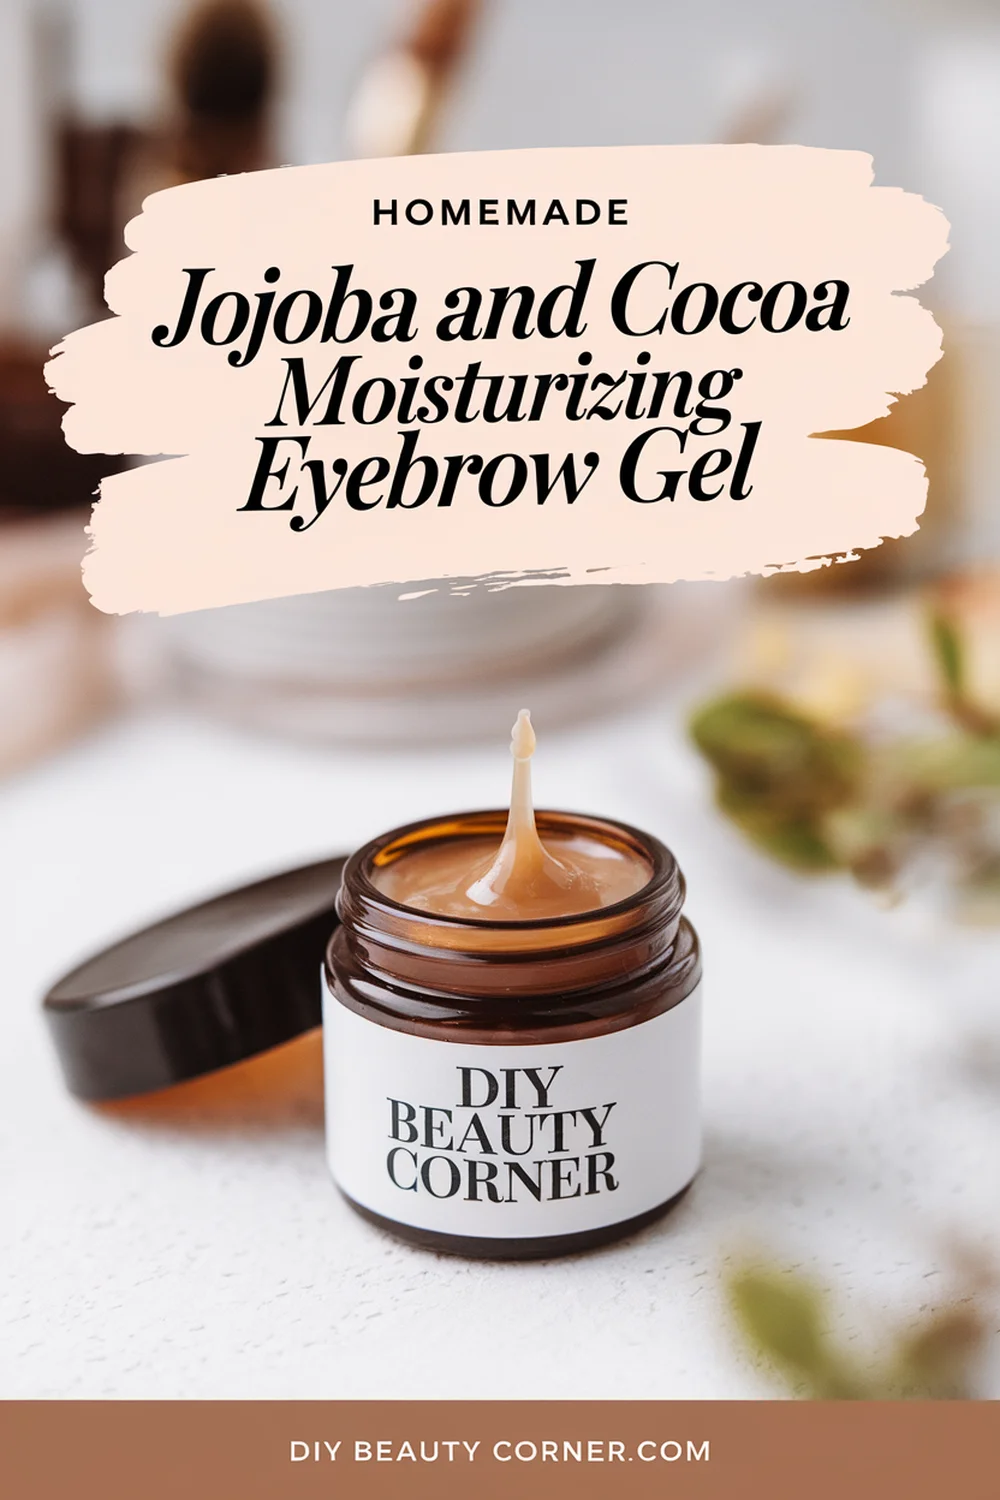
DIY Jojoba Oil and Cocoa Butter Moisturizing Eyebrow Gel
Creating a homemade eyebrow gel using jojoba oil and cocoa butter offers a nourishing solution for maintaining healthy and well-groomed brows. This recipe ensures that your eyebrows remain moisturized while providing a natural tint for a fuller appearance.
Benefits of Jojoba Oil and Cocoa Butter for Eyebrows
Jojoba oil is renowned for its moisturizing properties. It closely resembles the natural oils produced by our skin, making it an excellent choice for hydrating the brow area. This helps in preventing dryness and promoting a healthier appearance in eyebrow hair.
Cocoa butter is another key ingredient, known for its rich nutrients. It helps improve skin elasticity and adds a subtle sheen. This is particularly beneficial for taming unruly brow hairs and enhancing their overall look.
The combination of these two ingredients not only nourishes the eyebrows but can also stimulate growth and fullness over time. Their lightweight texture helps avoid clogging pores, which is essential for maintaining skin health around the eyebrows.
Necessary Ingredients and Tools
To prepare my eyebrow gel, I gather the following ingredients:
- 1 tablespoon of beeswax
- 1 tablespoon of cocoa butter
- 1 tablespoon of jojoba oil
- 1/4 teaspoon of vitamin E oil
- 5 drops of lavender essential oil
In addition to the ingredients, I also need some essential tools:
- A heat-safe glass container or double boiler
- A small whisk or spoon for stirring
- A clean, small jar for storage
Having all these items ready makes the preparation process smooth and efficient. It’s best to work in a clean environment to ensure the gel stays hygienic.
Step-by-Step Preparation Guide
-
Melt the Beeswax and Cocoa Butter: In a heat-safe glass container or double boiler, combine the beeswax and cocoa butter. Heat gently until fully melted, stirring occasionally.
-
Add Jojoba Oil and Vitamin E: Once the mixture is melted, remove it from heat. Stir in the jojoba oil and vitamin E oil until well combined.
-
Incorporate Essential Oils: Add the lavender essential oil for fragrance and additional benefits. Mix thoroughly to ensure all ingredients are evenly distributed.
-
Cool and Store: Pour the mixture into a small, clean jar. Allow it to cool completely before securing the lid. Store in a cool, dry place for optimal shelf life.
By following these steps, I can create a natural eyebrow gel that keeps my brows looking their best while nourishing the hair and skin.
Application and Aftercare Tips
To apply my DIY Jojoba Oil and Cocoa Butter Moisturizing Eyebrow Gel, I begin with clean, dry eyebrows. Using a spoolie brush, I dip it into the gel. I gently sweep the brush through my brows, following their natural shape.
Steps for Application:
- Prep your brows: Ensure they are clean and free of makeup.
- Dip the spoolie: Lightly coat the brush with gel.
- Brush through: Start from the inner brow, moving outward.
Adjust the amount of gel based on how defined I want my eyebrows. For a more natural look, less is better. After application, I avoid touching my brows to ensure the product sets properly.
For aftercare, I keep my gel stored in a cool, dry place to prolong its shelf life, typically around three months if stored correctly.
Aftercare Tips:
- Avoid humidity: This can affect the gel’s hold.
- Check for dryness: If the gel starts to feel flaky, it’s time to make a new batch.
- Clean brush regularly: This prevents buildup and contamination.
With consistent use, my brows remain hydrated without feeling weighed down. This gel not only helps shape my brows but also nourishes the hair over time.
