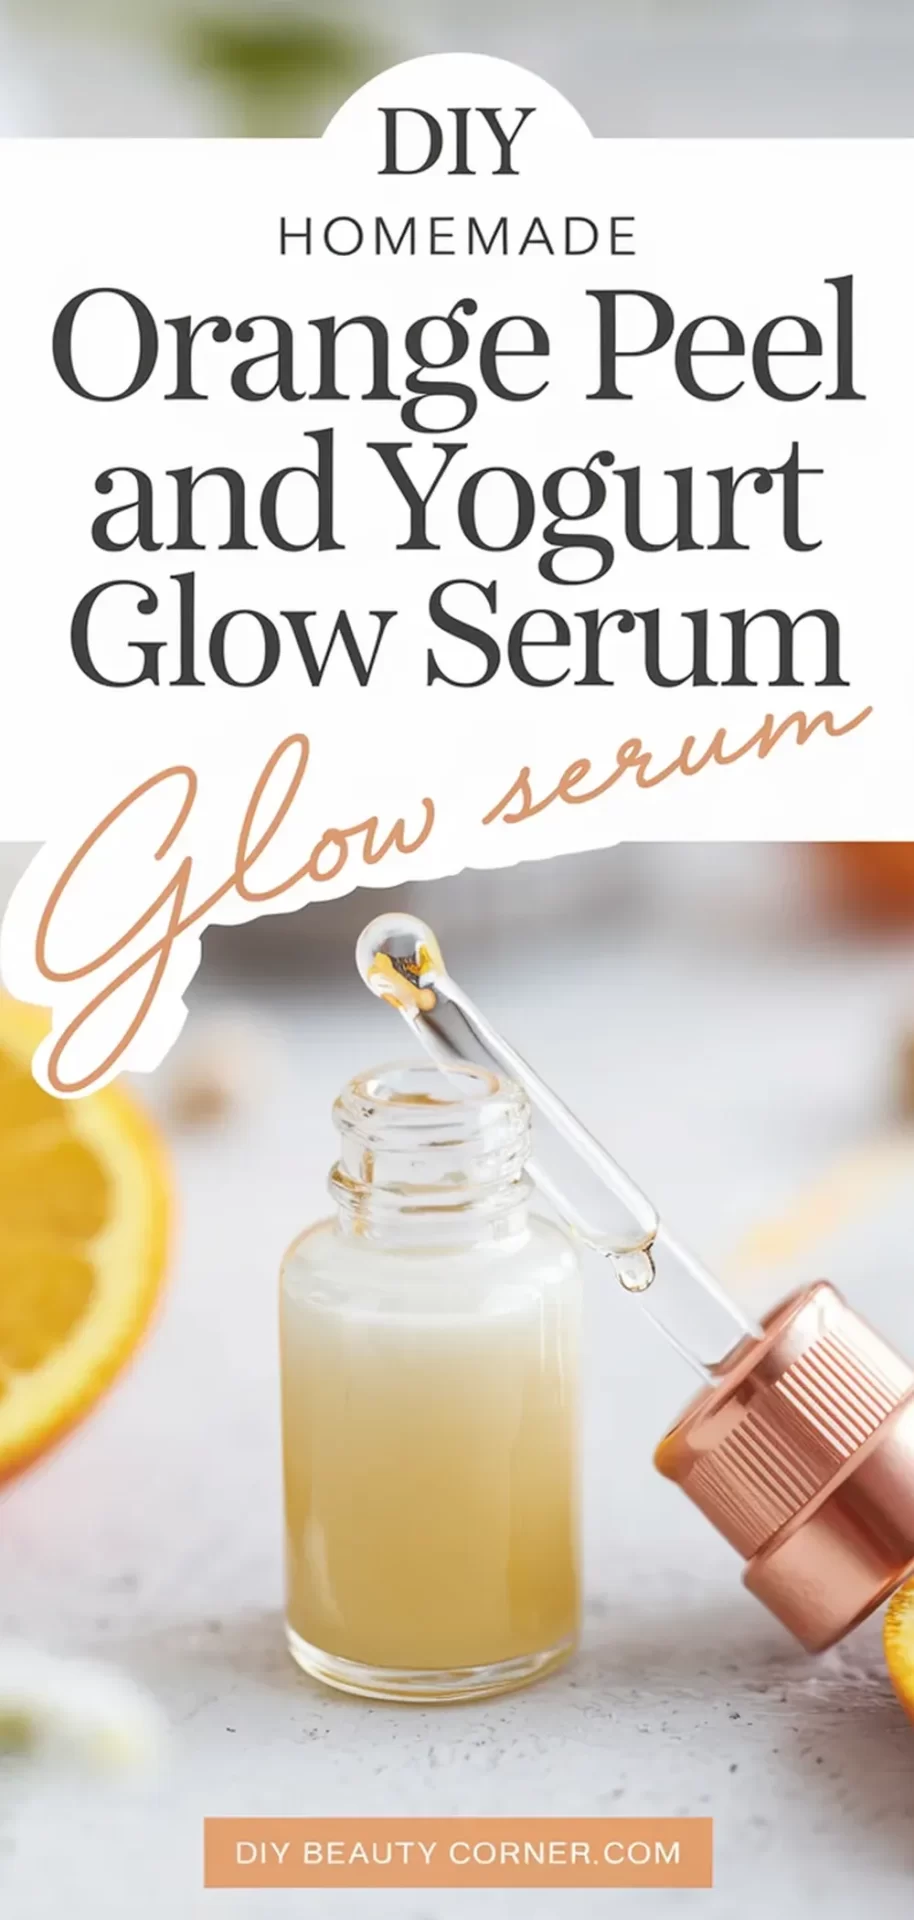
I recently discovered a fantastic remedy for oily skin that combines the benefits of orange peel and yogurt. This DIY homemade serum not only helps control excess oil but also brightens the skin, giving it a healthy glow. With ingredients you likely already have at home, creating this serum is a simple and effective way to enhance your skincare routine.
The natural astringent properties of orange peel work wonders in reducing oil production, while yogurt’s lactic acid gently exfoliates and revitalizes. This combination not only targets oily skin but also provides nourishing benefits, leaving your face feeling fresh and radiant.
Incorporating this easy-to-make serum into my daily regimen has made a noticeable difference. Get ready to uncover a glowing complexion by following a few straightforward steps to create your own orange peel and yogurt glow serum.
Creating Your Glow Serum
In this section, I will explore the key components of a DIY orange peel and yogurt glow serum designed specifically for oily skin. I will discuss the benefits of orange peel, the role of yogurt, and outline the ingredients and steps needed to create this effective serum.
Benefits of Orange Peel for Oily Skin
Orange peel is rich in vitamin C and antioxidants, making it a powerful ingredient for oily skin. The vitamin C promotes collagen production, which helps to keep the skin firm and youthful. Additionally, the natural acids found in orange peel help to exfoliate dead skin cells, preventing clogged pores and reducing excess oil.
The astringent properties of orange peel also work to tighten the skin and minimize the appearance of pores. This can lead to a smoother, more refined skin texture. Moreover, orange peel possesses antibacterial properties that help prevent breakouts and reduce acne, making it ideal for those with oily skin types.
Why Add Yogurt to Your Serum?
Incorporating yogurt into my serum formula adds several skin-loving benefits. Yogurt contains lactic acid, a gentle exfoliant that helps to remove dead skin cells and promotes cell turnover. This leads to a brighter complexion and improved skin texture.
Moreover, yogurt is known for its soothing properties. It can calm inflammation and redness, which is particularly beneficial for oily skin that may be prone to irritation. The probiotics in yogurt also support the skin’s natural barrier, keeping it hydrated without adding excess oil.
Gathering Your Ingredients
To create my orange peel and yogurt glow serum, I need the following ingredients:
- 1 tablespoon of dried orange peel powder
- 2 tablespoons of plain, unsweetened yogurt
- 1 teaspoon of honey (optional for added moisture)
- Glass container for storage
Using quality ingredients is paramount in ensuring that the serum is effective and safe for my skin. I opt for organic yogurt and freshly dried orange peels to maximize the vitamin C content.
Step-by-Step Mixing Process
-
Prepare the Orange Peel: Start by grinding dried orange peels into a fine powder using a blender or mortar and pestle.
-
Combine Ingredients: In a clean mixing bowl, add 1 tablespoon of orange peel powder, 2 tablespoons of yogurt, and 1 teaspoon of honey if desired.
-
Mix Thoroughly: Stir the mixture until it forms a smooth paste. Ensure there are no lumps of orange peel powder.
-
Transfer to Container: Once well mixed, pour the serum into a clean glass container for storage. Seal it tightly to maintain freshness.
-
Application: When ready to use, apply a small amount of the serum to my face and neck, avoiding the eye area. Allow it to sit for 15-20 minutes before rinsing off with lukewarm water.
This simple process allows me to create a nourishing serum that brightens and revitalizes my oily skin effectively.
Application and Storage
Applying my homemade orange peel and yogurt glow serum correctly can enhance its effectiveness, while proper storage ensures its longevity. Here’s how I do both effectively.
How to Apply the Serum for Best Results
-
Preparation: Start with a clean face. I wash my skin with a gentle cleanser and pat it dry.
-
Application: I take a small amount of the serum—about a dime-sized amount—and gently apply it to my face, focusing on oily areas like the forehead, nose, and chin.
-
Massage: Using upward and outward motions, I massage the serum into my skin. This helps increase absorption and improve circulation.
-
Leave It On: I let the serum sit for about 20-30 minutes, allowing the ingredients to penetrate my skin effectively.
-
Rinse: Afterward, I rinse my face with lukewarm water and follow up with a light moisturizer suitable for oily skin.
Tips for Storing Your DIY Serum
To maintain the quality of my serum, I store it properly. Here are my key tips:
-
Use an Airtight Container: I transfer the serum into a clean, airtight glass jar. This prevents any contamination and keeps moisture at bay.
-
Cool, Dark Place: I store the jar in a cool, dark location—away from direct sunlight and humidity. This helps preserve the active ingredients.
-
Shelf Life: Typically, this serum can last about 1-2 weeks. I make small batches to ensure freshness.
-
Dry Utensils: I always use a completely dry spoon when scooping out the serum. This avoids introducing moisture or bacteria into the container.
By applying and storing the serum correctly, I maximize its benefits while keeping it effective for future use.