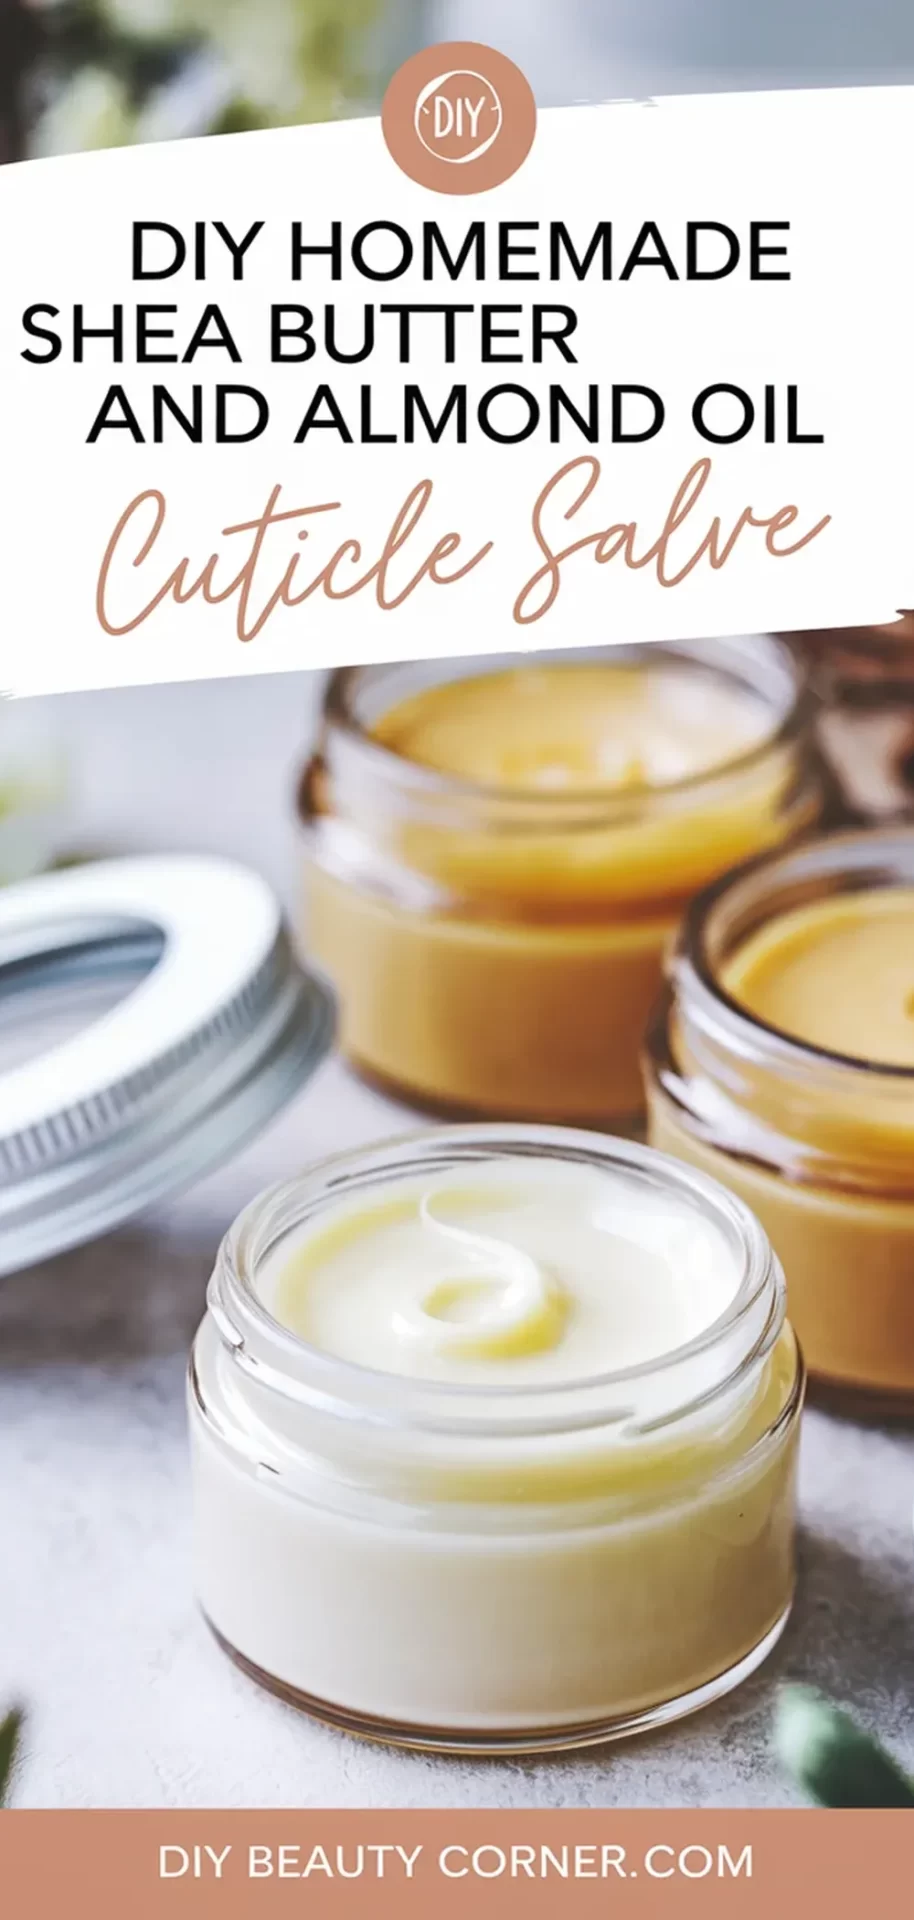
Making your own DIY Homemade Shea Butter and Almond Oil Cuticle Salve is a simple and rewarding project that can enhance your self-care routine. Not only does this salve nourish and soften cuticles, but it also uses natural ingredients that are easy to find and safe for your skin. Crafting a nourishing cuticle salve with shea butter and almond oil will leave your hands feeling soft and rejuvenated.
I enjoy the process of creating my own beauty products, and this cuticle salve is a standout. The combination of shea butter’s moisturizing properties and the healing benefits of almond oil makes it incredibly effective. With just a few easy steps, I can whip up a batch in under an hour, keeping my nails and cuticles healthy even during harsh weather.
In addition to being effective, this homemade salve is customizable. I can choose to add essential oils for fragrance or additional benefits. Join me as I guide you through the easy steps to make your own cuticle salve, complete with an ingredients list and precise measurements.
Benefits of Shea Butter and Almond Oil for Cuticles
Shea butter and almond oil offer a range of beneficial properties that enhance the health of cuticles. These ingredients work together to nourish, hydrate, and heal, making them ideal for maintaining strong and healthy nails.
Nourishing Properties of Shea Butter
Shea butter is rich in vitamins A and E and essential fatty acids. These components provide deep hydration to dry and brittle cuticles, preventing cracking and peeling. The emollient properties of shea butter help to lock in moisture, ensuring that cuticles remain soft and supple.
Additionally, shea butter has anti-inflammatory properties that soothe irritation and redness around the nail bed. This makes it particularly beneficial for those who experience discomfort due to dryness or environmental factors. The thick texture of shea butter allows it to create a protective barrier, shielding cuticles from harsh elements.
Healing Effects of Almond Oil
Almond oil is known for its lightweight and easily absorbed nature. This oil is high in vitamin E, which helps to promote healthy growth and prevent breakage of both cuticles and nails. I find that almond oil can also improve blood circulation to the nail area, encouraging faster healing and regeneration.
Furthermore, almond oil contains anti-inflammatory properties that can alleviate irritation and redness. Its nourishing qualities help to soften cuticles, making them easier to manage during manicures. Regular use of almond oil can lead to stronger, healthier nails, reducing the likelihood of hangnails and other common cuticle issues.
Creating Your Cuticle Salve
In this section, I will guide you through the essential steps involved in creating a nourishing cuticle salve using shea butter and almond oil. You’ll need to gather your materials first, then follow a straightforward mixing process, and finally, I’ll share tips on how to store and preserve your salve effectively.
Gathering Your Materials
To make the cuticle salve, I start by collecting the necessary ingredients and tools. For this recipe, I need:
- 1/4 cup shea butter
- 1/4 cup almond oil
- 1 teaspoon vitamin E oil
- 1 teaspoon beeswax pellets
- 5-10 drops of essential oil (optional for fragrance)
Additionally, I prepare the following tools:
- A microwave-safe container or glass bowl
- A stirring utensil
- A small mason jar or tin for storage
Having everything ready ensures a smooth and efficient process.
Step-by-Step Mixing Process
The mixing process is straightforward. First, I combine the shea butter, almond oil, and beeswax pellets in a microwave-safe container. I microwave the mixture for about 45 seconds to 1 minute until everything is melted. It’s essential to monitor closely to prevent overheating.
After melting, I remove the container from the microwave and stir the ingredients thoroughly. Once combined, I add in the vitamin E oil and any essential oils I choose. Stirring well ensures that all components mix evenly.
Finally, I pour the mixture into my storage jar and allow it to cool completely. This step is crucial as it solidifies the salve, making it easy to apply.
Storage and Preservation Tips
To maintain the salve’s quality, I store it in a cool, dry place away from direct sunlight. A small mason jar with a tight lid works well to keep it fresh.
This salve can last for several months, but if I notice any changes in scent or texture, I discard it. For extra freshness, I can keep it in the refrigerator, but it’s not necessary unless I want a cooling effect.
By following these procedures, I ensure my homemade cuticle salve is both effective and long-lasting.