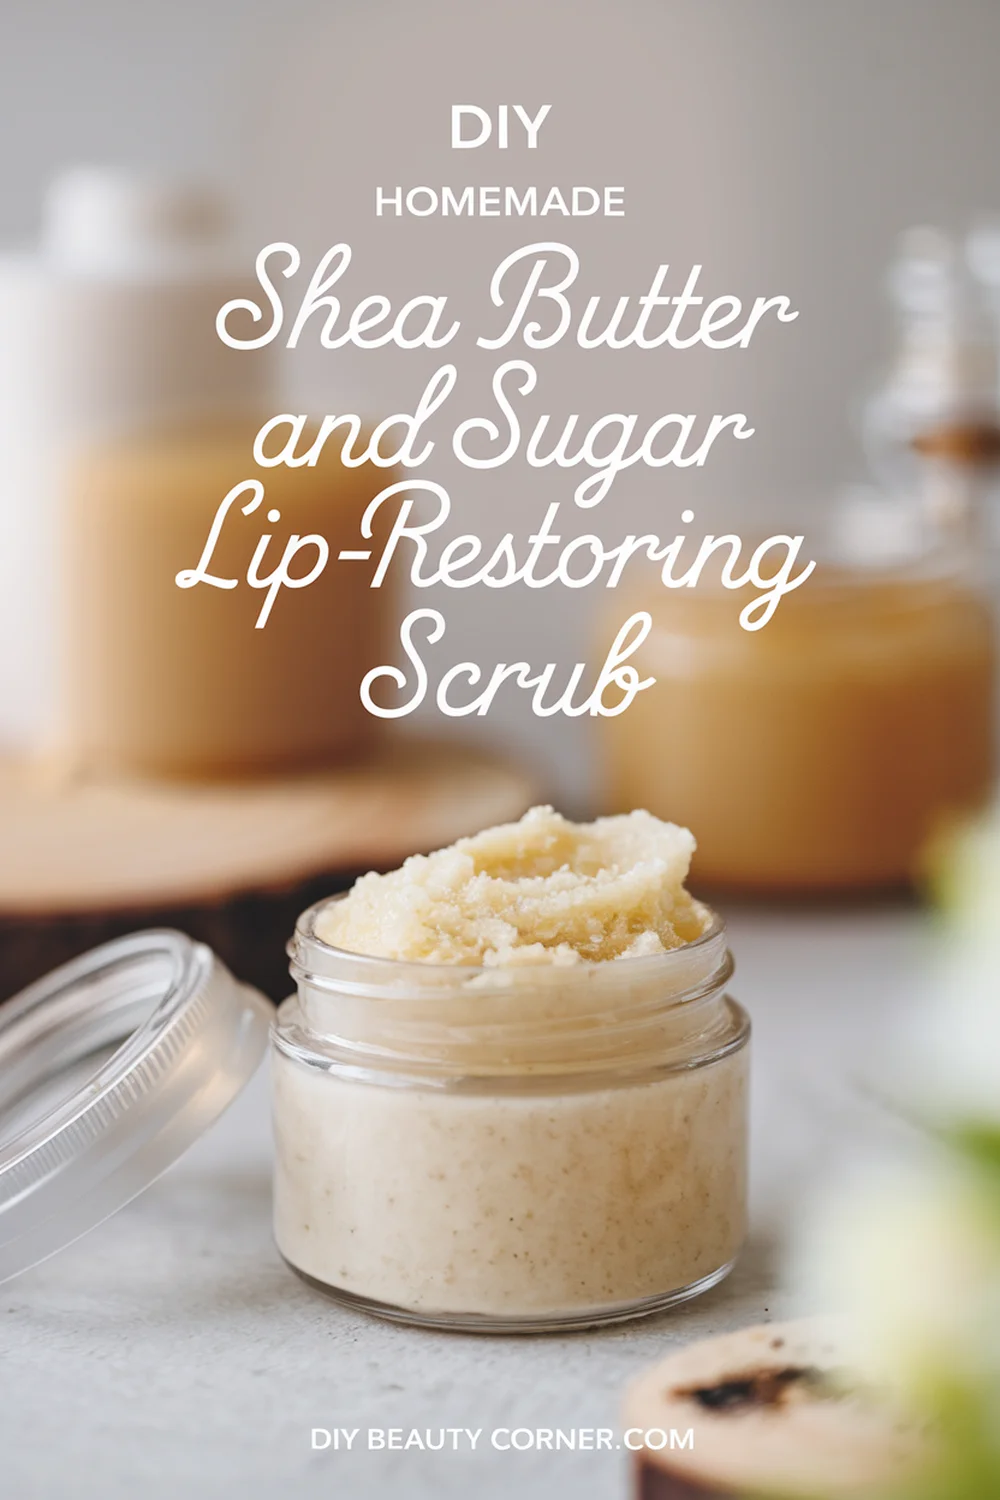
Winter can be tough on our lips, leaving them dry and in need of some extra care. I’ve found that creating my own lip scrub at home is an effective way to rejuvenate my lips and keep them smooth. Making a DIY homemade shea butter and sugar lip restoring scrub not only moisturizes but also gently exfoliates, revealing softer, fuller lips.
The best part is that this simple recipe requires just a few ingredients. With shea butter’s nourishing properties and sugar’s natural exfoliating abilities, I can achieve the perfect balance of hydration and softness. It’s a natural solution that helps stimulate blood flow, which promotes healthier, plumper lips.
In this blog post, I’ll share my favorite recipe, including measurements and tips for the best results. Whether you’re preparing for a special occasion or just want to pamper yourself, this scrub will leave your lips looking fresh and revitalized.
Benefits of Shea Butter and Sugar Lip Scrub
Using a shea butter and sugar lip scrub offers multiple advantages for achieving soft, healthy lips. The combination of natural ingredients works effectively to hydrate, exfoliate, and improve lip health.
Natural Ingredients
I appreciate that the primary components of this scrub are natural. Shea butter, renowned for its moisturizing properties, nourishes my lips and helps maintain their softness. Sugar, both brown and white, acts as a gentle exfoliant. It removes dead skin cells without causing irritation.
Additionally, coconut oil enhances hydration, while honey offers antibacterial properties and naturally seals moisture. I find that using these ingredients not only feels good but also aligns with my preference for using products that are free from harsh chemicals and additives.
Exfoliation and Moisturization
Exfoliation is crucial for maintaining the health and appearance of my lips. The sugar in the scrub helps to slough away dry, flaky skin, promoting a smooth texture. With just a few minutes of scrubbing, I can reveal softer, healthier lips.
Meanwhile, shea butter and coconut oil work together to moisturize deeply. I notice that my lips feel hydrated and plump after each use. This dual action of exfoliation and moisturization effectively counters issues like chapping, especially during dry seasons.
Improved Lip Health
Incorporating this scrub into my routine has positive effects on my lip health. Regular use helps to prevent cracks and dryness. I appreciate how the nourishing blend supports the natural barrier of my lips, reducing exposure to environmental stressors.
Moreover, honey’s antibacterial characteristics contribute to diminishing lip irritation and redness. My lips not only look better, but I also feel good knowing that I’m maintaining their overall condition. By using this lip scrub, I can confidently flaunt a healthy smile.
Creating Your Lip Scrub
I find crafting a homemade lip scrub both enjoyable and rewarding. With a few simple ingredients, I can create a nourishing scrub that helps restore and soften my lips. This section outlines the materials I need, the steps to follow, and some helpful tips for usage and storage.
Gathering Your Materials
To make my lip scrub, I first gather the following ingredients:
- 1/4 cup brown sugar
- 1/4 cup white sugar
- 1/4 cup shea butter
- 1 tablespoon coconut oil
- 1 teaspoon honey
In addition to the ingredients, I ensure I have a mixing bowl, a spoon or spatula for blending, and a small container for storage. Choosing high-quality shea butter makes a noticeable difference in texture and moisturizing ability.
Step-by-Step Process
-
Melt the Shea Butter: I start by gently warming the shea butter until it reaches a soft, creamy consistency. This can be done using a microwave in short bursts or in a double boiler.
-
Combine Sugar: In a mixing bowl, I mix the brown and white sugars. This blend provides effective exfoliation and helps to slough off dead skin.
-
Add Oils and Honey: Once the shea butter is ready, I add the coconut oil and honey to the bowl. The coconut oil enhances moisture, while honey adds a soothing element.
-
Mix Thoroughly: With a spoon or spatula, I blend the ingredients until well combined. The mixture should have a paste-like consistency that is easy to apply.
-
Transfer and Store: Finally, I spoon the scrub into my container. It’s important to seal it tightly to maintain freshness.
Usage and Storage Tips
For optimal results, I use my lip scrub about once or twice a week. Here’s how I do it:
-
Application: I take a dime-sized amount of scrub and gently work it onto my lips in a circular motion. This helps to exfoliate and remove any dry patches.
-
Rinse Off: After a minute, I rinse it off with warm water for smooth, soft lips.
To store my scrub, I keep it in a cool, dry place. It’s best used within 1 to 2 weeks. If I notice any changes in texture or smell, I discard it to ensure safety.