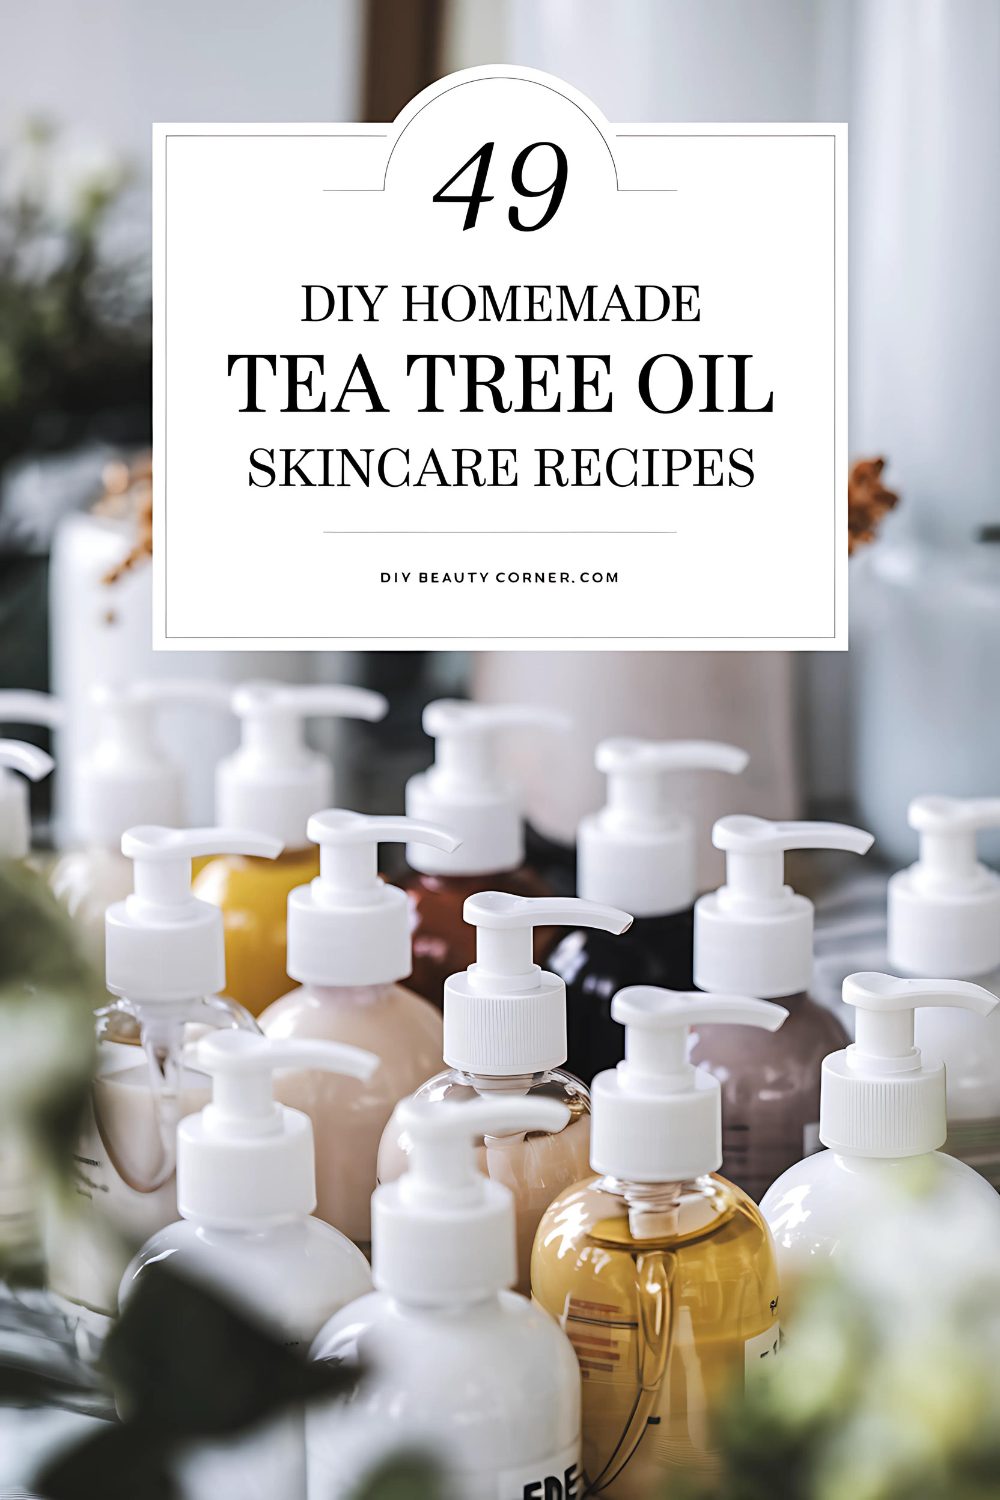
In my journey to finding effective skincare solutions, I discovered the incredible benefits of combining tea tree oil and rice water into a cleansing rinse. This DIY homemade cleanser not only purifies the skin but also harnesses the soothing properties of natural ingredients, making it ideal for various skin types. Using rice water helps to hydrate and nourish, while tea tree oil adds an antibacterial element that supports clearer skin.
Creating this cleansing rinse is simple and requires just a few key ingredients. I love the ease with which I can whip up this recipe at home, ensuring I control what goes onto my skin. With its gentle formulation, this cleanser has become a staple in my routine, proving effective in addressing issues like dullness and dryness.
If you’re looking for a natural and effective way to refresh your skincare regimen, this tea tree oil and rice water rinse is worth exploring. Join me as I share the step-by-step process to create this revitalizing blend, along with tips for optimal results.
Understanding Tea Tree Oil and Rice Water
Tea tree oil and rice water are both versatile ingredients with distinct properties that contribute to skin health. By exploring their benefits individually, I can appreciate how they complement each other in DIY skincare applications.
Benefits of Tea Tree Oil for Skin
Tea tree oil is renowned for its antibacterial and antifungal properties. This essential oil is a go-to for tackling acne and preventing breakouts. It contains compounds like terpinen-4-ol, which effectively reduce inflammation and combat the bacteria responsible for skin blemishes.
When using tea tree oil, it’s important to dilute it. I typically mix a few drops with a carrier oil or water to avoid skin irritation. This diluted solution can be applied to spots or mixed into a cleansing rinse for an all-over treatment. Regular use helps achieve clearer and healthier skin.
Rice Water: Composition and Advantages
Rice water is the starchy water that remains after soaking or boiling rice. It’s rich in nutrients like vitamins B and E, amino acids, and antioxidants, making it an excellent skin tonic.
This water can hydrate and soothe the skin, promoting a smoother complexion. I use it to strengthen and soften skin texture. Additionally, its antioxidant properties help protect the skin from damage caused by free radicals.
To prepare rice water, I rinse 1/4 cup of rice, then soak it in 2 cups of water for about 30 minutes. The resulting liquid can be used as a rinse or toner, enhancing the skin’s radiance and moisture levels.
Creating Your Cleansing Rinse
In this section, I will guide you through the essential steps for creating a homemade cleansing rinse using tea tree oil and rice water. This process includes selecting quality ingredients, preparing the rinse, applying it effectively, and ensuring proper safety and storage.
Gathering Quality Ingredients
To make an effective cleansing rinse, I focus on freshness and purity in my ingredients.
-
Rice Water: I use 1 cup of rice water, which I prepare by rinsing 1/4 cup of uncooked rice under cold water. After rinsing, I add 1 cup of water and let it sit for about 30 minutes. I then strain the rice, saving the water.
-
Tea Tree Oil: For this rinse, I include 5 to 10 drops of 100% pure tea tree oil. It is essential to select an unadulterated oil to assure maximum benefits. This oil is known for its natural antibacterial and antifungal properties, making it an excellent addition for cleansing.
Step-by-Step Preparation Process
To prepare the cleansing rinse, I follow a straightforward procedure.
-
Prepare the Rice Water: After soaking the rice, I strain it to collect the liquid.
-
Combine Ingredients: In a clean bowl, I mix the rice water with the tea tree oil. I ensure the oil is well dispersed throughout the water for effective cleansing.
-
Transfer to a Container: Once mixed, I pour the rinse into a dark glass bottle. This type of bottle helps protect the essential oil from light degradation.
-
Storage: I label the container with the date of preparation, ensuring I track its freshness.
Application Techniques
Applying the cleansing rinse is just as crucial as making it.
-
Damp Hair: I start by dampening my hair with warm water to aid absorption.
-
Application Method: After shaking the bottle gently, I pour a small amount of the rinse into my palm and thoroughly massage it into my scalp and hair.
-
Focus Areas: I pay extra attention to the scalp, allowing the antiseptic properties of tea tree oil to work effectively.
-
Rinsing: I let the rinse sit for about five minutes before thoroughly rinsing it out with warm water.
Safety Considerations and Storage
Safety is paramount when using essential oils.
-
Patch Test: Before the first application, I perform a patch test to ensure there are no allergic reactions. I apply a drop of diluted tea tree oil on my skin and wait for 24 hours.
-
Storage: I store the rinse in a cool, dark place to maintain its effectiveness. I use it up within one month to ensure optimal results.
-
Avoiding Overuse: I use this rinse no more than twice a week. Excessive use can lead to irritation, so moderation is key.