Creating your own lip balm can be a fun and rewarding project, especially when using nourishing ingredients like shea butter and honey. This easy-to-make shea butter and honey lip balm recipe is not only simple but also provides excellent hydration and protection for your lips. With just a few common ingredients, you can whip up your own batch, ensuring that you know exactly what goes into it.
I love how both shea butter and honey contribute to a hydrating and soothing experience. Shea butter is known for its moisturizing properties, making it an excellent choice for dry or chapped lips. Meanwhile, honey adds a sweet touch and offers natural healing benefits, perfect for keeping your lips soft and healthy.
By following this straightforward recipe, you’ll have a richly textured lip balm that feels luxurious and supports your skincare routine. Whether you’re treating yourself or creating a thoughtful gift, this DIY lip balm will surely impress.
Essential Ingredients
In this section, I will explore the key components of my easy homemade Shea Butter and Honey Lip Balm. Understanding the properties and benefits of these ingredients is essential for creating a nourishing product for your lips.
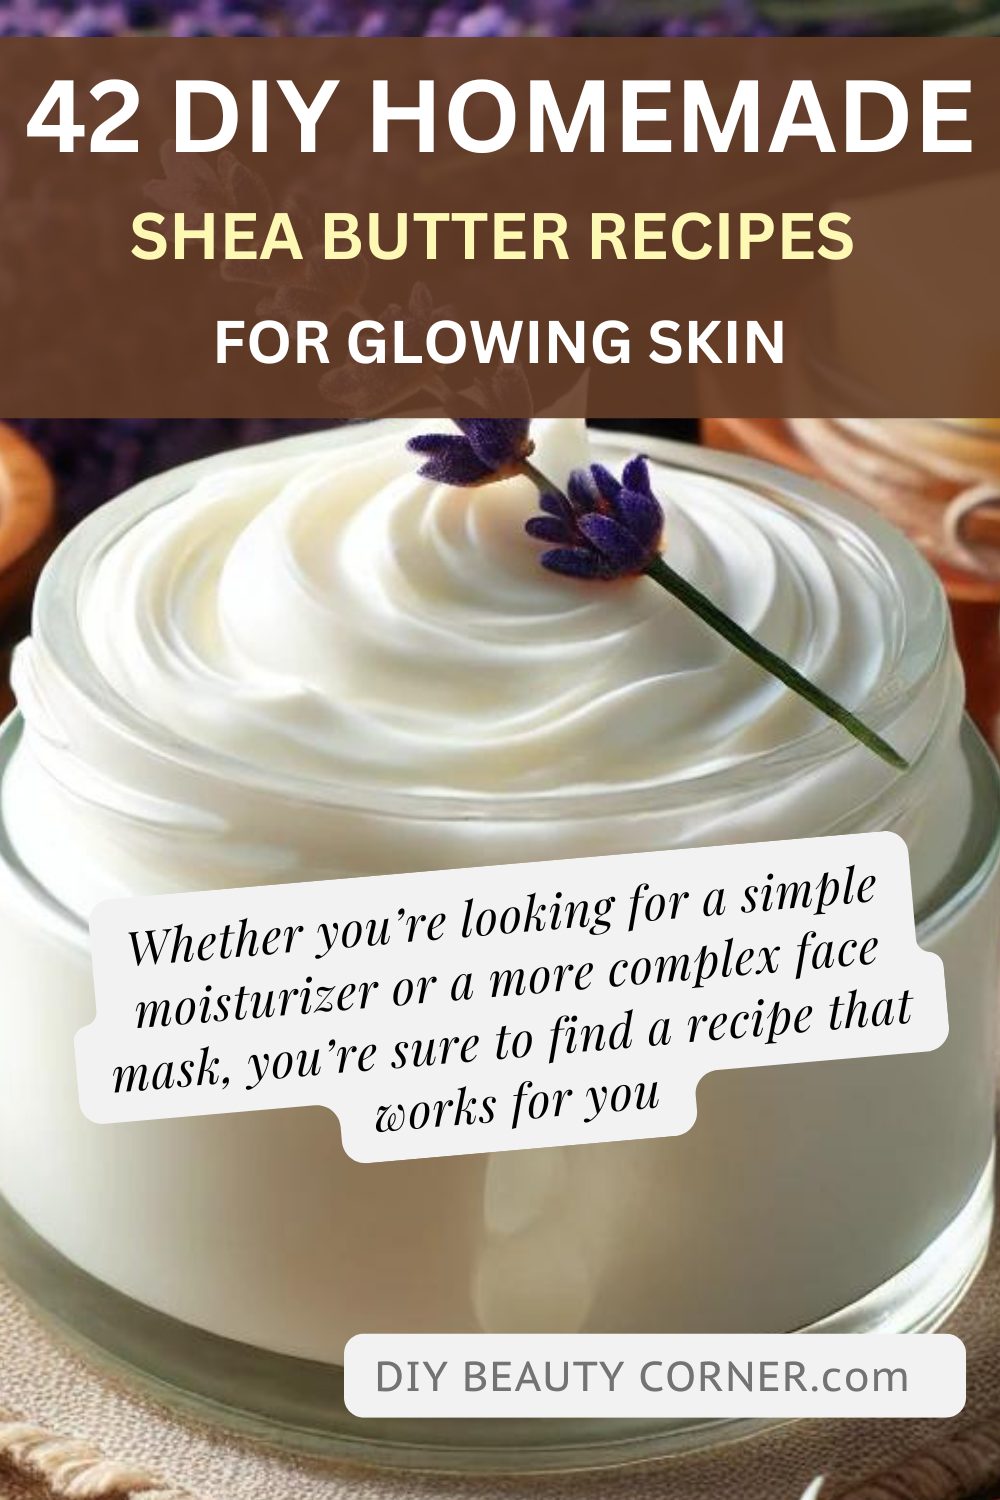
Shea Butter Properties
Shea butter is a powerful emollient derived from the nuts of the shea tree. It contains a rich concentration of fatty acids, which provide deep moisture and nourishment. This ingredient is known for its ability to soothe and repair dry, chapped skin.
Additionally, shea butter has anti-inflammatory properties, making it effective in calming irritation and redness. It also contains vitamins A and E, which are beneficial for skin health. The creamy texture allows for smooth application, providing a protective barrier on the lips.
Using just 1 tablespoon of shea butter in the lip balm recipe guarantees a base that moisturizes and enhances skin elasticity.
Benefits of Honey
Honey is not just a natural sweetener; it is a powerhouse for skin health. Known for its antimicrobial and antioxidant properties, honey helps to protect the lips from harmful bacteria while providing moisture.
Adding 1 tablespoon of honey to the lip balm increases its hydrating capabilities. Honey attracts moisture from the environment, ensuring the lips remain soft and supple. Its soothing nature also helps in healing chapped or cracked skin, making it ideal for lip care.
Incorporating honey alongside shea butter elevates this lip balm, creating a product that hydrates, protects, and rejuvenates my lips effectively.
Step-by-Step Recipe
Making a Shea Butter and Honey Lip Balm is straightforward and requires only a few key steps. Below, I provide detailed instructions to ensure a smooth preparation process.
Preparation Tools
To get started, gather the following tools:
- Double Boiler: This helps melt the ingredients gently without burning them. If you don’t have one, you can create a makeshift double boiler using a saucepan filled with water.
- Glass or Heat-Safe Bowl: For combining and melting the ingredients.
- Measuring Spoons: Accurate measurements help maintain the correct consistency.
- Lip Balm Containers: These can be small jars or tubes, depending on your preference.
- Stirring Utensil: A wooden spoon or spatula works best for mixing.
Having these tools ready will streamline the process of making your lip balm while ensuring safety and efficiency.
Mixing and Melting
Next, I combine the ingredients in the following order:
- In the heat-safe bowl, add 1 tablespoon each of shea butter, beeswax, coconut oil, and honey.
- Place the bowl over the double boiler, ensuring the bottom doesn’t touch the water. Heat the mixture gradually over medium heat.
- Stir occasionally until everything is fully melted and the ingredients are well blended. This process will require about 5 to 10 minutes.
The mixture should be smooth and glossy when finished. Avoid overheating, as it can alter the balm’s texture.
Cooling and Solidifying
Once the mixture is melted, remove it from the heat. I then pour it into my prepared containers, filling them to the desired level.
Allow the balm to cool at room temperature for approximately 30 minutes. As it cools, it will solidify, taking on a creamy texture that is perfect for application.
For quicker solidification, I can place the containers in the refrigerator for about 15 minutes. Once fully set, the lip balm is ready to use!