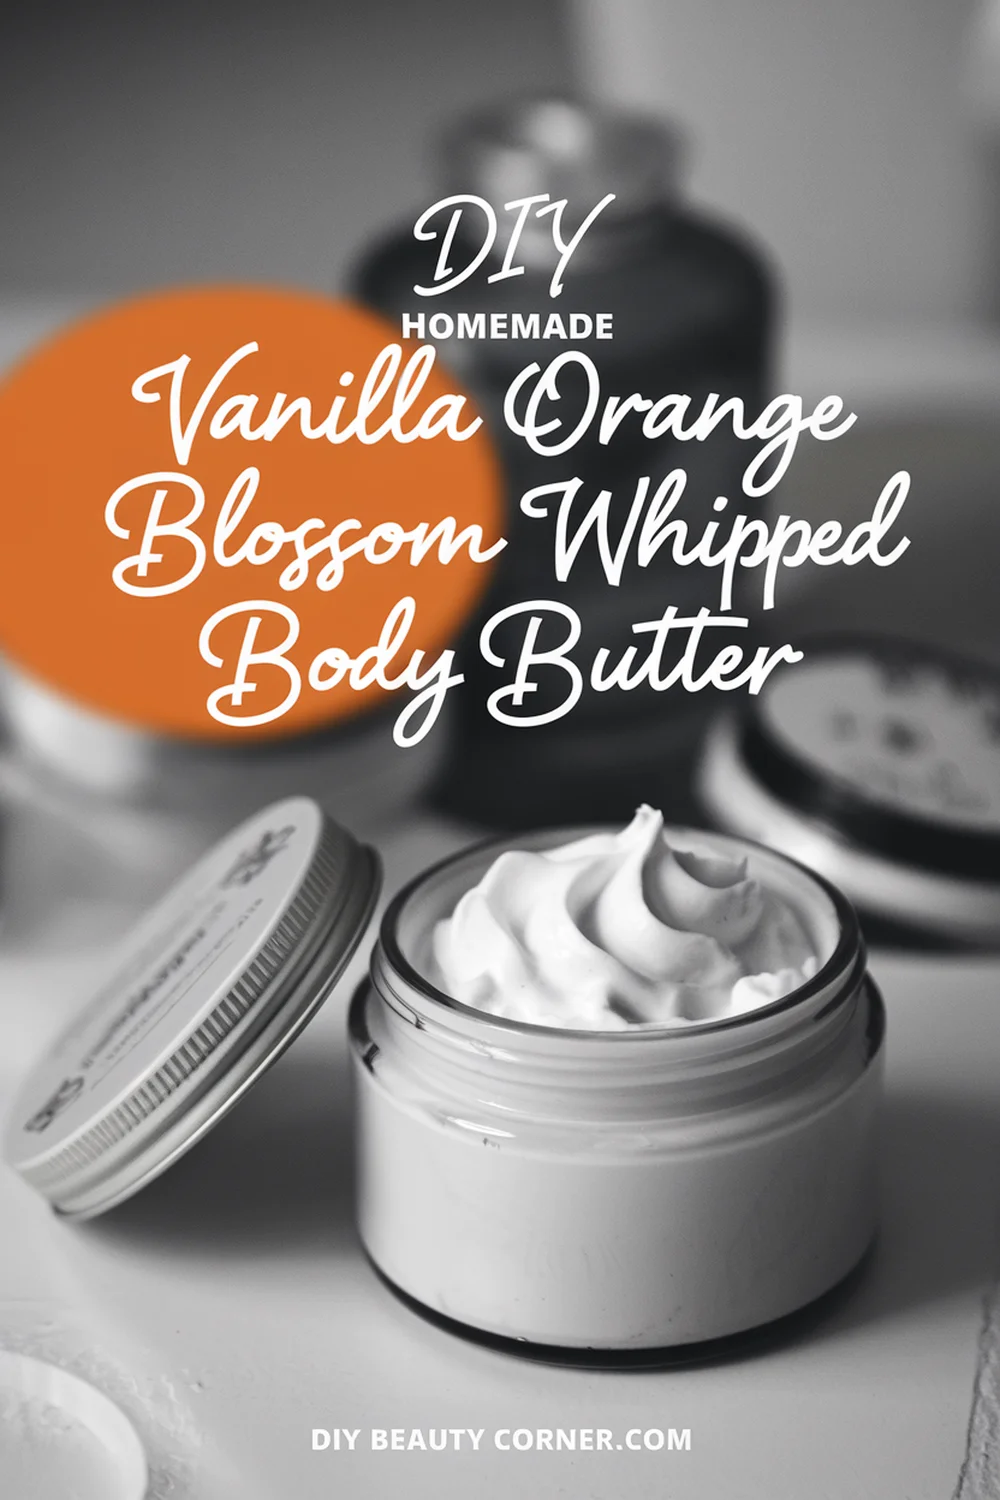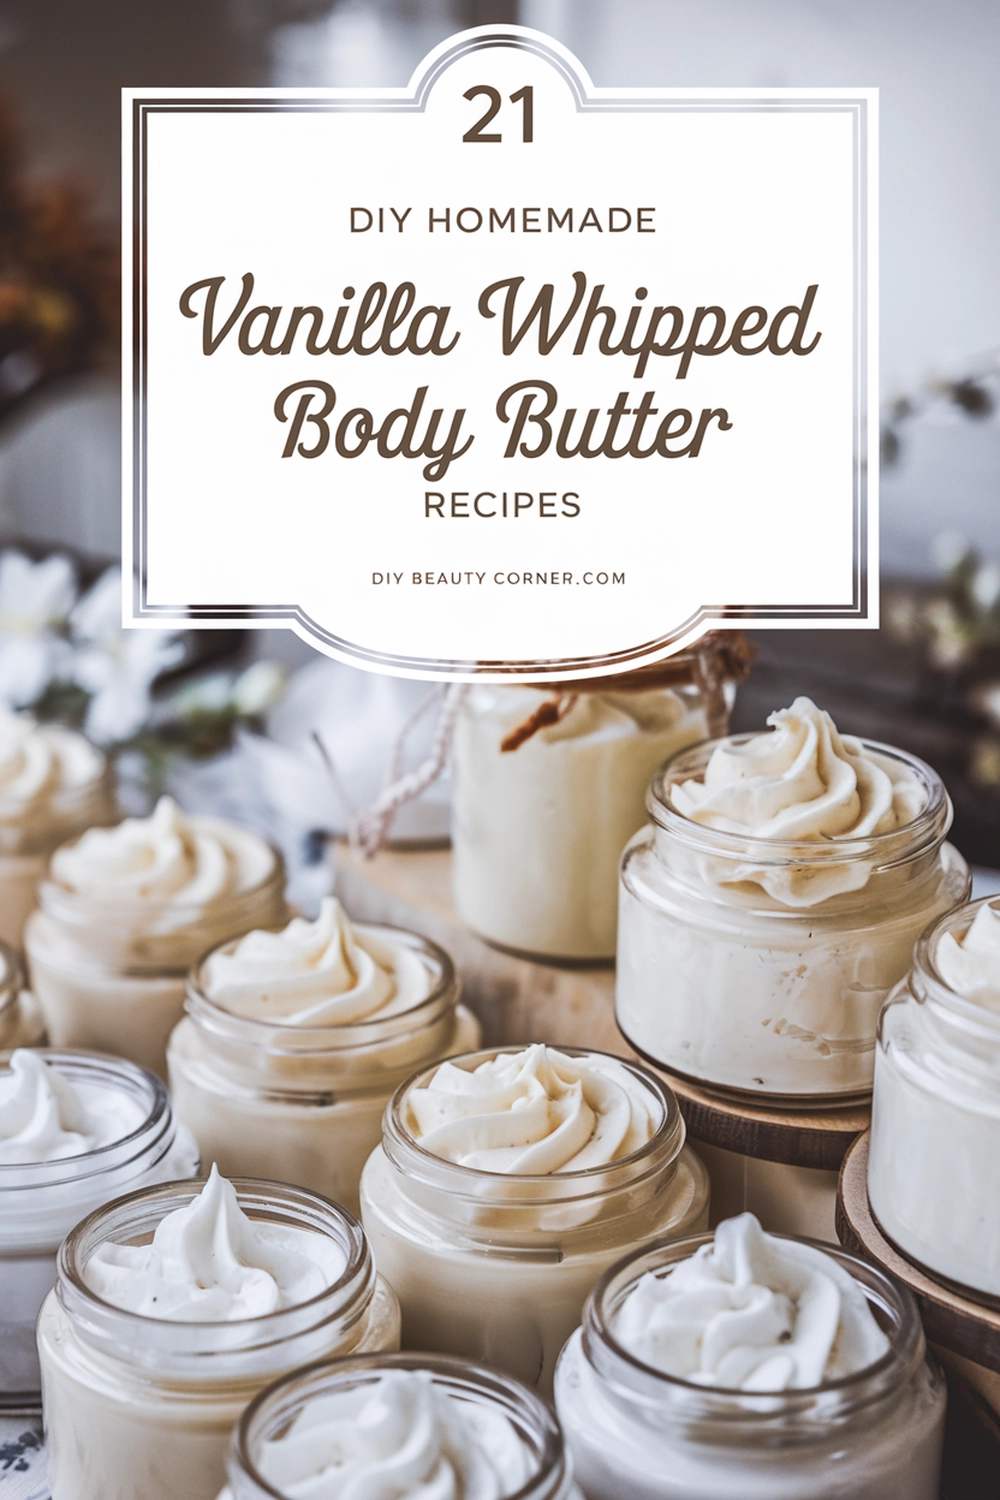
Making your own Vanilla Orange Blossom Whipped Body Butter at home is a delightful way to pamper your skin and indulge your senses. This creamy blend not only hydrates but also leaves your skin feeling soft and nourished, thanks to the combination of natural ingredients. With just a few simple steps, you can create a luxurious moisturizer that rivals any store-bought option.
I find that the soothing aromas of vanilla and orange blossom create a relaxing and uplifting experience. As I whip together shea butter, cocoa butter, and essential oils, I can’t help but appreciate how easy it is to customize this recipe to fit my preferences. Whether I’m looking to refresh my routine or create a thoughtful gift, this body butter is a perfect solution.
Join me as I guide you through the process of crafting this nourishing body butter. You’ll discover the exact ingredients and measurements needed to achieve a rich, fluffy texture that glides smoothly onto your skin. Get ready to transform your skincare regimen with this simple, homemade treat.
Preparing Your Ingredients
Before beginning the body butter preparation, I ensure I have everything ready. Understanding the properties of each ingredient and sourcing high-quality materials are crucial steps for achieving the desired results.
Understanding Ingredient Properties
Each ingredient I use contributes specific qualities to the body butter.
- Shea Butter: A rich moisturizer, it contains vitamins A and E, which help nourish the skin and combat dryness.
- Cocoa Butter: Known for its creamy texture, it provides a protective barrier and adds a subtle chocolate scent.
- Coconut Oil: This oil absorbs quickly, leaving skin soft and hydrated while also having natural antibacterial properties.
- Sweet Almond Oil: It soothes irritation and improves skin elasticity, making it a popular choice for body butters.
- Essential Oils: Vanilla and orange blossom not only impart wonderful scents but also offer calming and uplifting properties.
Understanding these benefits helps in tailoring the body butter to my skin’s needs.
Sourcing Quality Ingredients
I prioritize sourcing high-quality ingredients to ensure the best results.
- Shea and Cocoa Butters: I look for unrefined, organic options since they retain nutrients and natural properties.
- Coconut Oil: Extra virgin coconut oil is preferred for its purity and benefits, so I check labels carefully.
- Sweet Almond Oil: Selecting cold-pressed almond oil guarantees that the oil retains its beneficial properties.
- Essential Oils: I opt for therapeutic-grade essential oils for their potency and purity. Reading customer reviews helps me choose reputable brands.
By focusing on quality, my body butter not only feels luxurious but also effectively nourishes my skin.
Making Vanilla Orange Blossom Whipped Body Butter
Creating a Vanilla Orange Blossom Whipped Body Butter involves a few key steps: precise ingredient mixing, effective whipping, and proper storage to maintain its quality. Below, I detail the essential processes to achieve a luxurious body butter.
Step-by-Step Mixing Process
To start, I gather my ingredients. For this recipe, I need:
- 1 cup shea butter
- 1/2 cup coconut oil
- 1/2 cup jojoba oil
- 1 tablespoon vanilla essential oil
- 1 tablespoon orange blossom essential oil
- Optional: 1 tablespoon arrowroot powder
I melt the shea butter and coconut oil together over low heat. A double boiler ensures even heating and prevents burning. Once completely melted, I remove the mixture from heat and let it cool slightly.
Next, I mix in the jojoba oil and essential oils. If desired, I can add arrowroot powder at this stage for a non-greasy feel. This blend creates a creamy base for the whipped body butter, setting the foundation for the next steps.
Whipping Technique for Perfect Consistency
After the initial mixing, I let the mixture chill in the fridge for about 30 minutes. Once it has started to set but is not fully solid, I take it out and use a hand mixer.
I whip the mixture on medium speed until it becomes light and fluffy, which usually takes about five minutes. This step is crucial because it incorporates air, giving the body butter a delightful texture. It should resemble whipped cream in consistency.
If the mixture is too hard, I simply let it sit at room temperature for a few minutes before whipping again. If it’s too soft, I can chill it briefly to help achieve the right consistency.
Preserving and Storing Your Body Butter
Once whipped to perfection, I transfer the body butter into clean, dry jars. It’s important to use sterilized containers to prevent contamination. I usually opt for glass jars with lids, as they provide an airtight seal.
For storage, I keep the body butter in a cool, dry place away from direct sunlight. It can last up to six months when stored properly. If I notice any change in smell, color, or texture, it’s best to discard it.
Using this method ensures I have a nourishing and luxurious body butter on hand, perfect for daily use.


