Emulsified sugar scrub is a popular skincare product that can be made at home with a few simple ingredients. This type of scrub is different from traditional sugar scrubs because it contains an emulsifier that helps to bind the oil and water together, creating a creamy texture that is easy to apply and rinse off.
To make emulsified sugar scrub, you will need a few basic ingredients such as sugar, oil, emulsifying wax, and a preservative. The sugar acts as an exfoliant, while the oil moisturizes and nourishes the skin. Emulsifying wax is used to create the creamy texture, and a preservative is added to prevent the growth of bacteria and extend the shelf life of the product.
Making emulsified sugar scrub is a fun and easy DIY project that can be customized to suit your skin type and preferences. By choosing high-quality ingredients and following a simple recipe, you can create a luxurious and effective skincare product that will leave your skin feeling soft, smooth, and rejuvenated.
Understanding Emulsification
The Science of Emulsification
Emulsification is the process of combining two immiscible substances, such as oil and water, to form a stable mixture. This process is achieved by using an emulsifier, which is a substance that can help to stabilize the mixture by reducing the surface tension between the two substances.
In the case of emulsified sugar scrubs, an emulsifier is used to combine the carrier oil and water-based ingredients, such as aloe vera or hydrosols, to create a stable and creamy texture. One of the most commonly used emulsifiers in sugar scrubs is emulsifying wax, which is a vegetable-based wax that contains fatty acids that help to stabilize the mixture.
Benefits of Emulsified Sugar Scrubs
Emulsified sugar scrubs have several benefits over traditional sugar scrubs. One of the main benefits is that they are easier to use, as the emulsified texture allows the scrub to spread evenly over the skin without feeling too abrasive. This makes them ideal for those with sensitive skin, as they provide a gentle exfoliation without causing irritation.
Another benefit of emulsified sugar scrubs is that they provide a moisturizing effect. The emulsified texture allows the carrier oil to penetrate deep into the skin, providing hydration and nourishment. This makes them ideal for those with dry or dehydrated skin, as they can help to restore the skin’s natural moisture barrier.
Overall, emulsified sugar scrubs are a great addition to any skincare routine. They provide a gentle exfoliation while also providing hydration and nourishment to the skin. By understanding the science of emulsification and the benefits of emulsified sugar scrubs, you can create a product that is both effective and enjoyable to use.
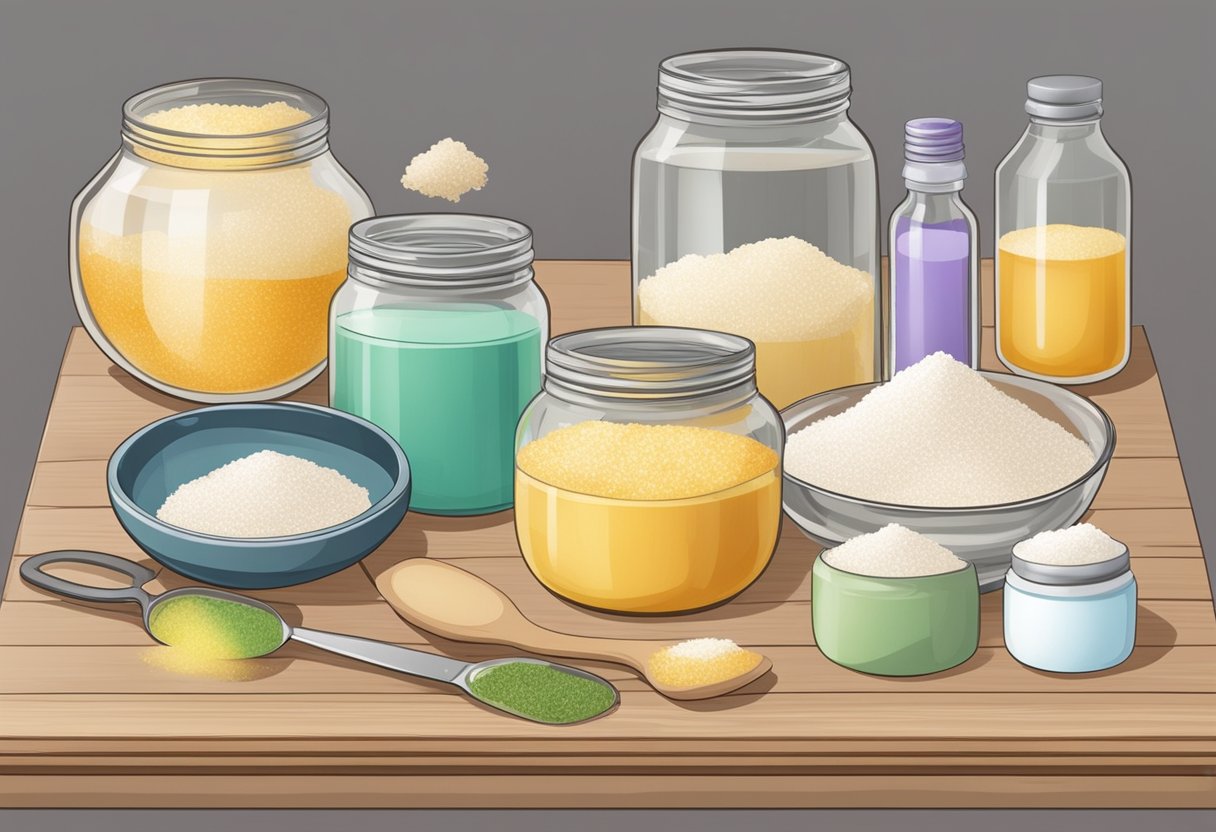
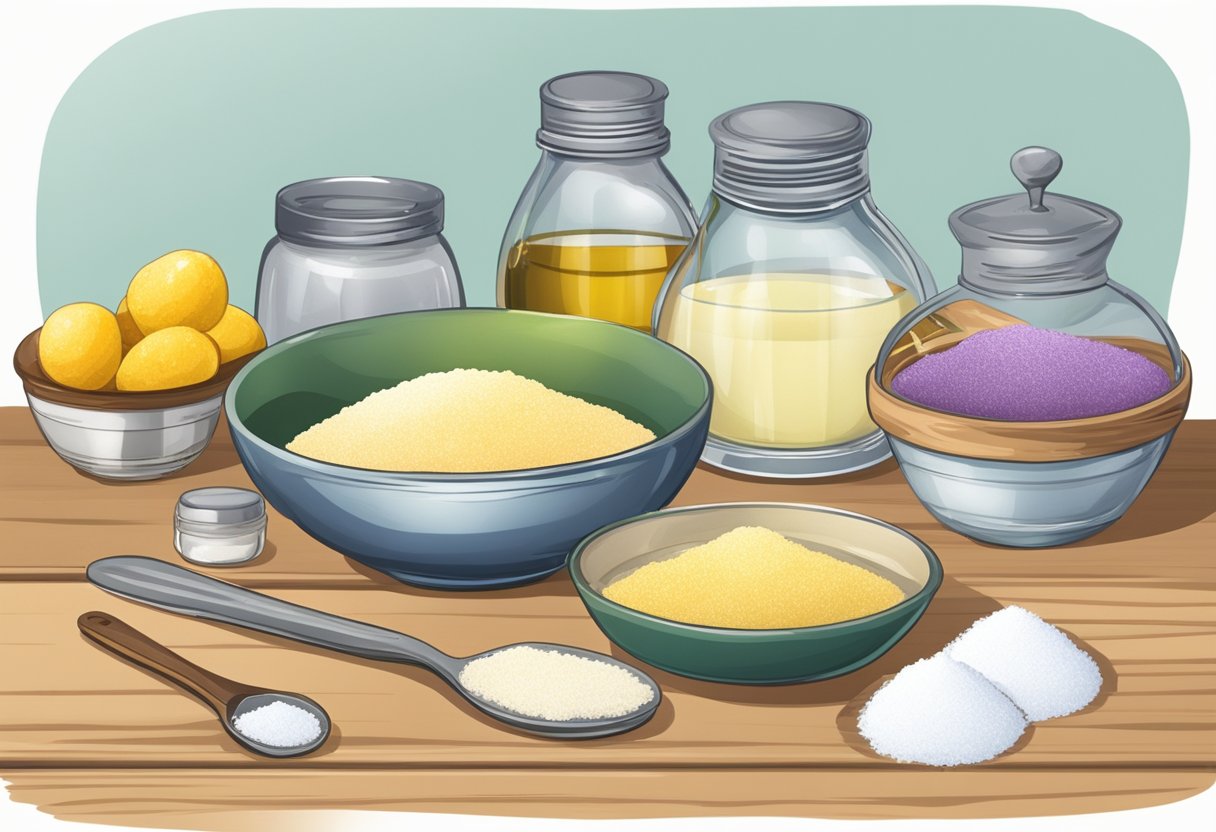
Gathering Your Materials

Before starting to make an emulsified sugar scrub, it is important to gather all the necessary materials. This will ensure that the process goes smoothly and the end product is of high quality.
Choosing Your Oils
The first step in making an emulsified sugar scrub is to choose the right oils. It is important to select oils that are nourishing for the skin and will not clog pores. Some popular options include coconut oil, sweet almond oil, and jojoba oil. It is also important to consider the scent of the oil, as this can greatly affect the final product.
Selecting the Right Sugar
The next step is to select the right sugar. Granulated sugar is the most common option, but brown sugar and cane sugar can also be used. It is important to choose a sugar that is not too coarse, as this can cause skin irritation. Additionally, some people prefer to use a combination of sugars for added exfoliation.
Essential Tools and Equipment
In addition to the oils and sugar, there are a few essential tools and equipment needed to make an emulsified sugar scrub. These include a double boiler, a hand blender, and emulsifying wax. It is also important to have a clean, dry container to store the finished product.
Overall, gathering the necessary materials is an important first step in making an emulsified sugar scrub. By selecting the right oils, sugar, and equipment, one can create a high-quality product that is nourishing for the skin.
The Emulsification Process

Emulsified sugar scrub is a popular DIY skincare product that combines the benefits of exfoliation and hydration. The emulsification process is what makes this type of scrub unique. It involves combining oil and water-based ingredients in a way that allows them to mix together smoothly and result in a creamy, lotion-like texture.
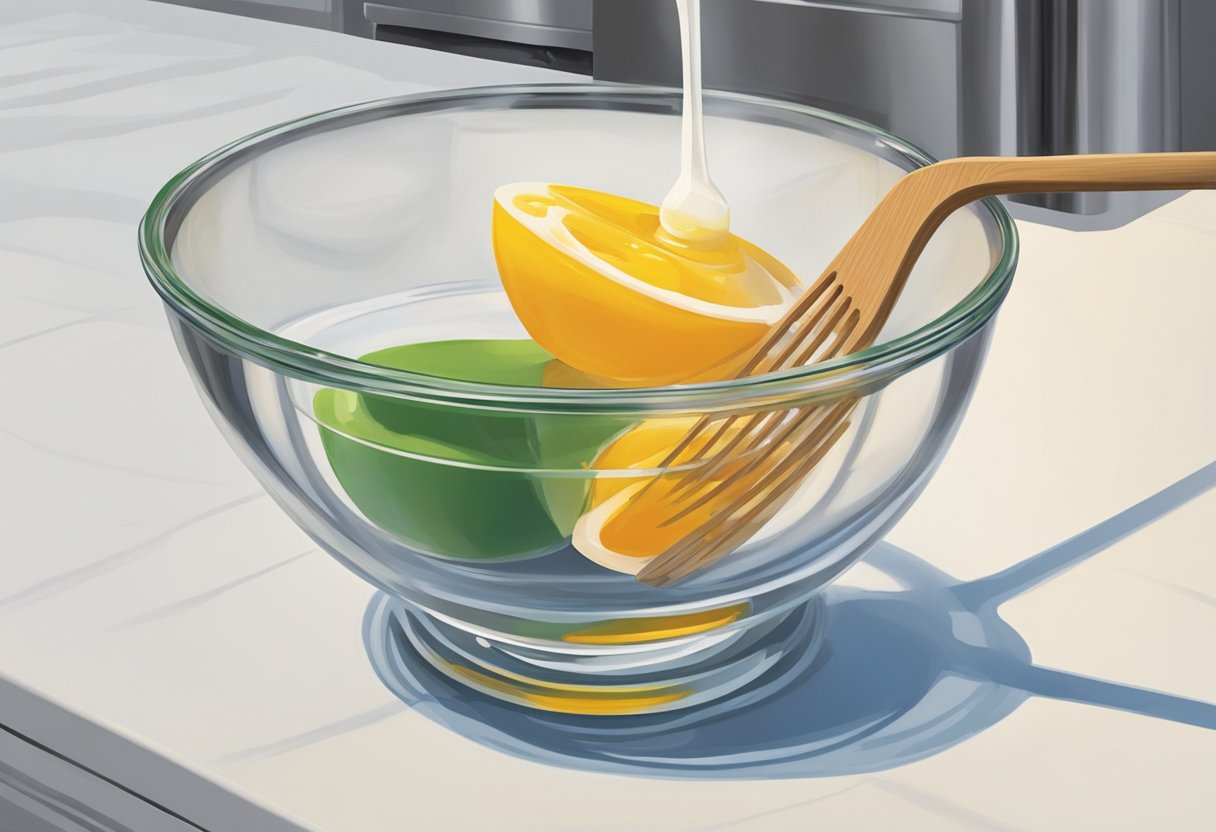
Mixing Your Ingredients
To make an emulsified sugar scrub, you will need to gather your ingredients, including a carrier oil, emulsifying wax, granulated sugar, and any essential oils or fragrances you want to add. The typical ratio for a sugar scrub is 2 parts sugar to 1 part oil, but you can adjust this to achieve your desired consistency.
The first step in the emulsification process is to melt the emulsifying wax and carrier oil together. This can be done using a double boiler or a microwave. Once melted, the mixture should be stirred until it is well combined.
Next, the granulated sugar is added to the mixture. It is important to stir the sugar in slowly and thoroughly to ensure that it is evenly distributed throughout the mixture. At this point, any essential oils or fragrances can be added.
Achieving the Perfect Consistency
The key to achieving the perfect consistency for an emulsified sugar scrub is to get the oil and water-based ingredients to mix together smoothly. This is where the emulsifying wax comes in. It acts as a stabilizer, allowing the oil and water-based ingredients to combine without separating.
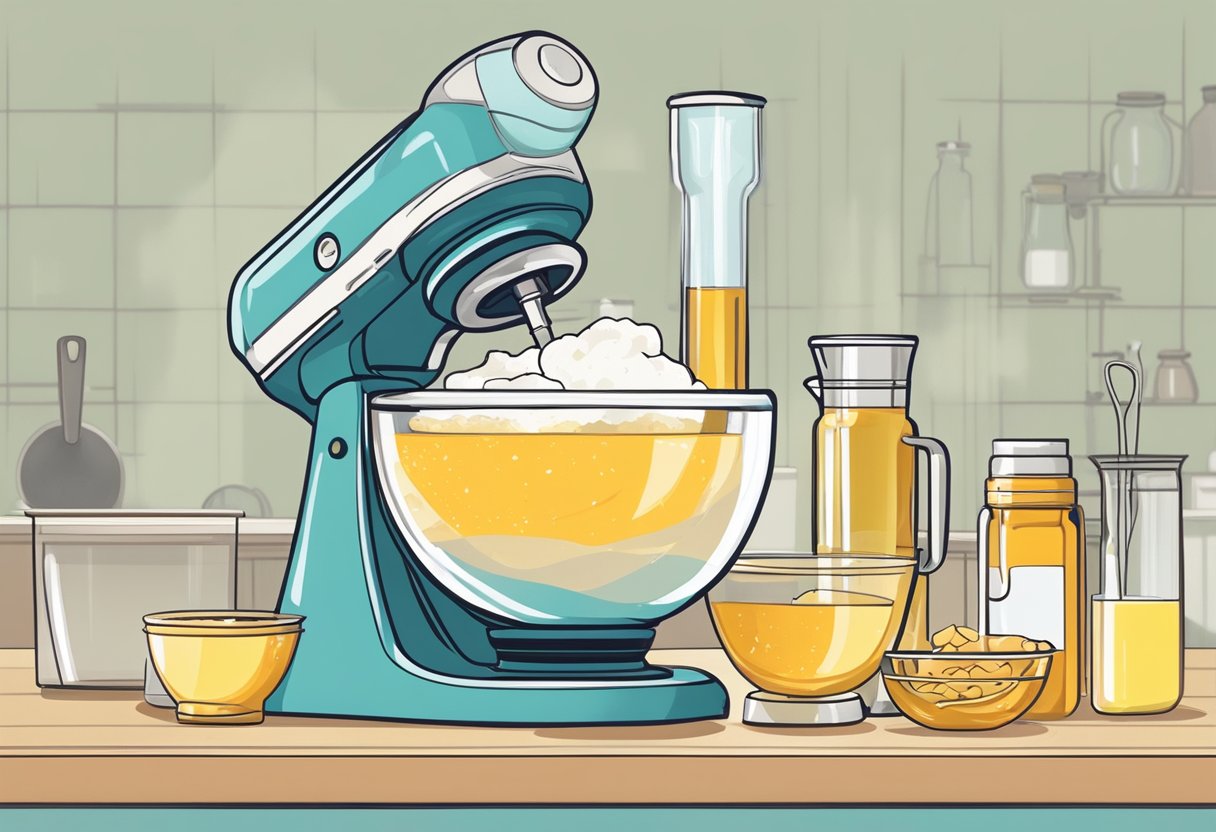
To ensure that the emulsification process is successful, it is important to mix the ingredients thoroughly and consistently. This can be done using a hand mixer or a stand mixer. Mixing for 5-10 minutes should be sufficient to achieve a smooth, creamy texture.
In conclusion, the emulsification process is what makes emulsified sugar scrub unique. By combining oil and water-based ingredients in a way that allows them to mix together smoothly, you can create a luxurious, hydrating scrub that is perfect for exfoliating and moisturizing your skin.
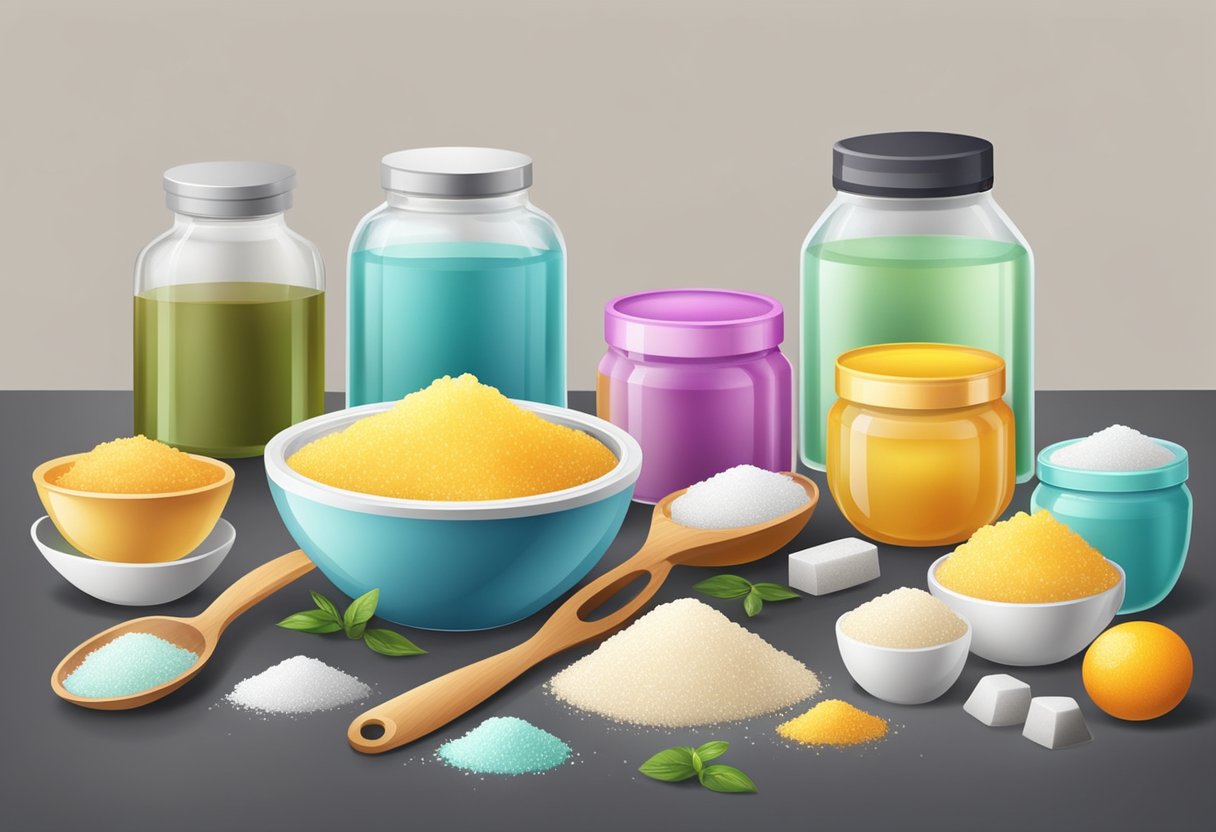
Customizing Your Scrub
Making your own emulsified sugar scrub is a great way to pamper your skin with natural ingredients. You can customize your scrub to suit your personal preferences and skin type. Here are some ways to add your own unique touch to your scrub.
Adding Fragrances
Adding essential oils to your scrub can give it a pleasant aroma and provide additional benefits for your skin. Some popular essential oils for sugar scrubs include lavender, peppermint, and tea tree oil. Be sure to choose high-quality essential oils and use them in moderation, as they are highly concentrated.
Incorporating Colors
Adding natural colorants to your sugar scrub can make it more visually appealing. You can use ingredients like turmeric, beetroot powder, or cocoa powder to add color to your scrub. Keep in mind that some colorants may stain your skin or clothing, so test a small amount of the scrub on your skin first.
Including Additives for Skin Benefits
You can add other natural ingredients to your sugar scrub to provide additional benefits for your skin. For example, you can add honey for its moisturizing properties, or aloe vera gel for its soothing and healing effects. You can also add finely ground coffee for its exfoliating and invigorating properties.
When customizing your scrub, be sure to keep the ratio of sugar to oil the same to ensure that it emulsifies properly. You can also experiment with different types of sugar and carrier oils to find the combination that works best for you. With a little creativity, you can create a luxurious and effective emulsified sugar scrub that is tailored to your needs.
Packaging and Storage
Choosing Appropriate Containers
When it comes to packaging emulsified sugar scrub, it is important to choose containers that are appropriate for the product. Glass jars or plastic containers with a wide mouth are recommended as they make it easy to scoop out the product. It is also important to choose containers that are airtight to prevent the product from drying out or becoming contaminated.
Labeling and Presentation
Labeling and presentation are important aspects of packaging emulsified sugar scrub. The label should include the name of the product, the ingredients, instructions for use, and any warnings or precautions. The label should also be attractive and eye-catching to attract potential customers. It is also a good idea to include a date on the label to keep track of the product’s shelf life.
Shelf Life and Preservation
Emulsified sugar scrub has a shelf life of approximately six months to one year, depending on the ingredients used. It is important to store the product in a cool, dry place away from direct sunlight to prevent spoilage. If the product begins to smell or change in texture, it should be discarded. To extend the shelf life of the product, it is recommended to use a preservative such as Optiphen Plus or Germaben II.
Using Your Emulsified Sugar Scrub

Application Techniques
To use your emulsified sugar scrub, it is best to start with clean, damp skin. Scoop a small amount of the scrub into your palm and massage it onto your skin in a circular motion, focusing on areas that need extra exfoliation such as elbows, knees, and feet. Avoid using the scrub on broken or irritated skin.
Once you have massaged the scrub onto your skin, rinse it off with warm water and pat your skin dry with a towel. Follow up with your favorite moisturizer to keep your skin feeling soft and hydrated.
Frequency of Use
It is recommended to use emulsified sugar scrub once or twice a week, depending on your skin type and needs. Over-exfoliating can cause irritation and dryness, so it is important to listen to your skin and adjust the frequency of use accordingly.
In addition, it is important to store your emulsified sugar scrub properly to maintain its effectiveness. Keep it in a cool, dry place away from direct sunlight and moisture. If you notice any changes in texture or smell, discard the scrub and make a fresh batch.
Overall, emulsified sugar scrub can be a great addition to your skincare routine, helping to slough away dead skin cells and reveal smoother, brighter skin. With proper use and storage, you can enjoy the benefits of this DIY beauty treatment for weeks to come.
Safety and Allergy Considerations

When making an emulsified sugar scrub, it is important to consider safety and potential allergies. Here are some tips to keep in mind:
- Always wear gloves when handling ingredients to avoid contamination and potential skin irritation.
- Before using any new ingredient, do a patch test on a small area of skin to check for allergic reactions.
- Avoid using essential oils or fragrances that may cause skin irritation or allergic reactions.
- If making a scrub for someone else, be sure to ask about any allergies or sensitivities they may have before selecting ingredients.
- Be cautious when using exfoliants such as sugar or salt, as they can be abrasive and cause irritation if used too vigorously or on sensitive skin.
- Store the finished product in a clean, airtight container to prevent contamination and spoilage.
By following these safety and allergy considerations, you can ensure that your emulsified sugar scrub is not only effective but also safe to use for all skin types.
Frequently Asked Questions
What ingredients are needed to create an emulsified sugar scrub for the face?
To create an emulsified sugar scrub for the face, you will need sugar, oil, emulsifying wax, and a preservative. The sugar acts as an exfoliating agent, while the oil and emulsifying wax work together to create a creamy, emulsified texture. A preservative is necessary to extend the shelf-life of the scrub and prevent bacterial growth.
How is emulsifying wax incorporated into a sugar scrub, and what quantity is required?
Emulsifying wax is typically added to the oil phase of the sugar scrub recipe. The quantity required will depend on the specific recipe being used, but a general rule of thumb is to use between 3% and 5% emulsifying wax by weight of the oil phase. It’s important to follow the recipe carefully to ensure proper emulsification and texture.
What are the benefits of using an emulsified sugar scrub compared to other types?
Emulsified sugar scrubs have the benefit of being creamy and moisturizing, while also providing exfoliation. The emulsification process allows the scrub to be easily spreadable and rinsable, without leaving a greasy residue. Additionally, the use of a preservative helps to extend the shelf-life of the scrub, making it a more practical option for long-term use.
How can I extend the shelf-life of homemade emulsified sugar scrubs?
To extend the shelf-life of homemade emulsified sugar scrubs, it’s important to use a preservative and store the scrub in a cool, dry place. It’s also a good idea to avoid introducing water into the scrub, as this can lead to bacterial growth. Using clean hands or a scoop to remove the scrub from the jar can also help to prevent contamination.
What distinguishes an emulsified sugar scrub from a whipped sugar scrub?
An emulsified sugar scrub is characterized by its creamy, emulsified texture, which is achieved through the use of emulsifying wax. A whipped sugar scrub, on the other hand, is typically made by whipping together sugar and oil until a light, fluffy texture is achieved. While both types of scrubs provide exfoliation, emulsified sugar scrubs are generally more moisturizing and easier to rinse off, while whipped sugar scrubs tend to be lighter and less oily.